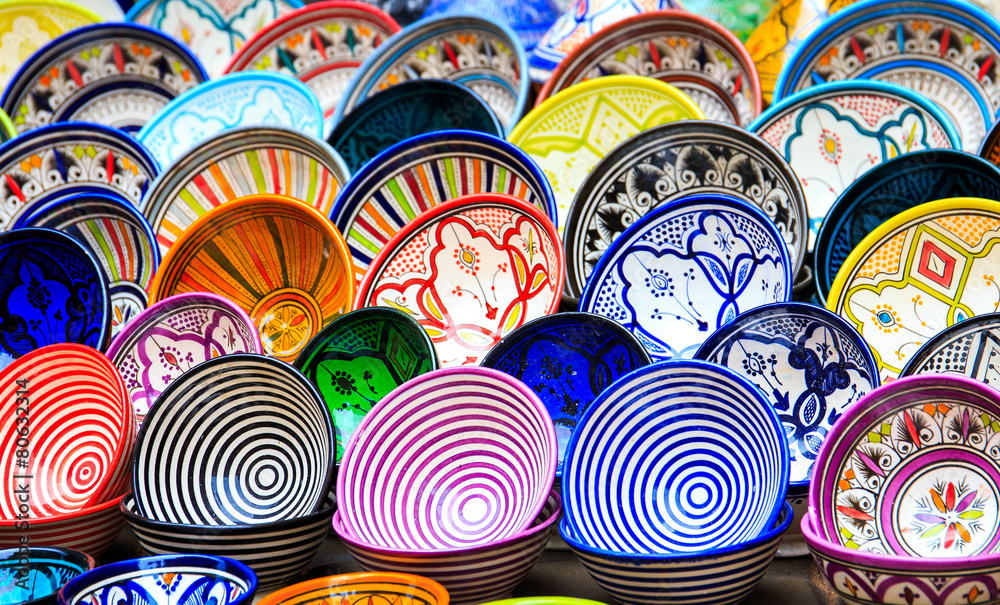
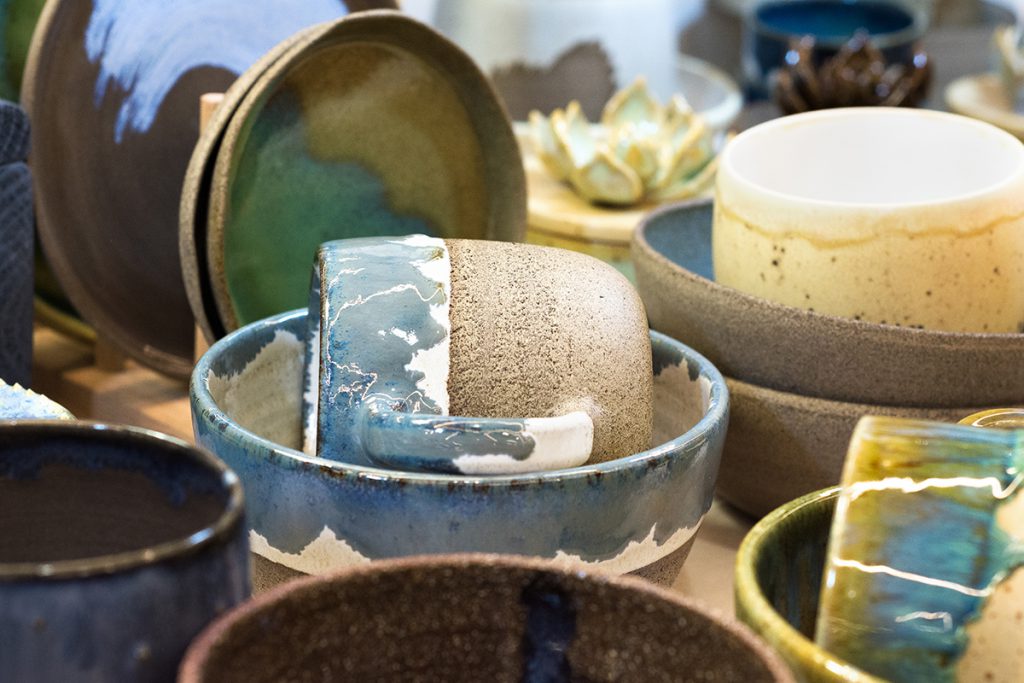
Pottery making is one of the most beloved and popular artistic activities. A practice that requires attention and care, passion and a lot of creativity. Creativity that is not limited to the shapes and use of objects, but that manifests itself at its best in coloring and decoration.
There are several ways to color ceramics, and for each there are details and techniques to know in order to choose the most appropriate way to follow. This choice will depend on unique and personal factors, such as your taste and desired aesthetic effect, but also on the end use of the product. As we will also see later, for example, some treatments make ceramics waterproof, others do not.
In this article we will briefly but clearly explain what you need to know about the engobes, the glazes, transparent glazes and the underglaze colors, analyzing their different characteristics and methods of use. Then we will go into detail about the practice of glazing, with its basic techniques and the cautions to follow for an optimal result. To finish, we will take an overview of firing, aimed at fixing the glaze completing your ceramic project.
Engobe
Let’s start with engobe, which is a type of coloring that is applied to unfired pottery. It is composed of mass-colored clay and water mixed together. Along with casting slip, an even simpler compound of just clay and water, it is one of the oldest methods of coloring and decorating: think that there are finds that testify to its use as early as 3000 b.C.!
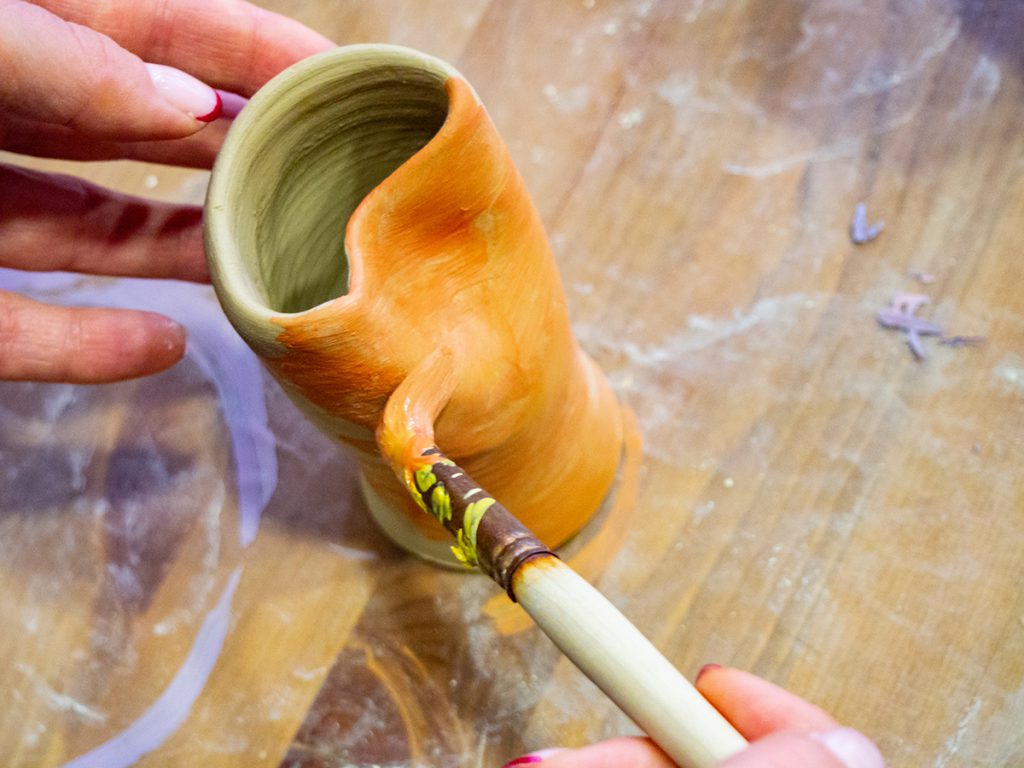
Engobe is applied to ceramics that are still not quite dry, to be precise at leather hardness, and has a matte finish. If you want a shiny, glossy finish, a transparent glaze can be applied in the second firing, as we will see later.

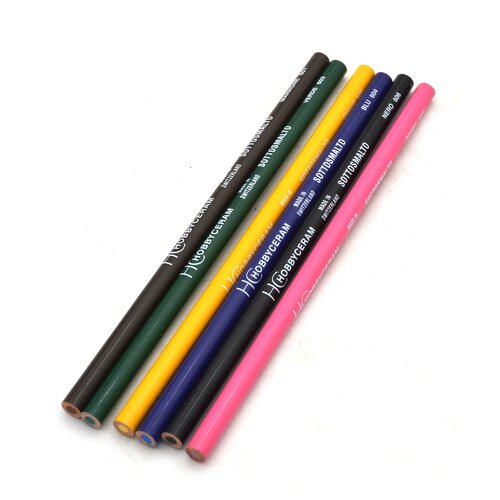
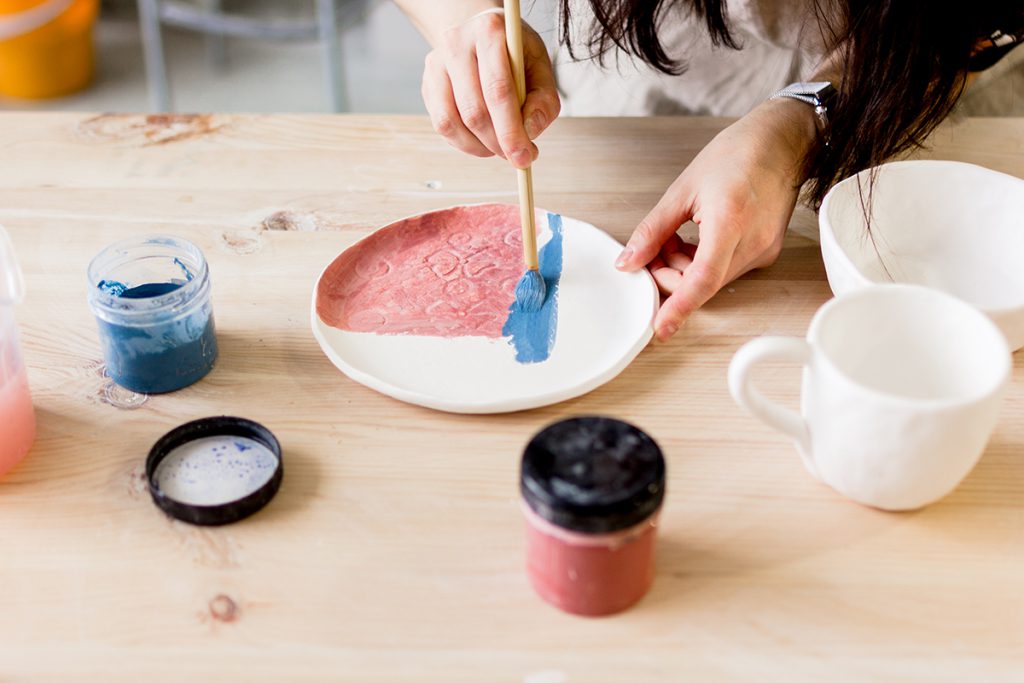
One of the advantages of engobe is its ease of use, especially if you take a ready-to-use liquid preparation, such as those shown in the photo.
Engobes are versatile, available in virtually any color, and adhere well to clay, remaining stable when fired. Below are some decorative ideas you can make with engobes:
- marbled effect: apply a thick coat of paint and then, with a brush or applicator bottle, draw lines of another color, letting them blend together with the base color to create streaks.
- Sponging: use one or more colors to create patterns, applying the sponge in more or less firm passes according to your taste.
- Stencil: you can create a design or decoration on stencil and then apply it to the clay before spreading the color.
Glazes, transparent glazes and underglazes
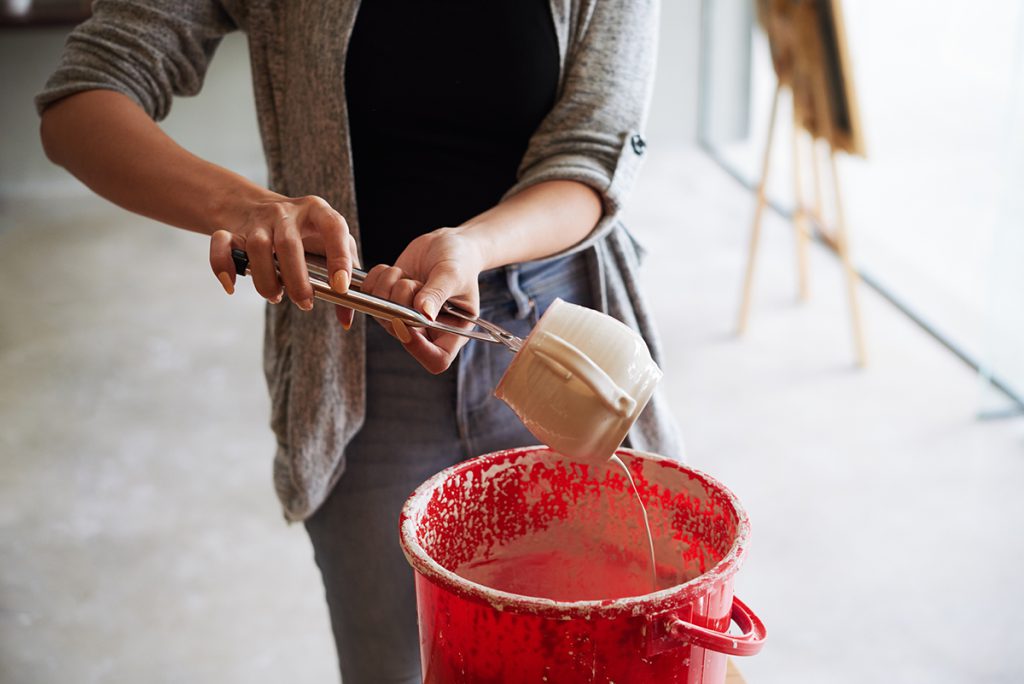
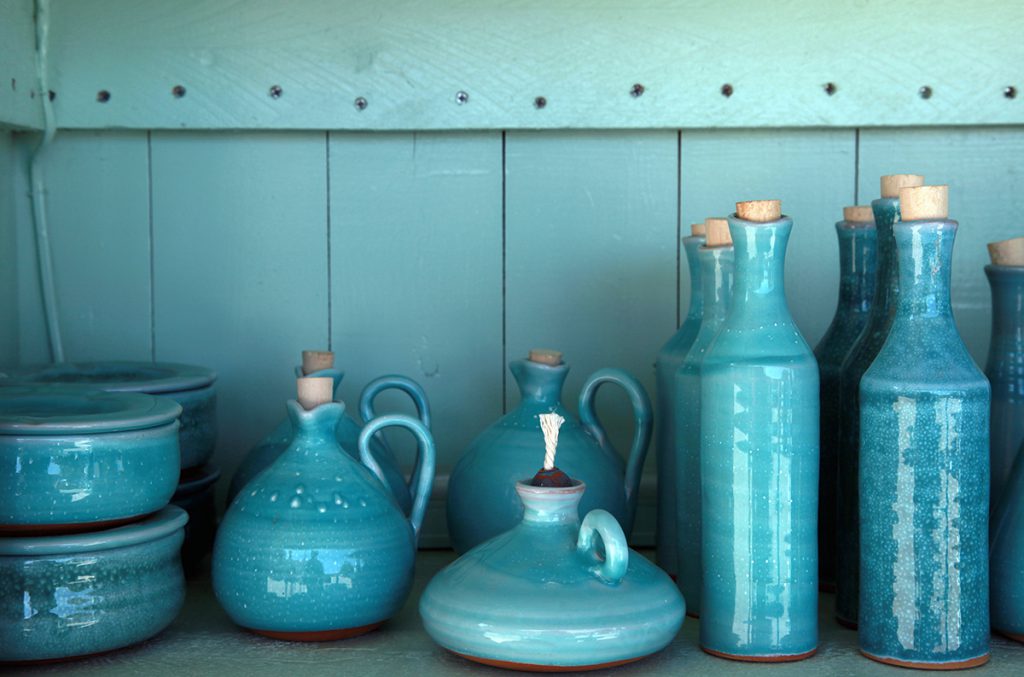
Glazing is one of the best known and most common methods of coloring ceramics. In addition to its decorative purpose, among other things, the glaze has the function of sealing your work through the second firing and making it waterproof.
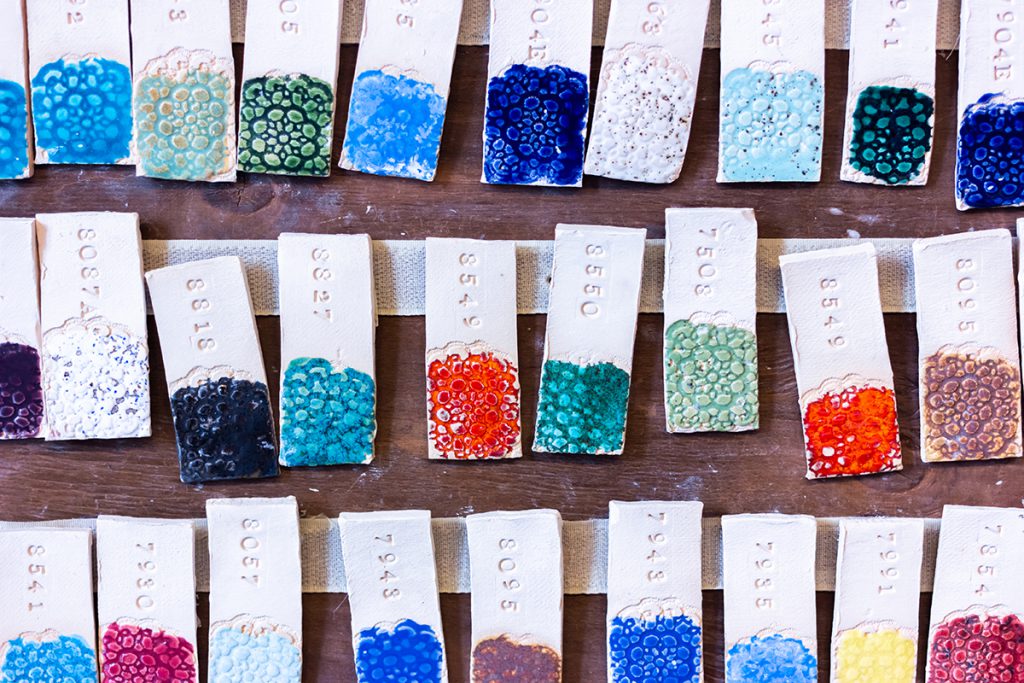
The glaze can have a shiny and glossy finish, or a matte and satin finish, and from the point of view of colors and decorative effects it offers an almost endless variety of possibilities. Since glazes are made of chemical compounds, which react differently to clay, in fact you will always be able to get different and, above all, unique results! This is precisely why it can be useful to plan some glaze tests, applying different glazes to the clays you are working with and firing them to check the effects. You can also do tests with different colors, mixing glazes or creating layers, recording all the results so you can then repeat and recreate the desired effects.
Other important precautions for using glaze, which we will see in more detail below, are:
- thorough cleaning of the surface: clean the clay well with a damp cloth or sponge and wait for it to dry thoroughly before starting;
- the consistency of the glaze: mix thoroughly, making sure there is no sediment at the bottom or lumps.
One important thing to keep in mind when talking about glazes, even and especially for the final aesthetic effect of your work, is that there is the option of creating an opaque or transparent coating.
Glazes, in fact, have the characteristic of being opaque: the vitreous coating that results from glazing covers the underlying terracotta, creating a uniform layer of another color. Transparent glazes, on the other hand, allows you to create a vitreous coating on a par with glaze, but with an effect of transparency: which means that underneath the glaze you will be able to see the original terracotta, as well as any decorations that you will have previously created on it, and which are called underglaze.
Transparent glazes can be neutral or colored, and have a glossy or satin finish. They are perfect not only for enhancing the underlying decorations, but also for emphasizing bas-relief effects.
The transparent glaze can be neutral or colored, and have a glossy or satin finish. They are perfect not only for enhancing the underlying decorations, but also for emphasizing bas-relief effects.
The term undeglazes, then, refers to any coloring applied to the surface of the ceramic prior to the application of a transparent glaze. Underglazes, then, are decorations that are used to create designs and patterns that will emerge under and through the clear glaze layer, creating effects of greater depth and richness. Transparent glaze can be neutral or colored, and have a glossy or satin finish, and can be mixed together while still maintaining transparency.
Underglazes are generally in liquid form, but are also found in other types and formats such as powder, pencils, chalks, pens, or tablets for use as watercolors.
Ceramic glazing: methods and cautions
Now that we have clarified the different types of materials and modes of decoration, let us go into the details of the practice of glazing.
First, the methods of application: dipping, spraying, sprinkling, or brush?
Dipping, as the word implies, involves soaking your object in a container full of glaze, for about three seconds. This is the quickest and easiest method, suitable even for beginners, and allows you to get an even layer of coverage. It is important to give the glaze the right consistency so that it adheres well to the ceramic. The more fluid the glaze, moreover, the longer the soaking time needed.
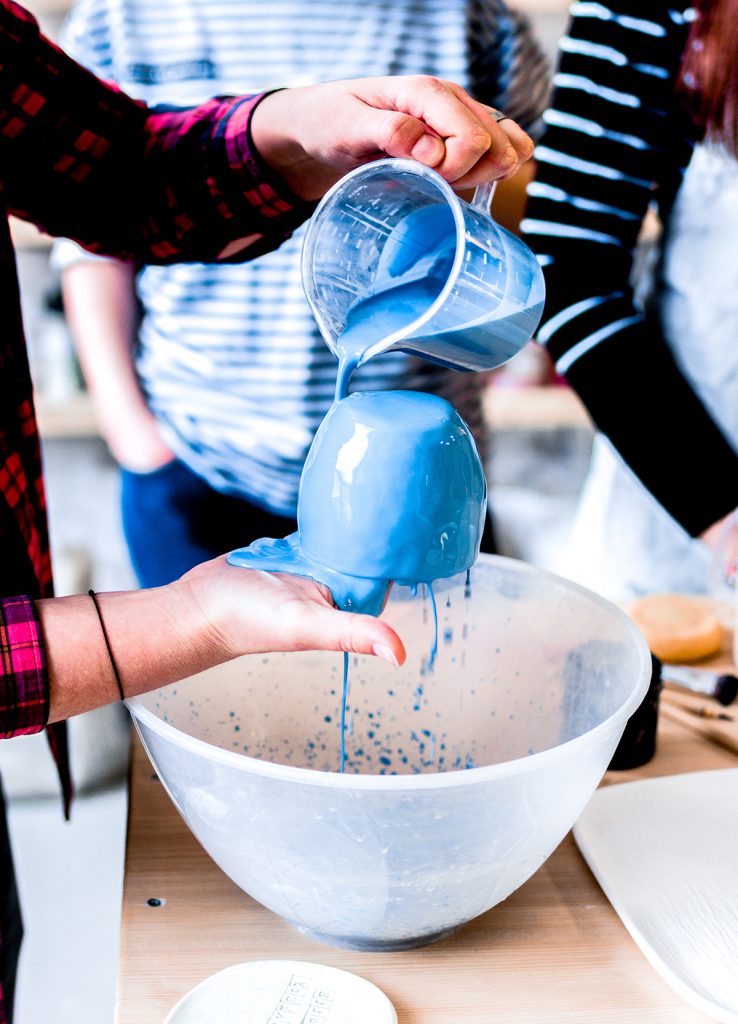
Sprinkling is often used at the same time as dipping, for example in the case of hollow objects in which the interior is to be glazed. Again, glaze is poured in, left for about three seconds, and then the excess liquid is poured back into the container. Sprinkling can also be done on an already applied layer of glaze to achieve new visual and color effects.
Finally, the brush is especially good for smaller objects and precision work. Brush-on glazes have a much thicker consistency, and it is important to read the directions to know how many coats should be applied to achieve the desired color. One of the “risks” with this type of technique is leaving brush marks. But if this is instead an aesthetic effect you want to achieve, we recommend varying the thickness of the layers of glaze as you apply them.
Other methods for applying glazes include sponging, perhaps using sponges of different textures for different colors and applications, and spraying, which will allow you to have an even spread over all surfaces.
Let us now talk about firing. As we have already anticipated, while engobe can be applied to fresh pottery, the glaze must instead be applied to the fired pottery, and then a second firing is carried out. The kiln is slowly brought to the temperature necessary for the silica to melt into the glaze, and then it is slowly cooled. This makes the ceramic strong, solid, waterproof and resistant to the elements.
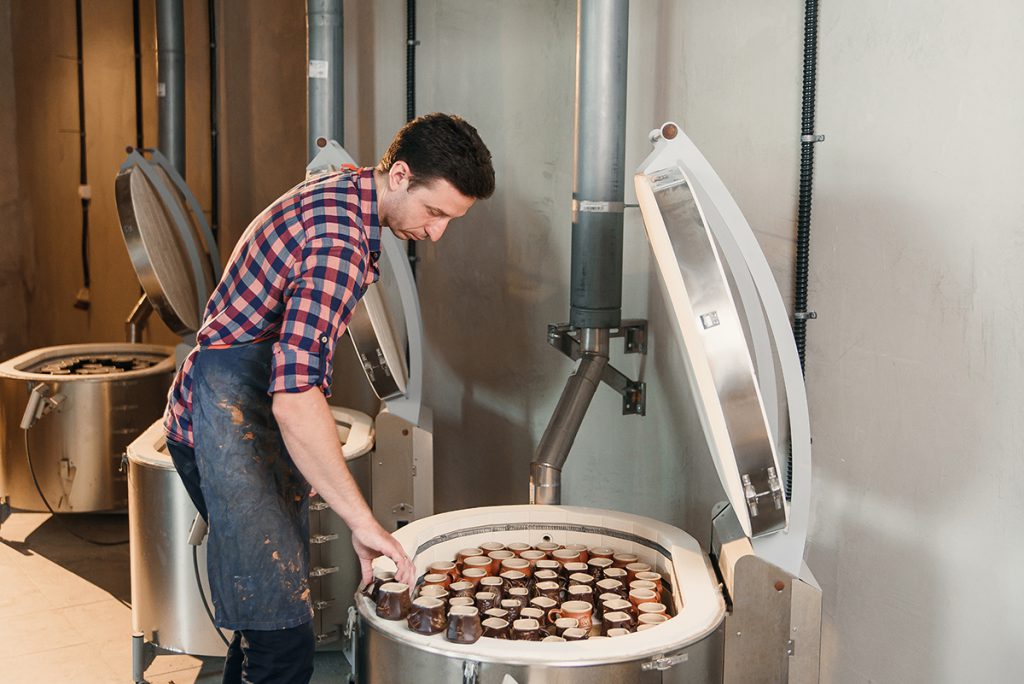
All glazes are classified by firing levels, which range from medium-low to extremely high temperatures.Therefore, it is important to respect the indicated ranges to avoid defects and breakage. For this we refer you to the last section of this guide, where we have gathered the basic directions for each temperature range.
The firing stage is also where some of the most common problems related to glaze application or, indeed, firing errors can occur. Let’s take a look at the main ones!
Under- or over-firing: in the case of incomplete firing, the result will be a rough, lackluster glaze. The good news is that this problem can be solved by re-firing the clay at higher temperatures. Different is the case of overfiring, from which unfortunately there is no return. In this case the biggest problem is excessive melting of the glaze, which will drip off the clay, becoming thinner at the top and too thick at the base, or drip into the kiln damaging any other products.
Lack of adherence between ceramics and glaze: during firing, due to the high temperatures, both clay and glaze will have greater fluidity and adhere perfectly. Being materials with different physical behaviors, however, they can lose this adhesion when cooling begins. If the glaze layer contracts too much, it will not be able to cover the entire surface of the clay, creating cracks. If, on the contrary, it is the clay that contracts too much, it will create gaps between the two layers.
Misapplication: a layer that is too thin can result in imperfect and uneven glaze; a layer that is too thick, on the other hand, can cause the glaze to run off or create bubbles.
Lack of adhesion: we have already stressed the importance of having as clean and dry a surface as possible before applying the glaze, because impurities, dust and moisture can affect the adhesion of the glaze to the clay. If you intend to apply a second coat of glaze, you should not let the first one dry too long, otherwise the second glaze will fail to adhere.
Bubble creation: this is a defect that affects the clay more than the glaze, but it can also negatively affect the glaze by creating bubbles or holes. This is why you need to make sure there are no air bubbles in your clay.
Other types of snags, rather than errors, involve problems that can occur with the kiln: from energy interruptions to the sliding of one object against another, resulting in “sticking,” or the dripping of glaze onto another object, or the “migration” of a color-especially very volatile ones-that from one object can settle onto another, staining it.
To conclude this guide to ceramic staining, we have prepared a mirror presenting all the temperature ranges that are more or less commonly used for glaze firing. As we have seen, in fact, the wrong temperature can create many problems. For each temperature range you will find some indications of use, along with the main pros and cons.
| Range type | Approximate temperature | Details |
| Very low fire range | 600/850° C | Very-low-temperature glazes are applied to ceramics that have already gone through at least a bisque, if not already a second firing. The pot is returned to the kiln for firing at very low temperature to fix the additional layer. |
| Low fire range | 822/1120° C | It is the most common of the firing levels (especially in the past, due to the limited availability of high-temperature kilns). It allows potters to use dyes that would lose stability and quality at higher temperatures. On the flip side, there is a risk that the clay will remain too porous and the glaze, due to the high percentage of flux, will be soft and short-lived. |
| Lower mid fire range | 1110/1145° C | Very little used, but with interesting results especially for clay stability. Most of the colors that are used for the lower ranges can also be used in this. |
| Mid fire range | 1165/1210° C | The advantages of this firing include the stability of the clay, the long life of the glaze, and the wide availability of colors |
| High fire range | 1260/1390° C | Majolica and porcelain are made at this level of firing. The glazes and clay bodies are dense and durable, but the variety of color palettes is necessarily more limited |