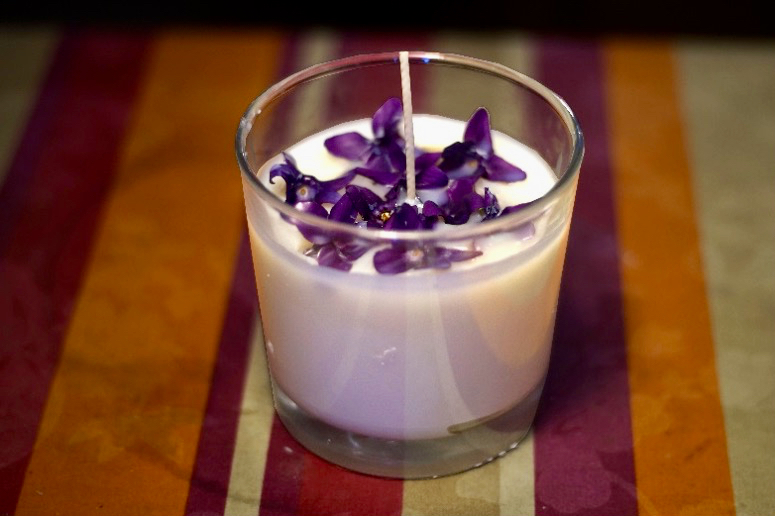
Do you have in mind those beautiful, fragrant wax jars that look like delicious treats? With this guide you’ll learn how to create them-it’s easier than you think, and once you understand the method you can let your imagination run wild by changing the colors, essences and other ingredients!
What you need
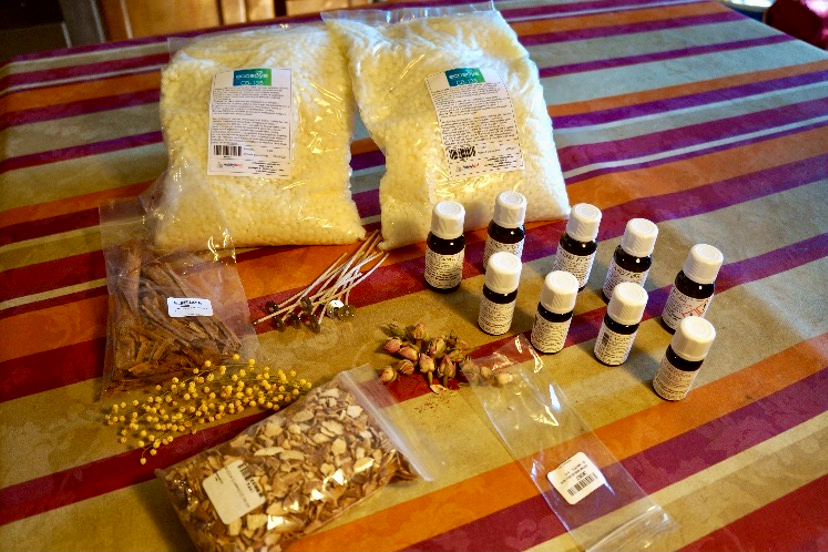
- Ecosoya Cb-135 – Container Candles Soy Wax
- Glass container
- Fragrances
- Liquicer Wax Dyes
- Natural stiff wick
- Thermometer
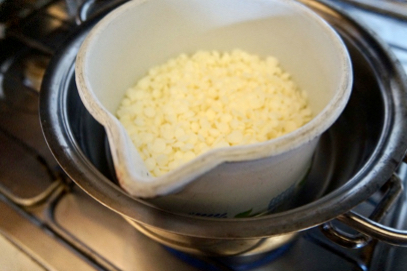
- Container for melting wax in a water bath
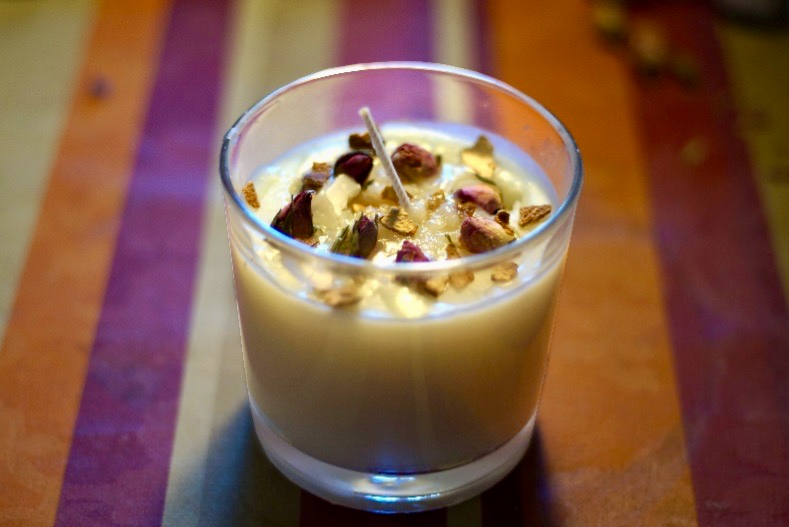
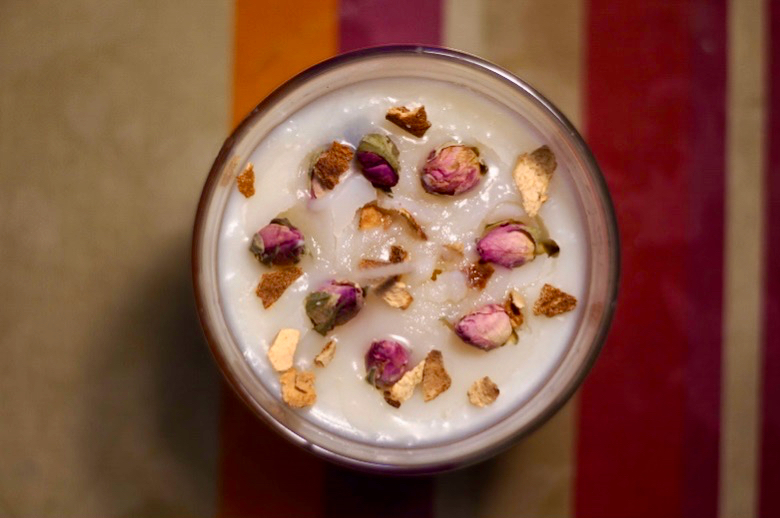
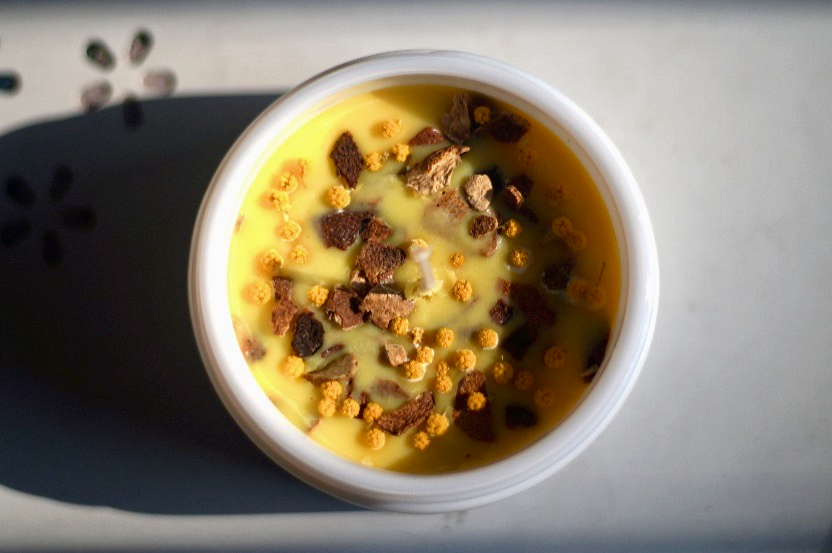
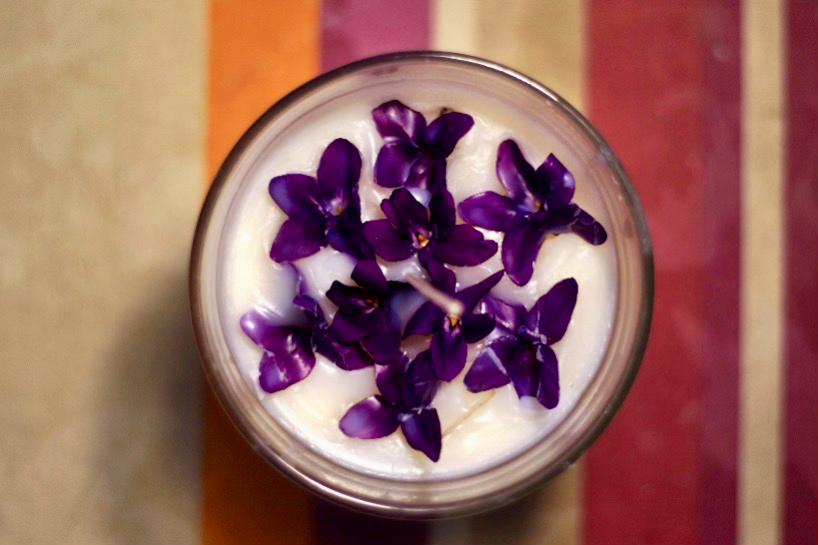
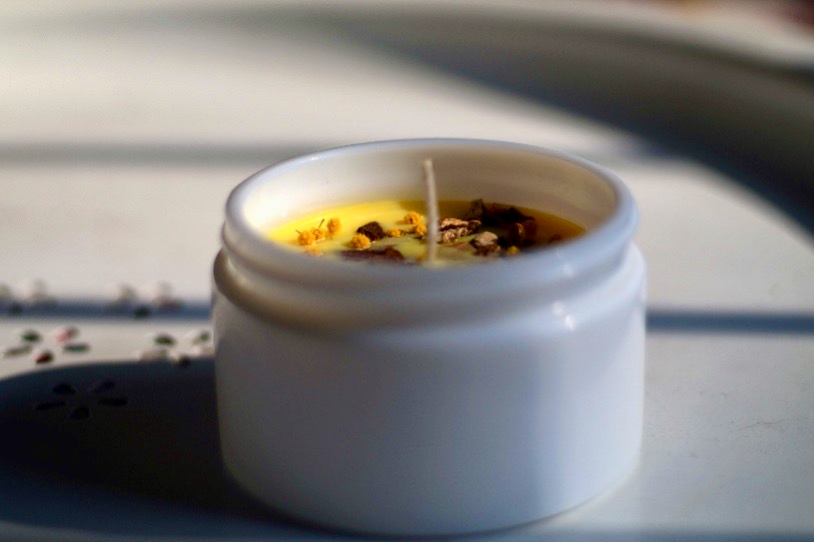
- Dried flowers or berries
- Wooden skewers
- Blotting paper
- Paper Scotch
Before we begin, I would like to remind you that the totally plant-based nature of soy will enhance both the fragrances you will use and the pigments, plus the containers you will use to melt the wax and contain it, once washed, can also be reused for food purposes, which cannot be done with petroleum-based waxes.
First let’s prepare the container, choose a transparent jar or a particular jar, (shabby chic style ones are very fashionable), then choose the wick, you can opt for either a natural cotton one, or one already waxed.
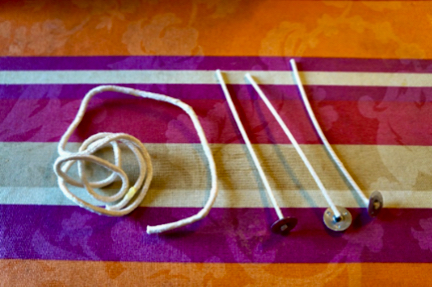
In the case of a natural wick you will have to do the waxing yourself, in the second case you will only have to place the wick in the container.
Waxing the wick and preparing the wax
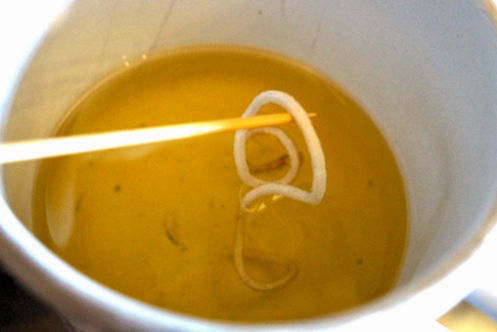
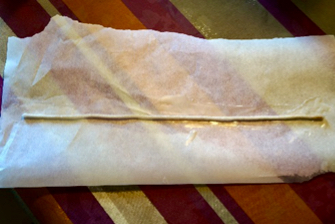
Dip it several times in the melted wax and then let it cool on a piece of baking paper, straight up mind you-it will take a few minutes and it will harden.
It is important to calibrate it against the diameter of the container and cut a piece a little longer than the height of the jar.
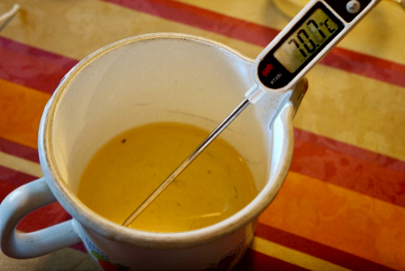
Now we melt the wax in a water bath, not to exceed 60/70 degrees, (if you have a thermometer use it, it will help!).
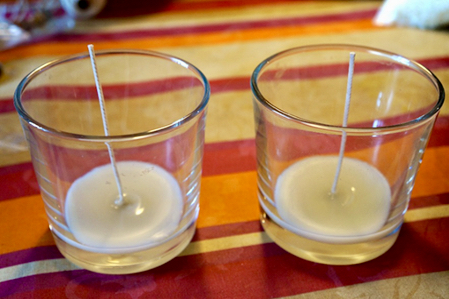
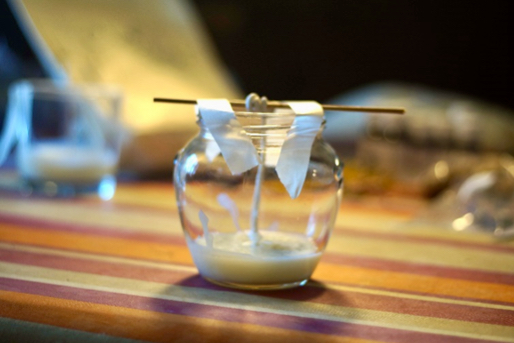
Place the wick in the center of the jar and make an initial somewhat sparse pour just to lock the wick in place: check that it does not move. As soon as the wax has cooled, after about 20 minutes, secure the wick at the top of the jar with a skewer.
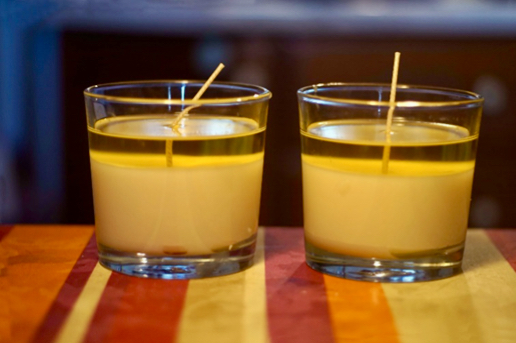
Now you can pour a generous dose of wax into your jar, still leaving some space to fill and if you want you can add a few drops of essence already now, but not all of them, you will need them for the last layer of wax.
After about two hours have passed, the wax should have cooled, but always check anyway-the time may vary depending on the amount of wax used, the size of the jar, and the ambient temperature.
Making more drippings means taking longer, but the result will absolutely benefit, you will also avoid having candles with those unsightly hollows near the wick.
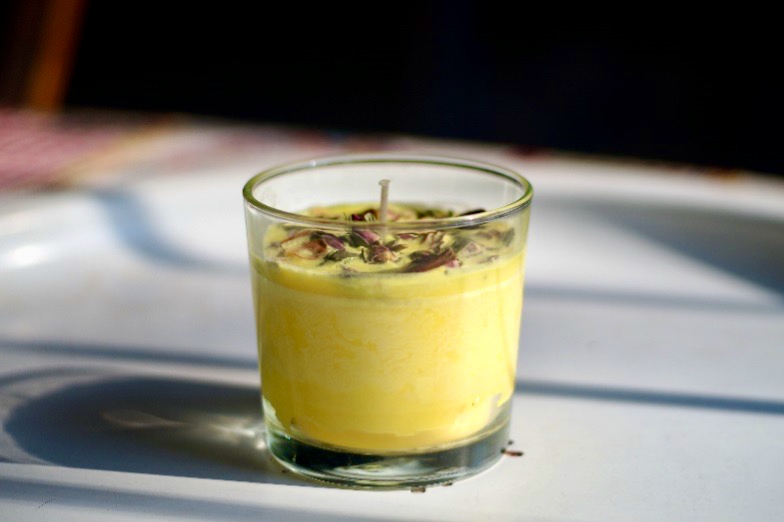
Do you want them colored?
Mind you, if you want to color them with pigments, you have to melt all the wax you will need at once, as the color will be uniform this way, whereas if you were to add more wax later you risk having wax streaks of different intensity.
The pigments should be added a little at a time to be sure to achieve the desired color gradation, remember that as it cools, the color will fade.
At this point we are ready for the last pour, the most fun: pour the wax to the desired point, add the essences, give it a stir with a wooden stick and before it solidifies, add dried flower buds, star anise, berries or whatever your imagination suggests!