Reslin® is the first 100% biodegradable plant-based resin designed to offer an environmentally friendly and safe alternative to traditional epoxy resins. Using a combination of linseed oil and a natural activator made from beet molasses, Reslin® makes it quick and easy to create decorative, functional and artistic objects. And its best quality is that it is free of harmful substances, which means you won’t need safety devices !
The unique features of Reslin®
- Sustainable and biodegradable: 100% natural and free of harmful chemical components.
- Safe and easy to use: can be worked without gloves, perfect even for beginners.
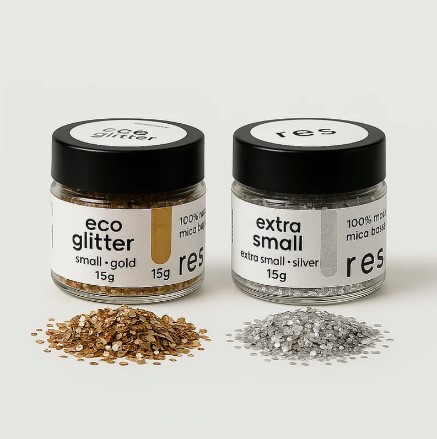
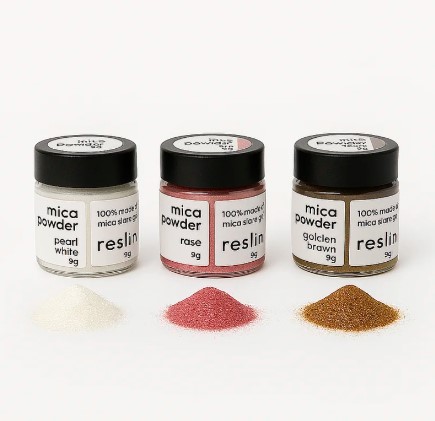
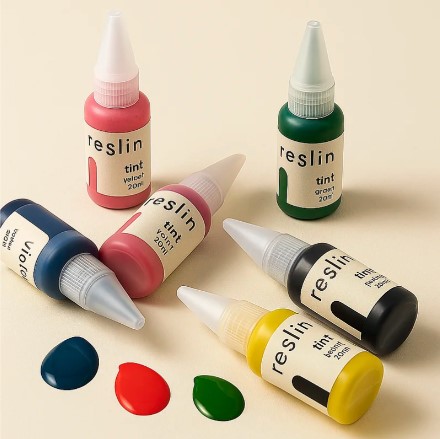
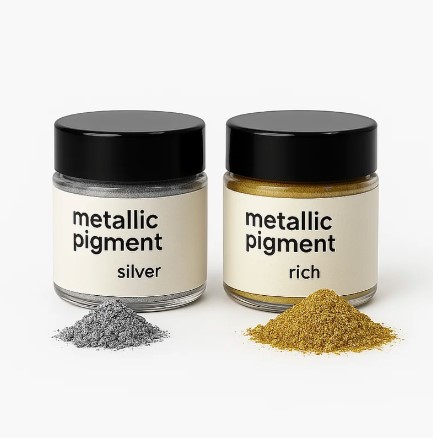
- Multi-purpose: suitable for large and small projects, you can add pigments, metallic powders, eco glitter and even materials in combination such as GlassRoxx, Jesmonite, natural stones, etc…
- Fast drying: your item will be ready in a short time, thanks to a low-temperature cycle in the ventilated oven.
It is also produced entirely in Europe from raw materials of European origin.
The linseed oil comes from Spain, and the activator is a natural sugar beet molasses-based hardener made from European sugar beets.
And its packaging is highly durable: the jars and bottles are made from recycled material and can be reused up to 30 times.
The ideal product for those looking for a durable material with a special eye on caring for the environment.

How to use Reslin®
For optimal results, as with all resins, it is very important to respect the correct mixing ratio between oil and activator. The ratio to be respected is: 1 part Activator and 2 parts Oil.
First of all, however, we must calculate the amount that the mold we are using requires. You will only need to follow these simple directions to be able to find it.
Option A – If you do not add materials within the compound, excluding dyes:
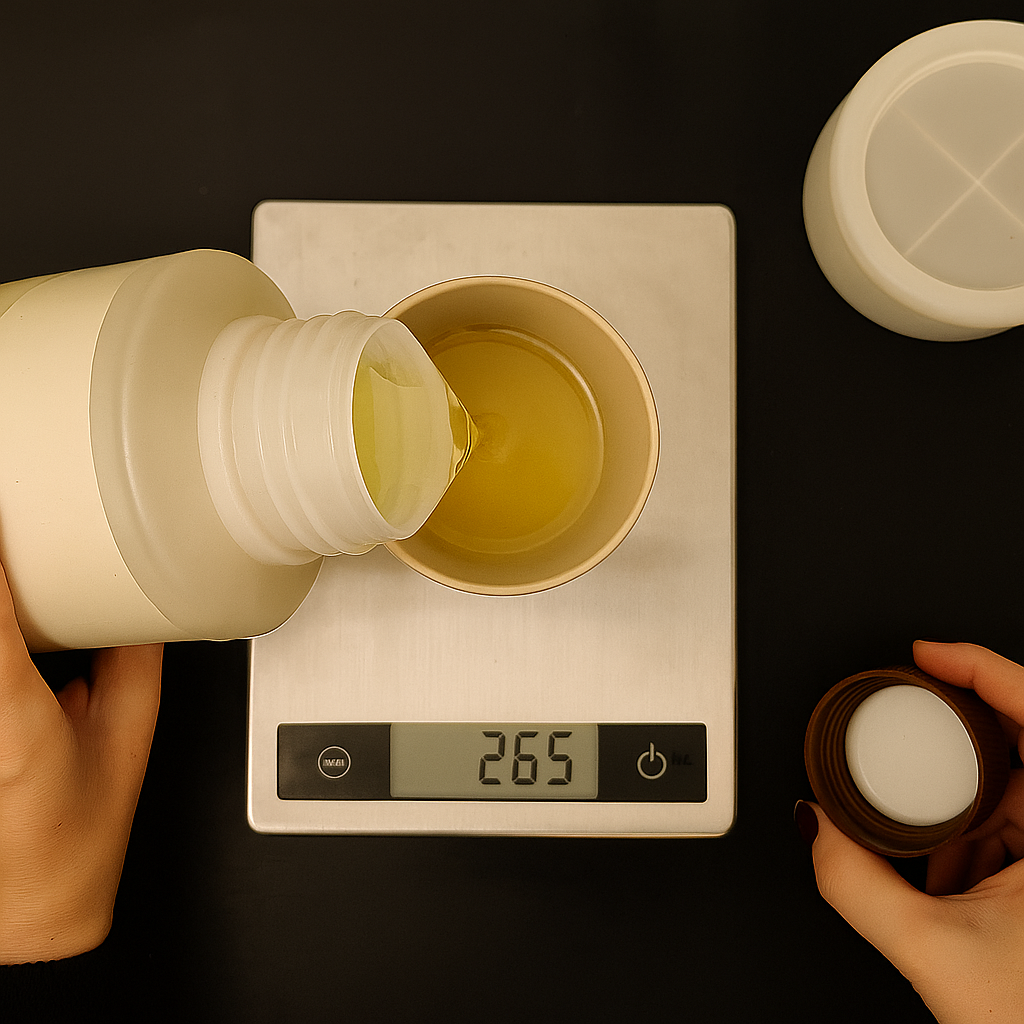
- Place the mold on a scale and measure in grams the amount of water it can hold (e.g.300gr).
- Divide the value into 3 parts, two of which will be the oil and one of which will be the activator (e.g.200gr oil + 100gr activator).
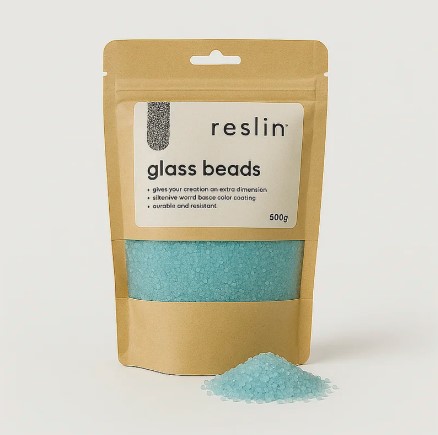
Option B – If you add GlassRoxx or Reslin glass beads:
- Weigh the amount of water the mold can hold and double it.
- 2/3 of the total weight for GlassRoxx and 1/3 for Reslin (of which 1/3 activator and 2/3 oil)
Example: if the mold contains 300gr of water multiplied by two we have a total weight of 600gr.
We will then have to obtain 400gr of GlassRoxx, 66.6gr of activator and 133.3gr of oil.
What you need
- Reslin Set (oil+activator)
- Scales
- Silicone mold
- Pigments or other additives (optional)
- Thermometer
- Spatula or stick
- Gloves (optional)
- Mixing container
- Convection Oven
The process
Step 1. Calculate the quantity
As described above, the first step is to calculate the right proportion between the parts.
Step 2. Prepare the ingredients
Heat the oil and activator in a convection oven at 60°C for 20 minutes.
Heat them directly in their containers by removing the cap.
(CAUTION ! do not microwave and if you use GlassRoxx or Reslin glass beads, heat them together to avoid temperature changes)
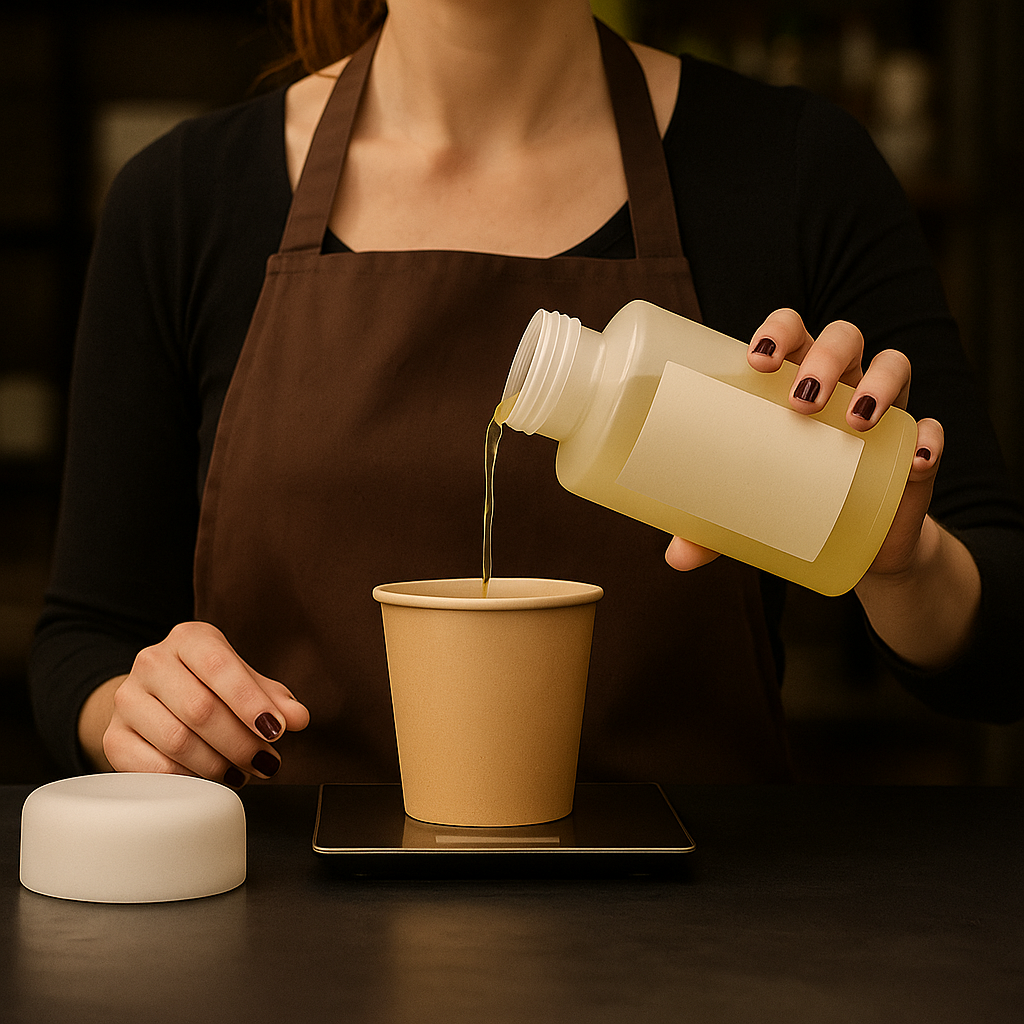
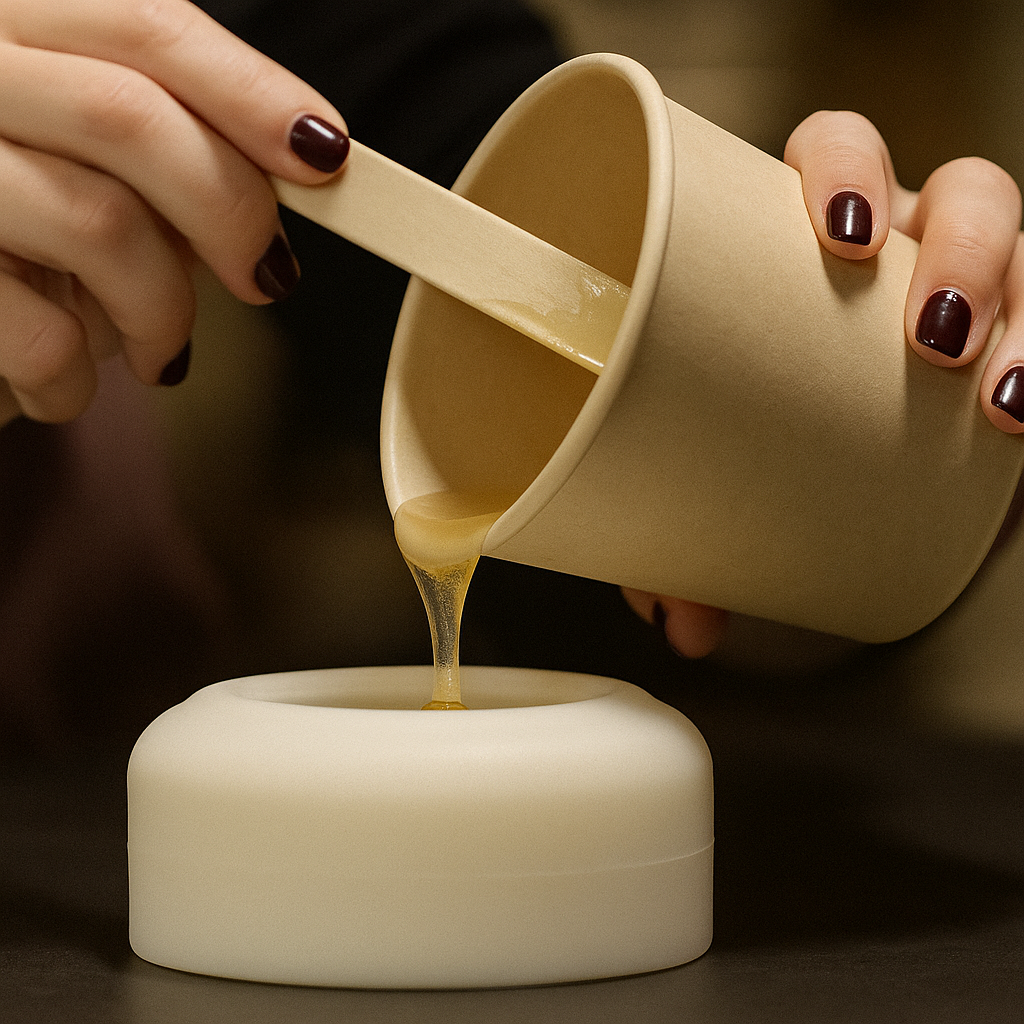
Step 3. Mixing
Check with the thermometer that the ingredients, activator and oil, have reached the right temperature, weigh them in the right proportion, and mix them thoroughly in a separate container until the activator is fully incorporated. We recommend pouring the oil into the activator to facilitate mixing.
At this point, if you wish, you can add components to customize it, avoiding water-based additives.
You have 15 minutes to pour into the mold.
Step 4. Fill the mold
If you are pouring only Reslin without additives or only with dye, you can go ahead and pour directly into the mold.
If, on the other hand, you are adding elements such as GlassRoxx, Reslin glass beads, or other natural elements, mix them into the mixture and when you pour push them with a stick or spatula to distribute them well into the mold.
Let it rest 20 minutes before baking.
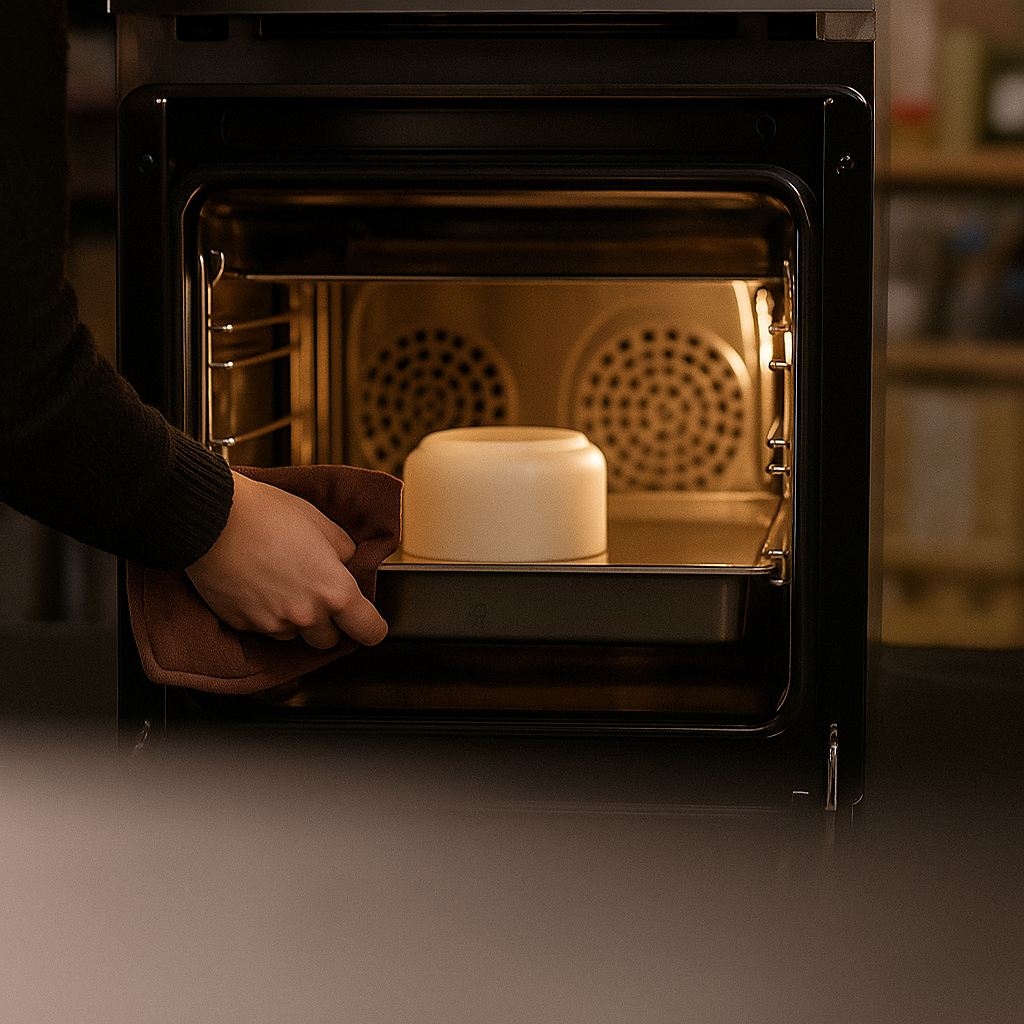
Step 5. Two-step cooking
Put the mold in a convection oven and heat it for 20 minutes at 90°C.You can also use a regular oven, but the ventilated function distributes the heat more effectively.
Raise the temperature to 120°C and bake for another 20 minutes
WARNING ! Do not open the oven between the two stages
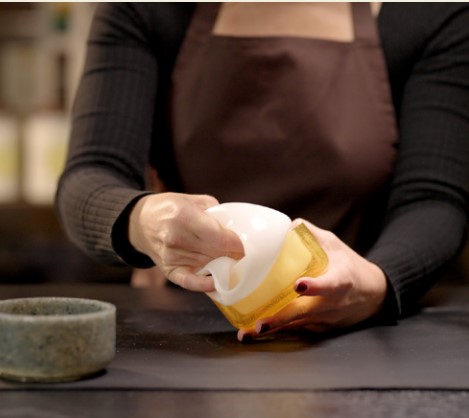
Step 6. Cooling and unmolding
After the second heating phase, the object is cooled down.
We have two options:
- AIR COOLING: Let it cool naturally for several hours.
- QUICK COOLING: soak the mold in cold water, making sure the inside is not still warm before removing it from the mold
In both cases, the resin becomes completely solid and ready to use after 12 hours.
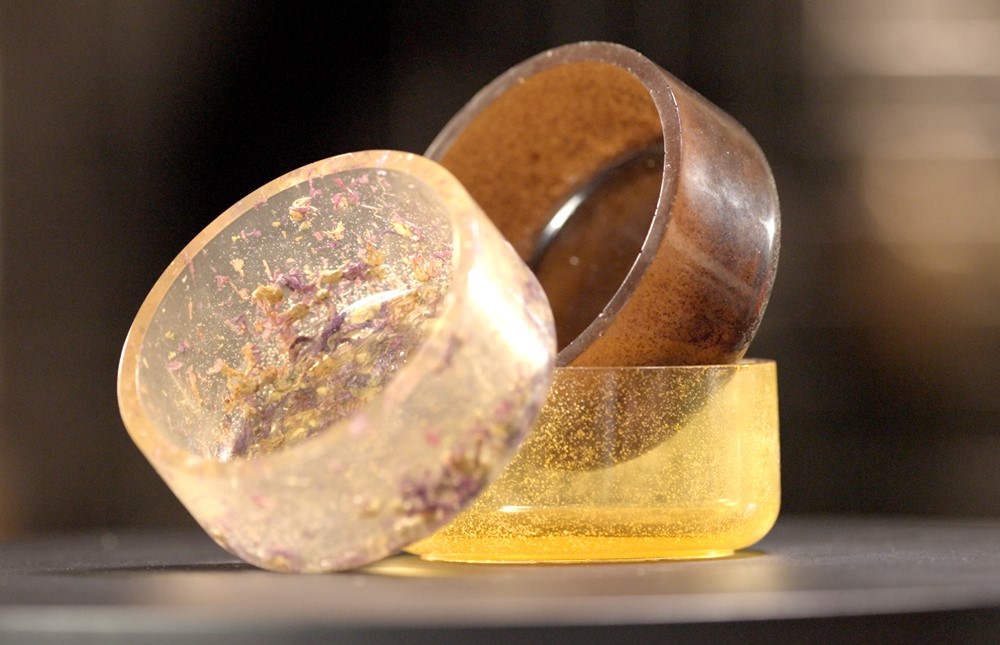
Endless possibilities for customization
Now all you have to do is choose how to customize the objects you want to create. You have many additives available that you can use individually or in combination to create special and unique effects !