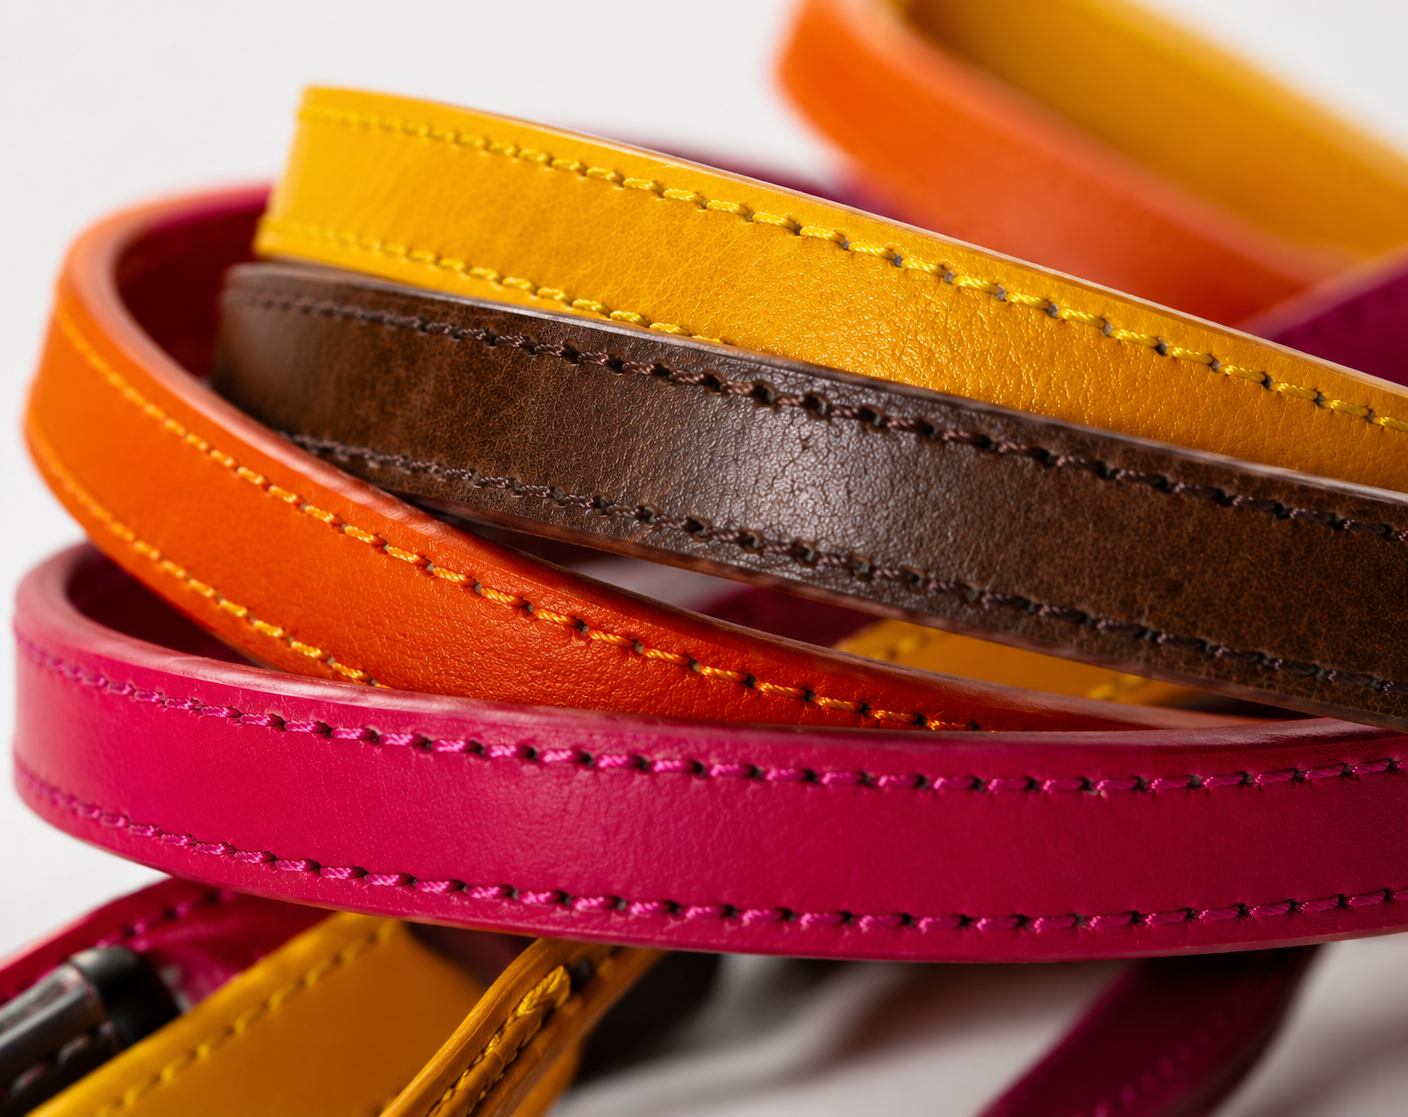
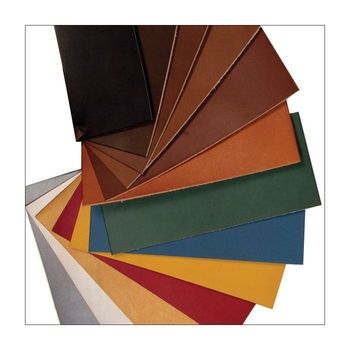
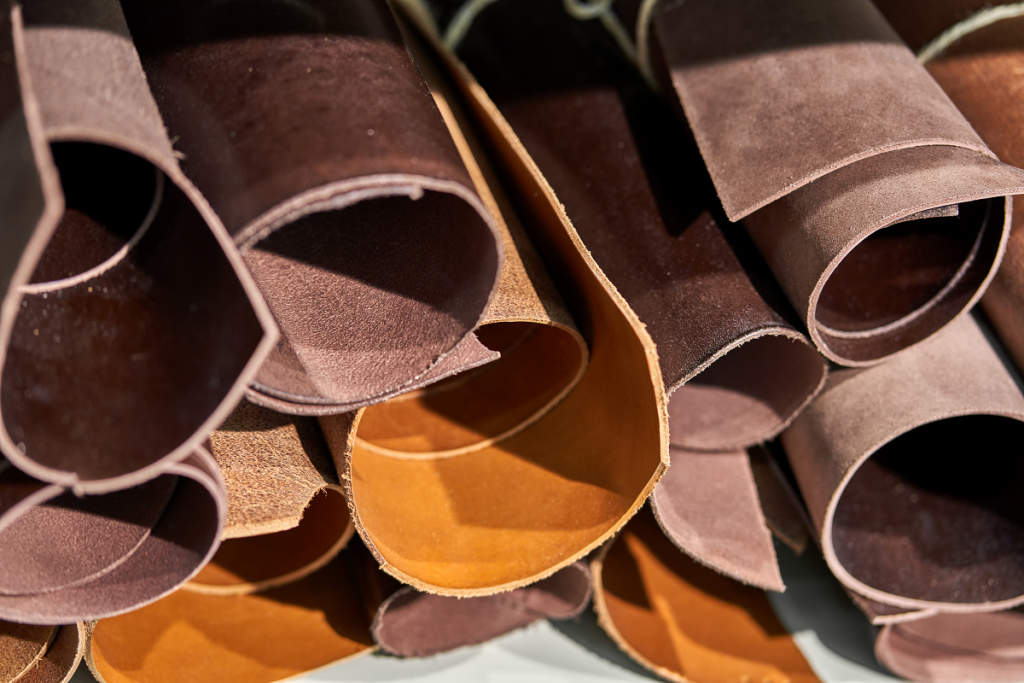
Leather is one of the most beloved and widely used materials for making bags, belts, keychains, and countless other items and accessories. Softness, durability, and a warm, comfortable feel are the qualities that distinguish it, while its colour is linked to the natural shades of hide, and therefore does not offer many varieties. But for that, there is dyeing! The techniques and processes for dyeing leather are simple, but adequate preparation in terms of tools and materials is required: not only for the final result but also for your safety!
In this guide, we will go through all the phases step by step and everything you need to know to dye leather and create beautiful, durable products with impeccable colour!
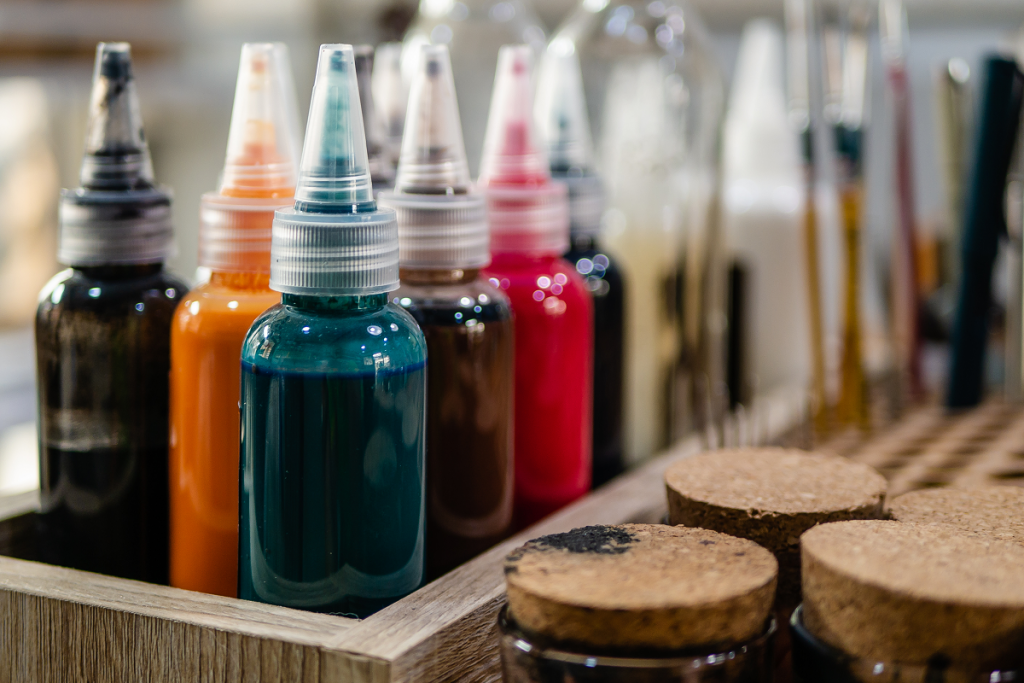
How to choose the type of dye for leather
When we talk about dyeing leather, we refer to the application of a coloured pigment, usually mixed with alcoholic or aqueous bases, that penetrates the fibres of the leather, changing its colour. Why dye leather? To follow your creative flair, to give your product a special colour, or simply because you want to touch up or modify an already dyed item. In any case, the choice of dye type will depend on the effect you want to achieve, your personal style, and your experience. Of course, the size of the hide to be dyed will also influence your choice!
Here are the main types of leather dye.
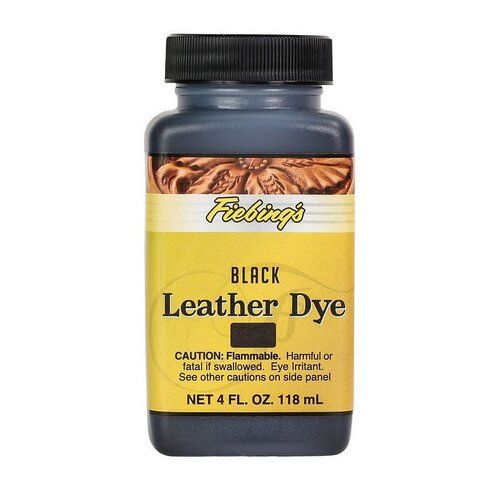
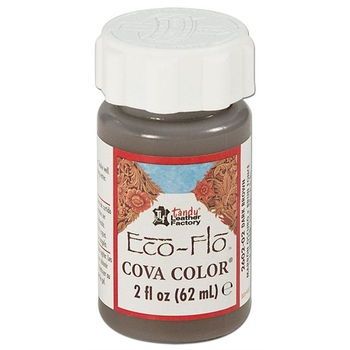
Alcohol-based dyes penetrate deeply into the fibres of the leather, and the colour does not remain only on the surface: the effect is long-lasting, bright, and intense. However, the long drying times tend to dry out the leather as well, especially with alcohol-based dyes. For this reason, a conditioner should always be used in the final treatment, but we will discuss that later!
Water-based dye is obviously more moisturising and nourishing. On the other hand, its ability to penetrate the fibres of the leather is lower, so the effect will be less intense and its duration shorter, especially for items subjected to abrasion, such as a belt or a bag.
Paint is quick and easy to apply and gives leather a bright colour and good protection. Since it only covers the surface, however, it does not allow the natural grain of the hide to show through and creates a more "artificial" effect. On the other hand, this might be exactly what you are looking for!
Finally, there is an absolutely natural way to change the colour of natural leather, which, like all organic materials, is influenced by weather conditions: it is sun exposure, which gives the hide darker and warmer shades. Naturally, this is a process that takes time, so if you want to quickly give leather a worn effect, we recommend experimenting with antiqued dye or shoe polish.
Other practical tips on dyeing leather
Dyeing on dry or wet leather?
This choice has a lot to do with your experience and the effect you want to achieve. Dyeing on dry leather is more suitable for beginners, as it allows for greater control over the uniformity of application. Wet leather, in fact, takes on a much darker colour compared to the final effect once drying is complete, and it is more difficult to notice any irregularities in the application of the colour.
If you intend to dye the leather a very dark colour, another tip we want to give you is to first go through an intermediate colour, allowing the leather to absorb the dye well and create a new "base" on which to apply the final colour: for example, blue to reach black or light brown to reach dark red, and so on. This involves two different phases of dyeing and drying, but the result will be more intense and long-lasting!
Tools for dyeing leather and colour application techniques
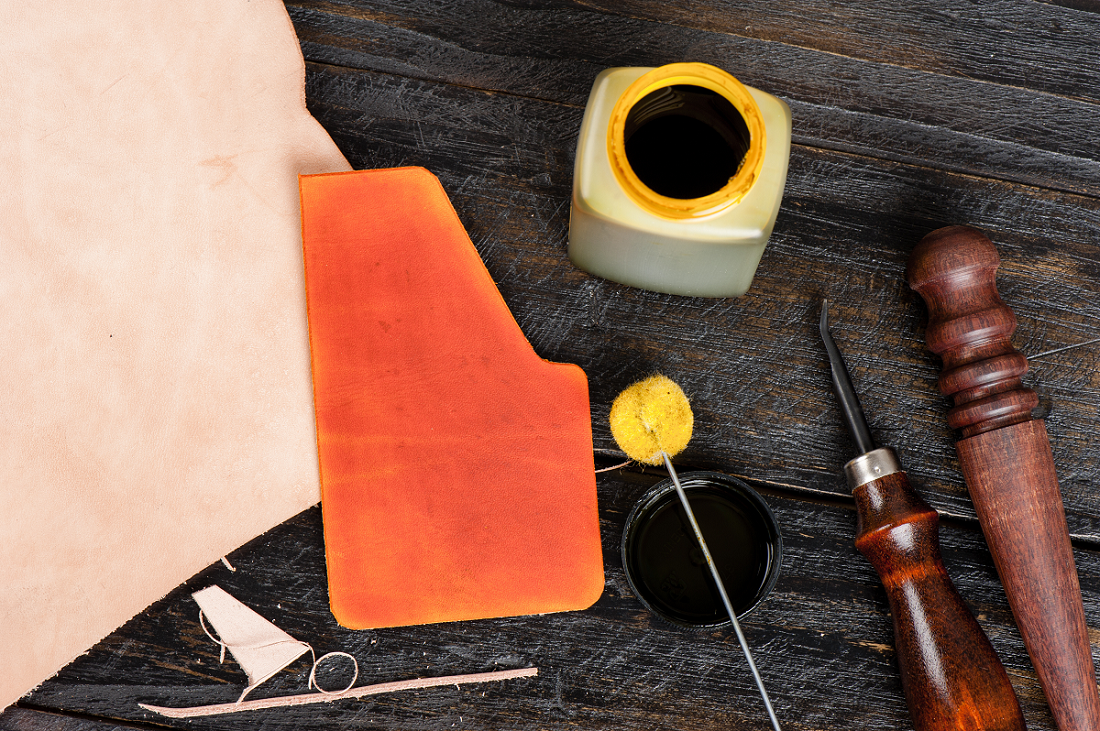
To apply dye to leather, there are indeed many methods and tools, which we will show you right away. In general, from a technical standpoint, the best approach is to apply the dye in successive layers: starting with a light and even first pass, allowing it to dry, and then proceeding with the next, and so on. This allows you to control the regularity of the application and create colour effects like chiaroscuro, increasing the intensity of the dye in specific areas.
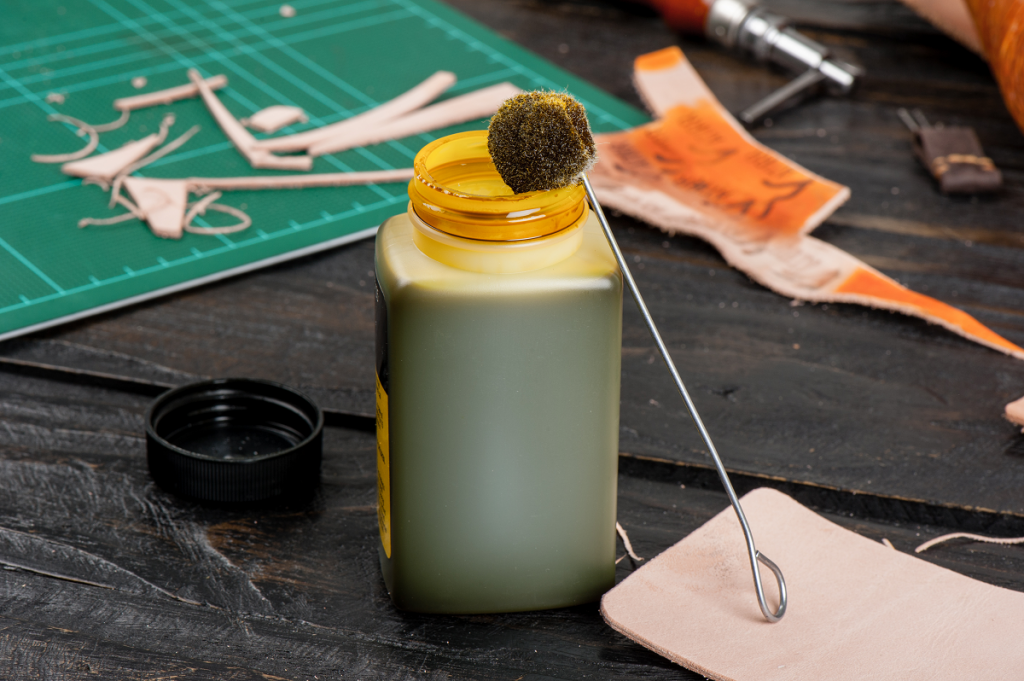
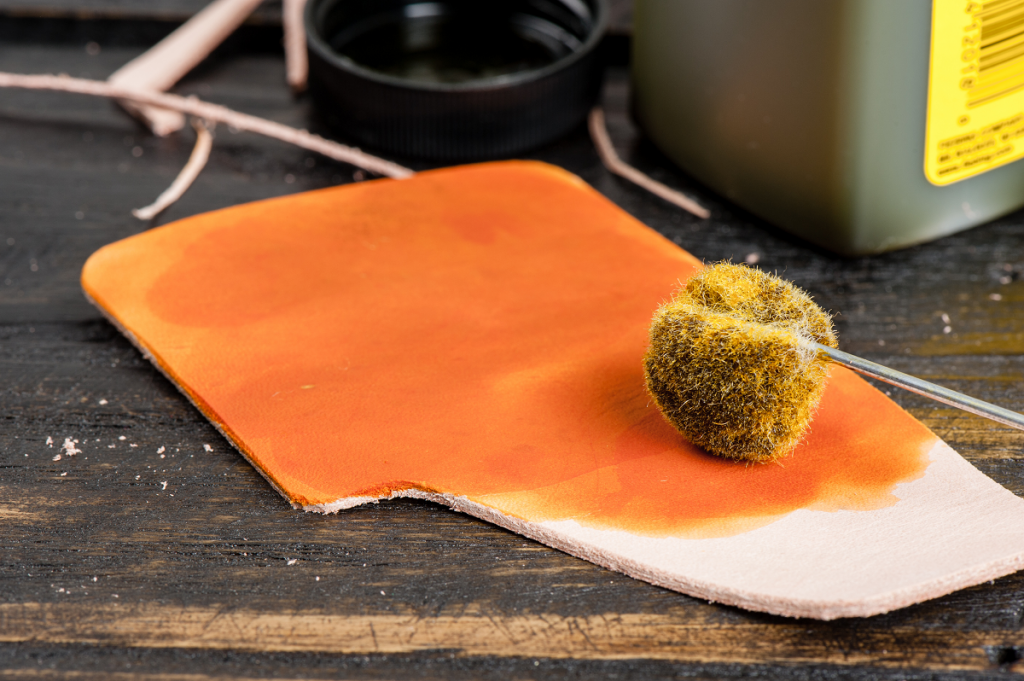
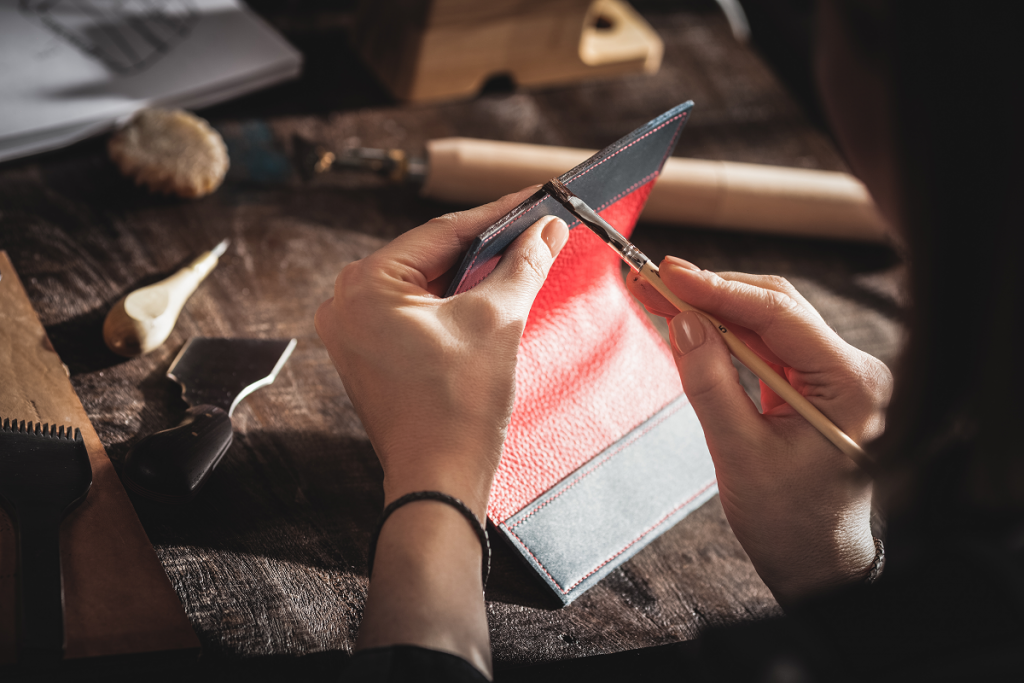
For small items and surfaces, the ideal tool is a high-density sponge, or a wool dauber, which consists of a small ball of wool attached to a metal handle. Both should be soaked in the dye and then rubbed in a circular motion on the leather to be coloured. This technique will give you maximum control over the amount of colour and the regularity of the application. A cloth also works excellently as an applicator, in the same manner. Since the application is less precise, using fabric is particularly useful and quick for larger surfaces.
Dipping allows for an even and immediate dyeing across the entire surface. On the other hand, it requires a larger amount of dye, as you will need to fill a suitable container to fully immerse the leather. Therefore, it is useful to assess the convenience and appropriateness of using this technique, depending on the size of what you need to dye or the number of pieces you are working on.
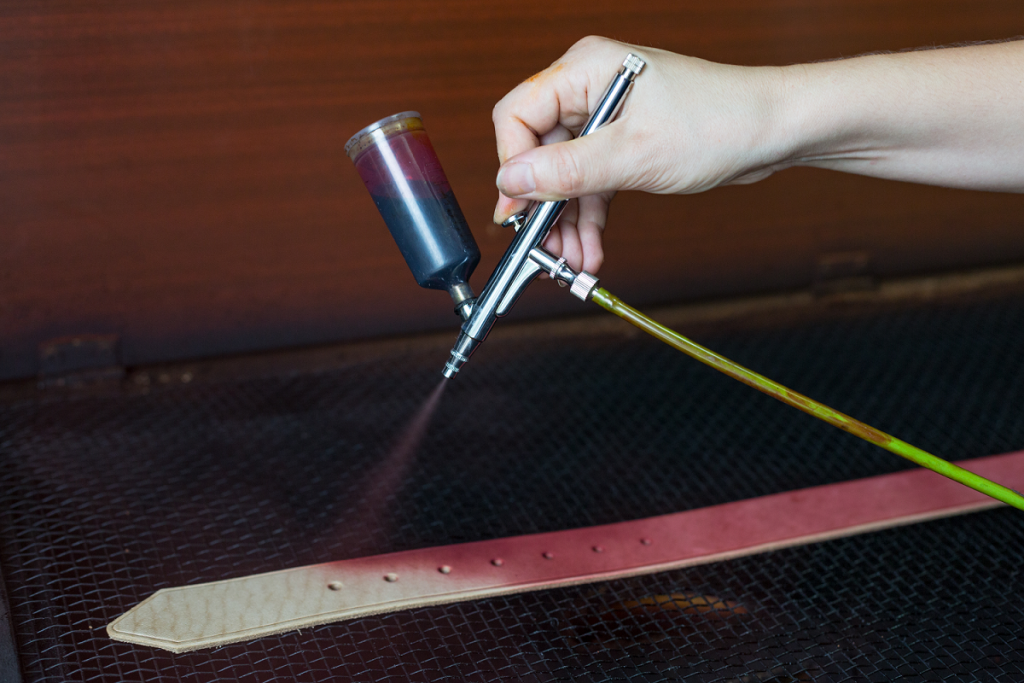
The airbrush, finally, is a very practical tool, especially for very large surfaces. It allows for great control and freedom in application, as well as extreme precision, but naturally requires the use of professional tools and greater experience, as well as a sufficiently large workspace.
Prepare your workspace for dyeing leather
The essential rules here are two: ventilation and temperature. A suitably ventilated workspace – even better if outdoors – is essential for your safety. Many of the chemical compounds we use to treat leather, dye, and finish the work can be toxic, so you must avoid both direct inhalation and prolonged exposure to fumes. If you do not have a sufficiently airy room, we recommend installing a fan for air extraction and circulation, especially if dyeing is something you intend to practice very often and in long sessions.
Equally important is that the place where you work is cool and as dry as possible. Excessive heat can dry out the leather along with the dye, and too much humidity prolongs drying times. Prepare your work surface by protecting it with a plastic sheet and ensure it is smooth and stable. Also, use a face mask and especially rubber gloves to protect your own skin!
At this point, we are ready to start the actual dyeing, beginning with the preparation of the leather.
Preparation, dyeing, and finishing of leather: the work phases
Cleaning is the first step, as you need to ensure that the leather is free from dirt, previous dyes, and other residues that may affect the process. We recommend tackling this step using the product DeGlazer. In the case of natural leather, this step is not necessary. Once cleaning is complete, you can begin dyeing with the tool and technique of your choice, allowing the colour to rest and dry after each pass, so you always start from a dry surface.
If the leather appears too dry after dyeing, you can apply a coat of neatsfoot oil, allowing it to dry for several hours before applying the finisher.
At the end of the dyeing process, it is time to apply the finisher. The purpose is indeed to fix the colour and prevent it from deteriorating, but also to avoid the colour "bleeding" onto clothing or skin. The most classic finishers are available in glossy and matte versions. They are applied with a sponge using circular motions, and once dry, they should be buffed with a cloth.
Products based on resolene, a synthetic compound, create a resistant protection even against water and make the leather flexible and soft, in addition to giving the colour a particularly glossy finish. The wax cream provides nourishment and protection to the leather. It is usually applied by hand, using a cloth to distribute it evenly by rubbing regularly, and then removing any excess grease.
As we have seen, the many variables in the leather dyeing process, including techniques, types of products, and application methods, will allow you to choose and implement what is most suitable for you and your artistic project. The possibilities are endless, and as we like to repeat: the limit is your imagination!
Happy crafting!