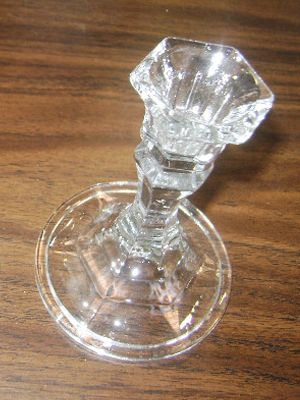
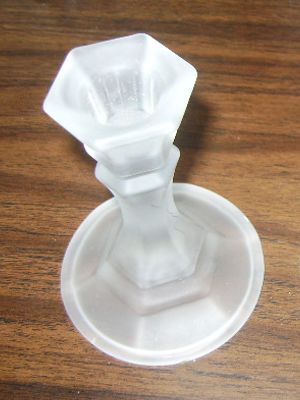
One of the techniques for permanently and safely decorating glass surfaces is sandblasting – or grinding – glass, which is done using etching cream, also known as grinding cream, and often with the help of vinyl stencils.
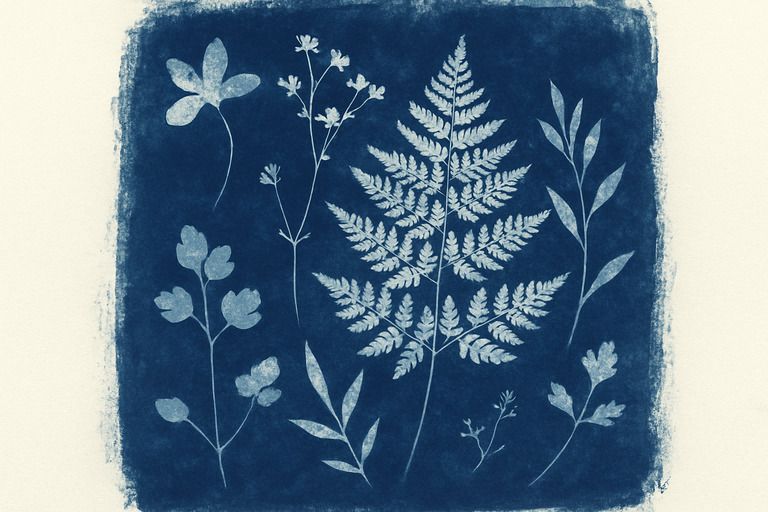
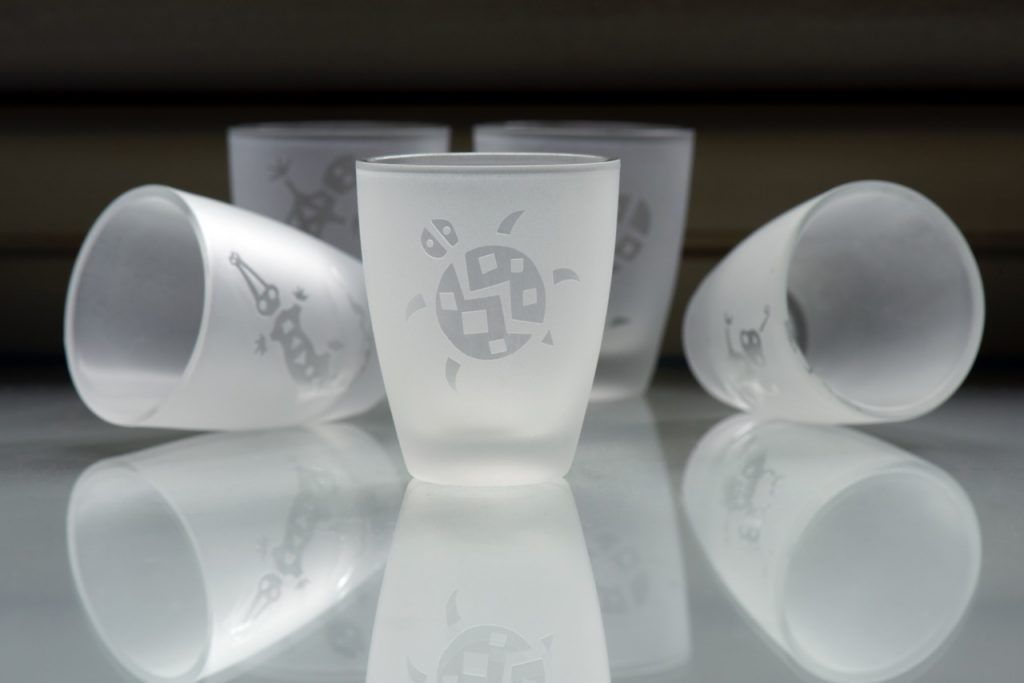
The compound creates a white opaque layer, resulting in a satin effect on glass surfaces (but not only, as we will see later). When used with stencils, it allows you to create patterns, decorations, or writings with an effect similar to engravings.
On which surfaces to use the cream
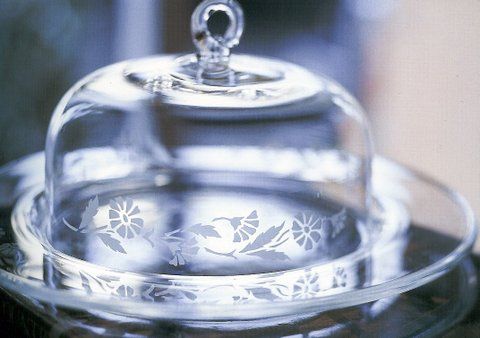
With etching cream, you can decorate mirrors, windows, and display cases, as well as household items and kitchen articles, such as bowls, glasses, and bottles. The sandblasting done is, in fact, permanent, non-toxic, and resistant to dishwashers and microwaves.
In addition to glass surfaces, some creams can also be used on glazed ceramics. If in doubt, we recommend conducting a small test by applying a small amount of etching cream on a hidden part of the object (or on an identical one) and waiting a few minutes before checking its effectiveness.
Stencils for glass sandblasting
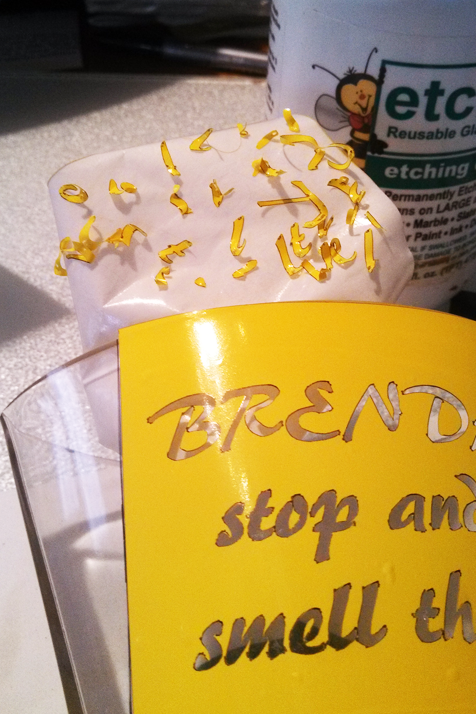
As mentioned above, to decorate glass with etching cream, you need to use stencils. Unless you want to satin the entire surface, the process involves applying a stencil that will create the decorative pattern once removed.
We recommend using vinyl stencils: you can purchase them with ready-made patterns and decorations, or you can customise your stencils using the cutting machine Cricut.
The best etching creams
Armour Etch and Etchall are certainly the most loved and used for glass sandblasting.
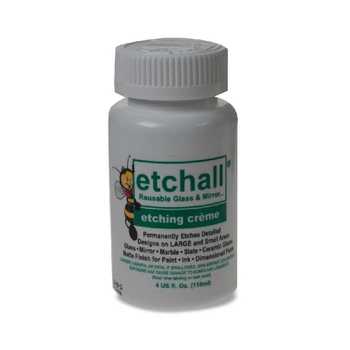
The Etchall cream can be used on glass and mirrors but also on ceramics, marble, and stone. Once the satin finish is achieved, which is permanent, you can further decorate the surface with acrylic colours, ink, or stamps, or glue fabrics.
The cream is reusable, meaning that the excess cream used for etching can be recovered and put back in the container. Easy to use, your application time is usually 15 minutes – depending on the type and size of the surface to be treated.
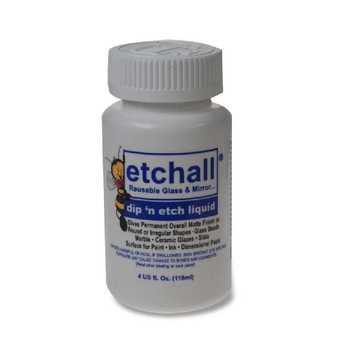
Etchall also produces an etching liquid that allows you to create a satin effect through immersion. It is particularly suitable for small objects that you want to etch entirely, such as beads, figurines, or similar. Like the etching cream, Dip’n Etch can be used on any type of glass (except Pyrex), mirrors, ceramics, porcelain, marble, or slate.
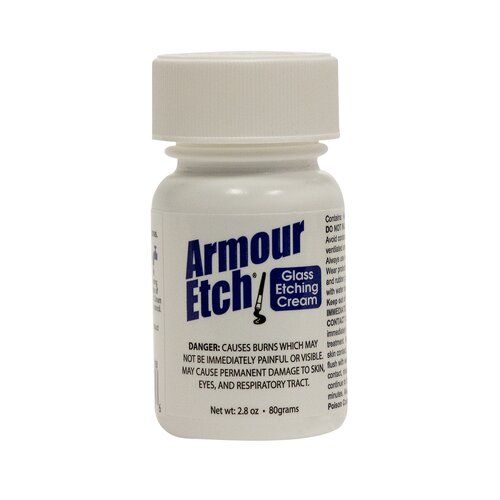
Ideal for use with stencils, Armour Etch is one of the most famous and widely used creams by artists and craftsmen around the world. Unlike the Etchall cream, this one is not reusable. The manufacturer also advises against using it on surfaces like Pyrex and plastic.
All grinding creams are available on our site along with a wide range of vinyls ideal for starting your first decorative experiments on glass.
Glass sandblasting with etching cream: how to do it
First, prepare your workspace with the necessary equipment.
Etching cream, as the name suggests, is acidic and therefore harmful on contact: make sure to always use it with gloves and protective eyewear.
You will also need:
- 90% or higher ethyl alcohol and a microfiber cloth to clean the glass surface
- masking tape to protect areas not affected by the cream
- scraper to adhere the stencil to the surface without wrinkles or bubbles
- brush with bristles suitable for the surface to be treated
1. Preparation
The glass surface to be treated must be perfectly clean. It is important that there are no traces of fingerprints, dust, or other residues; otherwise, the cream will not have the desired effect. Clean the glass only with denatured alcohol and a microfiber cloth. Do not use other types of cleaning products, even those specific for glass, as they may leave other chemical agents on the surface.
Take the container of etching cream and shake it well before use. If it is new or has not been used for a long time, it may also be helpful to mix it using a spoon or stick. The temperature of the cream is also important: try to keep both the cream and the object to be treated at room temperature, or at least not below 21 degrees.
2. Stencil application
If your work involves using stencils, this is the time for application! Apply it carefully, always pressing from the inside out. Use the scraper to eliminate wrinkles or bubbles.
If the surface is curved (as in the case of a glass or bottle), you can make some small cuts along the outer edges of the stencil to make application easier. Once the protective film of the stencil is removed, run your gloved hands along the surfaces and inner edges to ensure they adhere perfectly.
At this point, use masking tape to protect the surrounding area and prevent any splashes of cream from affecting the rest of the glass.
3. Applying the etching cream
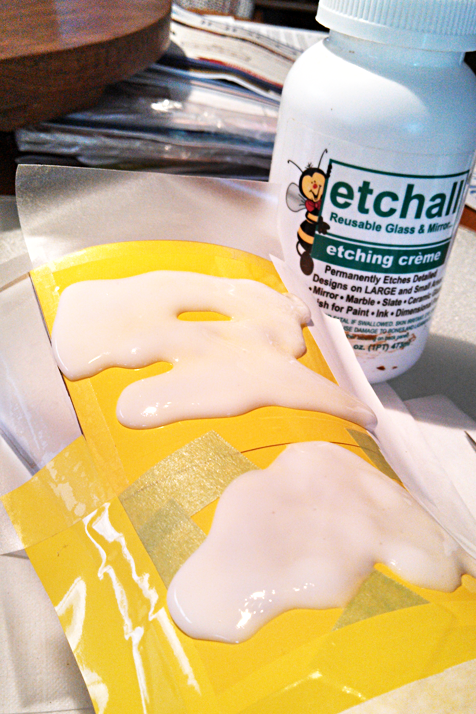
The cream should be applied in a thick and abundant layer. If you are using a reusable cream, you can remove the excess later and put it back in the jar.
If you are using Armour Etch etching cream, we recommend applying it with a brush, using regular strokes in vertical, horizontal, and diagonal directions. The Etchall cream, on the other hand, does not need to be spread: just ensure that it is evenly applied over the entire surface to be treated.
The etching cream should be left on for at least 5 minutes. Each product has specific indications regarding the waiting time before rinsing and removing the cream, but in general, our advice is to leave the cream in action for a minimum of 5 minutes and a maximum of 20.
4. Removal and cleaning
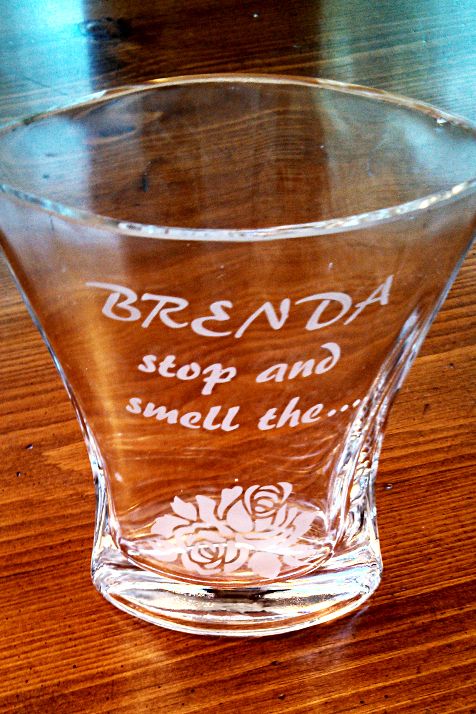
Once the waiting time has elapsed, run the object under cold running water at moderate pressure, and using the brush, remove the cream. Be careful to rinse thoroughly and especially to avoid splashes on other untreated surfaces, as they may leave unwanted marks.
To remove the stencil, you may need the help of a scraper: make sure to remove every part of the vinyl and then clean the surface again with alcohol and a cloth. At this point, all that’s left is to admire the result!
Glass immersion sandblasting with Dip 'n Etch: how to do it
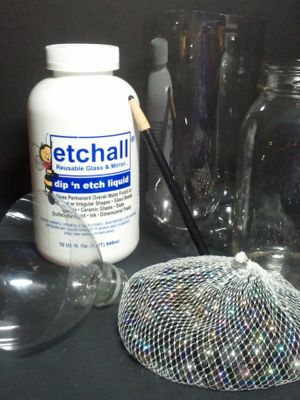
To conclude this overview of techniques and products for glass sandblasting, let’s quickly see how to use the Dip ‘n Etch liquid from Etchall. This product, as we have seen, is particularly useful for working with small objects, figurines, jewellery, and accessories that can be easily immersed in a container.
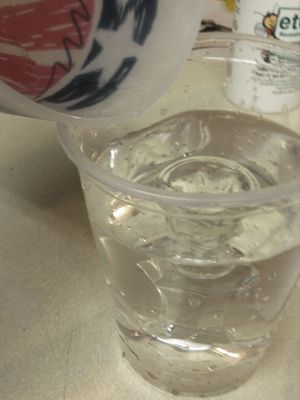
Take a plastic container of the right size and place the object inside; pour water into the container until it completely covers the object, or at least up to the level where you want to apply the sandblasting. If the object is hollow (such as a small plate or bowl), weigh it down with marbles or pebbles so that it does not float.
Remove the object and, with a marker, mark the water level before emptying the container. Carefully dry both the container and the object. At this point, you can pour the Dip 'n Etch liquid until it reaches the marked point.
If the project does not require complete sandblasting, apply any stencils or masking tape to cover the parts you do not want to be sandblasted; immerse the object in the liquid and leave it for about 15 minutes. When finished, rinse it under running water and then wash it with soap and water.
Prepare the product and accessories
Measure the necessary liquid level
Clean the object thoroughly

Immerse and leave in place
Rinse and dry
Like the Etchall etching cream, the Dip 'n Etch liquid is also reusable, so you can simply pour it back into the container, ready for your next project!