This tutorial is suitable for anyone who wants to approach the world of jewellery making, to learn about the basic tools and main techniques for creating handmade jewellery. No specific skills are required, just a pinch of enthusiasm and a willingness to get involved!
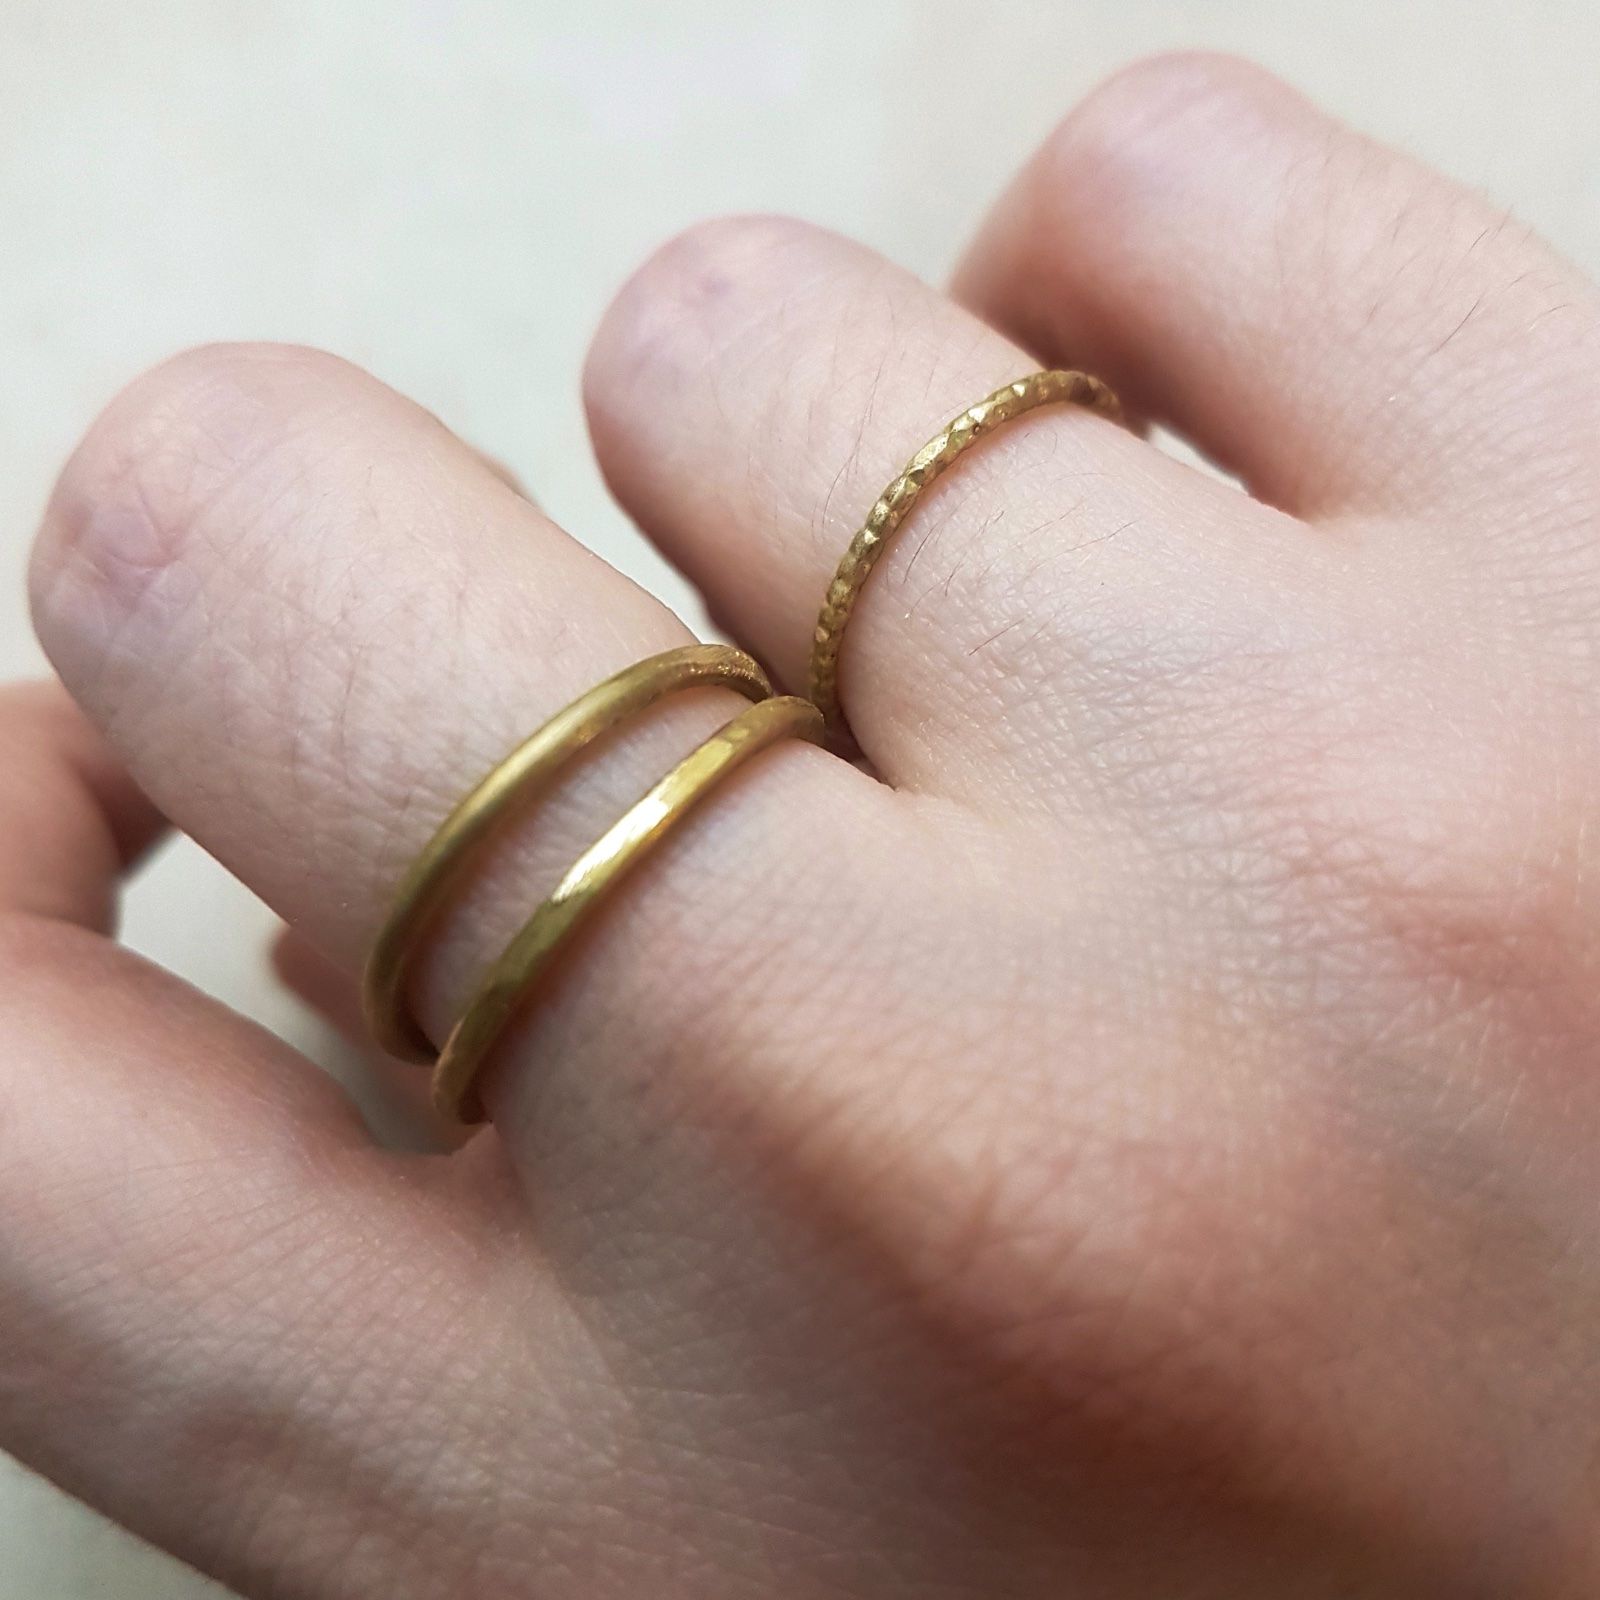
Through this tutorial, you will be able to create a closed ring, like a band, perfectly soldered, and you can have fun making many small rings for yourself or to give to a special person.
The same procedure can be used to create rings in the material of your choice (brass, copper, silver, bronze, etc.), varying the thickness and size of the wires.

PRECAUTIONS
For the creation of soldered jewellery using silver solder, it is necessary to use a micro torch. Always remember to wear protective goggles and a mask to avoid toxic fumes, tie back long hair if you have it, and wear clothing made of natural fibres or a denim/cotton apron, thus avoiding synthetic fibres. Never work barefoot or in flip-flops and protect your feet with sturdy or closed shoes (sneakers or closed shoes). These small precautions help prevent any falling molten metal from burning clothes and/or skin.
WHAT YOU NEED
- Jewellery pliers set
- Ring shaping pliers
- Half-round file
- Mandrel
- Nylon hammer
- Flux
- Silver solder + special cutting pliers
- Micro torch
- Ultra-fine 3M abrasive sponge
- Fibre ceramic board
- Steel locking pliers
- Protective goggles, mask
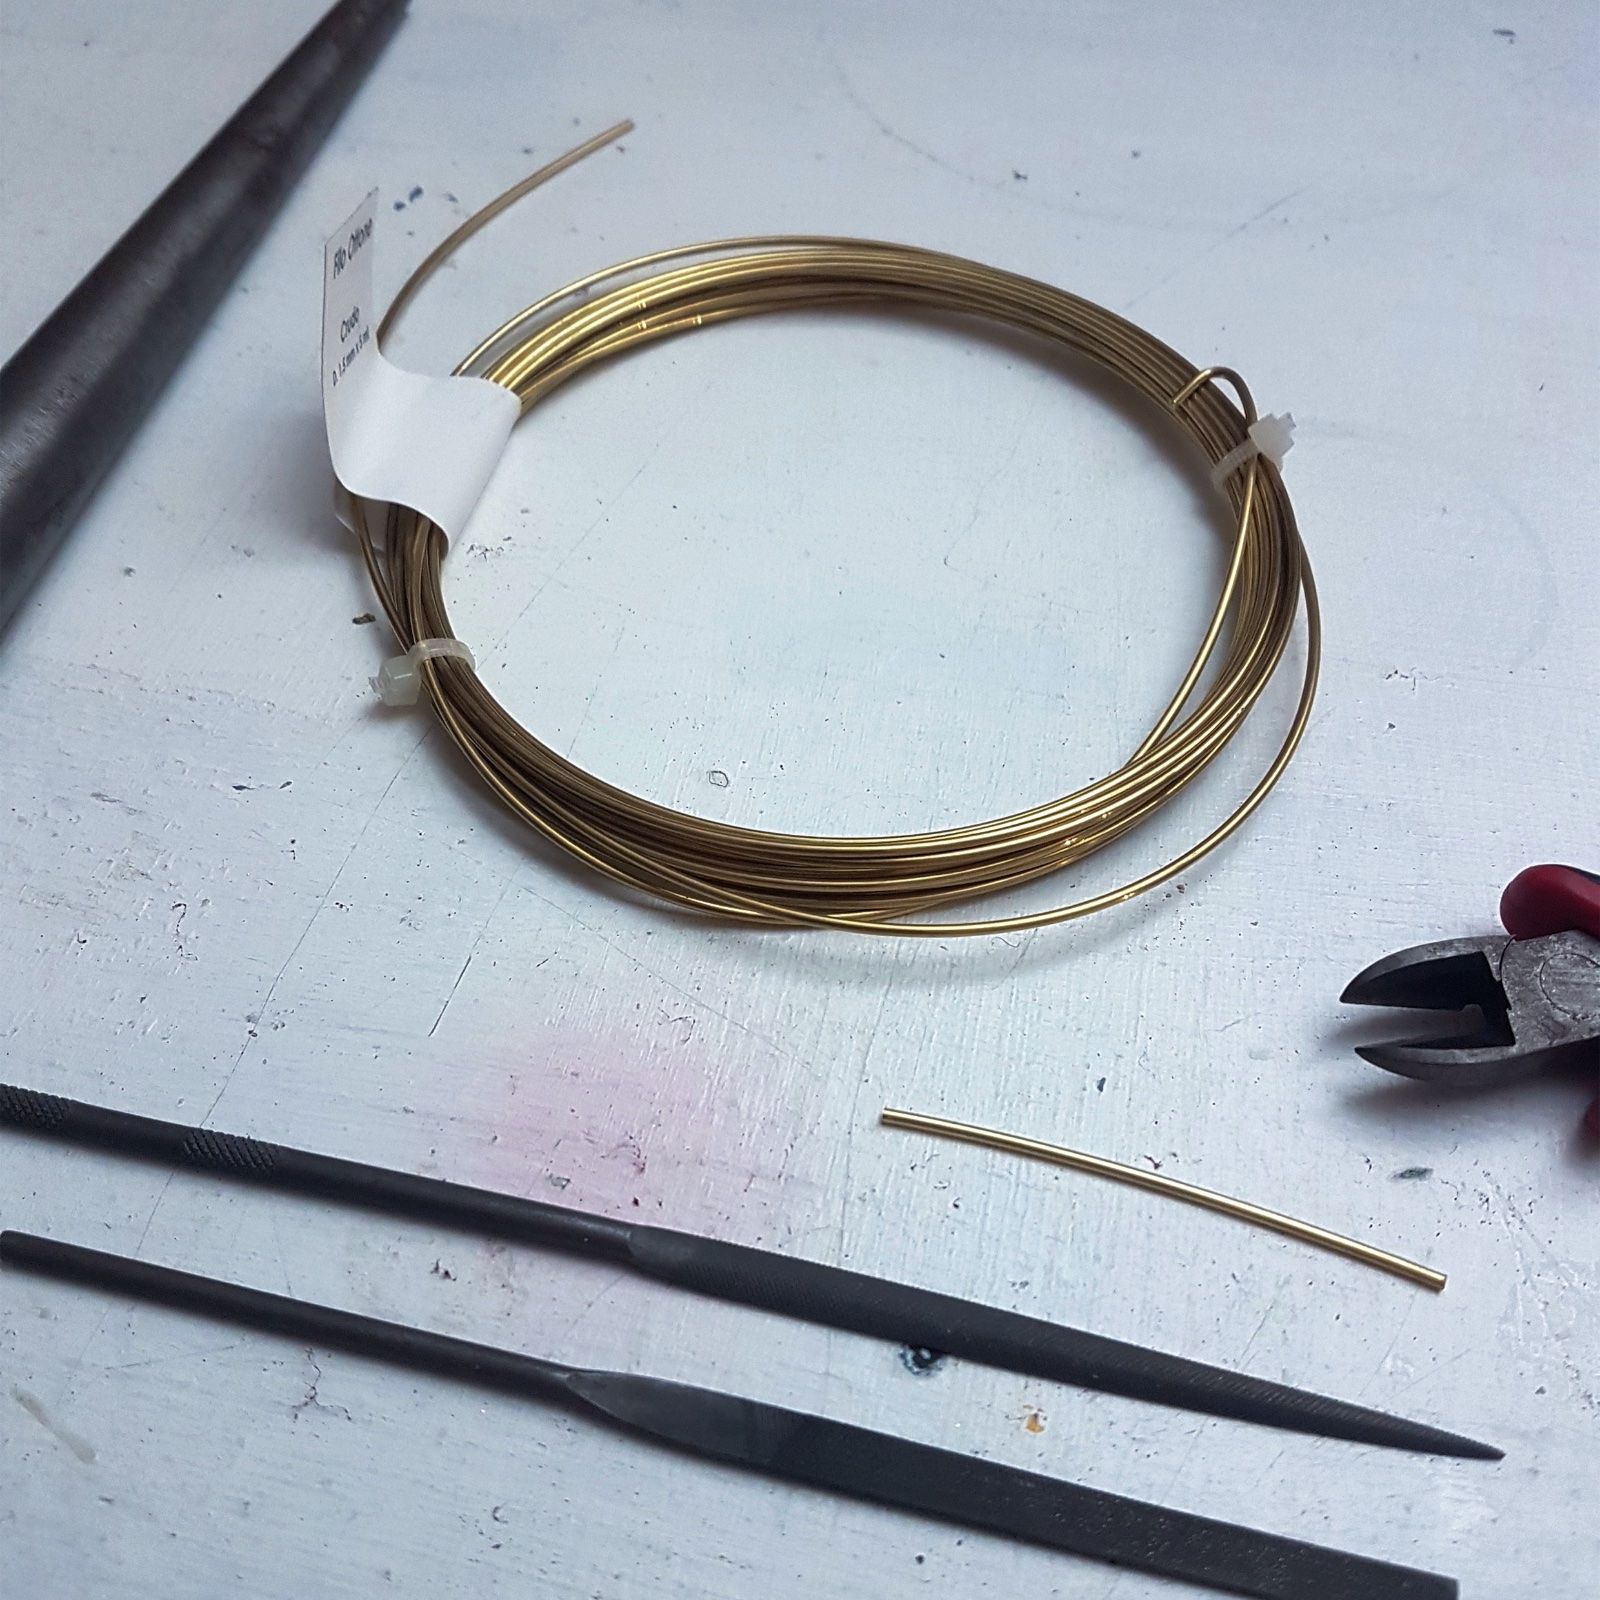
Step 1
Cut the metal wire with the cutting pliers according to the size of your finger (it will be sufficient to measure the circumference of your finger with a tape measure or a piece of paper). File the ends of the wire to make them perfectly smooth and straight.
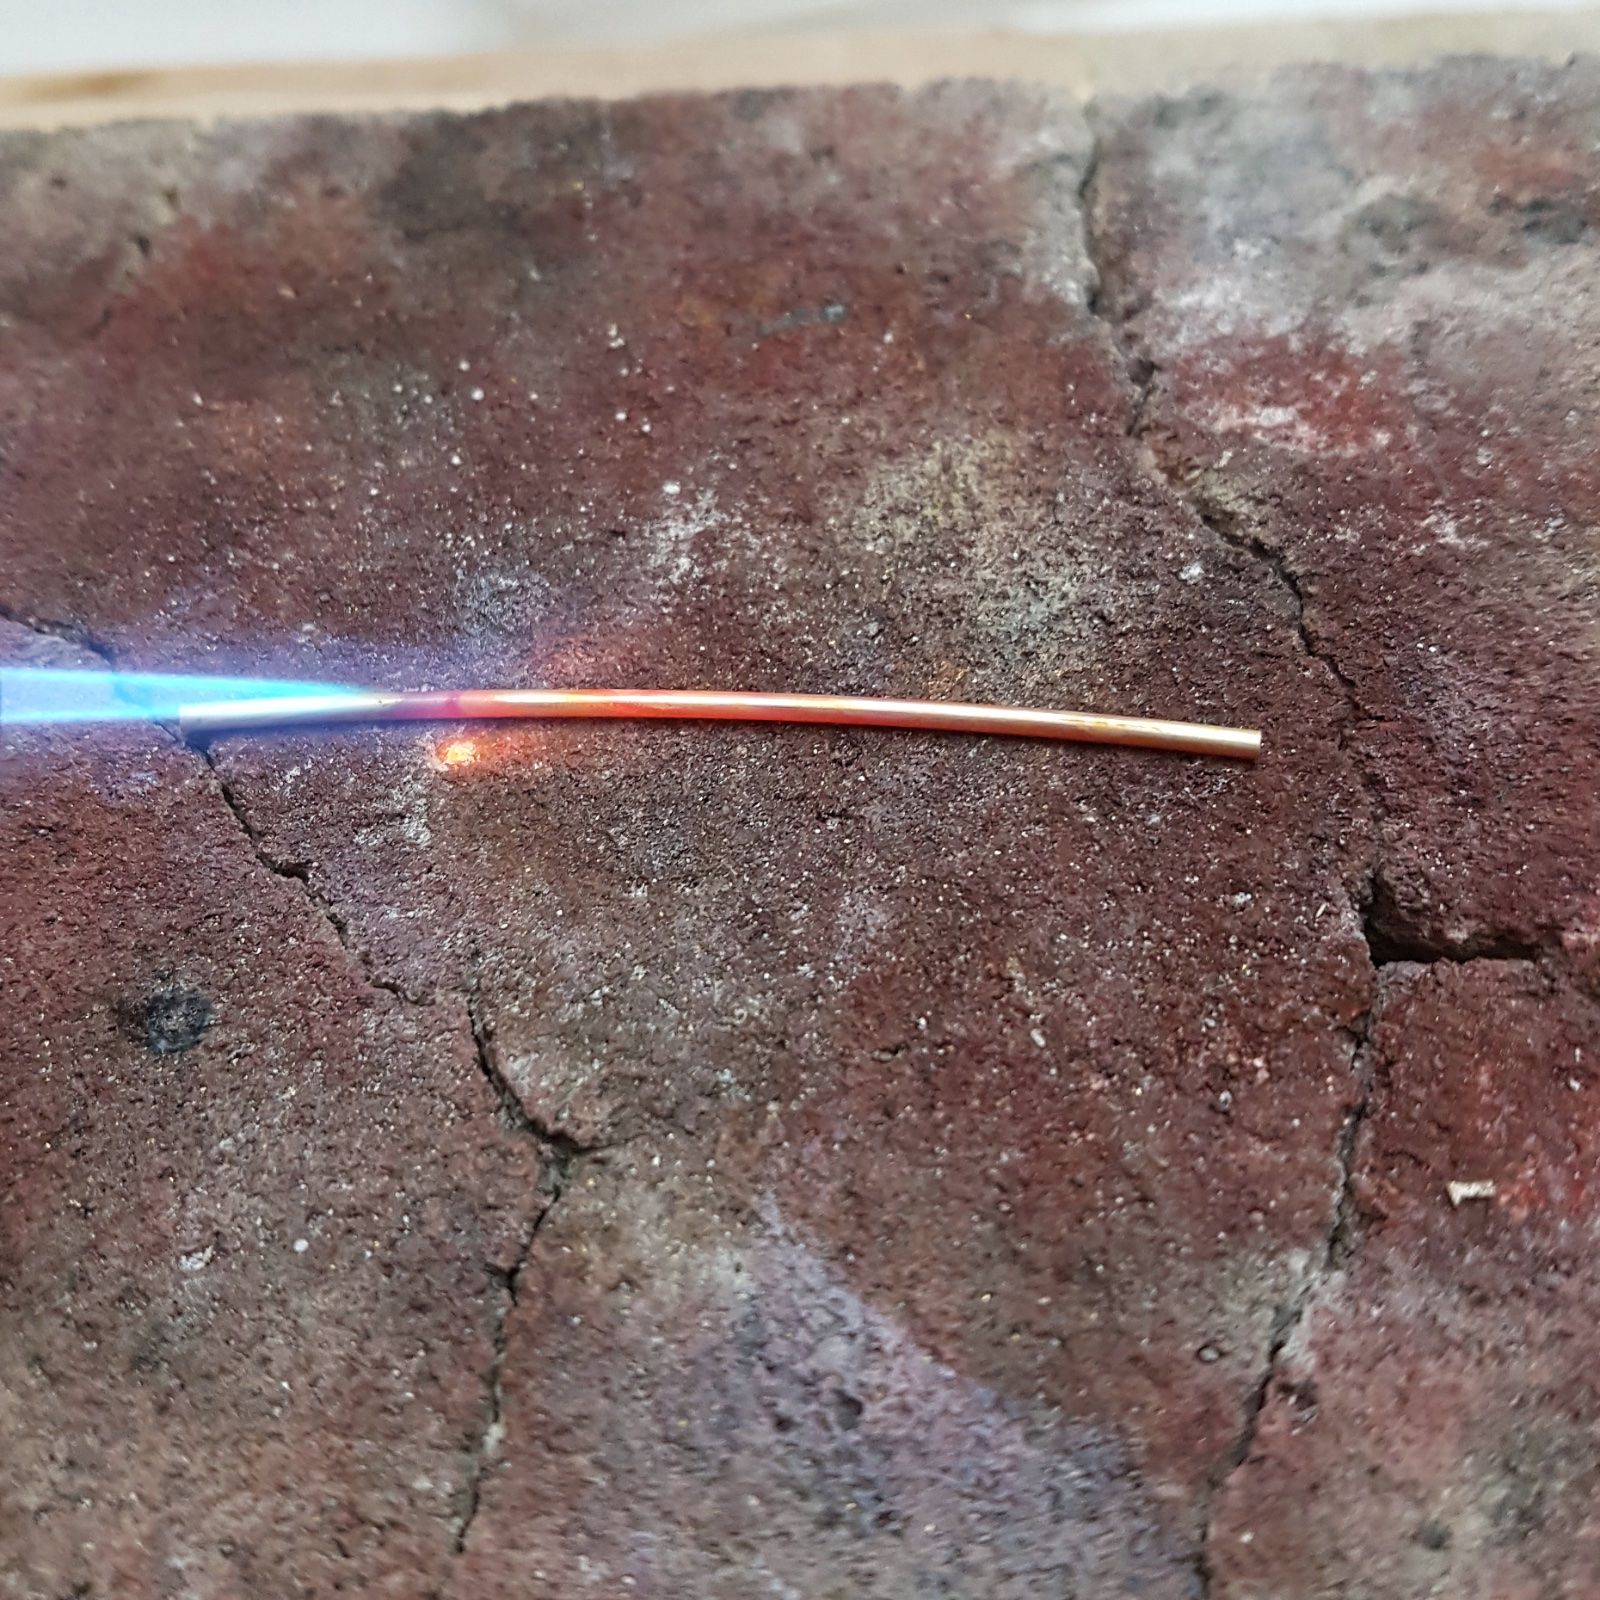
Step 2
Place the wire on the fibre ceramic board and heat it with the micro torch until it becomes incandescent. Take the wire with the locking pliers and dip it in a bowl of water to cool it down. Dry it with a cloth.
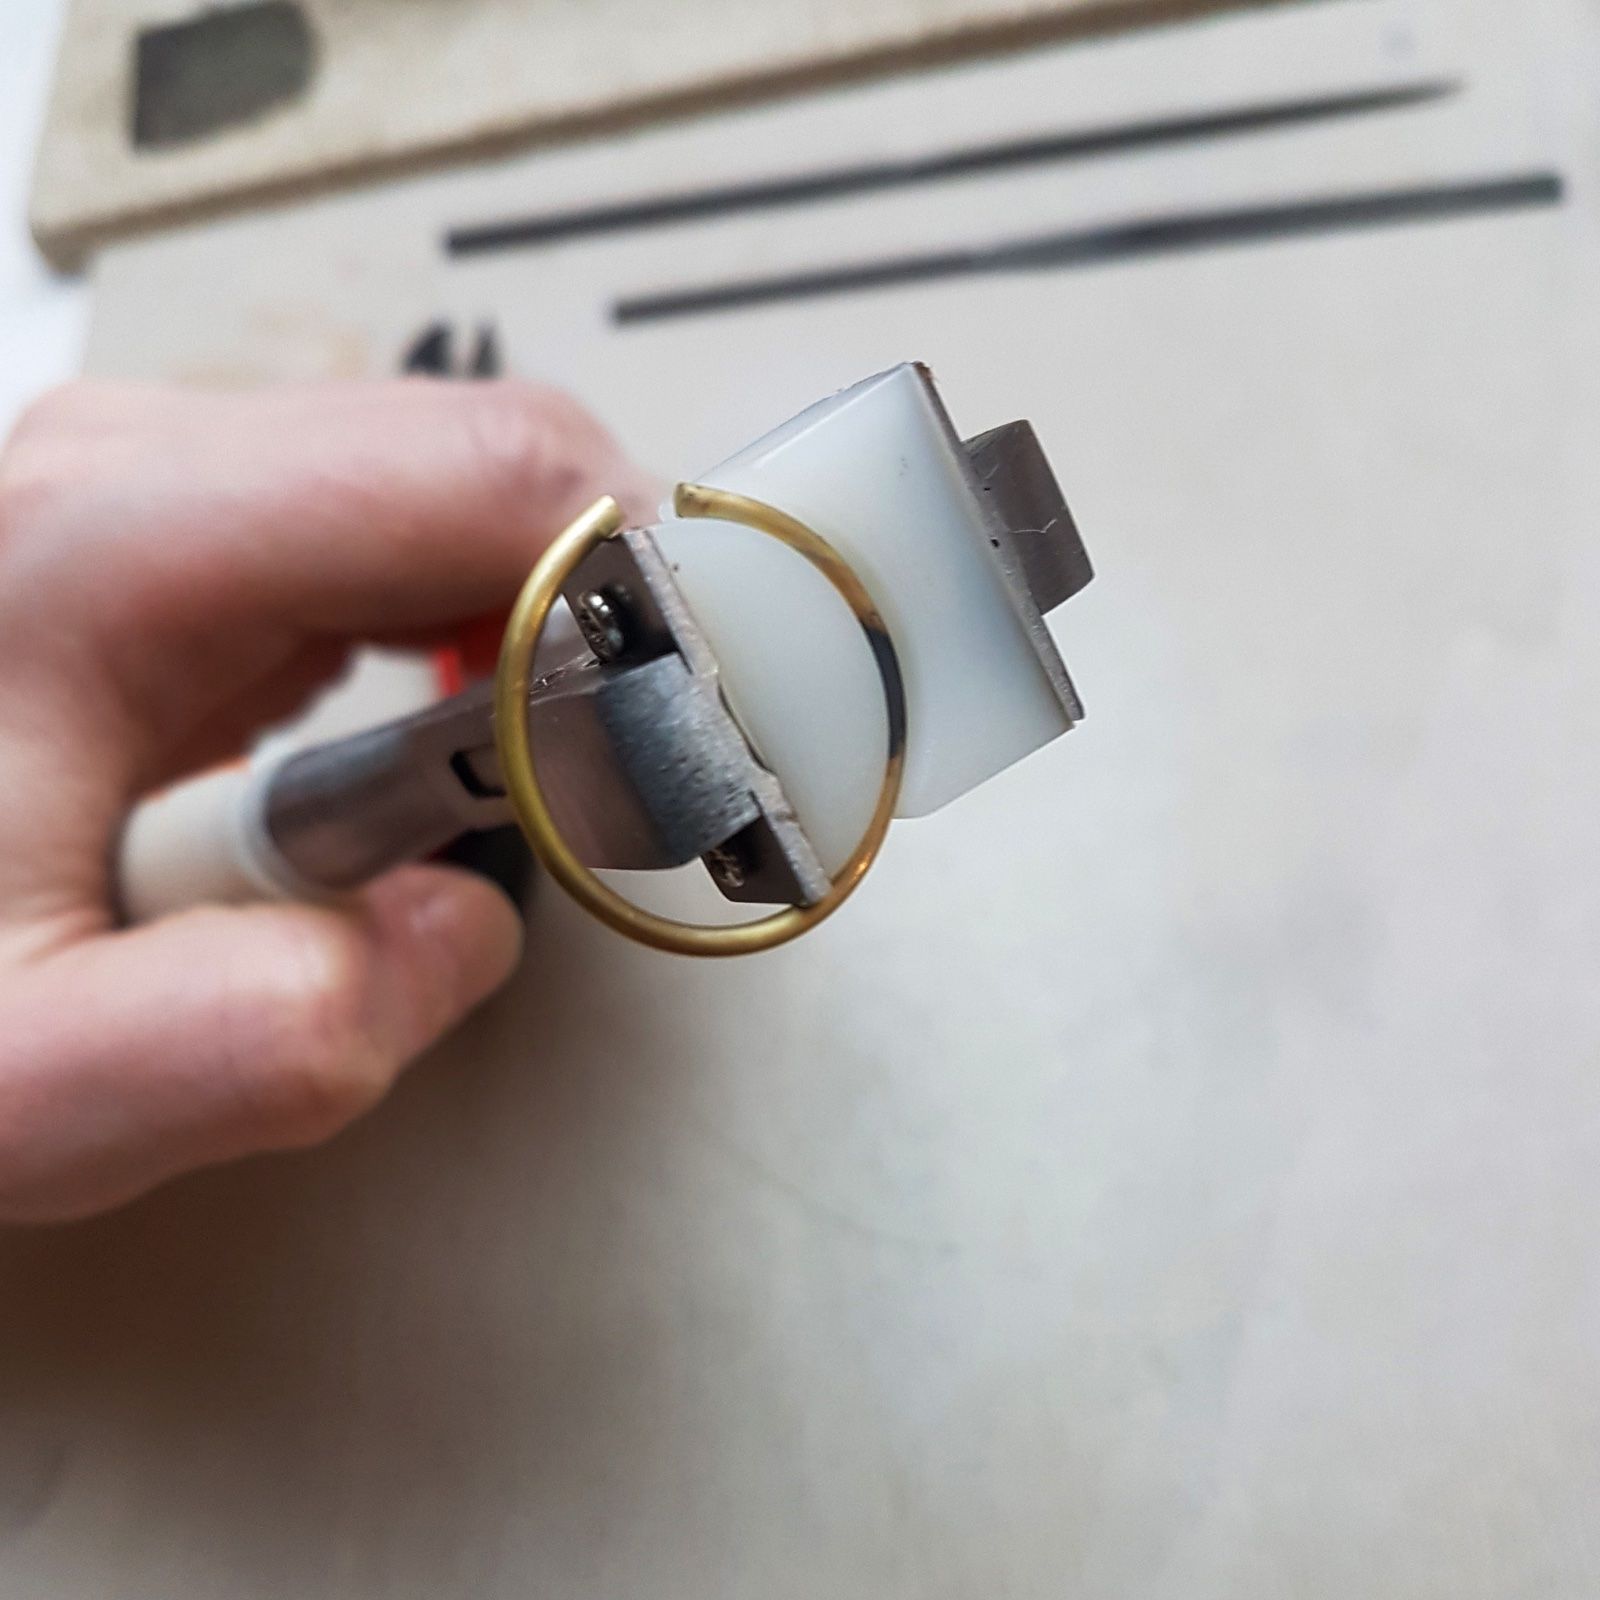
Step 3
The wire will now be soft and easy to shape. With the ring shaping pliers, round the wire until you create a circle.

Step 4
With your fingers, bring the tips/ends of the circle together as shown in the photo.
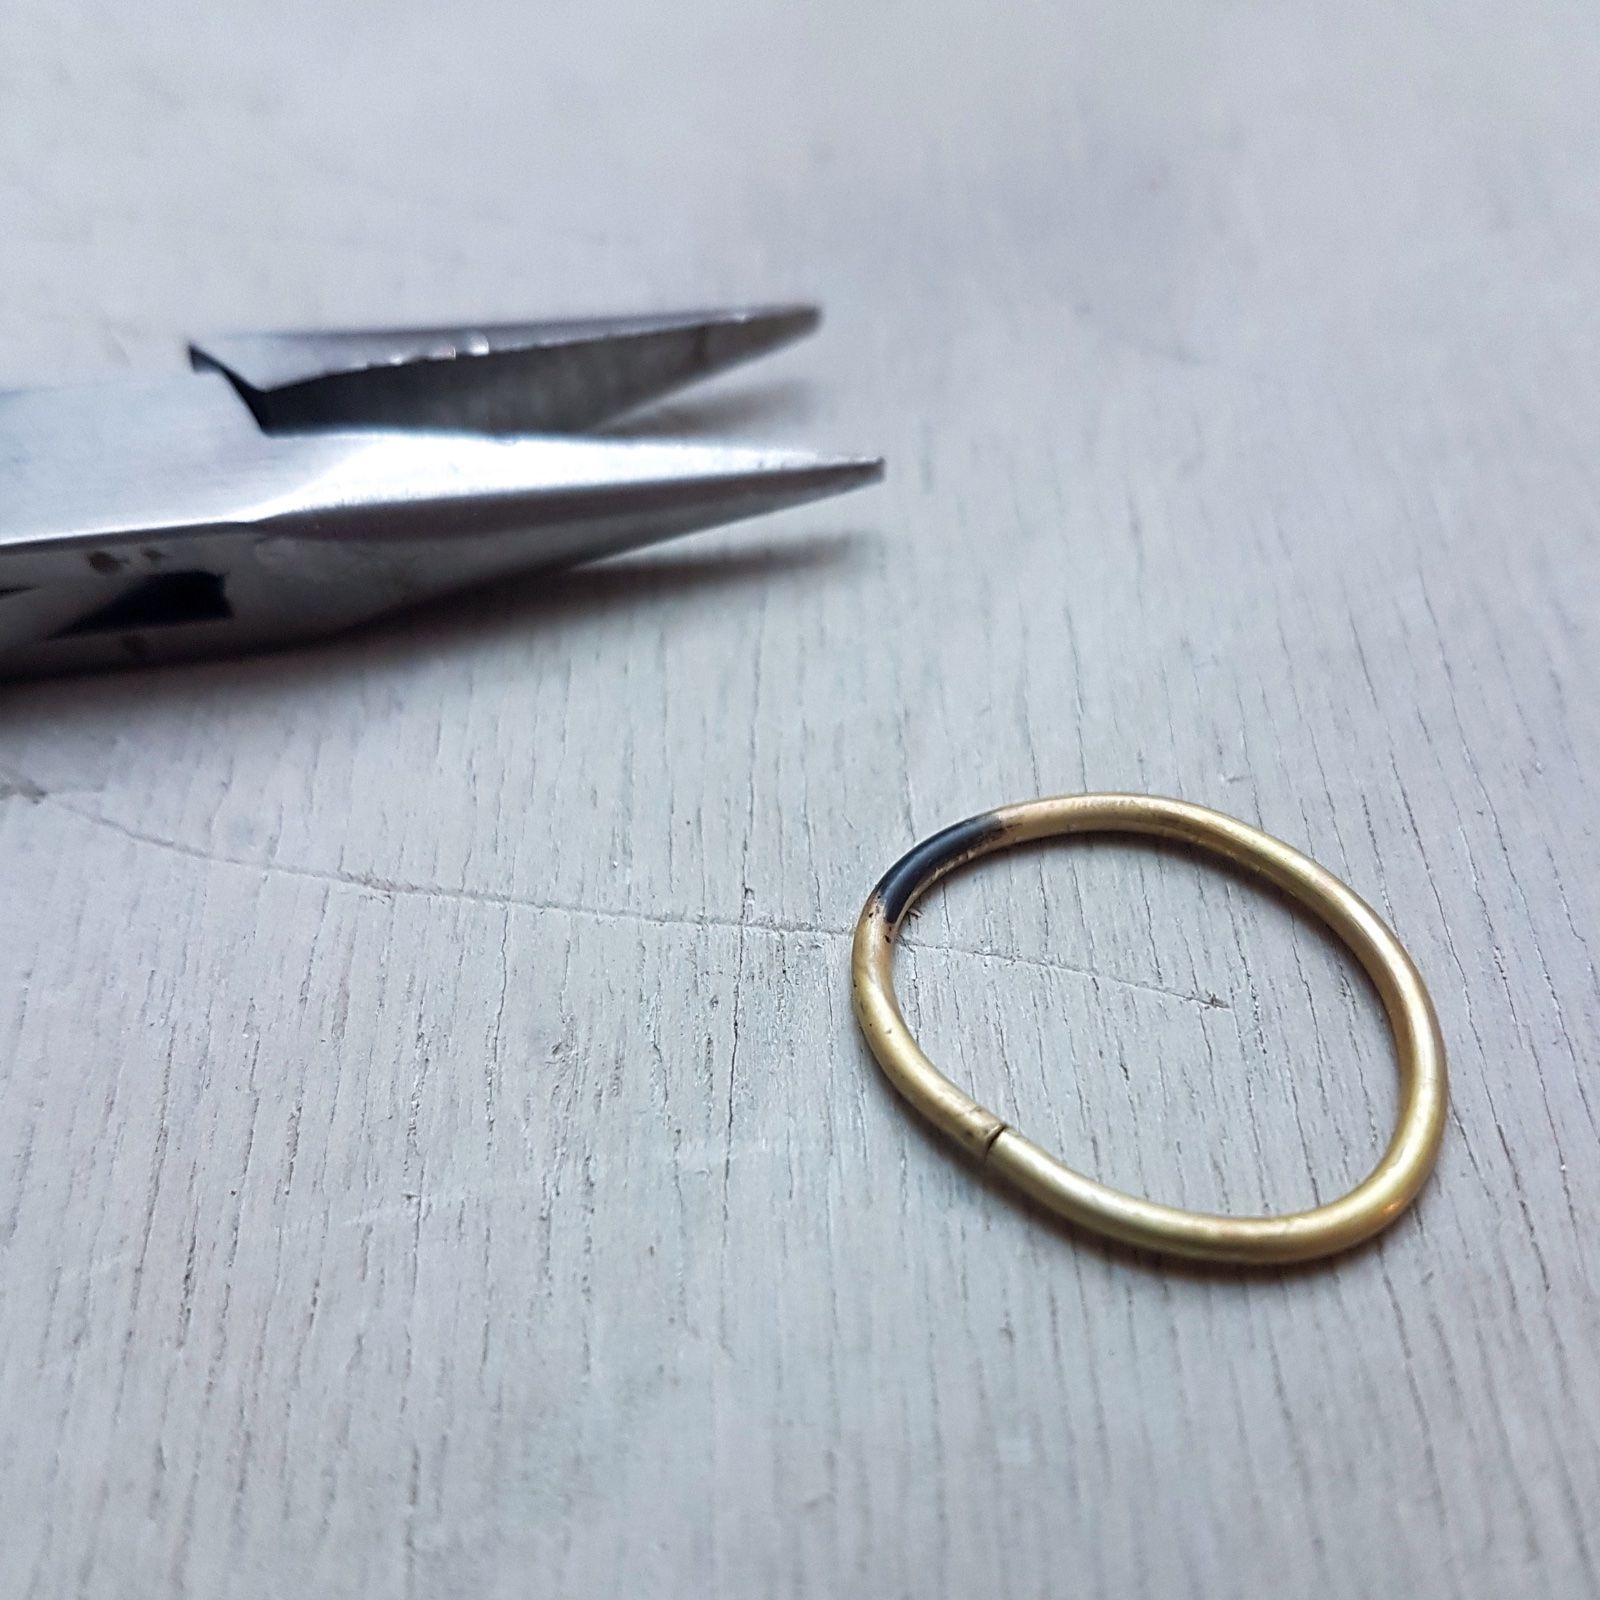
Step 5
Make sure the ends of the circle fit perfectly together (for this, it is necessary that the ends are perfectly straight and smooth).
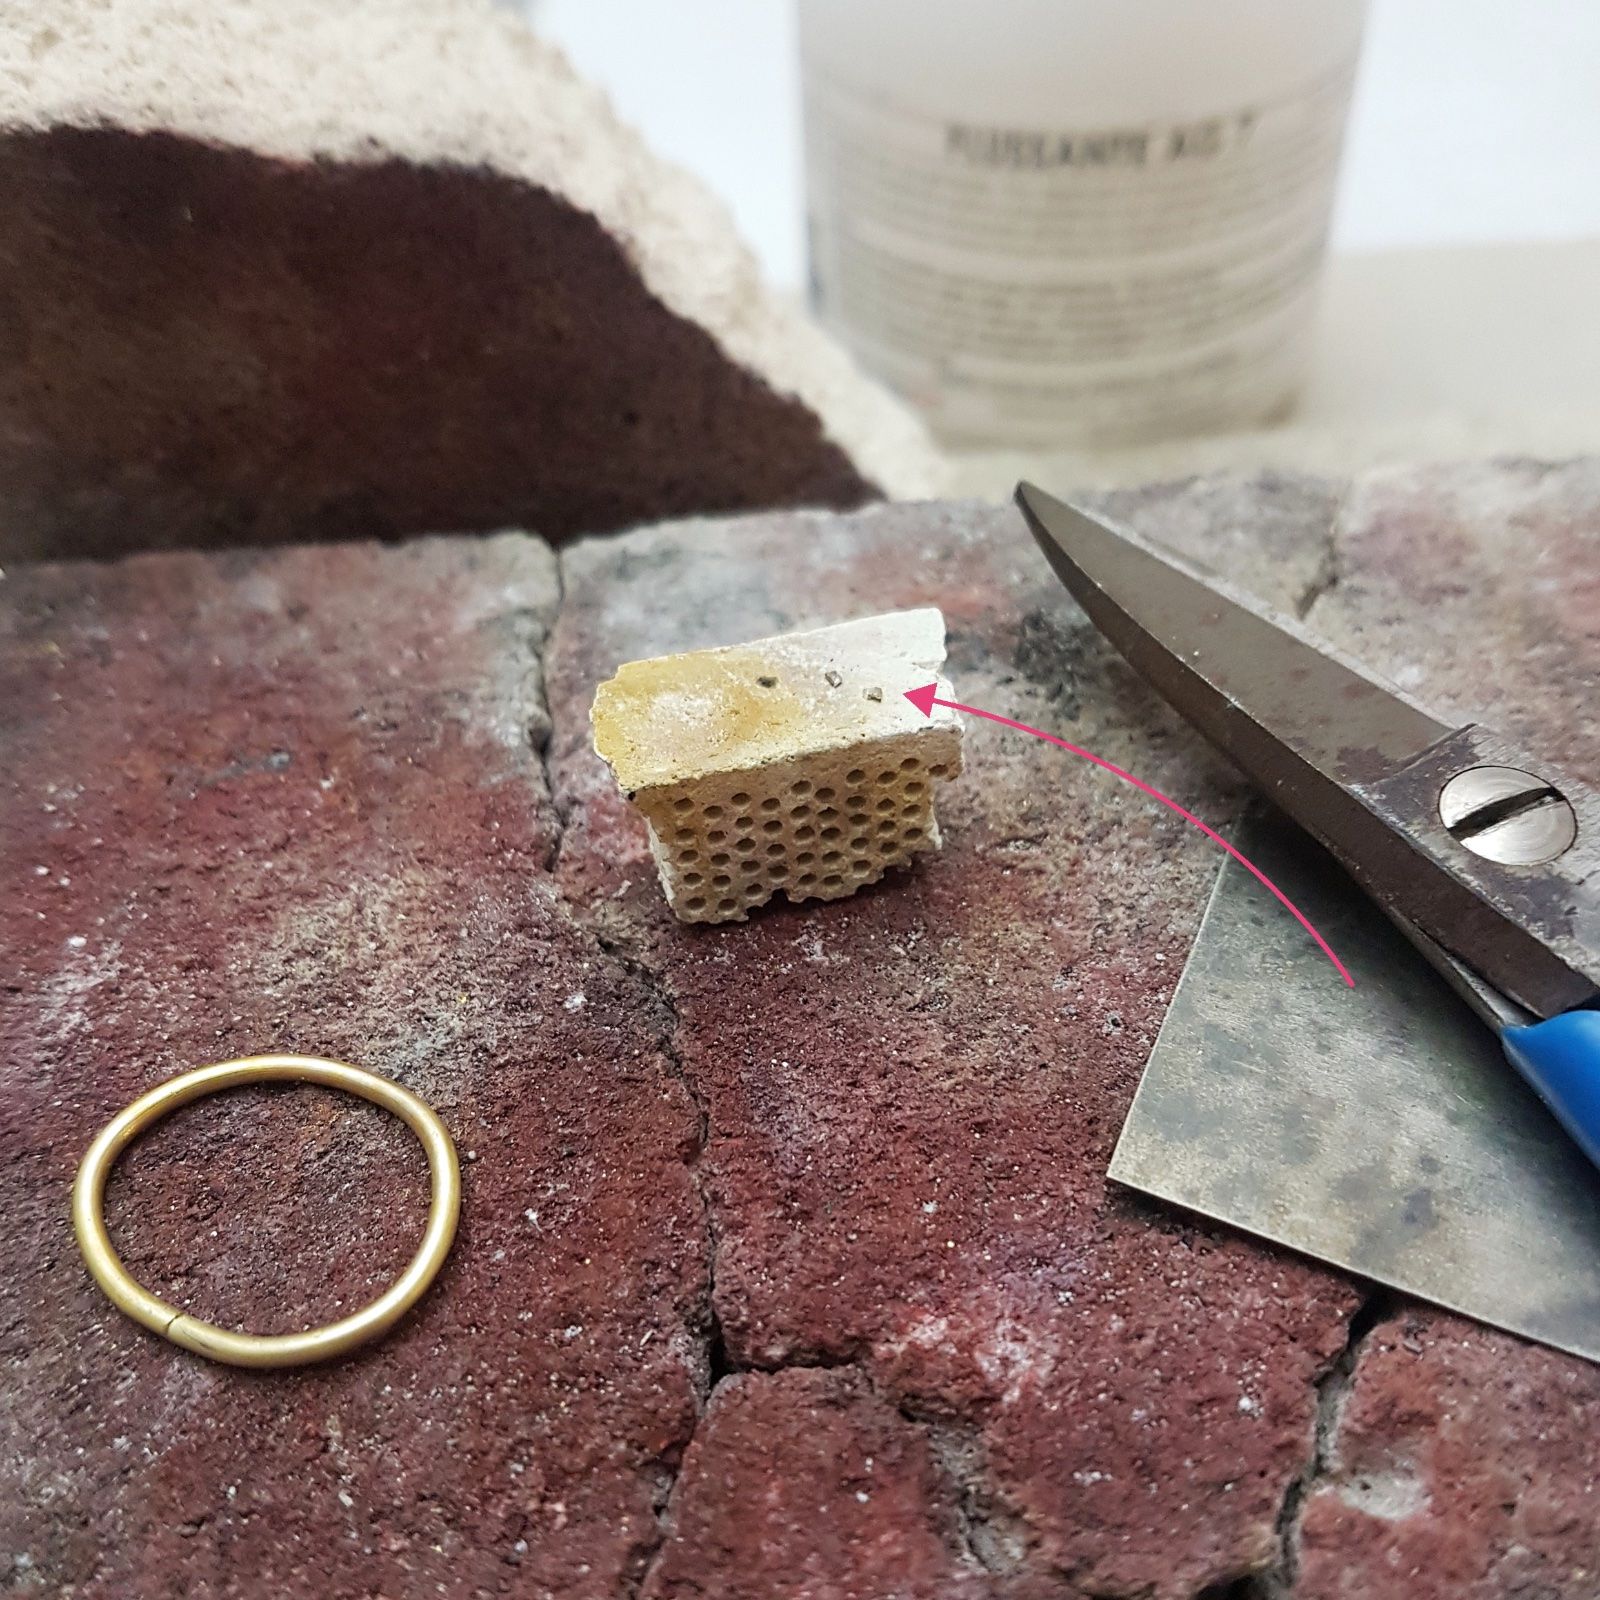
Step 6
Cut small pieces of solder from the solder sheet (as shown in the photo).
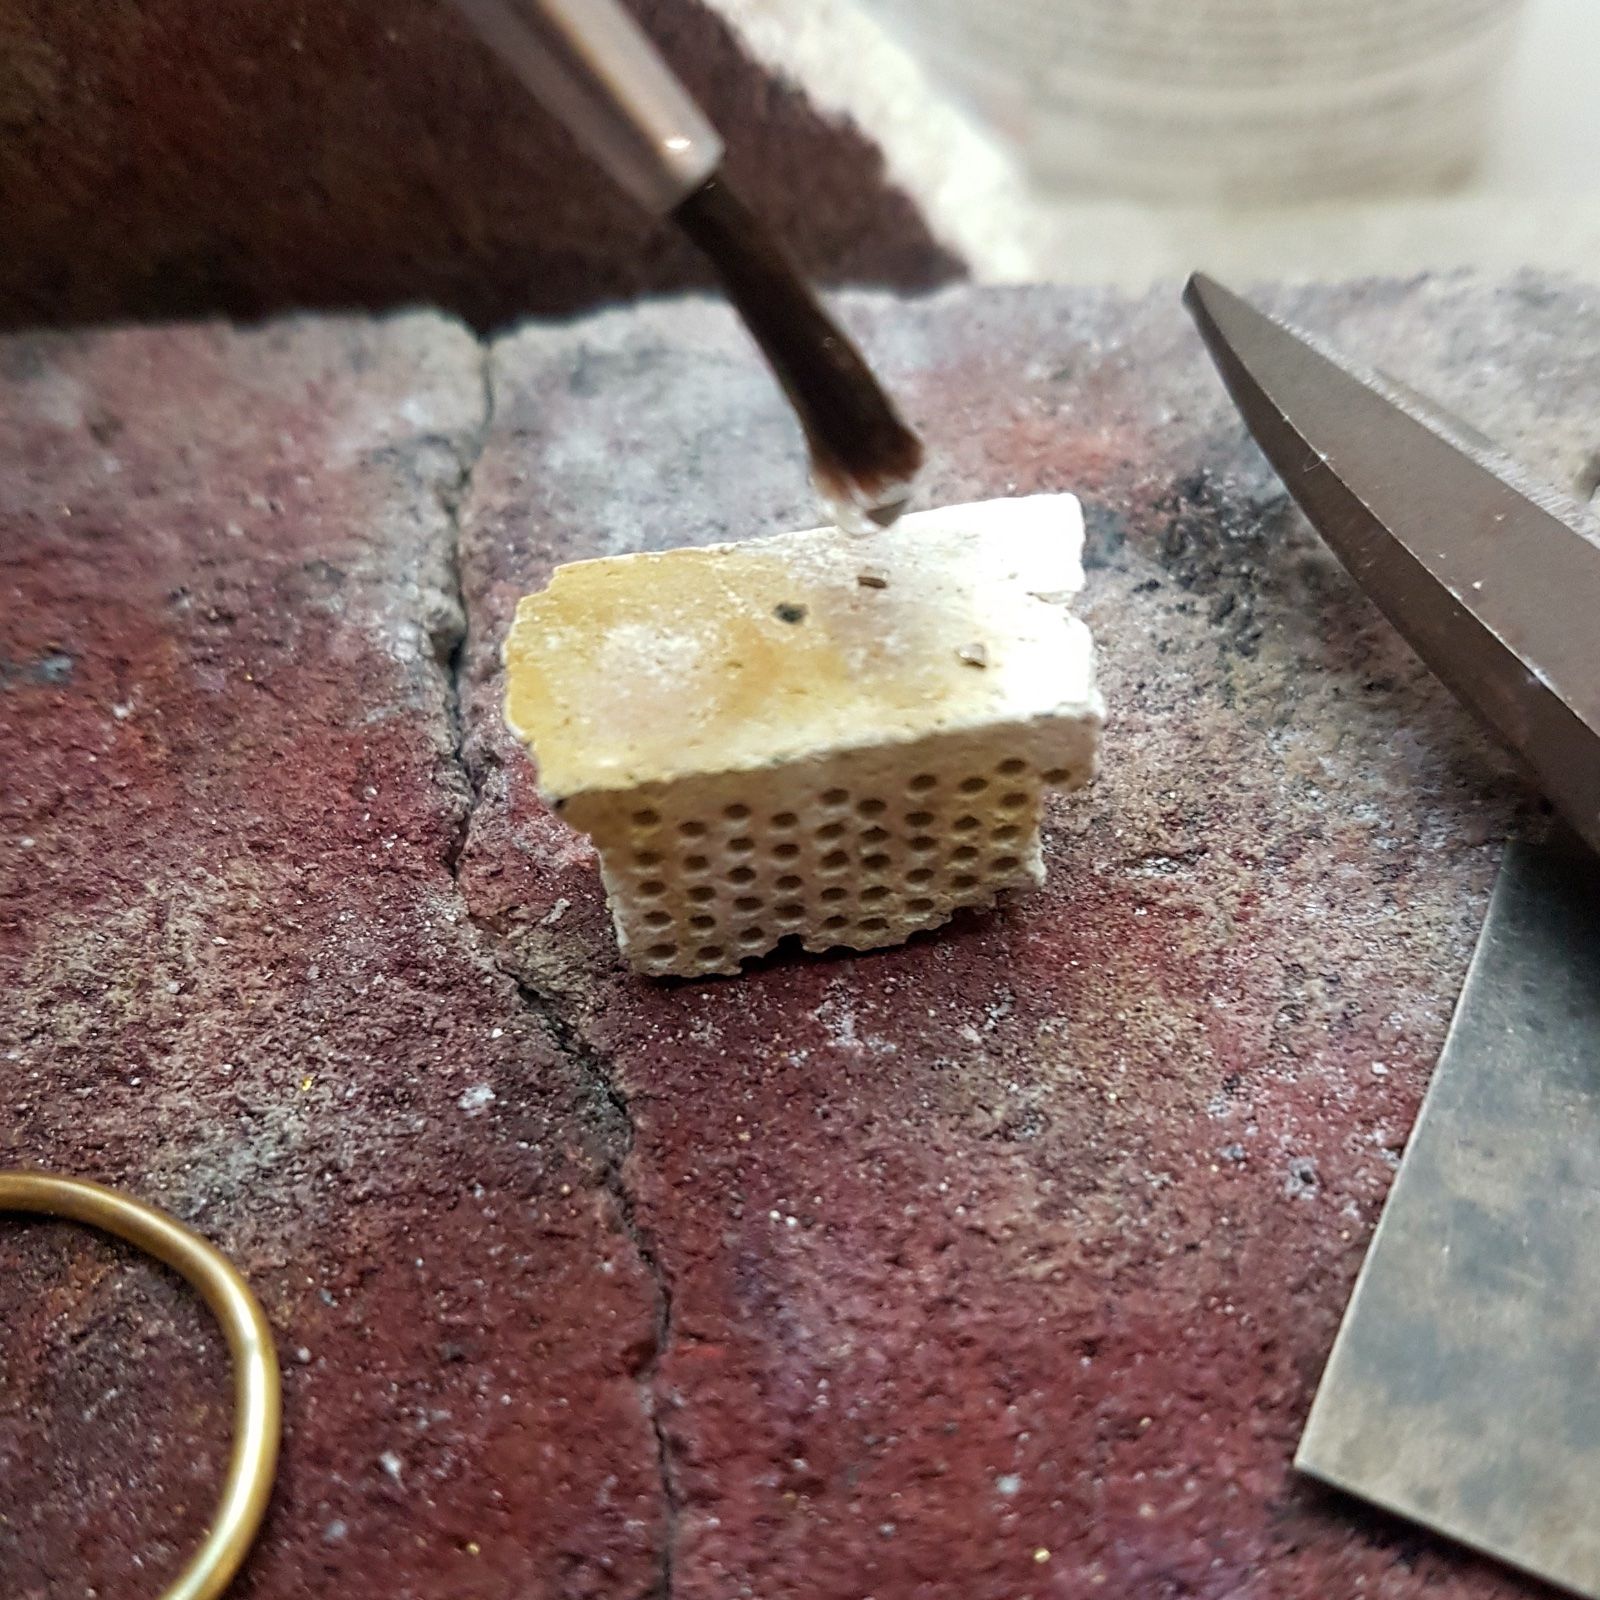
Step 7
Brush the flux onto the pieces of solder and the opening of the ring.
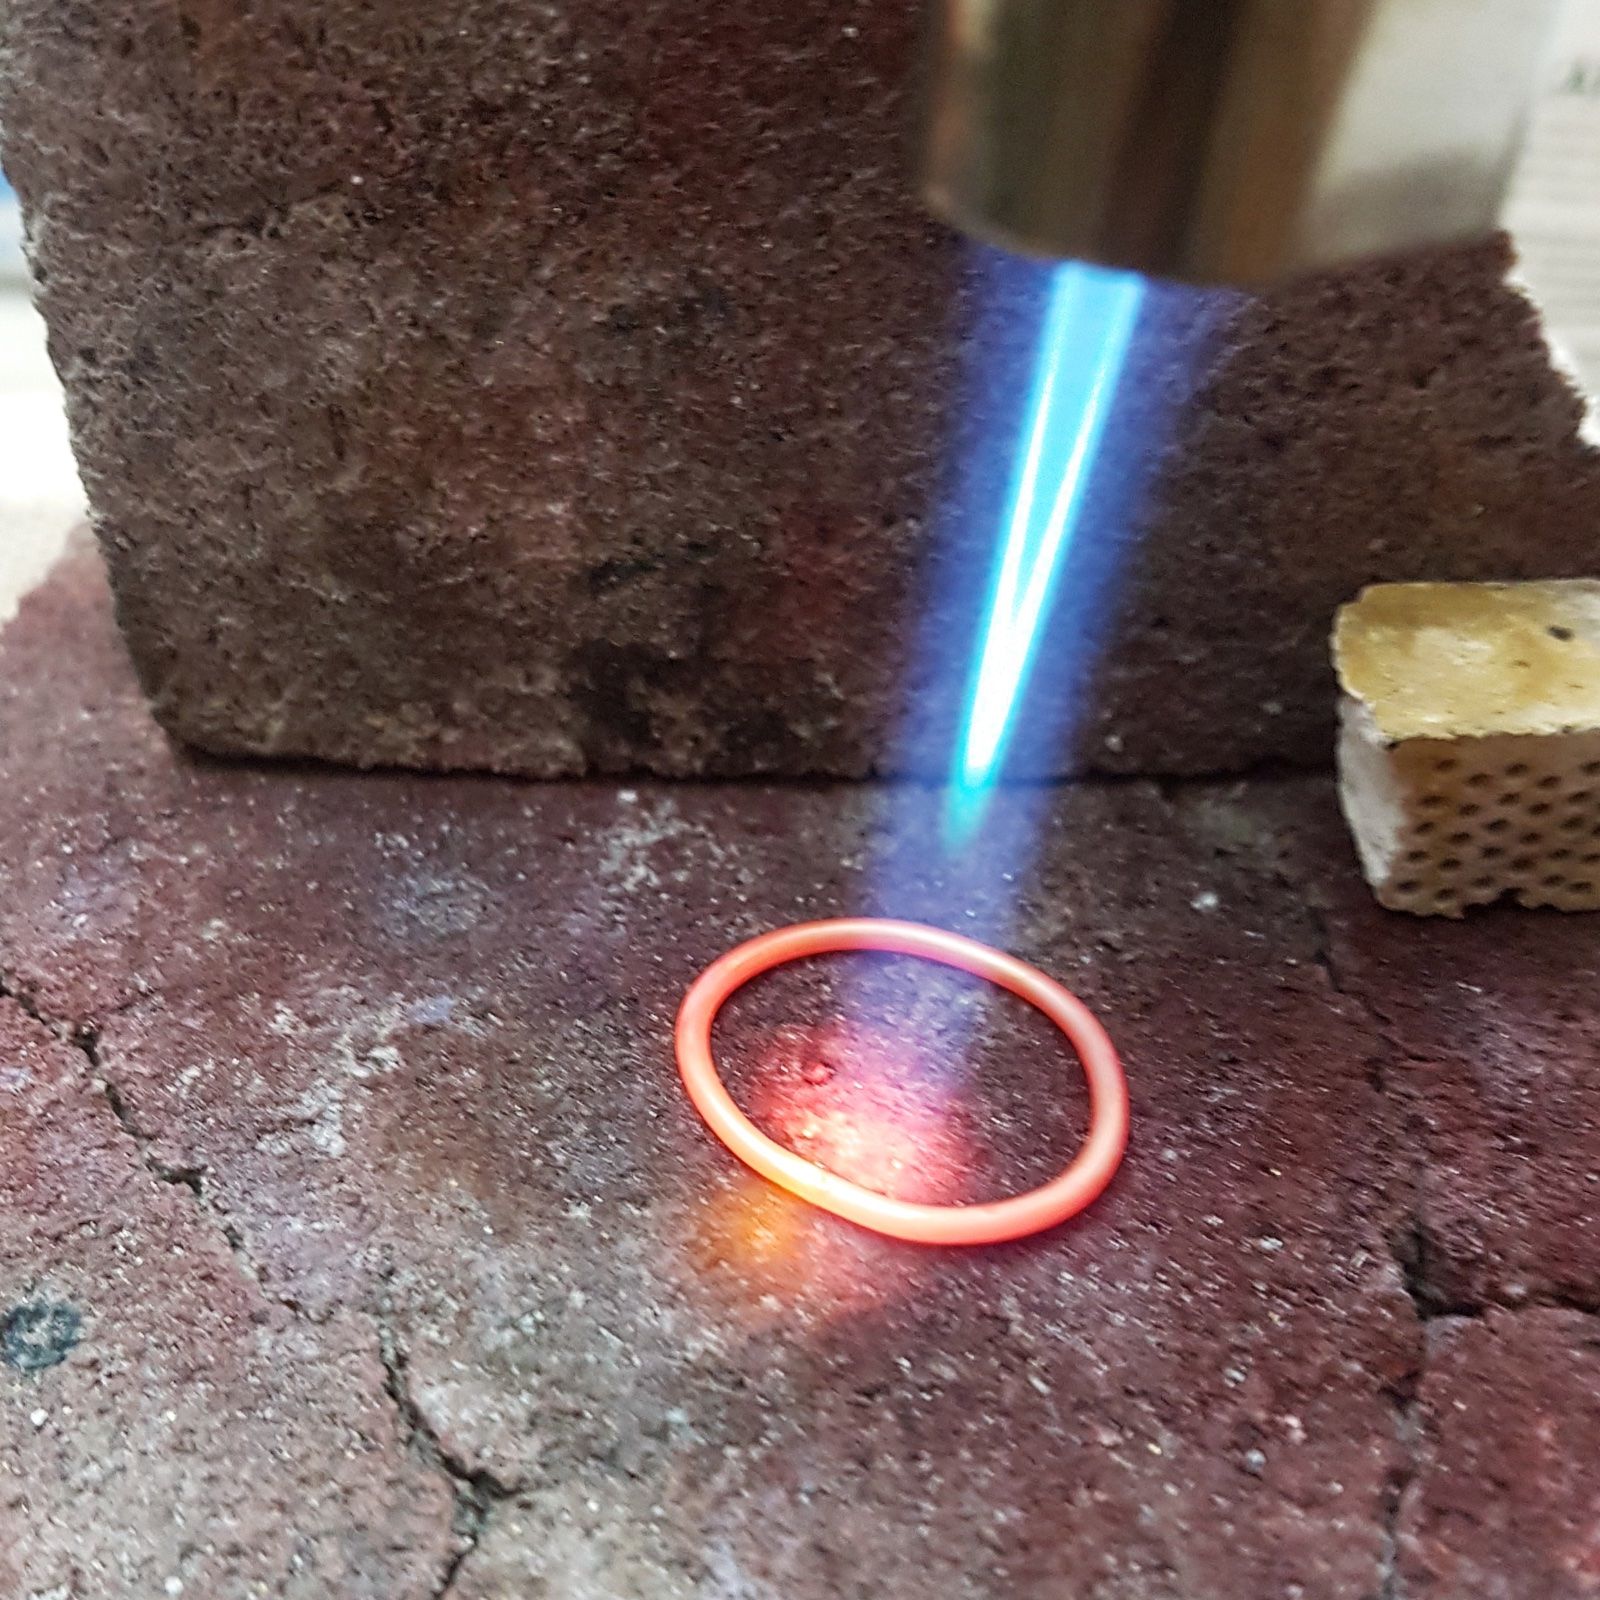
Step 8
With the locking pliers, take a piece of solder and place it on the opening of the ring. Heat everything with the micro torch (always on the fibre ceramic board) until the solder melts. With the pliers, pick up the newly soldered ring and dip it in the bowl of water to cool it down. Dry it with a cloth.
Step 9
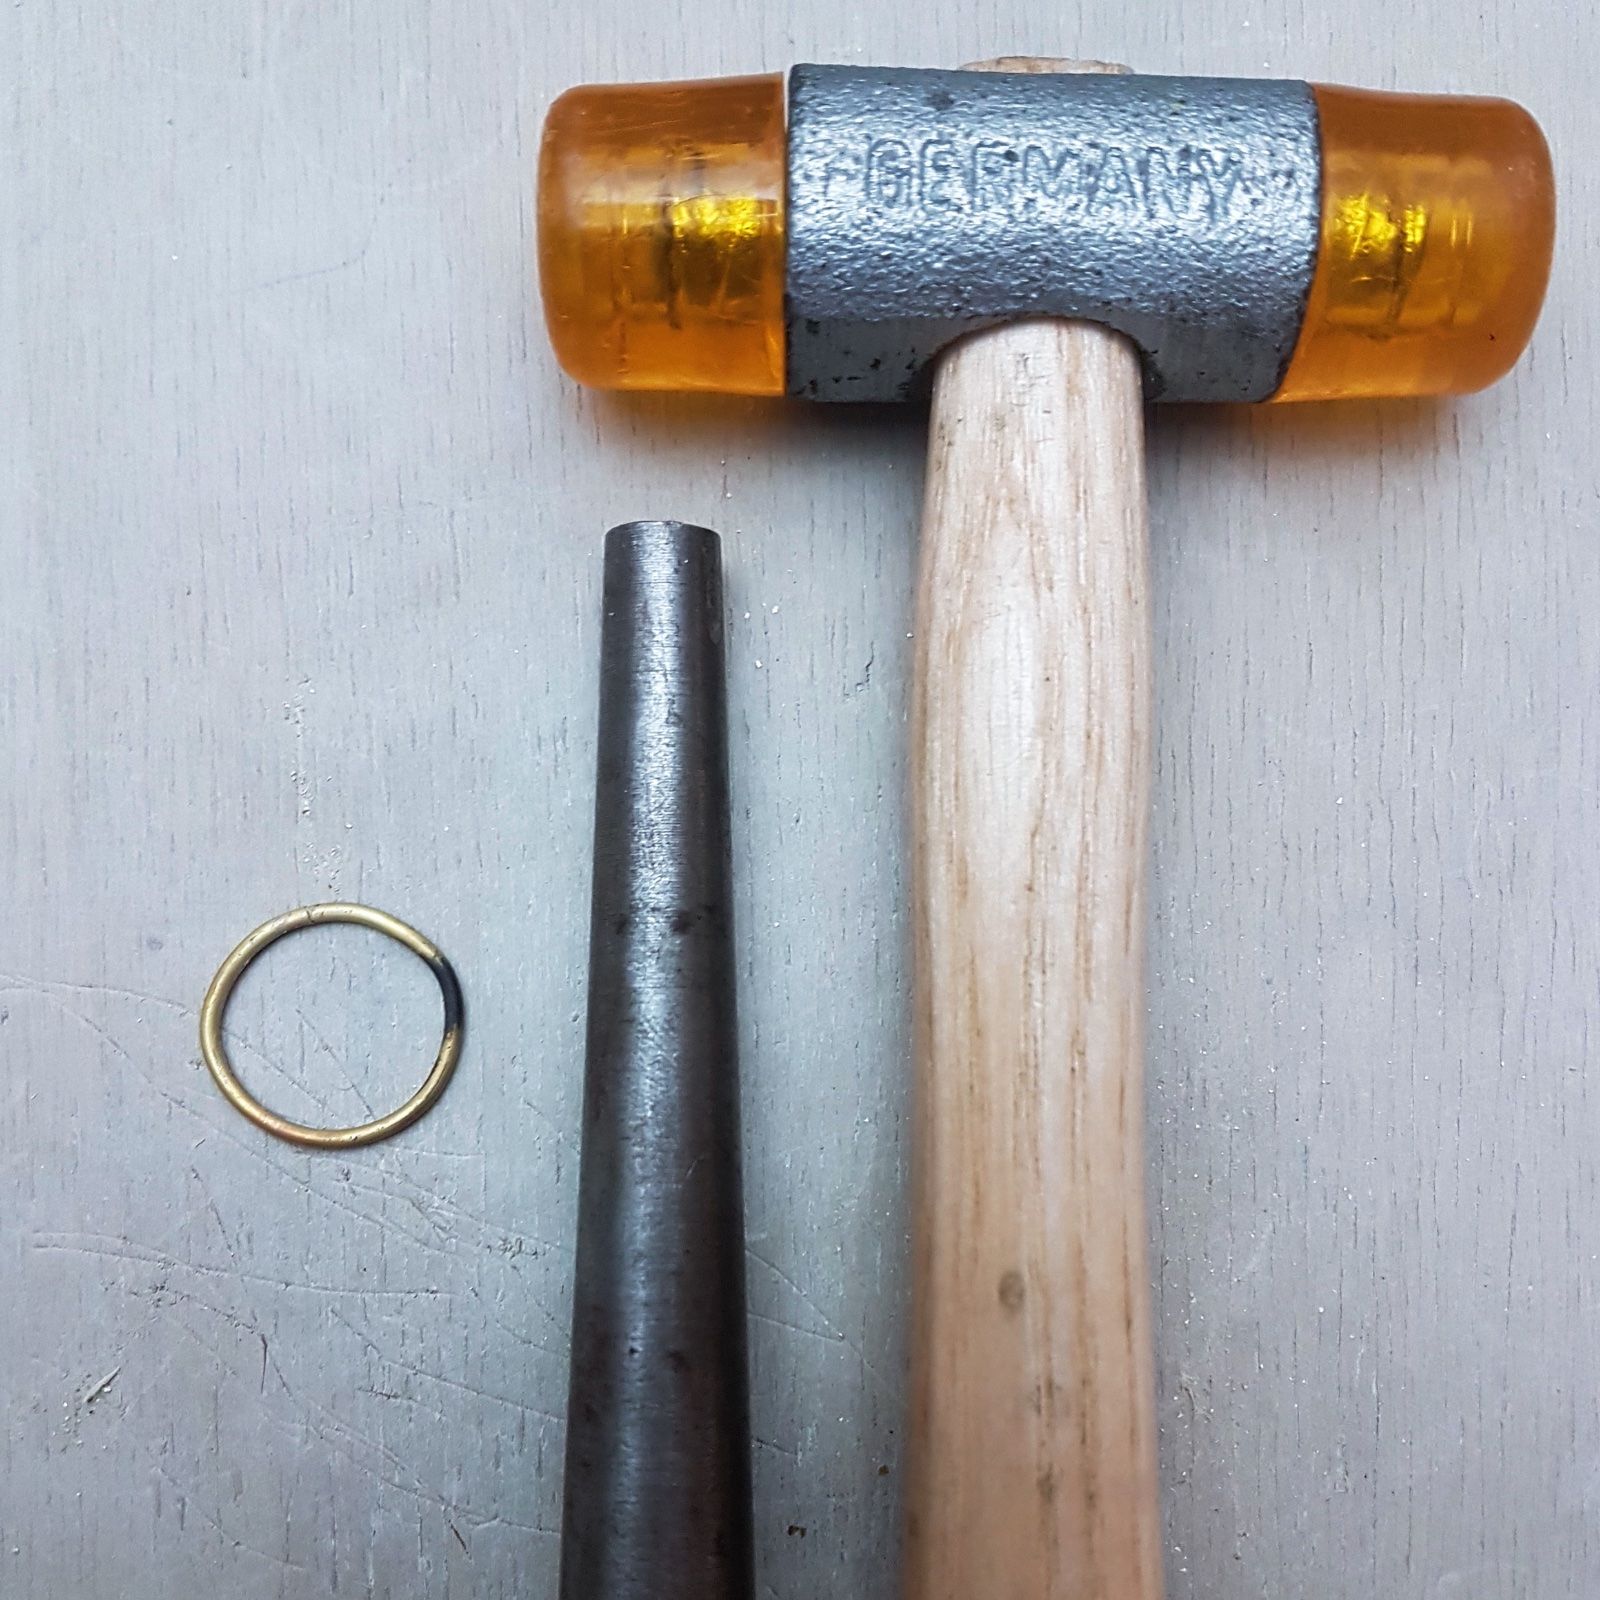
With the help of a mandrel and a nylon hammer, adjust the shape of the ring by lightly hammering around the entire perimeter to achieve a perfect circle.
Step 10
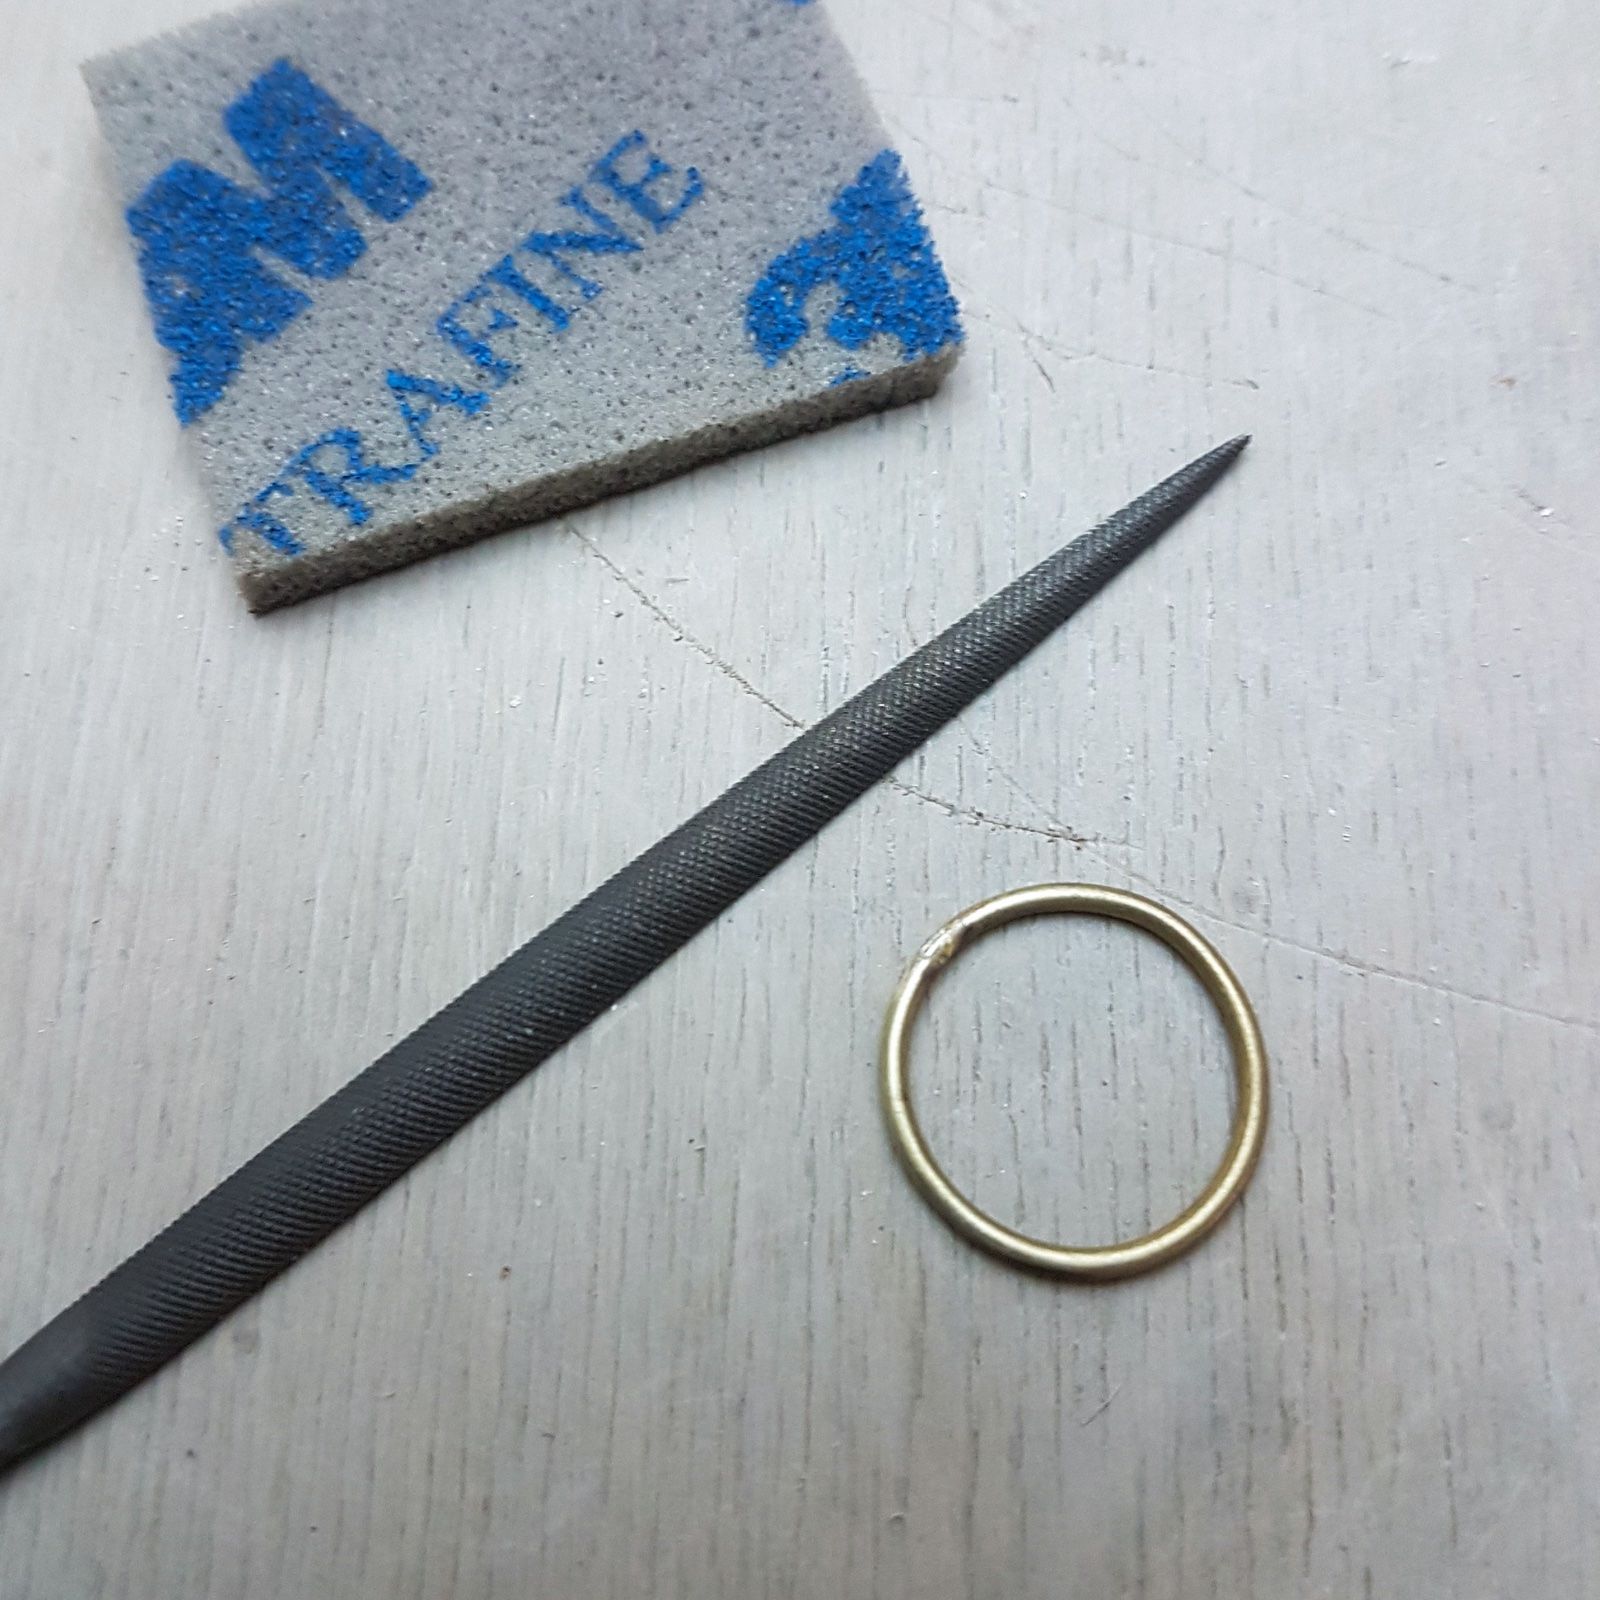
With the half-round file, file the soldered part to remove any burrs or excess solder. Clean the ring by lightly passing an abrasive sponge over the entire surface.
The ring is ready to be worn or given as a gift!
Have fun making more than one for a richer effect and a boho or rock style (using a thicker wire).