The art of glassworking for bead creation is an ancient practice. It can be said to be almost as old as humanity itself, if it is true that it dates back practically to the discovery of fire, and how it was possible to use its heat to melt and shape glass.
Throughout history, the art of glass beads has experienced enormous diffusion and the development of exceptional artistic traditions recognised worldwide: first and foremost, that of Venice.
It is no coincidence that in 2020 UNESCO included this art in the representative list of Intangible Cultural Heritage!
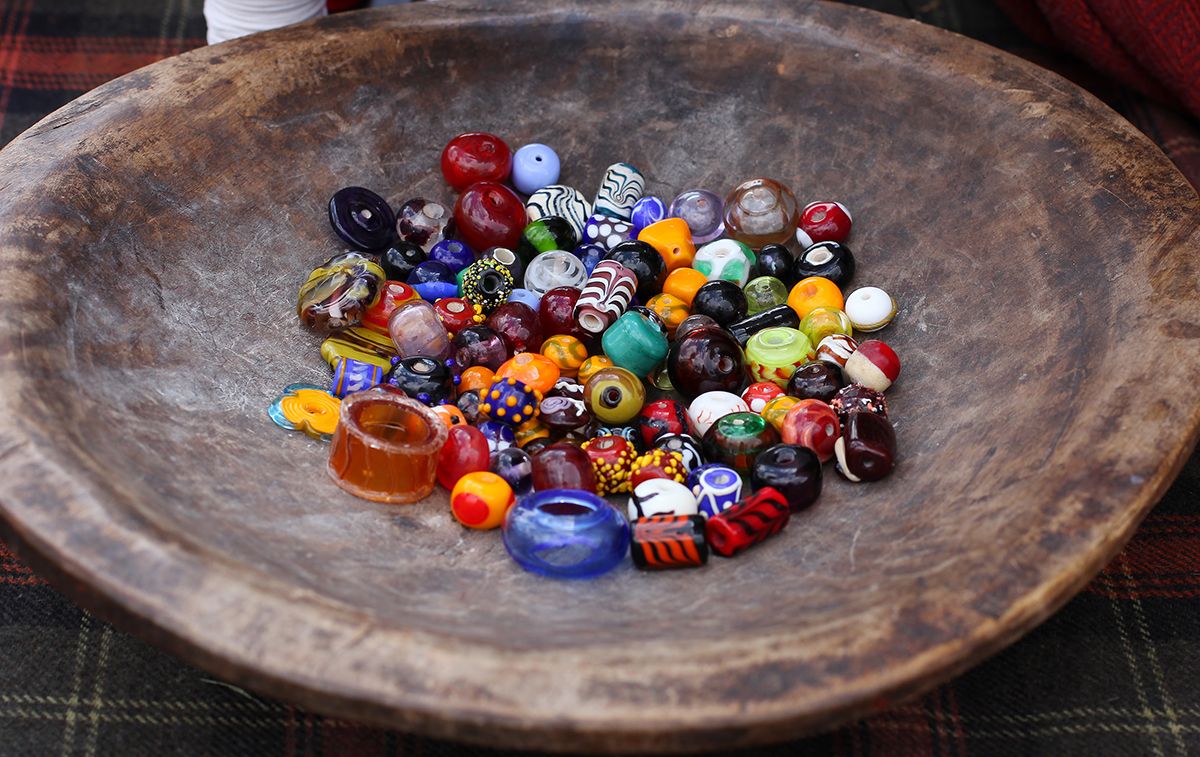
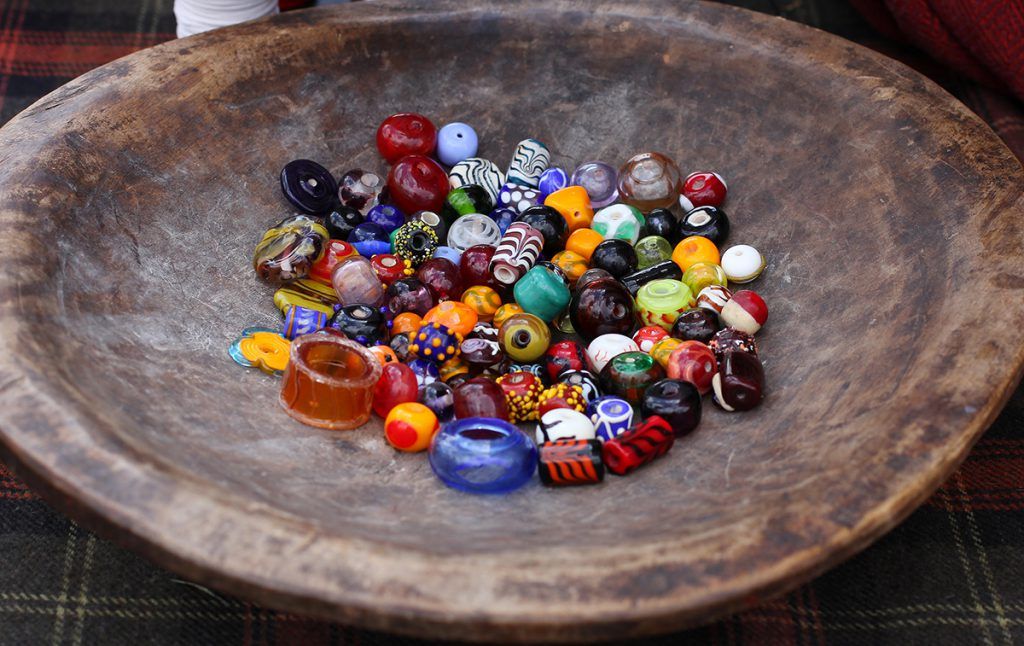
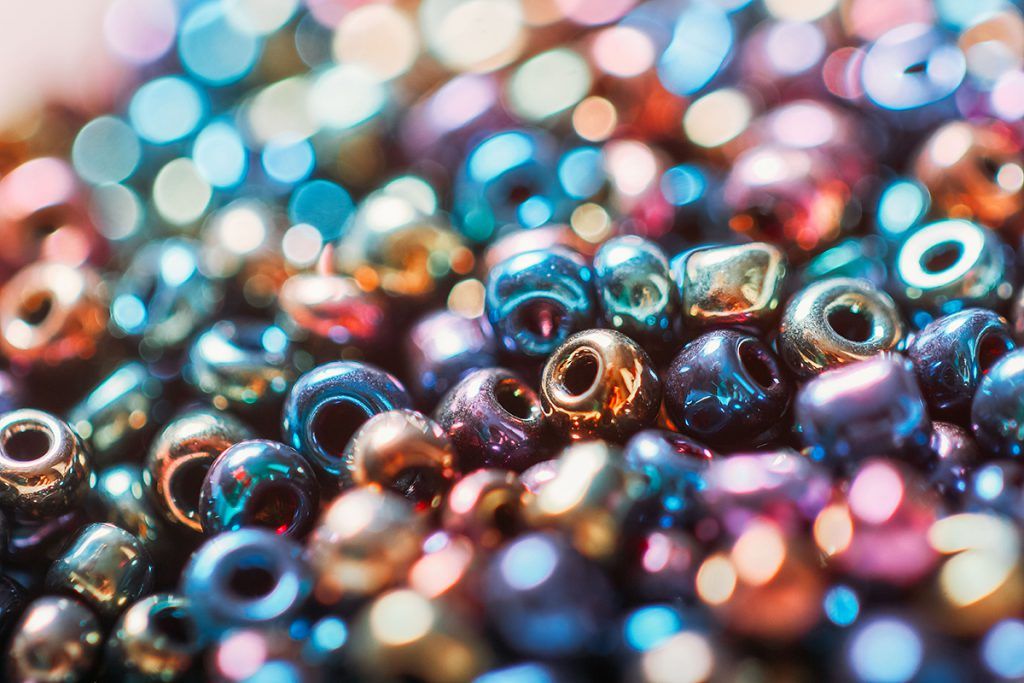
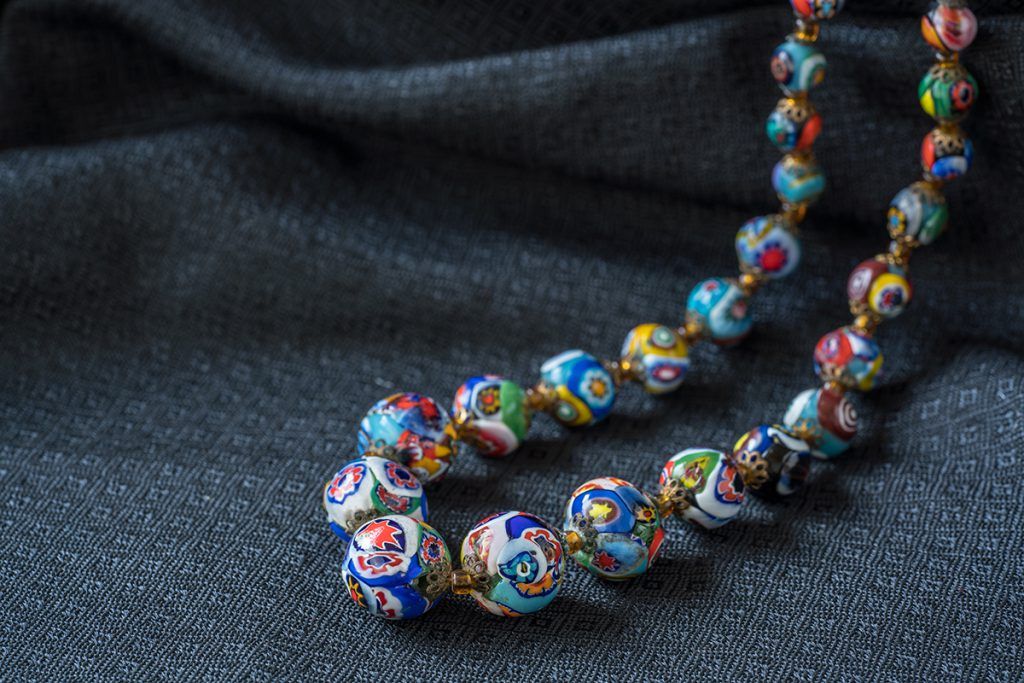
Today, glassworking is a widespread practice around the world, both professionally and as a hobby, among artisans, artists, and enthusiasts. The creative possibilities offered by the making of glass beads are virtually endless: sizes, colours, decorations… each bead is unique and can give rise to decorations, works of art, jewellery, and some of the most imaginative decorative objects.
With this guide, we want to explain to you how to take your first steps in this ancient and fascinating art. Together, we will discover the process, the basic steps, and the necessary equipment, which you can find gathered together in one of our Glass Bead Kits: a great way to start with everything at your fingertips!
Lampworking: what does it mean?

Glass Bead Kit
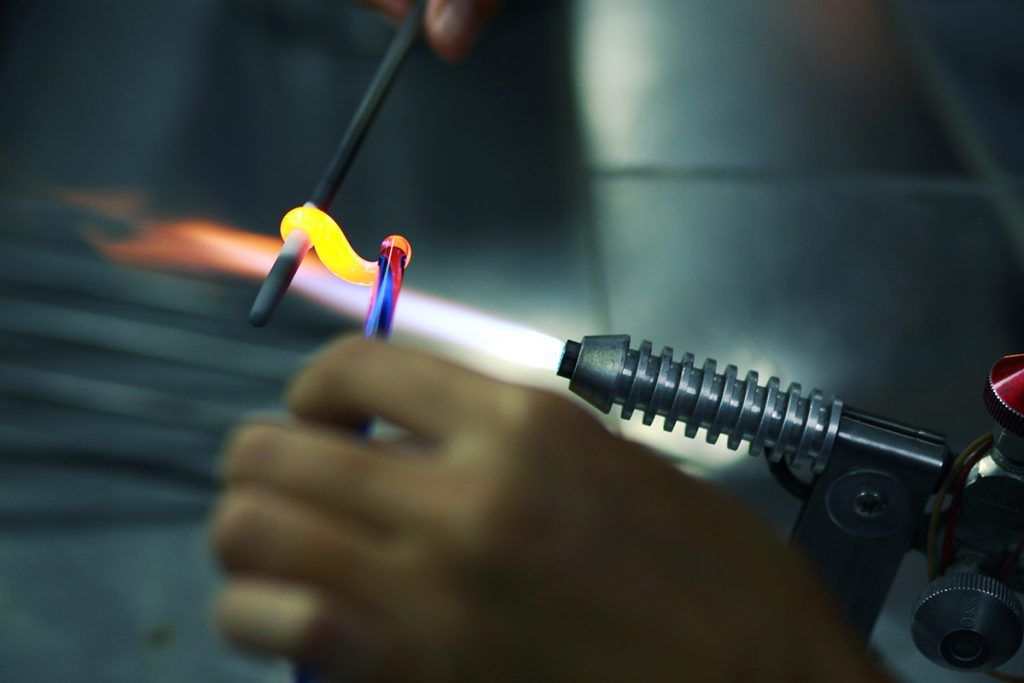
The process of creating glass beads has remained essentially unchanged for centuries: a flame, obtained from a lamp or torch, is used to heat and shape the raw material into beads by wrapping and rotating it around a metal rod.
In the past, heat sources were mostly oil lamps – hence the name “lampworking” – which required a continuous supply of breath or (later) pedal power. Today, we have gas-powered torches that work autonomously, allowing the artist to move freely and work more safely.
The glass: which one to use?
The most commonly used material for glass bead making is Murano glass.
Murano glass is soft, melts at relatively low temperatures, and thus allows the bead to remain warm and malleable for longer: this makes the working process easier, also avoiding the risks of breakage.
The second option is borosilicate glass, which has a higher melting point and is therefore considered “harder” and more difficult to work with. On the other hand, borosilicate is better at resisting sudden temperature changes. Unlike common glass, it does not expand and contract much when exposed to heat and cold.
As always, there is no better or worse choice, and our advice is to choose the raw material based on your starting skills, needs, and the creative project you wish to pursue.
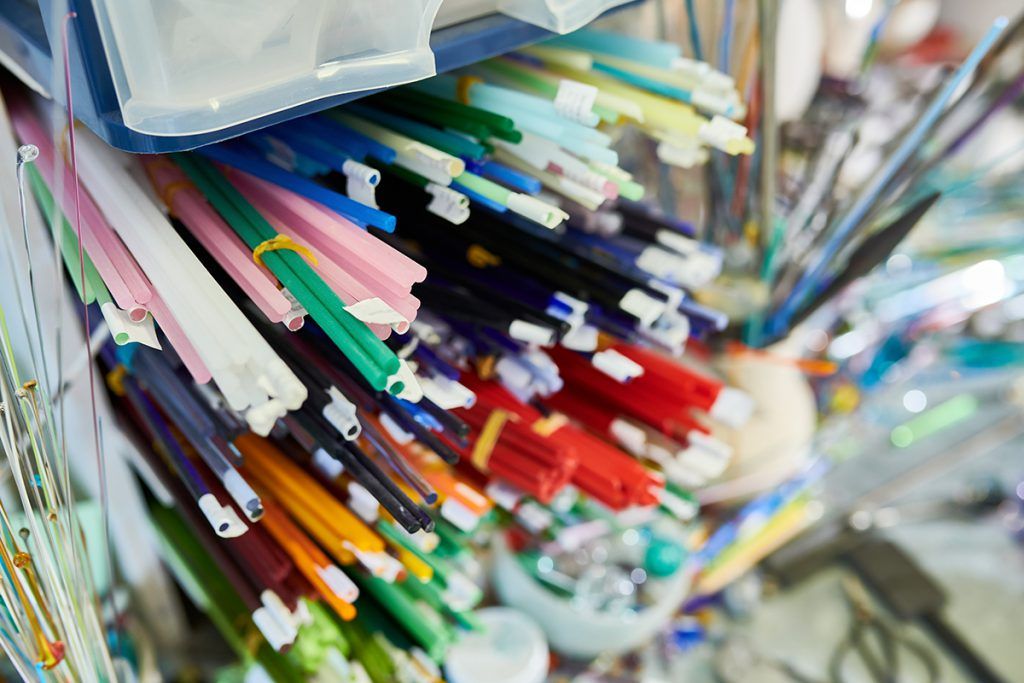
From the perspective of glass bead making, the raw material is used in the form of rods – or glass canes – which can be purchased in various diameters and, of course, in a huge variety of colours!
Essential tools for glass bead making
Now let’s see what you will need to create your beads, in addition to the glass rods.
As mentioned, there is the option to purchase ready-made kits that contain the essential tools and equipment for lampworking: these are safe and certified materials and tools, specifically designed for this work and therefore made from materials such as brass, graphite, and steel, which are specific for glassworking.
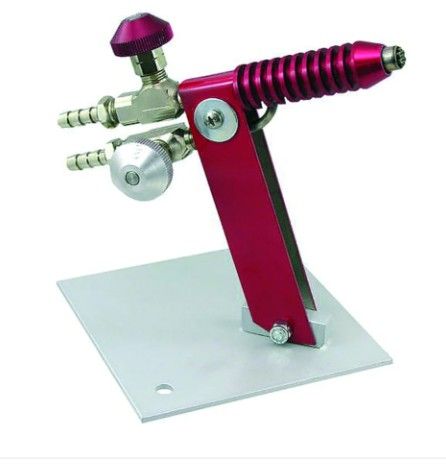
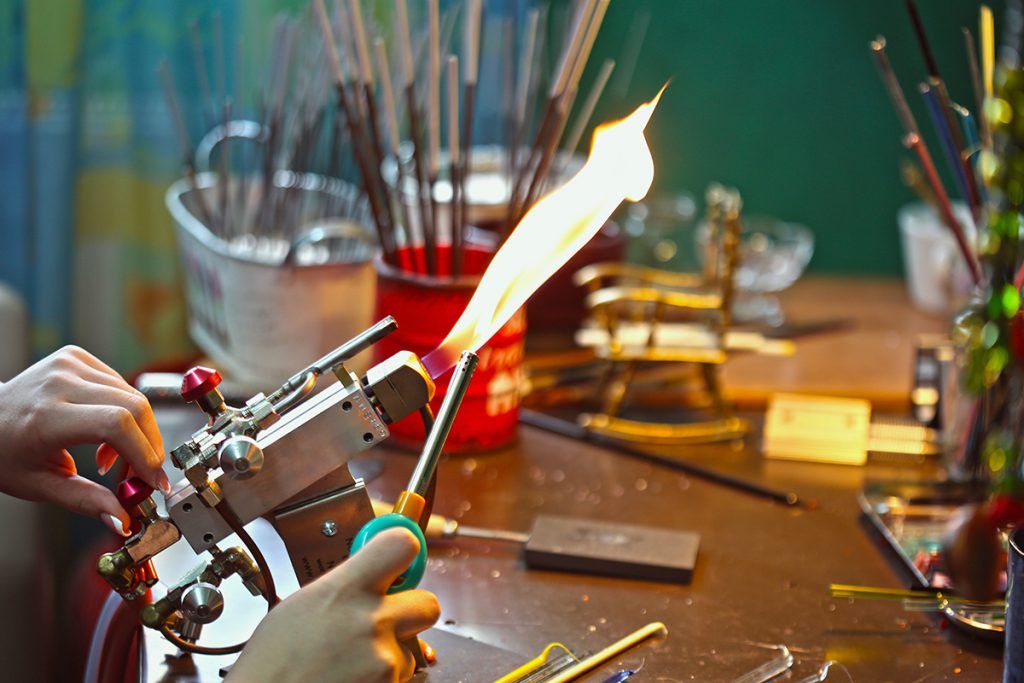
The torch is your source of heat, the “lamp” that will allow you to heat the glass. The torch must, of course, be connected to a gas cylinder, and it should have a support for securing it to the work table.
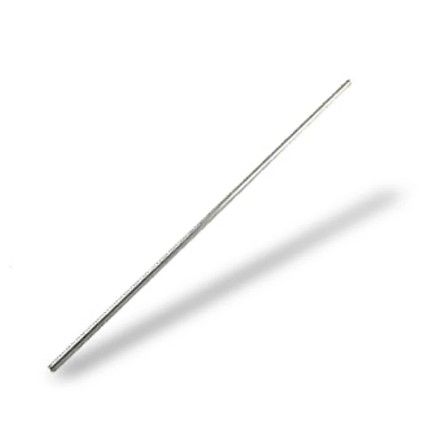
Steel rods, also known as mandrels, which are the base on which the glass is worked. The larger the diameter of the mandrel, the wider the hole in the bead. Larger diameters are more comfortable and suitable for beginners, but they are also heavier. Our advice is to start with larger diameters and gradually reduce as you gain experience.

Bead release: this is a substance similar to clay in which you must dip the rods before working, to prevent the glass from sticking to the steel.
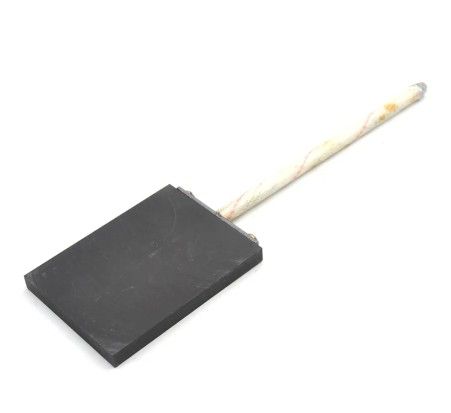
Graphite paddle: the paddle is used to assist in the working process, serving as a base on which to roll or flatten the bead while it is still warm and wrapped around the mandrel. Some paddles have a grooved surface or geometric patterns to imprint a decoration on the still-hot glass.
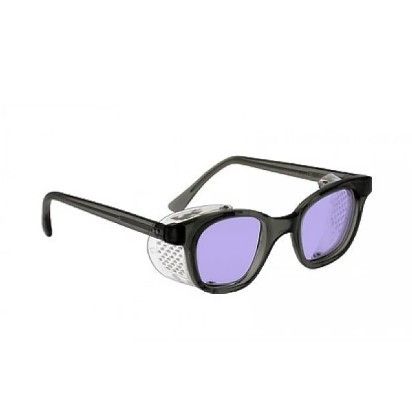
Polycarbonate glasses, which protect particularly against UV rays and the glare of incandescent sodium: this way, we can look at and see our beads even when the heat makes them incandescent.
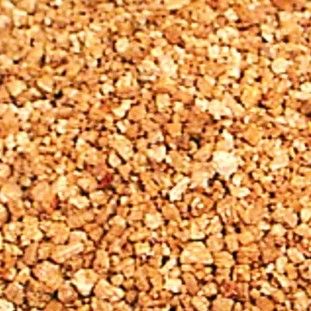
Vermiculite for cooling: once the work is finished, the beads need to cool completely, so it is important to have materials that assist in this process. Like vermiculite, which is a mineral that absorbs heat very well. It comes in flakes, which can be used to fill bowls in which to immerse the rods with the hot beads.
Other useful tools and accessories can include tweezers, a two-disk pliers for cleanly breaking the glass rods, and a tilted rod holder, not only to keep them always at hand but also to keep the glowing tip away from you and the work surface.
For your safety, always work in a well-ventilated environment, in a comfortable and spacious area with all tools at your disposal, and always wear gloves and protective glasses.
The stages of lampworking: creating glass beads
We have arrived at the moment of creation! The process is relatively simple, but also very delicate: working with incandescent material requires attention, balance, and timing. But don’t be scared if it seems complicated at first: patience and practice will help you progress faster than you think.
Start by taking a rod and dipping it in the bead release: ensure that a good part of the rod is coated and let it dry.
Open the gas torch and light the flame. Take a glass rod and slowly bring it close to the flame, continuously rotating it to allow the heat to reach the entire surface. Keep the glass in the flame until you see that its end begins to glow.
At this point, take the mandrel in the other hand and heat this as well in the flame.
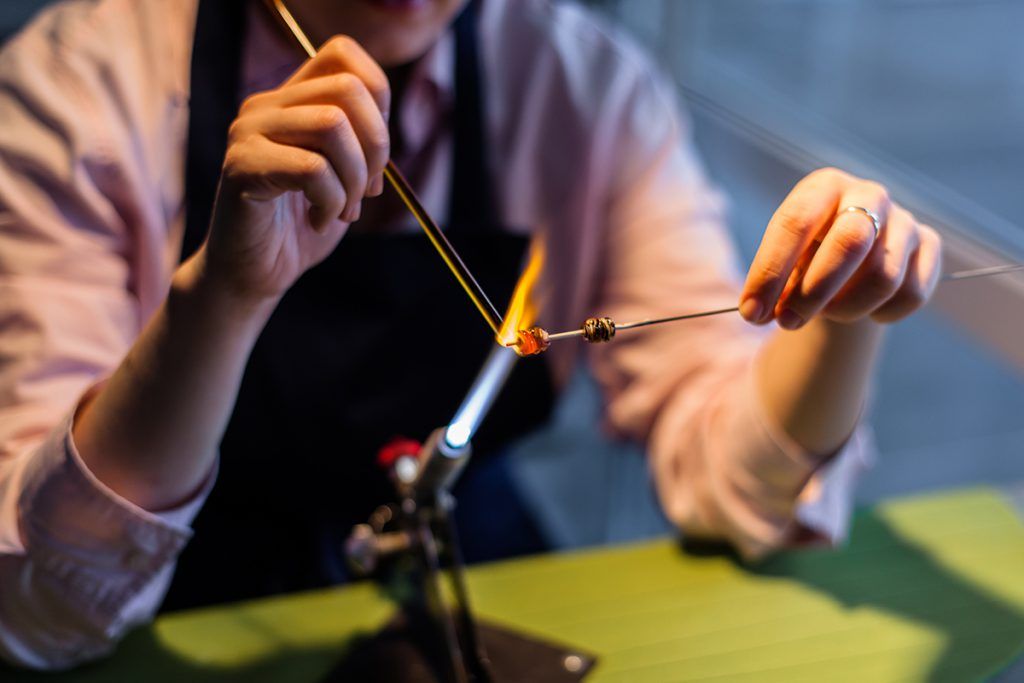
How to hold and manoeuvre the rod and mandrel? Hold the glass rod in your dominant hand (right if you are right-handed, or vice versa if you are left-handed) as if it were a pencil. The mandrel, in the other hand, should always be held horizontally and rotated continuously during work, in the opposite direction to your body.
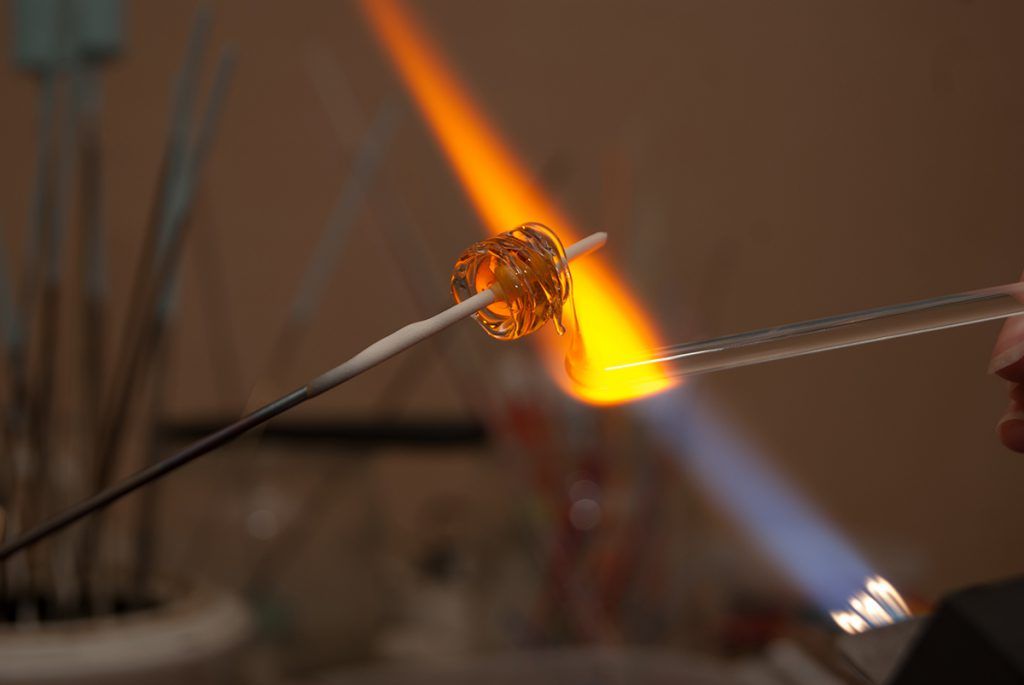
Move away from the flame and gently touch the glowing tip of the glass rod to the steel rod: the rotation of the rod will cause the glass to wrap around it, creating a ring. During this phase, the rod and glass should not remain exposed to the flame: you will need to move the rod away and let the glass cool slightly before returning to heat it again in the flame to add a new layer. Continue this process until you have achieved a bead of the desired size.
Always keep rotating the rod, even after you have moved it away from the flame. Why is this important? Because the glass, in its semi-fluid state, is particularly sensitive to gravity, and if you do not rotate the rod, you will end up with a "drop" concentrated at the bottom of the mandrel, instead of a sphere. By maintaining a constant rotation, you will allow gravity to work for you in giving the bead a regular and uniform shape! At this stage, the graphite paddle can also be useful if you want to flatten or give particular shapes to the bead: in this case, you will rotate the mandrel while resting on the surface of the paddle.
It is now time for cooling: an essential phase that requires patience, because your bead must remain immersed in the vermiculite for at least half an hour to forty minutes. Do not give in to the temptation to pull it out early and check it, as you risk compromising the process and causing cracks or breakage.
When the glass is finally cool, you can carefully remove the bead from the mandrel and wash it to remove any traces of the bead release.
Your bead is ready!
Glass beads and creativity
What we have seen is the basic procedure for making glass beads. But as you gain more experience, you can unleash your imagination using different decorative techniques.
Some examples? You can create layering, using rods of different colours one on top of the other. You can use the paddle to create more original, elongated or flattened shapes. You can create "punctuations" by applying drops of different colours that you can leave raised (by letting them cool and solidify without exposing the bead to heat again) or "melt" into the underlying layer.
There are also very suggestive techniques that involve the inclusion of external elements on the surface or inside the bead: gold or silver leaves, small objects or flowers, which are then covered by one or more successive layers. Not to mention all the possibilities offered by finishes, such as sandblasting, polishing, or matting treatments to achieve the “sea glass” effect.
We hope that this tutorial has provided you with everything you need to get started. For everything else... experience, aesthetic taste, and creativity will be your guide!