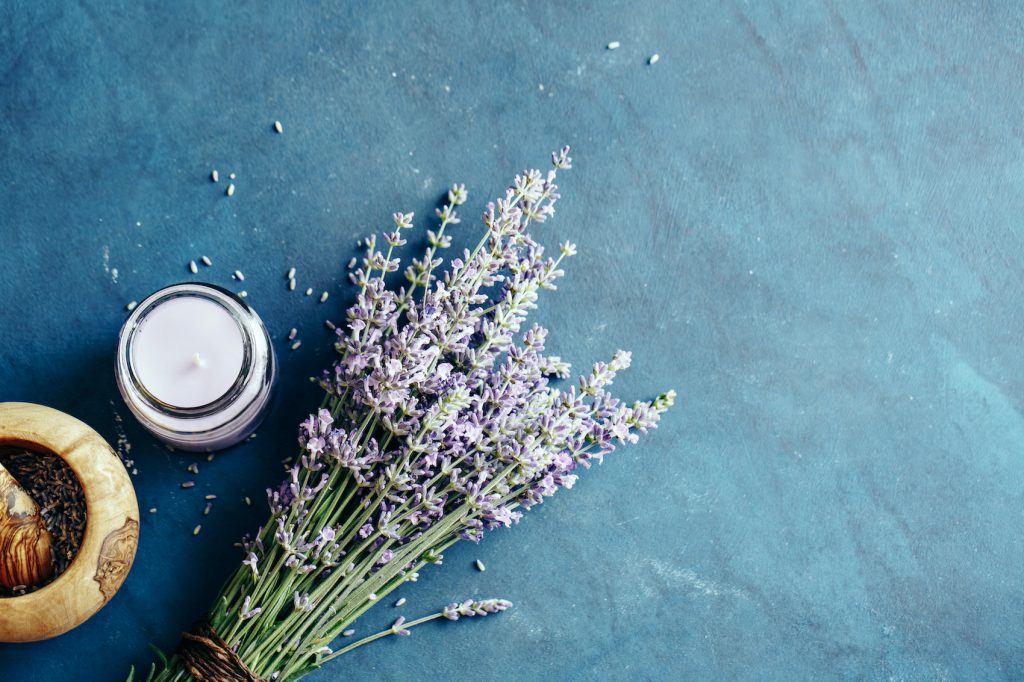
In the first part of this guide, we talked about the various types of candles you can make at home and the various types of wax you need to make them.
In this article we discuss the materials and tools you need to make candles at home, what molds to choose, and how to organize your work space.
In the third and final part we will look together at the process of making candles at home.
Here is the table of contents:
- What do you need to make the candles?
Wax
Melting containers and wax melter
Wicks
Colors and pigments
Candle fragrance oil
Molds or containers
Thermometer - Melting containers for various types of candles
- Choosing the right wick
Round wick
Flat wick
Natural wick
Waxed wick
Table summarizing wicks by candle type
The measurements of the wicks
Calculate the diameter for wick measurement - About colors and pigments
How can I control the amount of color?
Does the color of the candle stint? - Choosing the right mold
- Kits with everything you need to make candles at home
- Organize the work area
What do you need to make candles at home?
Wax
Certainly wax is the basic ingredient you need to make candles at home.Hobbyland has many types of wax in the store, each with unique characteristics. If you are starting from scratch, before you place your order we suggest you read here, where we discuss the different types of wax.
Melting containers and wax burners
Wax has a fairly low flash point (160°C and above), so it is crucial not to exceed this temperature. That’s why it’s best to heat the wax in a water bath with an aluminum container inside a pot with water, or use a double-walled pot. If you want something more professional, you can think about an electric stove: there are various sizes. Find various types of equipment (water baths and containers of various shapes and sizes) here.
Caution: The melting process should always be checked in person, NEVER leave the wax unattended on the burning stove!
Wicks
One of the most intriguing challenges when you want to make candles at home is finding the right wick. When choosing it, you’ll need to consider every aspect of the candle: shape, size, wax type, color, and scent. If you are just starting out, you can of followed the directions on wicks, just below.
Colors and pigments
There are two types of wax colors: dyes and powder pigments.
- Dyes, in liquid or stick form, are typically used to completely color (including inside) candles. These dyes behave in wax as sugar behaves in water: they mix with melted wax and dissolve to perfection. However, they have a lower resistance to ultraviolet light: meaning that candles may fade in color over time.
- Powder pigments, on the other hand, have great coloring power and resist well over time; they are especially suitable for coloring the surface of white dip candles.
Beware, however.: the fact that they are in powder form makes them yes stronger, but also more difficult to work with: they dissolve with more difficulty than liquid dyes and must be mixed carefully. In addition, if the candle is not colored carefully, residual traces of pigment can hinder combustion. And in short, a candle that doesn’t burn well is not a successful candle…
Consider that in liquid wax the pigment always tends to settle to the bottom, so you have to stir constantly before you start working.
Important: Do not use colored wax crayons to color your candles. They do not mix well with the wax, knead the wick, and impair proper burning.
Wax flavorings
Wax flavorings are synthetic blends based on essential oils designed to resist wick flame.
You will have to add the flavorings according to weight percentages between 3 and 10 percent depending on the type of wax you use. For example, 6% flavoring on 100 grams of wax will be 6 grams.
As a general rule, you should add candle flavoring at a temperature between 70 and 80°C. If you add it at higher temperatures you may “burn” the fragrance compromising the final aroma, while if you add it at lower temperatures you risk “oozing” of the aroma that would compromise the proper burning of the candle.
Always check the flash point of the flavor: in some cases this may be at temperatures lower than 70°C. So how do you do it? You test: do some testing to find the right compromise for pouring temperature.
The pouring temperature of the wax with aroma inside the molds or containers varies depending on the type of wax. As in all things: try, experiment, test (always safely and with quality materials!). No advice will ever be worth your experience.
What about essential oils?
We advise against using essential oils to scent candles. Most of these tend to “burn” when poured at high temperatures, and even adding large amounts is unlikely to give the candle an intense fragrance.
Molds or containers
Hobbyland has a huge assortment of candle molds, in polycarbonate, metal, silicone, ideal for making any type of candle. If, on the other hand, you want to make jar candles or tealights, you will also find a good selection of containers.
Thermometer
The thermometer is an essential tool for candle making: the melting temperature of the wax and the pouring temperature can substantially affect the final result. Hobbyland has a specific glass thermometer with a protective cage, suitable for hanging in the container of melting wax.
Melting containers for various types of candles
Dipping candles
You’ll need containers at least 40 cm high to put in a larger container for the water bath. For candles with beeswax you need at least two containers; consider that several colors of wax require one container each in which you will dip the candle to make the different layers. At Hobbyland you can find both the aluminum cylinders and the container for the water bath. You can also find a specific electric “water bath” (stove), which keeps the wax at the right temperature at all times.
Mold candles
If you need to melt wax for molds and use only one color, it is best if you use small, easily handled wax melters. You will need then: thermometer and molds made of polycarbonate, metal, silicone.
Hobbyland has a wide selection, and you can even make your own mold using the silicone rubber line.
For casting temperatures, I refer you to the other post where we discussed waxes.
Choosing the right wick
The wick is a key element in candle making: without the proper wick, the candle will burn poorly and poorly. And what kind of candle is it if it doesn’t burn well!

A candle with the right wick will have these qualities:
- A continuous flame with a constant size. The flame will not give off sparks.
- When lit it will form a “pool” of wax at the flame, without dripping.
- The container will have a moderate temperature.
Unfortunately, there is no magic formula for determining the correct wick: the ideal solution may vary depending on the wax used, the size of the candles, and the type and amount of flavors and colors used. Only your experience and continued experimentation will give you the answer.
In addition to the wick, you may need the wick-cutting scissors and tongs.
To help you get off on the right foot, here is a brief overview of our wicks and their most recommended uses:
Round wick
Made of pure cotton, with paper core, ideal for container candles and tealights. You can use it with kerosene, wax beads, soy wax.
Flat wick
Made of pure cotton, braided and soft. It is used for cylindrical, conical or twisted candles. It can also be used in candles with irregular shapes, figures, characters, etc., i.e., when you want to avoid dripping as much as possible. The flat wick is suitable for kerosene and wax and stearin mixtures, but is not suitable for beeswax.
Natural wick
Environmentally friendly, made of mixed cotton and linen fiber, this wick is specially designed for vegetable waxes and all soft filler waxes where fragrances are used in high percentages. It is not treated with chlorine or chlorine-derived products and is not made from materials harmful to health.
Precerated wick
- Natural, with staple stop, made of cotton with linen core, waxed with soy wax. It is suitable for candles up to 80 mm in diameter.
- Stiff round wick with paper clip, for powder, gel or traditional candles. Ideal for candles up to 80 mm in diameter.
Let us summarize:
| Wick type | Container candles | Self-supporting candles | Candle tealights |
|---|---|---|---|
| Round wick with paper core | ✅ | ||
| Flat wick | ✅ | ||
| Natural wick | ✅ | ✅ | ✅ |
| Precerated wick | ✅ | ✅ | ✅ |
The measurements of the wicks
There are different sizes for each type of wick based on the diameter of the candle.
Round wick
- No. 4: candles with diameters up to 50 mm.
- No. 6: candles with diameters up to 80 mm.
- No. 8: candles with diameters up to 100 mm.
Flat wick
- No. 12: candles with diameters up to 20 mm.
- No. 24: candles with diameters up to 40 mm.
- No. 48: candles with diameters up to 50 mm.
- No. 72: candles with diameters up to 70 mm.
- No. 105: candles with diameters up to 100 mm.
Natural wick
- No. 6: candles with diameters up to 40 mm.
- No. 10: candles with diameters up to 70 mm.No. 12: candles with diameters up to 100 mm.
Calculate the diameter for wick measurement
The first thing to consider is the diameter you need. Here are some examples on how to calculate the diameter:
- In a tapered candle with a 10-cm base, the median diameter will be 5 cm, and consequently you will use a candle wick up to 5 cm in diameter.
- If you have an 8 cm spherical candle, you will use a candle wick up to 4 cm in diameter.
- For a cylindrical candle with a diameter of 6 cm you will need a wick for candles up to 6 cm in diameter.
- If, on the other hand, your candle is symmetrical, you will evaluate the diameter of the base.
The flat wick does not have a verse, while the round wick does. On the flattened part you can see a “V” shape. That will be the upper part of the wick.
About colors and pigments
We have already told you about the various colors and pigments. Now let’s take a useful step forward for processing.
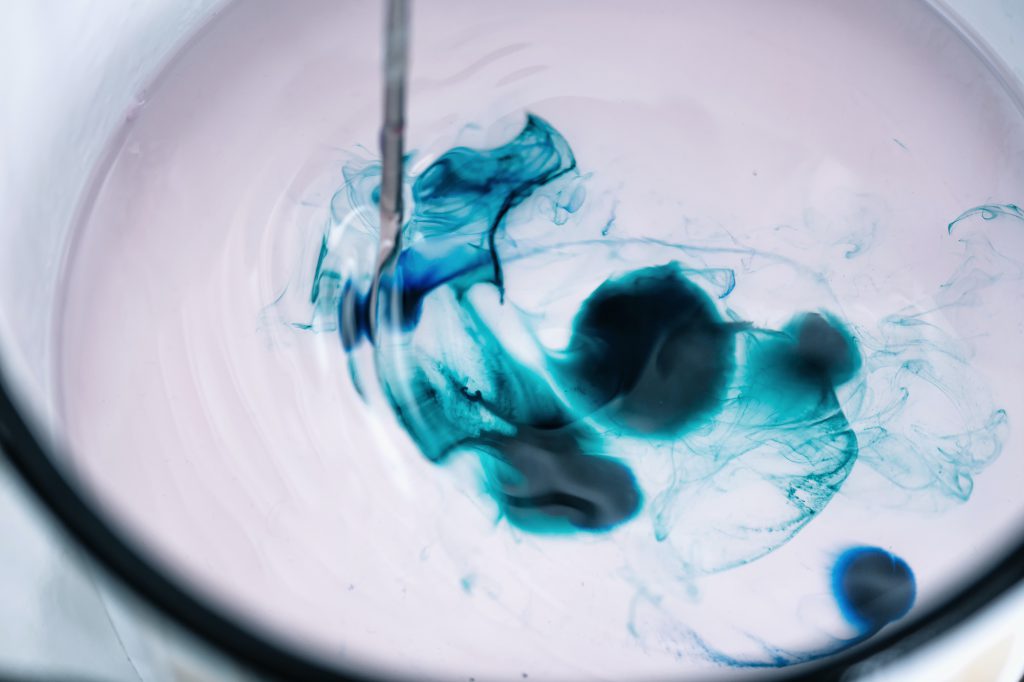
How can I control the amount of color?
To test what the final color of the candle will be, you can dip a few drops of melted wax into a container of cold water. The wax will solidify immediately and allow you to assess the color.
Consider, however, that the finished candle will nevertheless have a slightly more intense shade because there is a larger amount of wax. You’ll always want to put the dye in a little at a time, so you can change the intensity.
Does the color of the candle stint?
If you have put in a lot of dye, it is inevitable that some color will transfer to what it comes in contact with, such as the base or packaging. That’s why we advise you to protect the candle, if it has intense colors, with the lacquer specially made for candles or by dipping it in pure kerosene.
Choosing the right mold
The more the mold withstands the temperature, the higher the melting temperature and the better the result.
The greater the difference between the room temperature and the melting temperature and:
- The wax will contract more as it cools down
- The candle will pull out of the mold more easily
- The candle will be more compact, smooth and shiny
- There will be less residue in the mold.
Beeswax candles are more difficult to pull out of the mold, so it is best if you use conical or pyramid molds or two-part or flexible silicone molds.
Of course, the more lopsided the mold, the more problematic it is, both for candle extraction and combustion, so it is good to do some experimentation.
How much wax do I need for the mold?
Basically, just fill the mold with wax granules to get the amount you need. Remember, however, that wax shrinks when it cools, so figure in a little extra wax to top off the mold.
By how much does the wax shrink when it cools? As for gel wax, the proportion is 1 liter = 750 g. Indicatively, estimating the volume, a normal glass contains 200 ml, so with 1 liter of gel wax you will be able to make about 5 glasses.
It is more difficult to calculate the amount of wax you need for dipping candles, because to totally submerge the candle the container will have to be filled.
Kits with everything you need to make candles at home
If you want to have everything you need, already selected and prepared, we have two kits for you.
The basic kit includes:
- 2 kg of wax mixture
- 3 pigment sticks assorted colors
- 1 wax melting container
- 1 container pliers
- 1 cylindrical mold
- 1 package of candle wick 3mt
- 1 package of wax flavoring
- 1 book on candles.
The deluxe kit is more comprehensive, and includes:
- 1 electric melting stove with 6 containers
- 1 container pliers
- 10 kg of premixed wax beads
- 3 packs of 50 g powder pigments various colors
- 1 wax thermometer
- 1 package of candle wick 50mt
- 3 packs of wax flavoring
- 3 methacrylate candle molds, 1 cylinder, 1 square and 1 sphere
- 1 package of candle lacquer 250 ml
- 1 spray mold separator
- 1 book on candles.
Organize the work area
Wax or dye stains are difficult to remove, so if you want to make candles at home, it is best to carefully prepare the area where you will be working.
Best if you cover the worktops with newspaper and the stovetop with some aluminum foil.
Have everything you need on hand: melting container, wax, colors, flavorings, wick, molds or containers, scissors, scrapers, thermometer, decorating elements.
In the third part of the guide we will look in detail at all the steps to create beautiful, fragrant, homemade candles with your own hands!