What could be more romantic than a dinner illuminated by the sparkle of a lantern? Or more evocative than the lights of lanterns illuminating a summer outdoor party with friends or the remote corners of your garden?
By following this tutorial, you will learn to make beautiful ones and discover the satisfaction of seeing them lit.
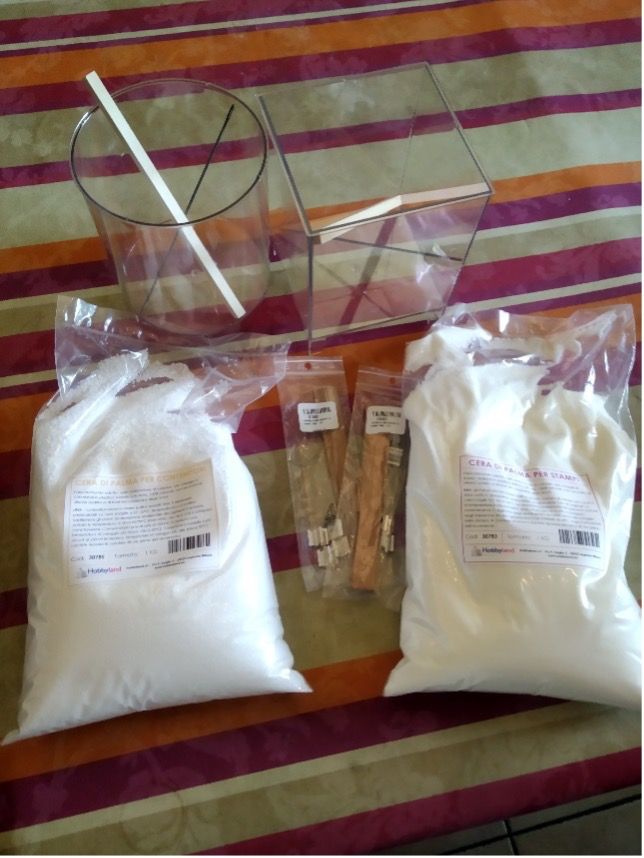
What you need
- Vegetable wax: from palm both for containers and for molds
- coconut wax
- wooden wicks
- lantern molds: square or round
- fragrances
- a piece of cardboard
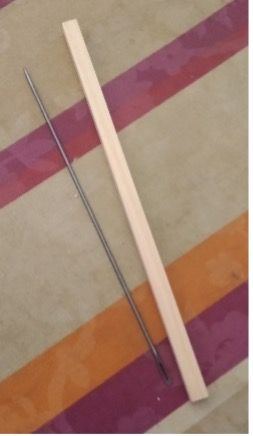
Note: in the mold package, you will find a needle and stick
For this project, we will use only vegetable wax; you will discover how delightful coconut wax is, fragrant and soft as butter, and how crystalline palm wax is. In this environmentally conscious era, using completely plant-based waxes has become a necessity, and they are now easily available materials. Besides, between us, you will fall in love with their characteristics and will not be able to do without them.
We will also use wooden wicks: very easy to use as they come ready with their metal supports and, above all, very easy to calibrate according to the diameter of the candle.
The fragrances are obviously to your liking; however, it should be noted that if you use the lanterns for a dinner, the scents of the candle may become annoying and mix with the aromas of the dishes, so consider right away what the purpose of your lantern might be!
Procedure
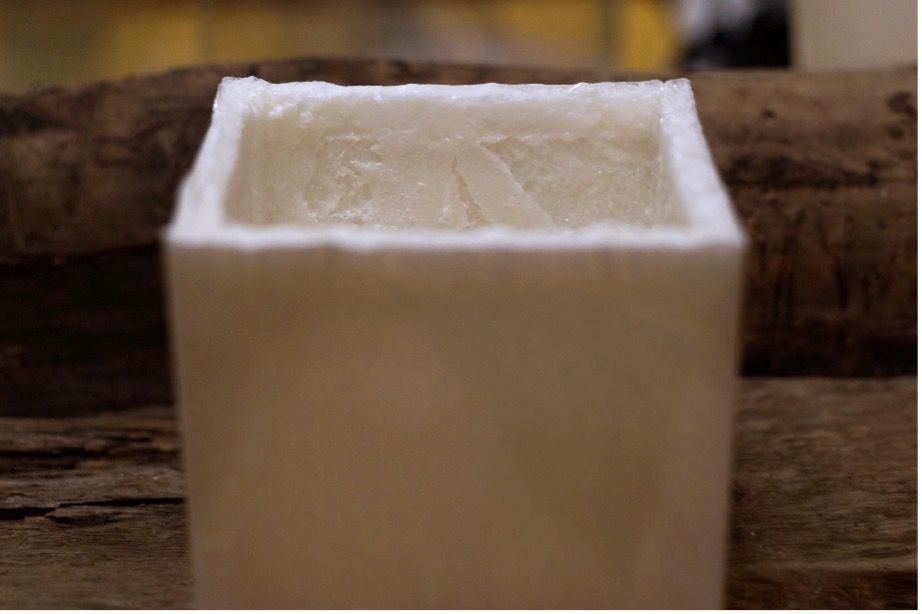
Melt a generous amount of palm wax for molds in a double boiler; once completely melted, fill your mold to the brim, or to the height you desire. Let it cool for at least an hour, an hour and a quarter, but no longer.
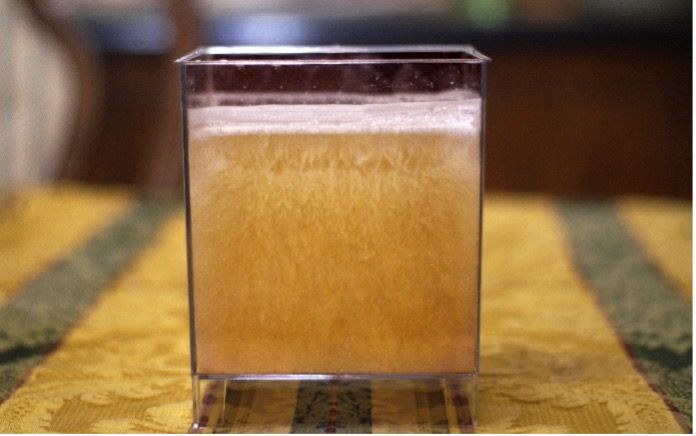
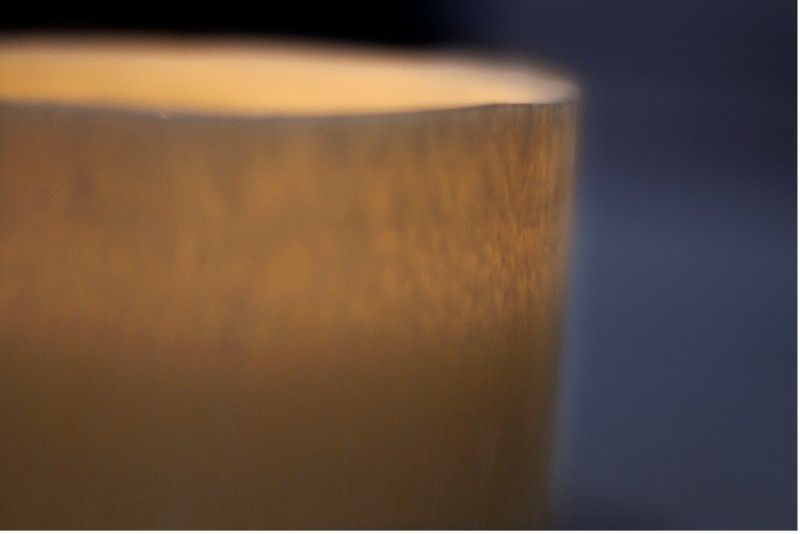
Note the very particular texture of palm wax
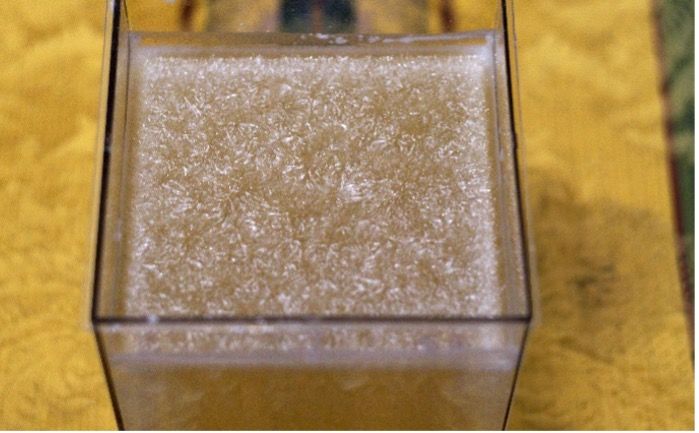
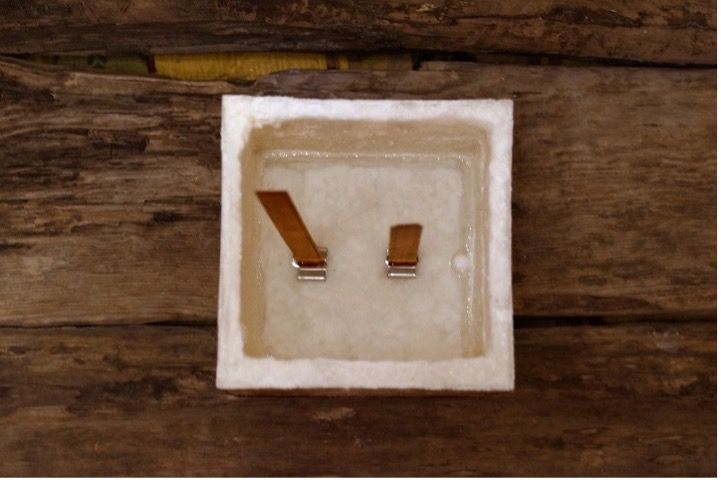
At this point, a solid layer will have formed: using the needle found in the mold package, make holes, freehand or using a piece of cardboard as a template, on the top of the candle to remove the "cap" of solidified wax, then empty the candle of all the liquid wax it contains.
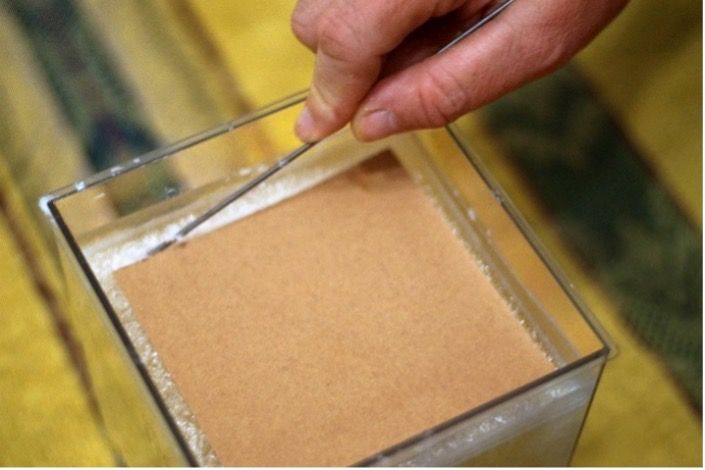
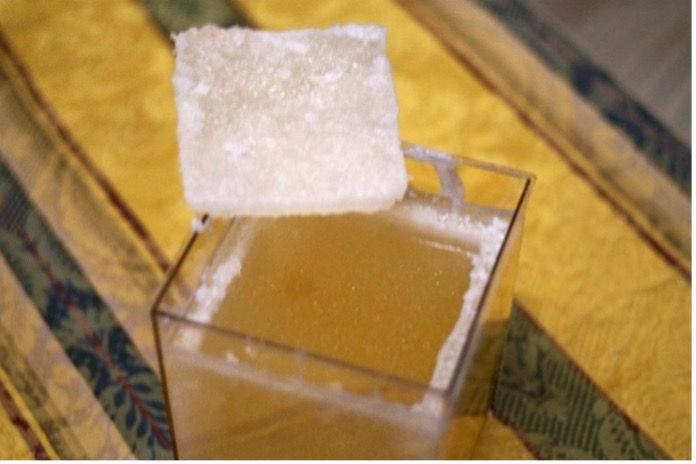
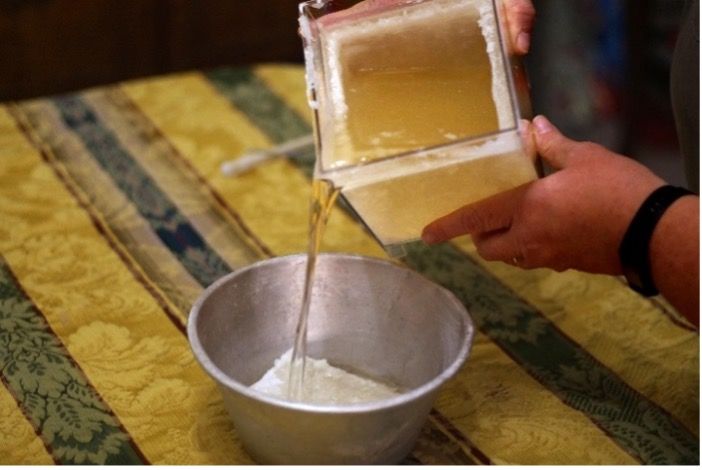
The removal of the wax cap and emptying of the liquid wax
You have thus obtained a sort of box of wax. The thickness of the walls and therefore the amount of light they will let through varies depending on how long you let it cool before proceeding to empty it.
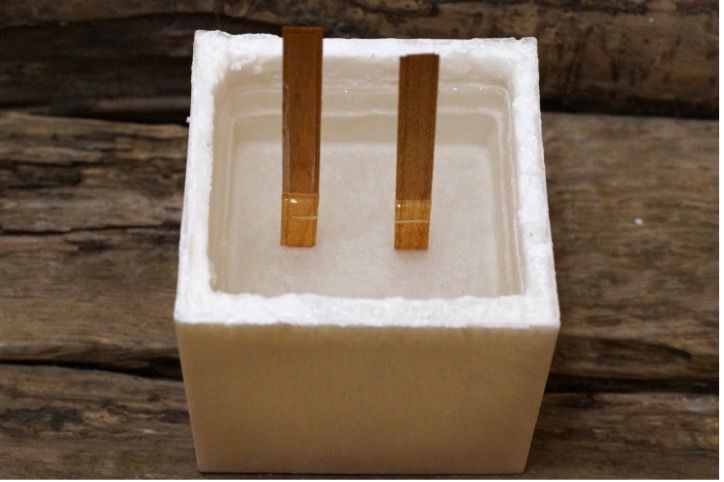
Now, with the stick, also contained in the mold package, smooth the inner walls of the lantern.

You will notice how easily the palm wax detaches from the mold without needing to grease it first.
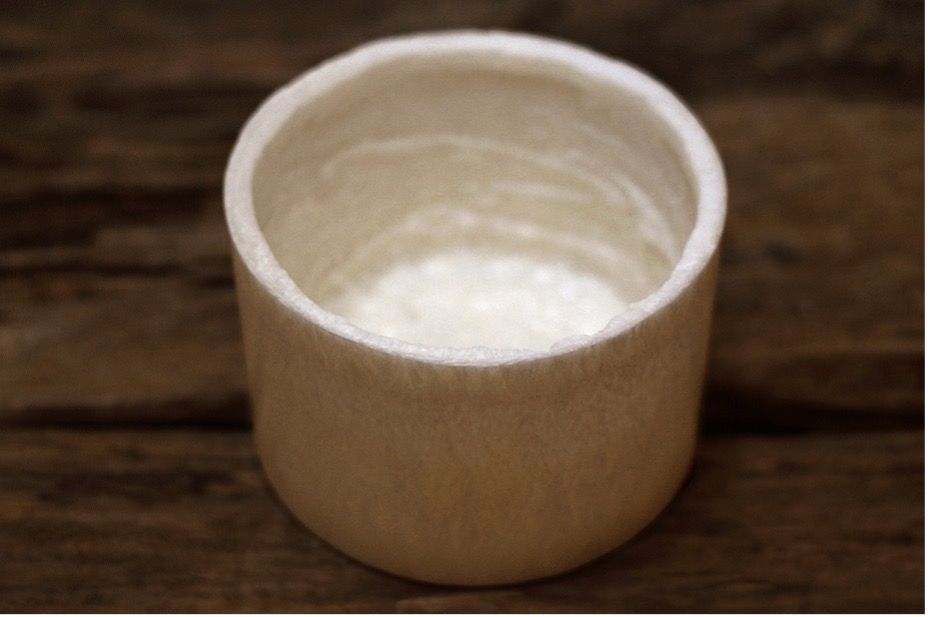
Two lanterns after smoothing
Now, still using the double boiler technique, melt the wax to fill your lantern: you can use palm wax for containers or coconut wax.
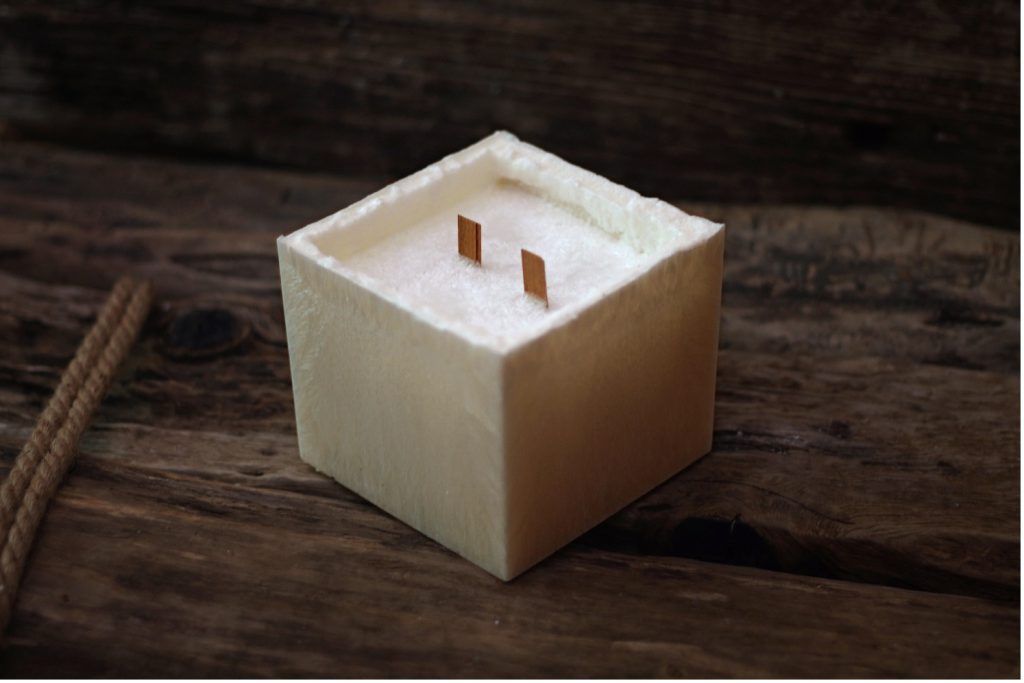
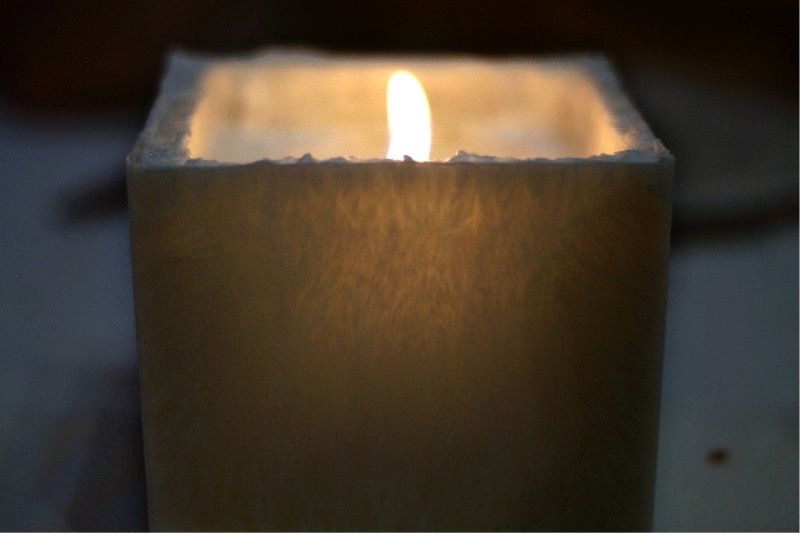
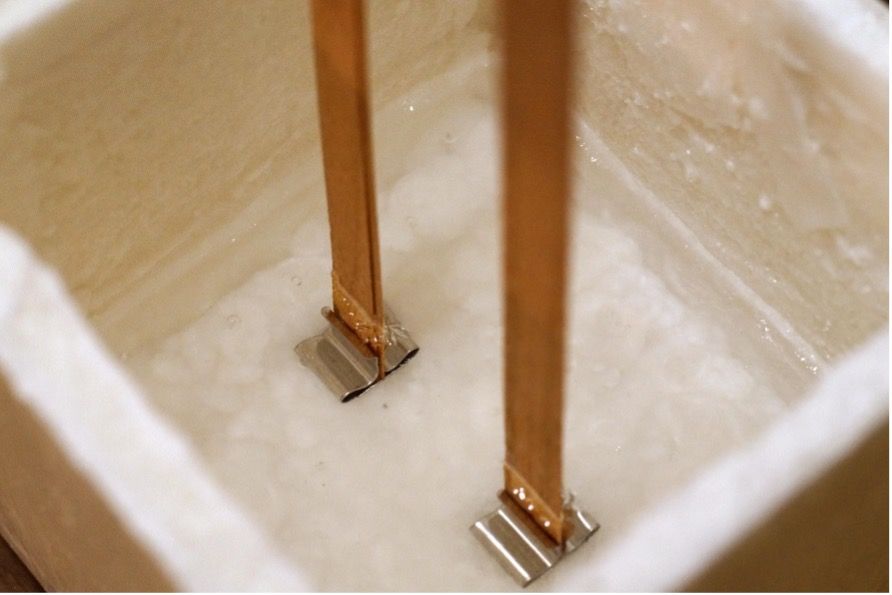
Position the wooden wicks, only one if you are using the wider diameter one, two if you want more flames and more light, but in this case, use the thinner ones. With a pair of scissors, cut them to the height you want.
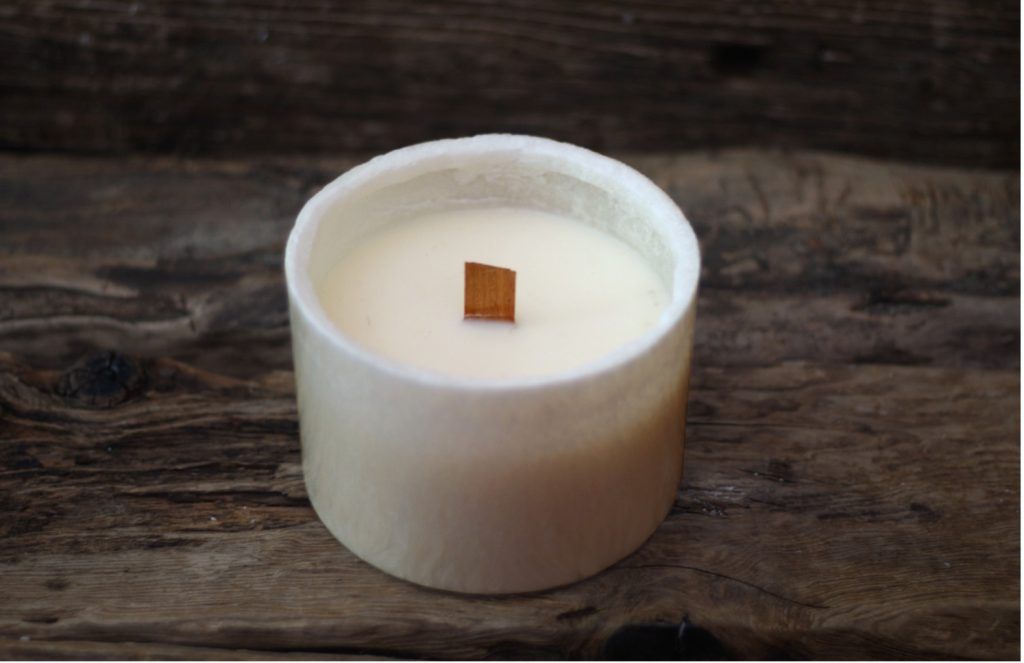
A lantern filled with palm wax of the characteristic crystalline colour and two medium-sized wooden wicks

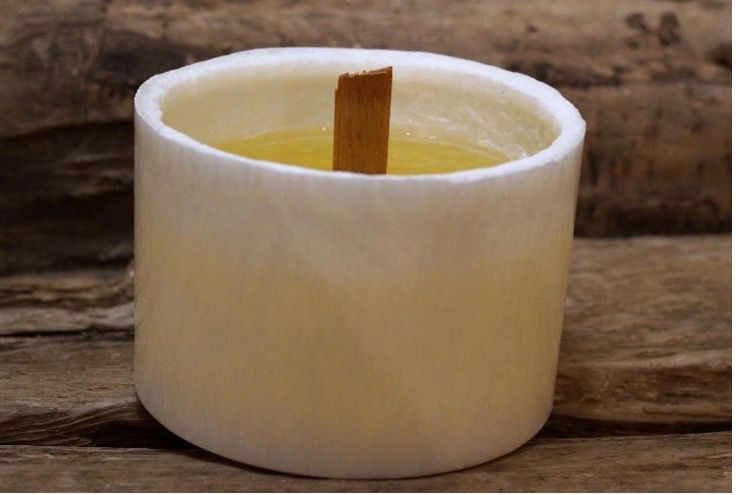
A lantern filled with coconut wax, of the characteristic yellowish colour and a single large wick
These wooden wicks are double-layered, and this feature makes them very effective: they produce a uniform flame, a pleasant crackling sound, and when you extinguish them, thanks also to the fact that you are using vegetable wax, they will produce almost no smoke!
If you want a scented lantern, you can now pour the fragrances directly into the still liquid wax inside the lantern. You will notice that, unlike stearin and paraffin, when vegetable wax cools, it does not create those unsightly depressions near the wick. Make sure not to fill your lantern to the brim: always leave a 1 or 2 cm edge.
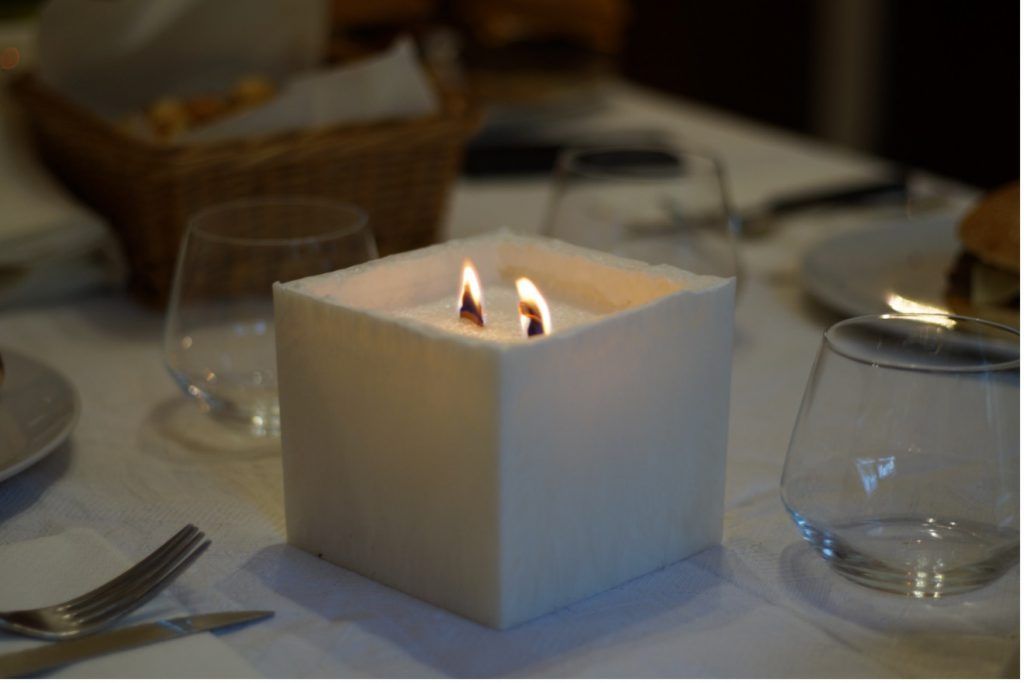
Here is the final result! After allowing the wax to cool for about 24 hours, you can enjoy its enchanted light!