 Italiano
 English
 Français
 Español
 Deutsch
Do you want to decorate your home with beautiful Christmas candles?
Do you want to create a special and always appreciated Christmas gift with your own hands?
You are in the right place!
What you need
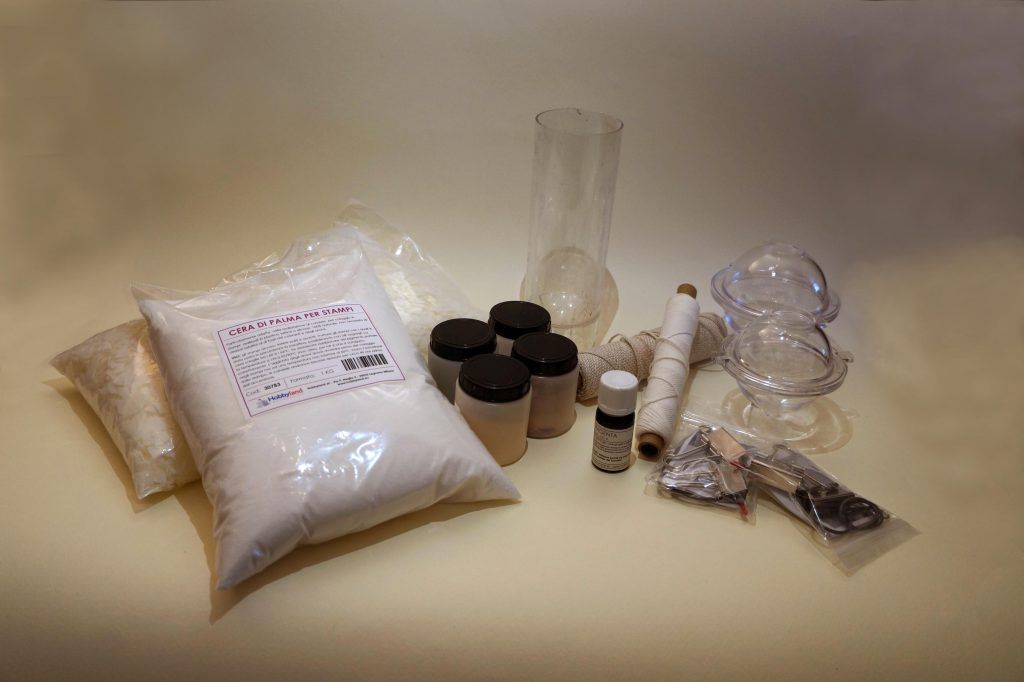
- Moulds for free-standing spherical and cylindrical candles
- Wick
- Palm wax for moulds (and soy wax for decoration)
- Mica pigments
- Wooden sticks
- Paper tape
- Glitter
Procedure:
Step 1
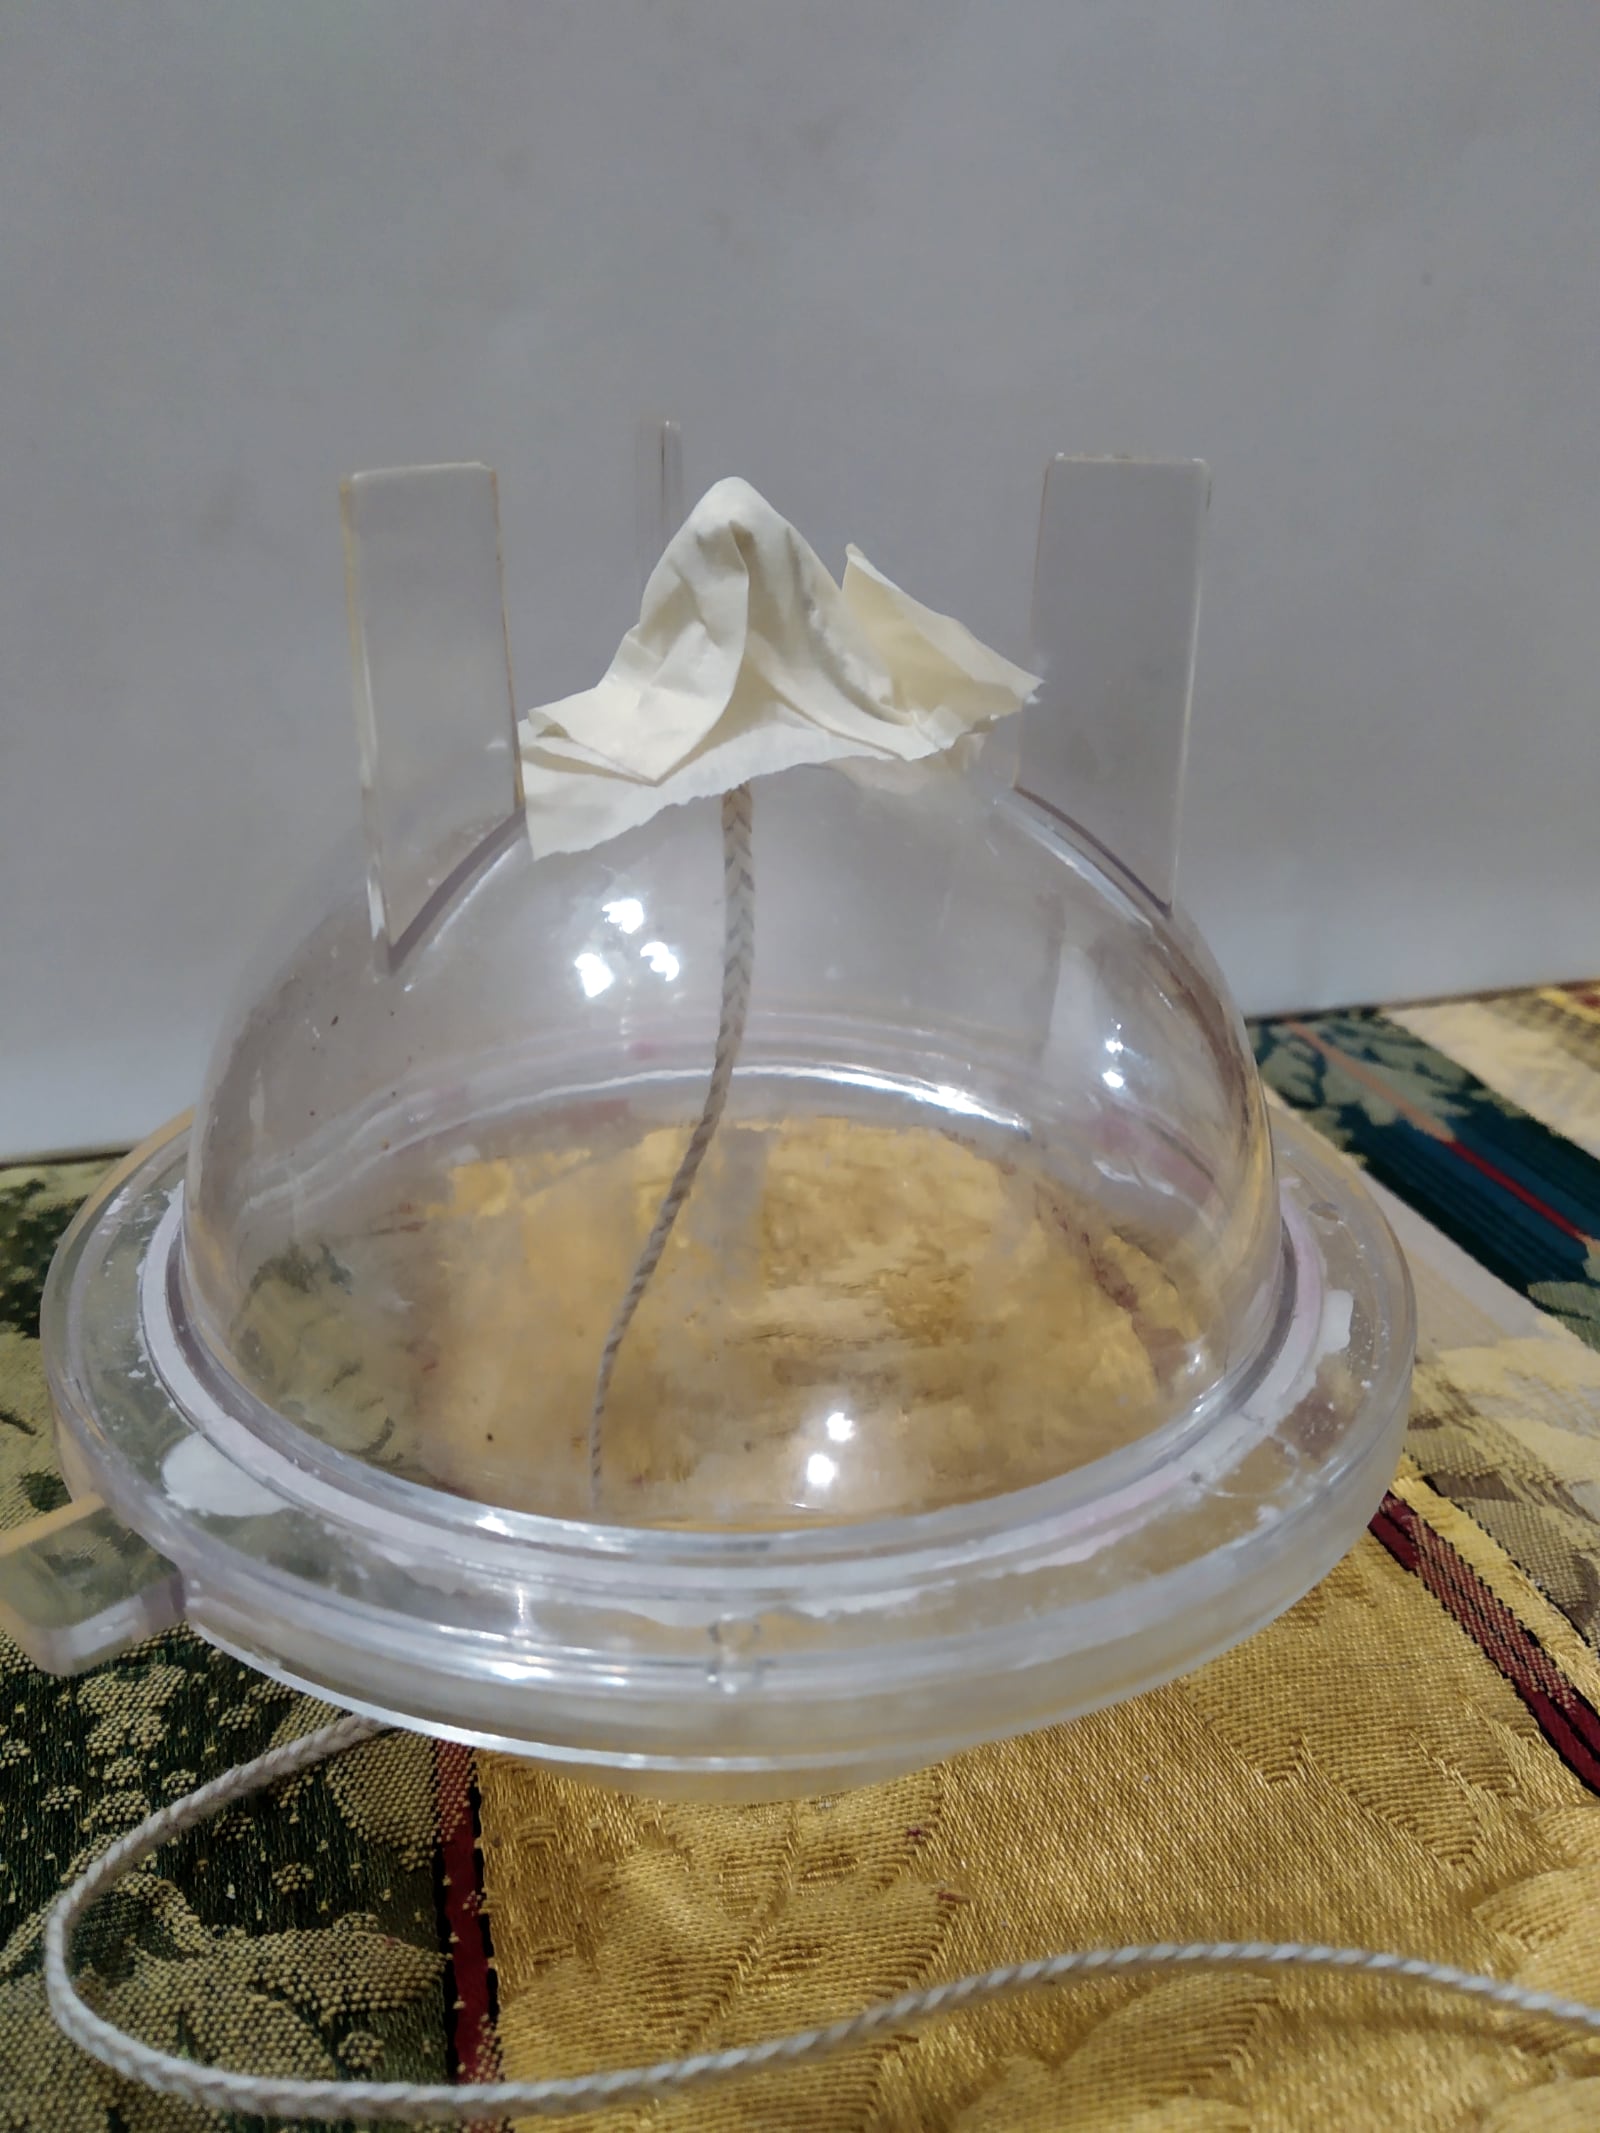
Melt the palm wax in a double boiler, then dip the wick into the melted wax to coat it well. Once the wick has cooled and hardened, prepare the moulds: thread the wick through the mould and secure it with paper tape.
Step 2
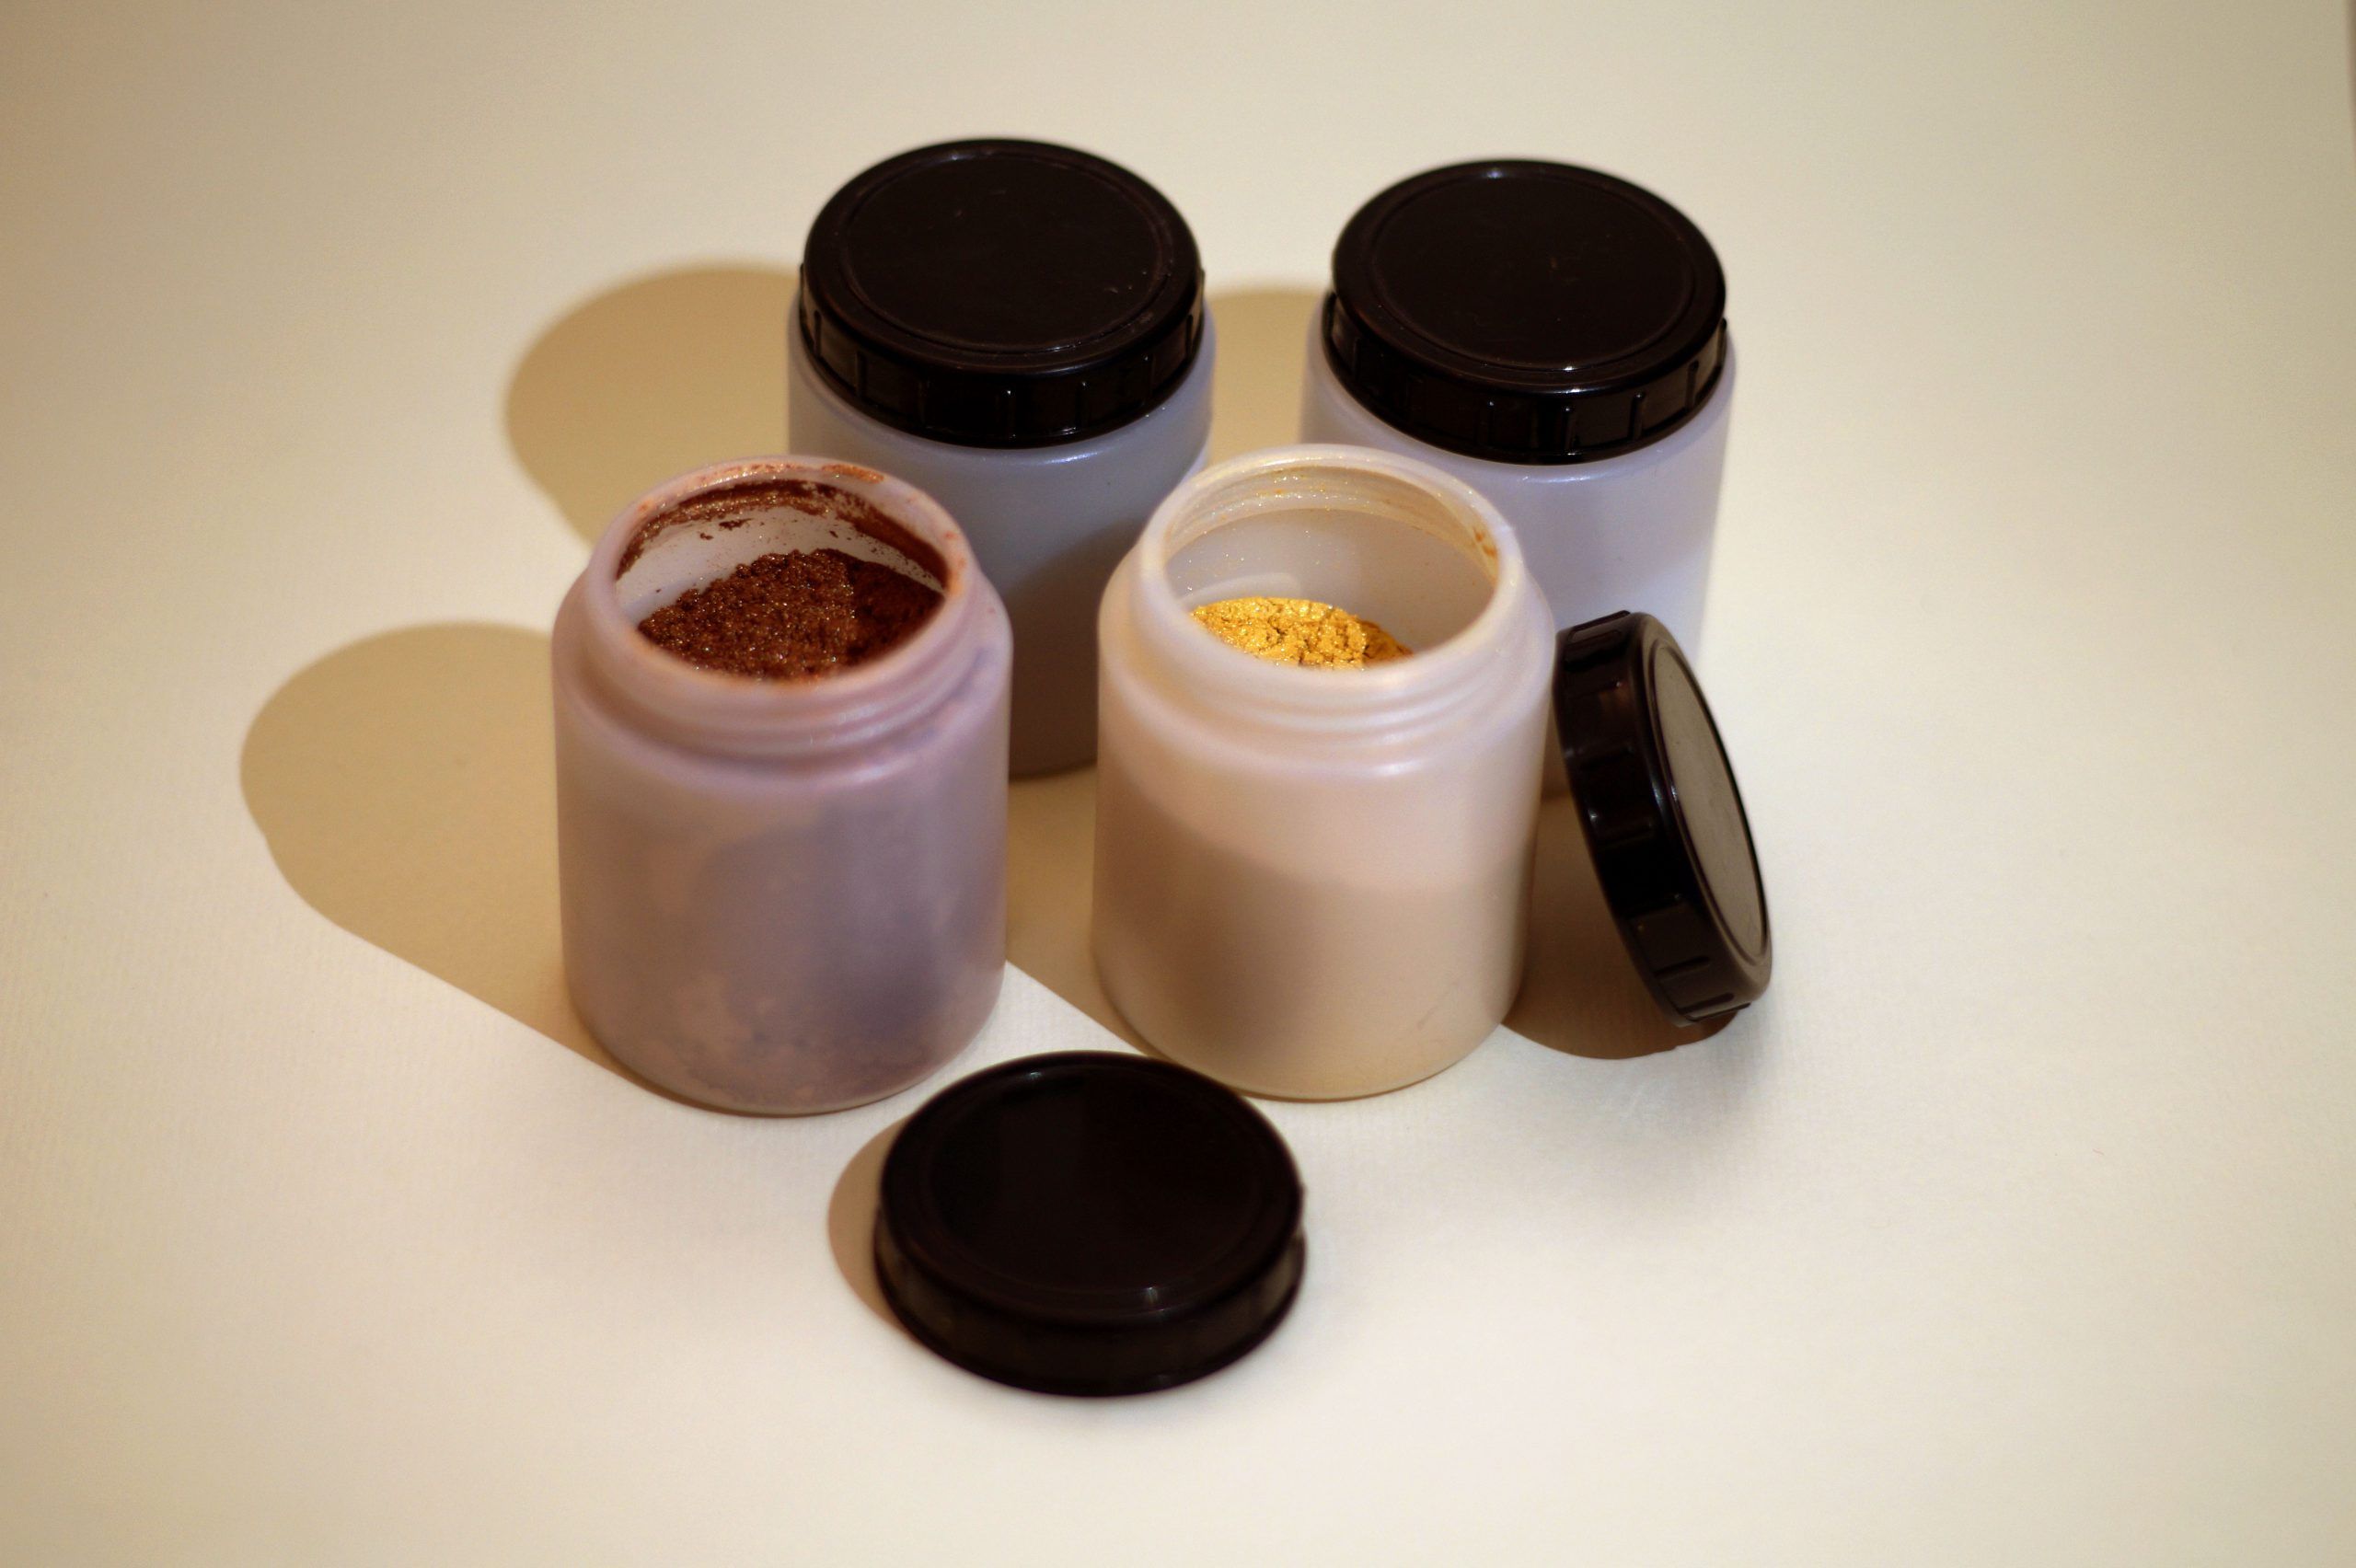
Now take the palm wax, which should have completely melted by now, and add the pigment. You will see the shimmering effect of the mica powder with the palm wax, which already has a special texture on its own.
Step 3
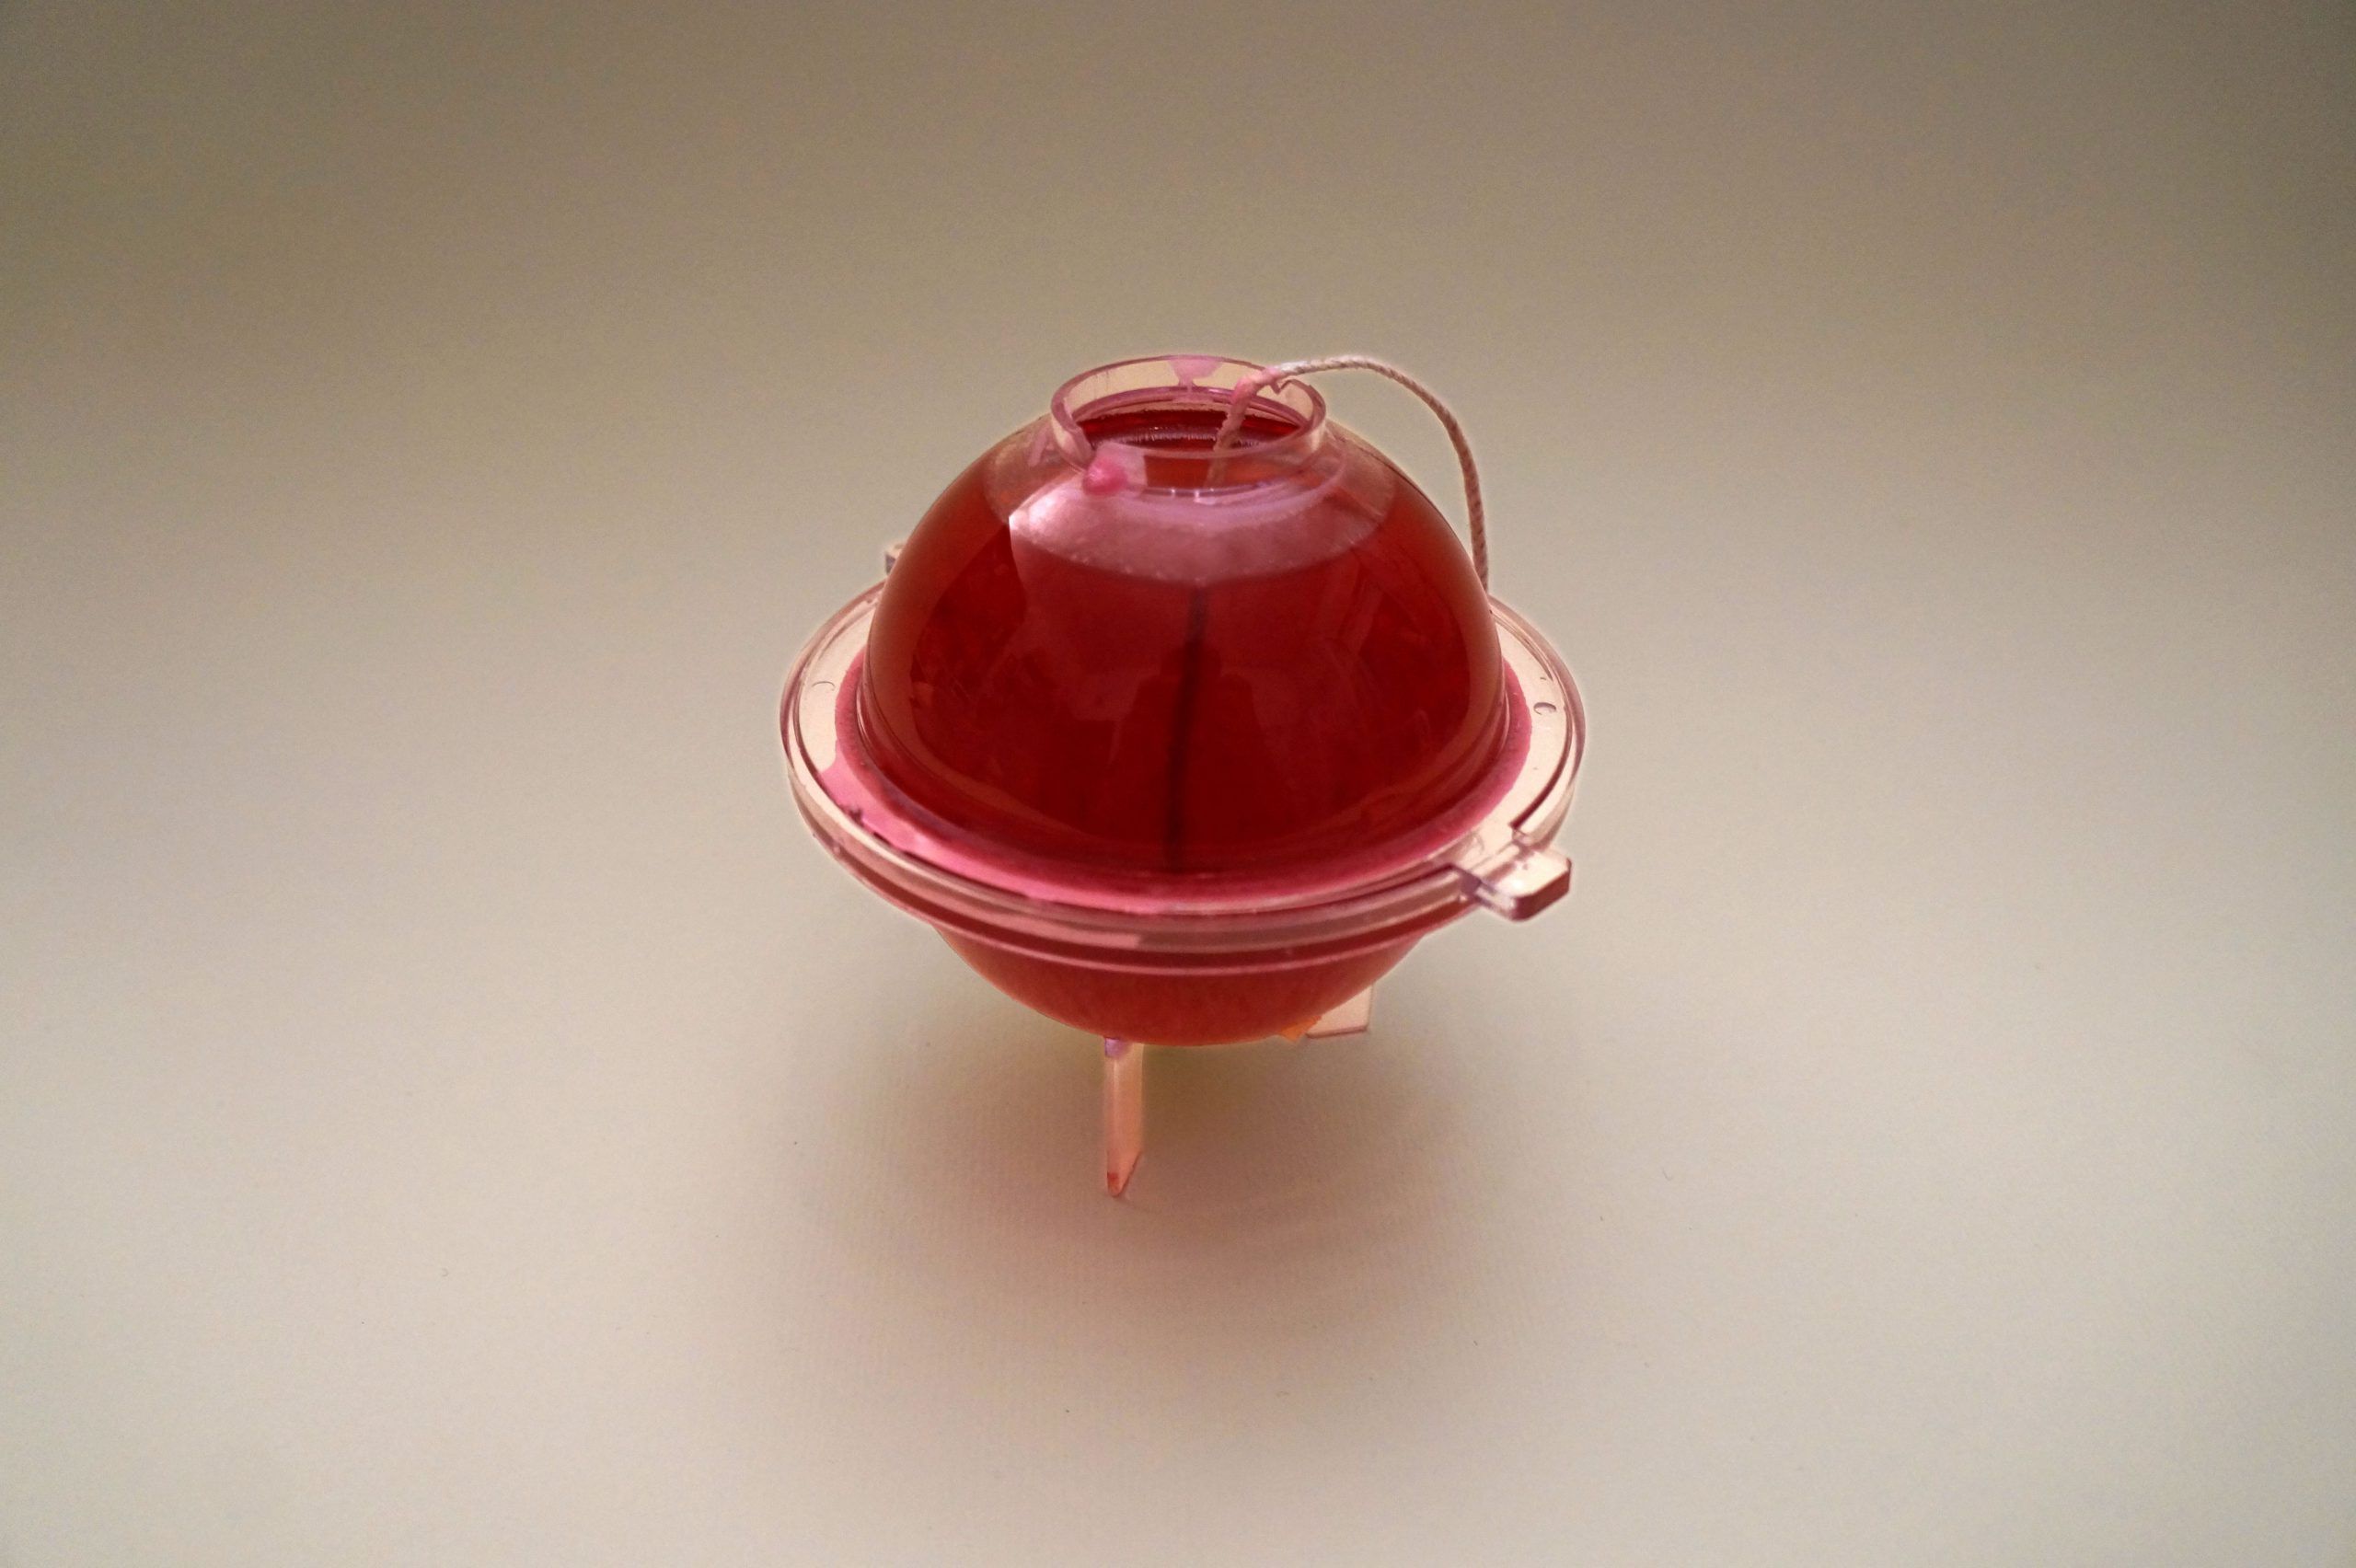
Fill your moulds, here is the round one.
Step 4
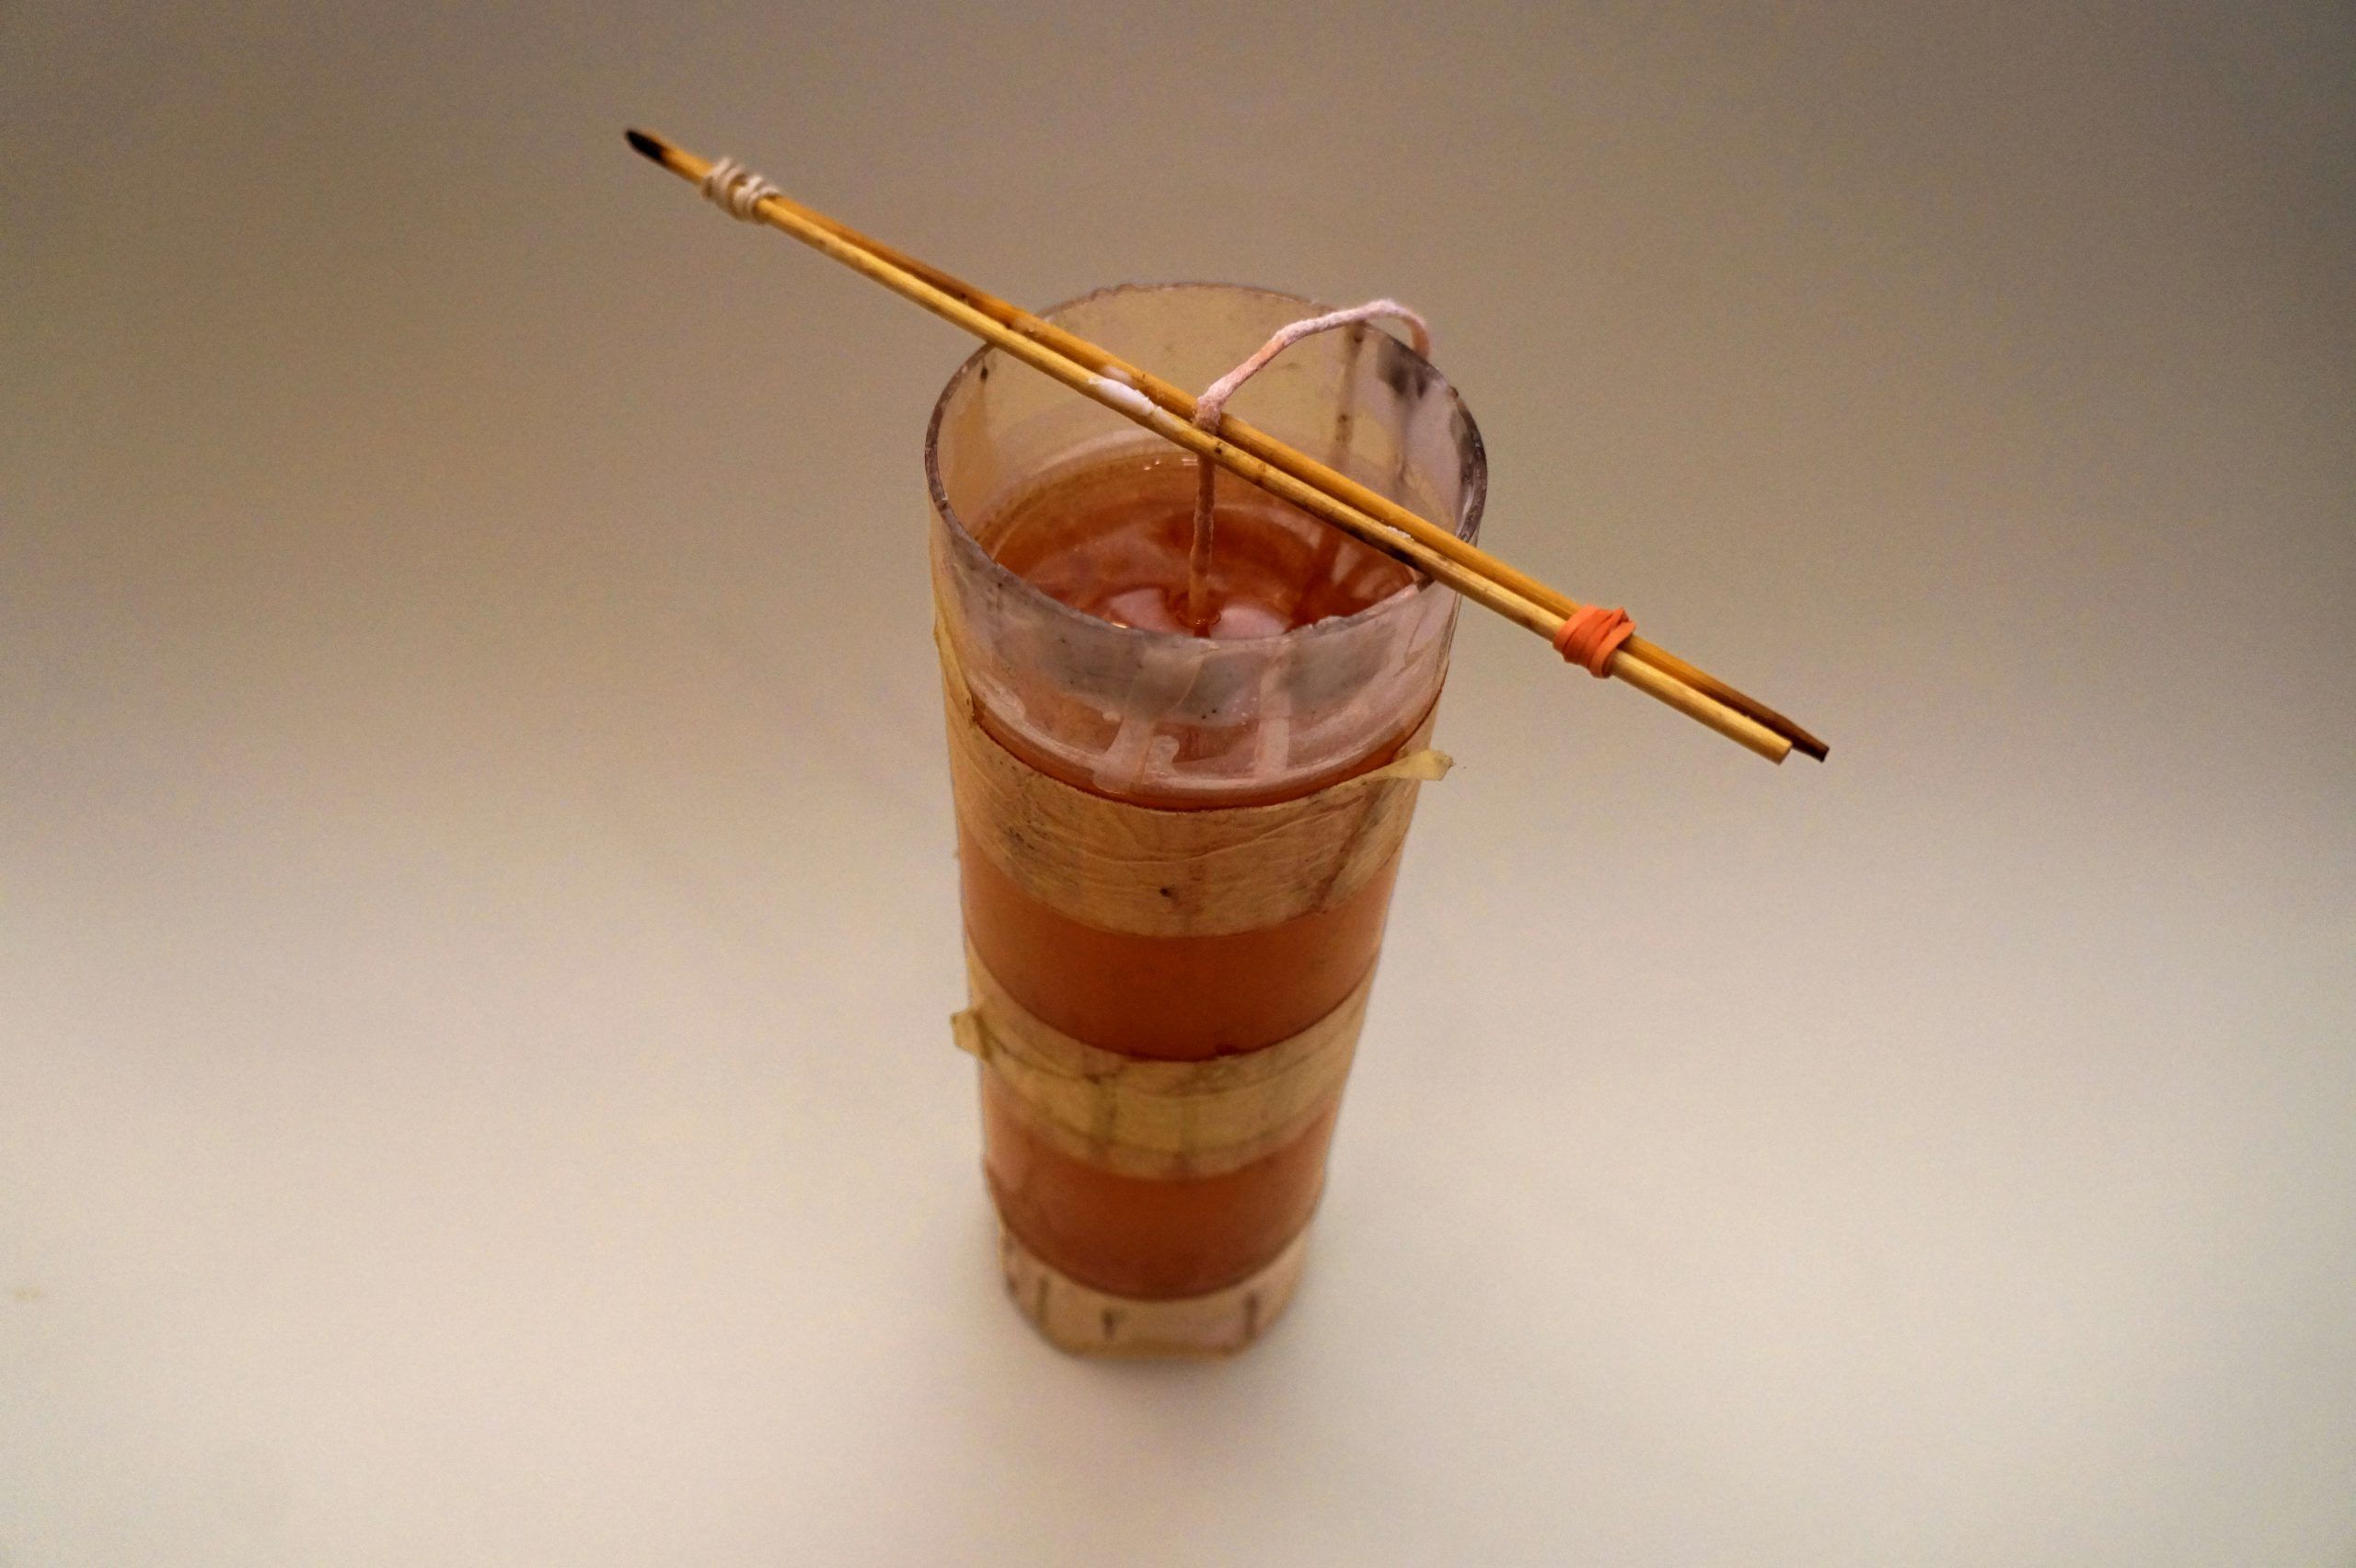
And here is the cylindrical one.
Step 5
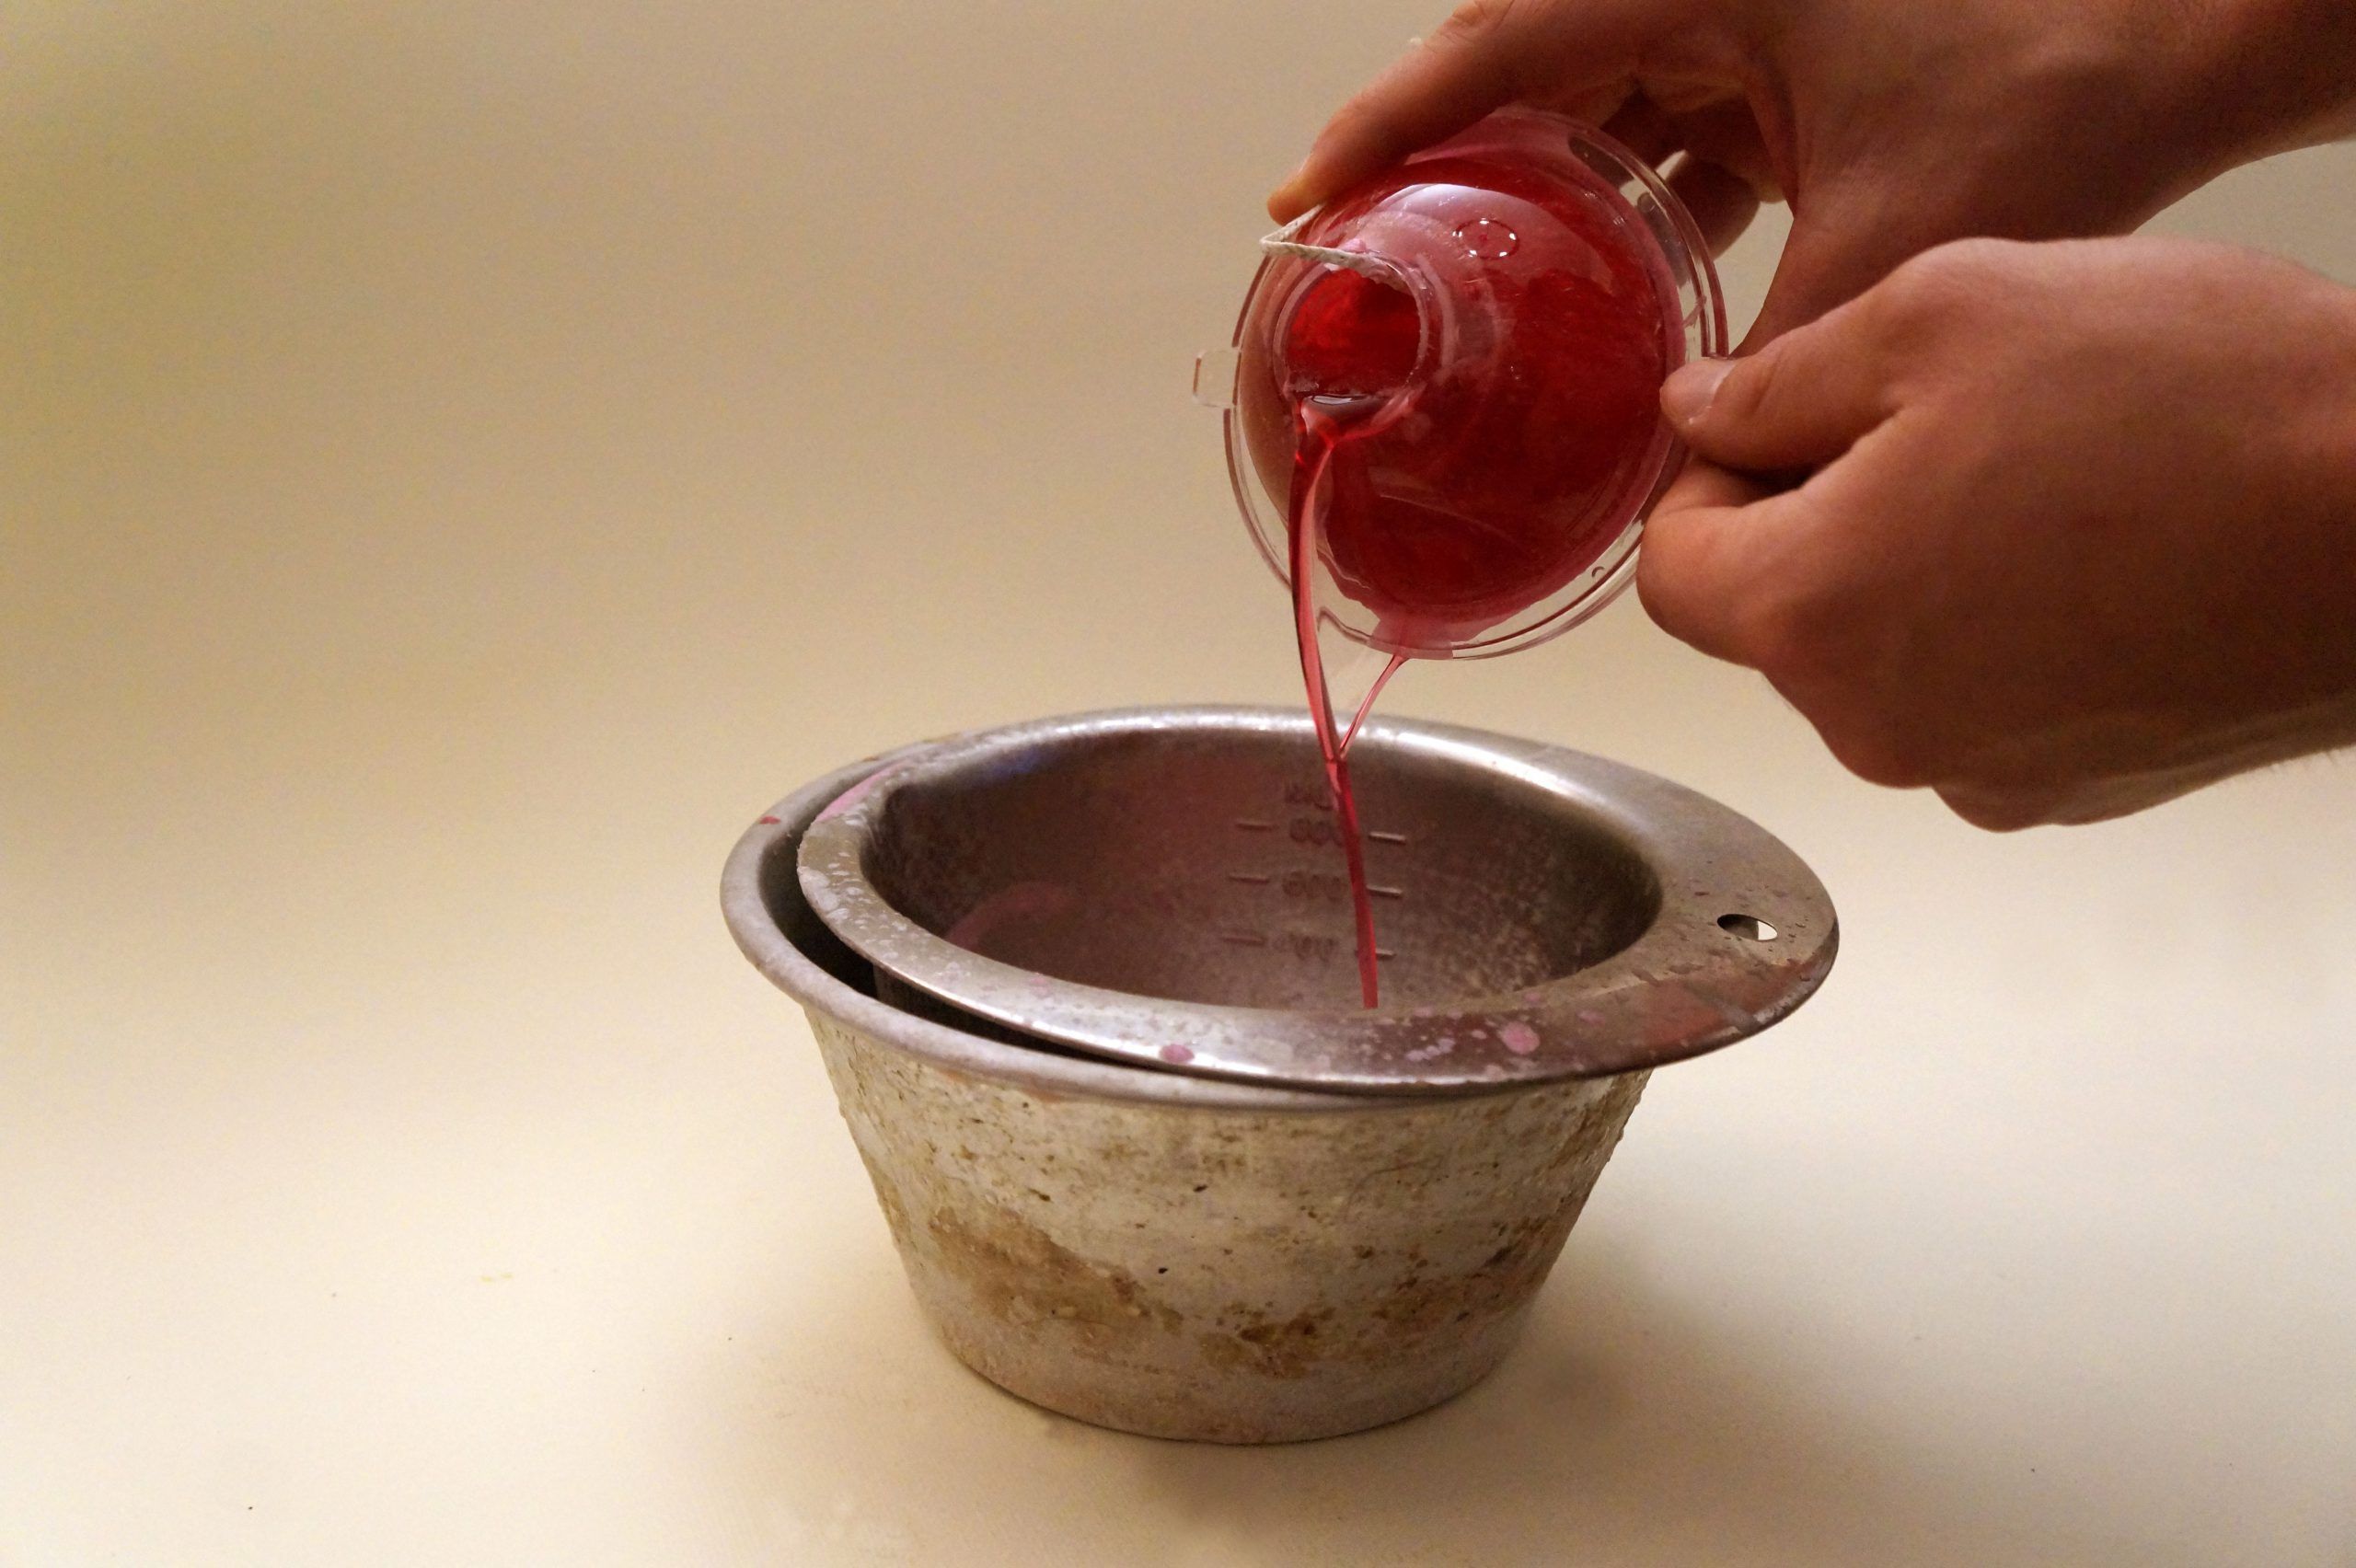
If you don't want "holes" to form inside your candle (the wax decreases in volume as it cools), I recommend doing this: once you have filled the mould, wait 20/30 minutes for the wax to start cooling; you will notice that the outside is already solid but the inside is still liquid, so empty the inside and let the outer layer cool.
Step 6
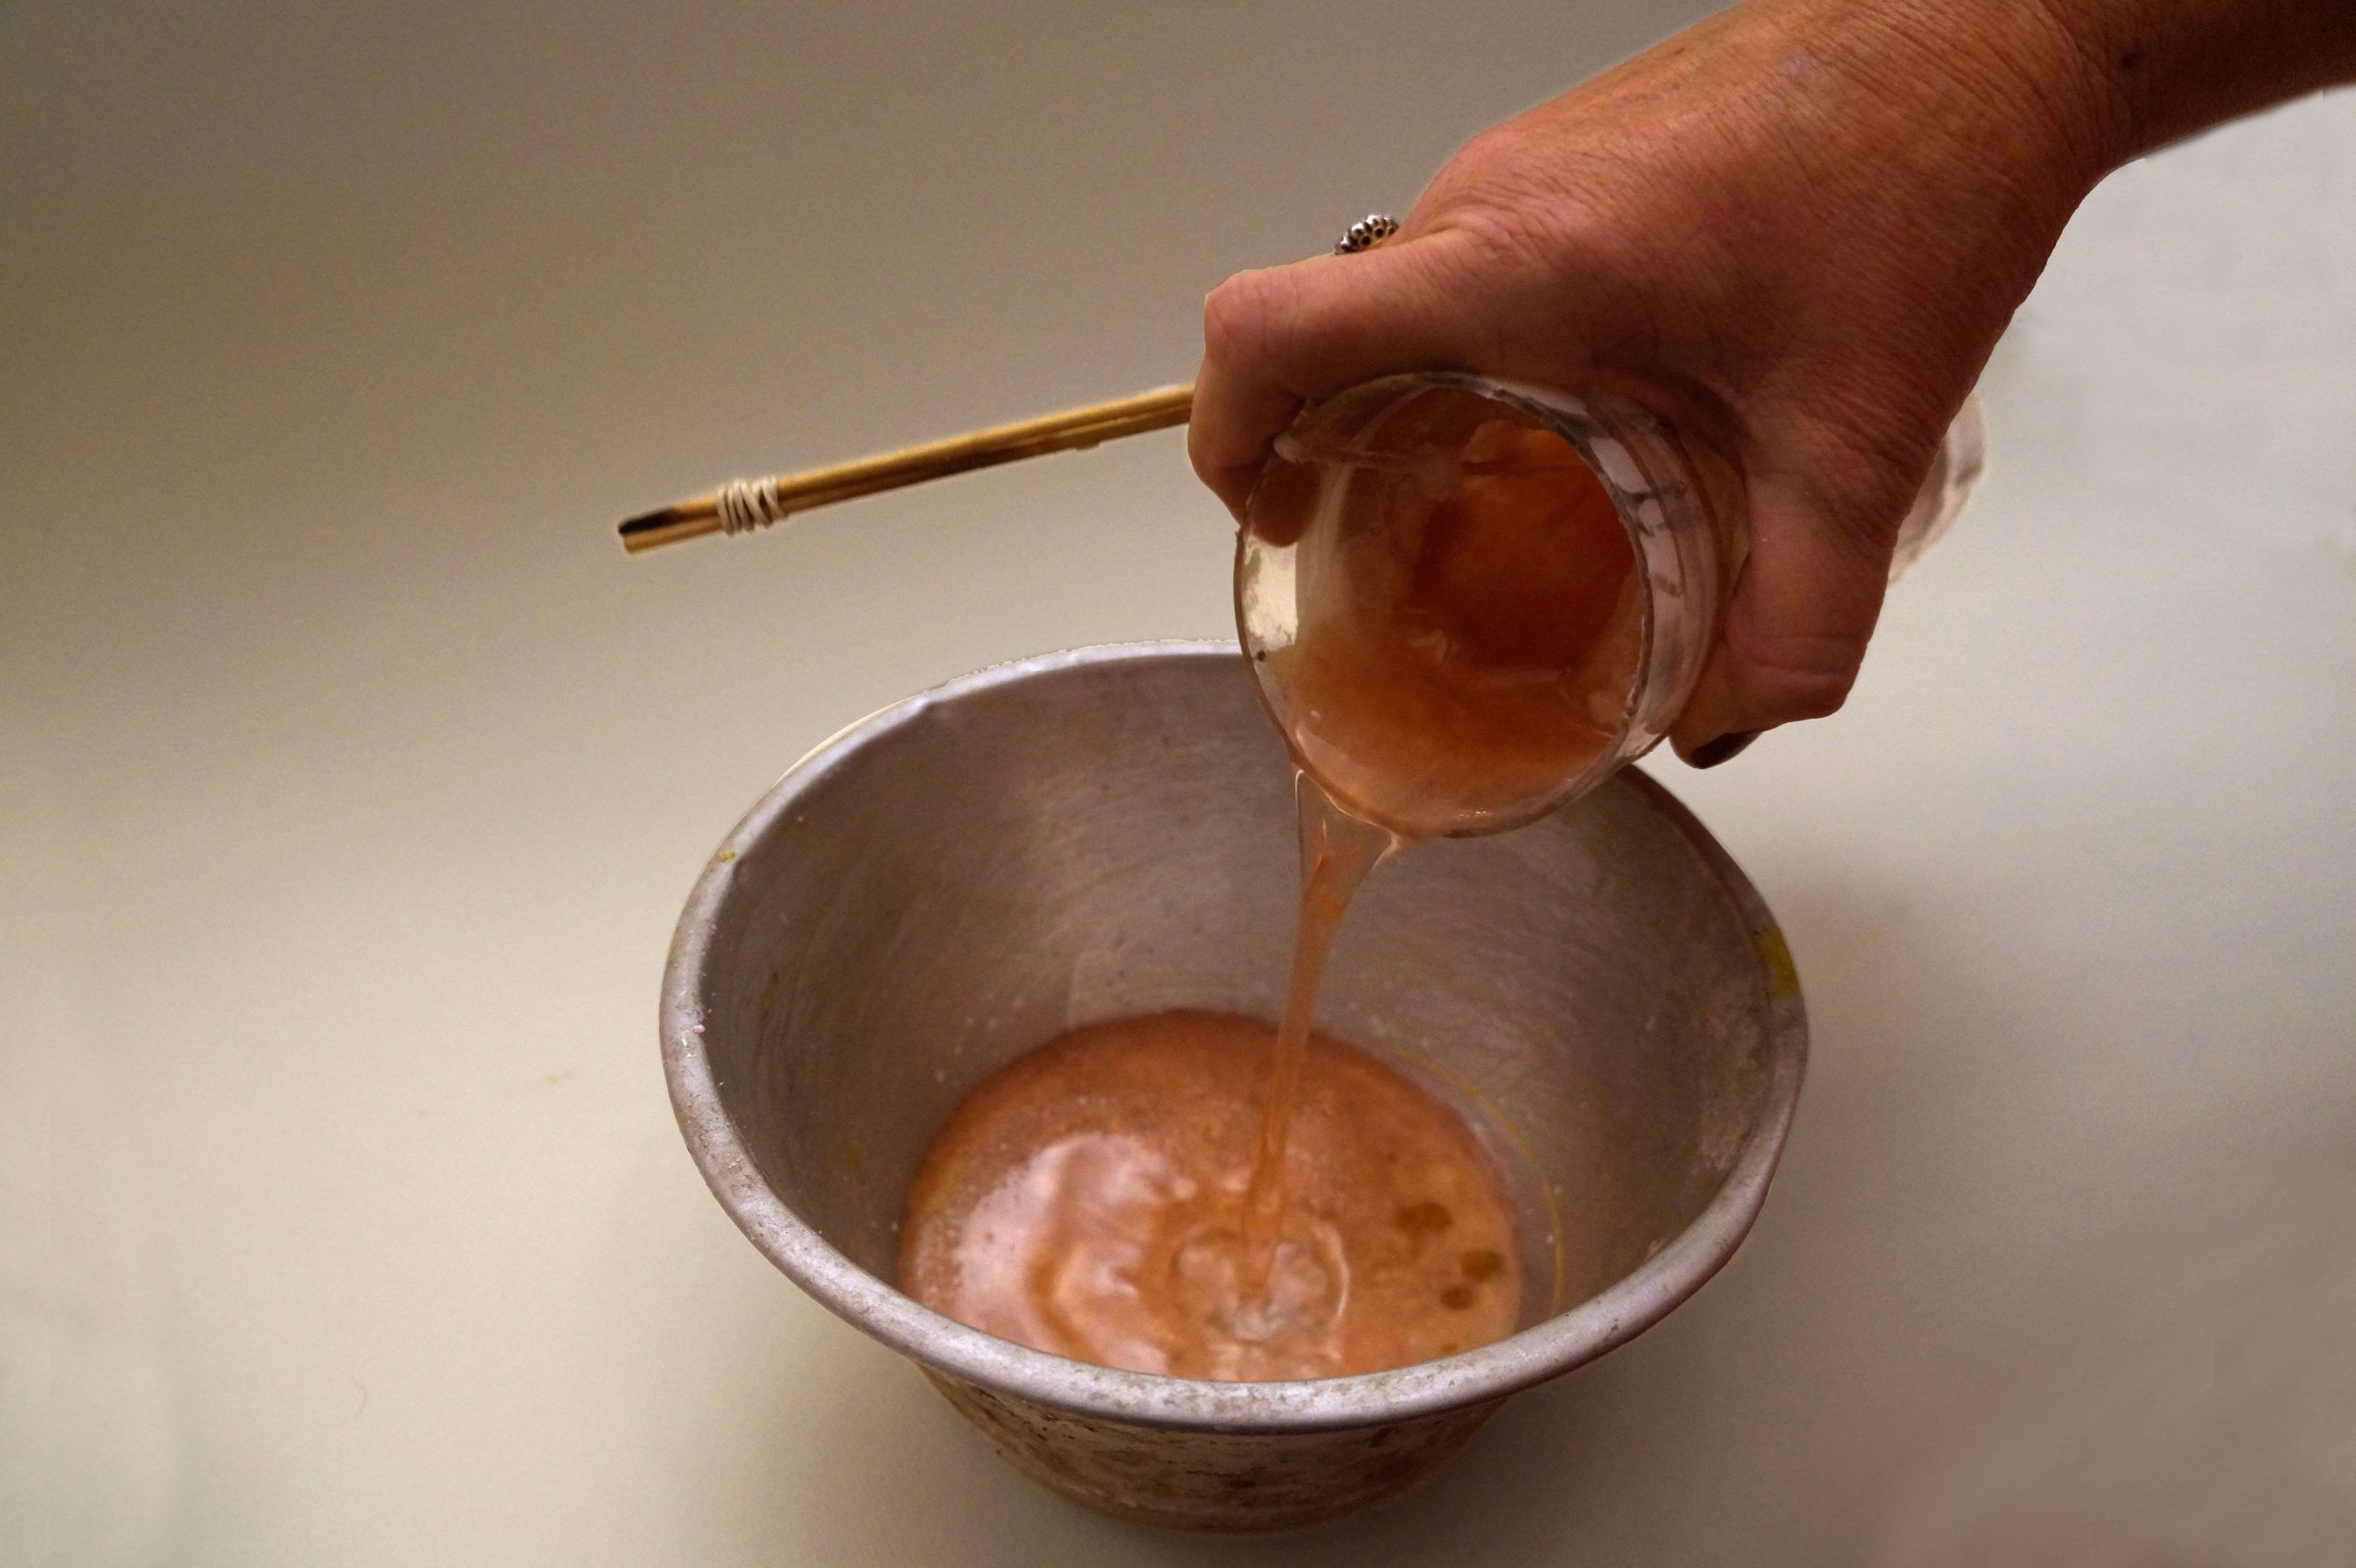
Here is the emptying of the cylindrical mould.
Step 7
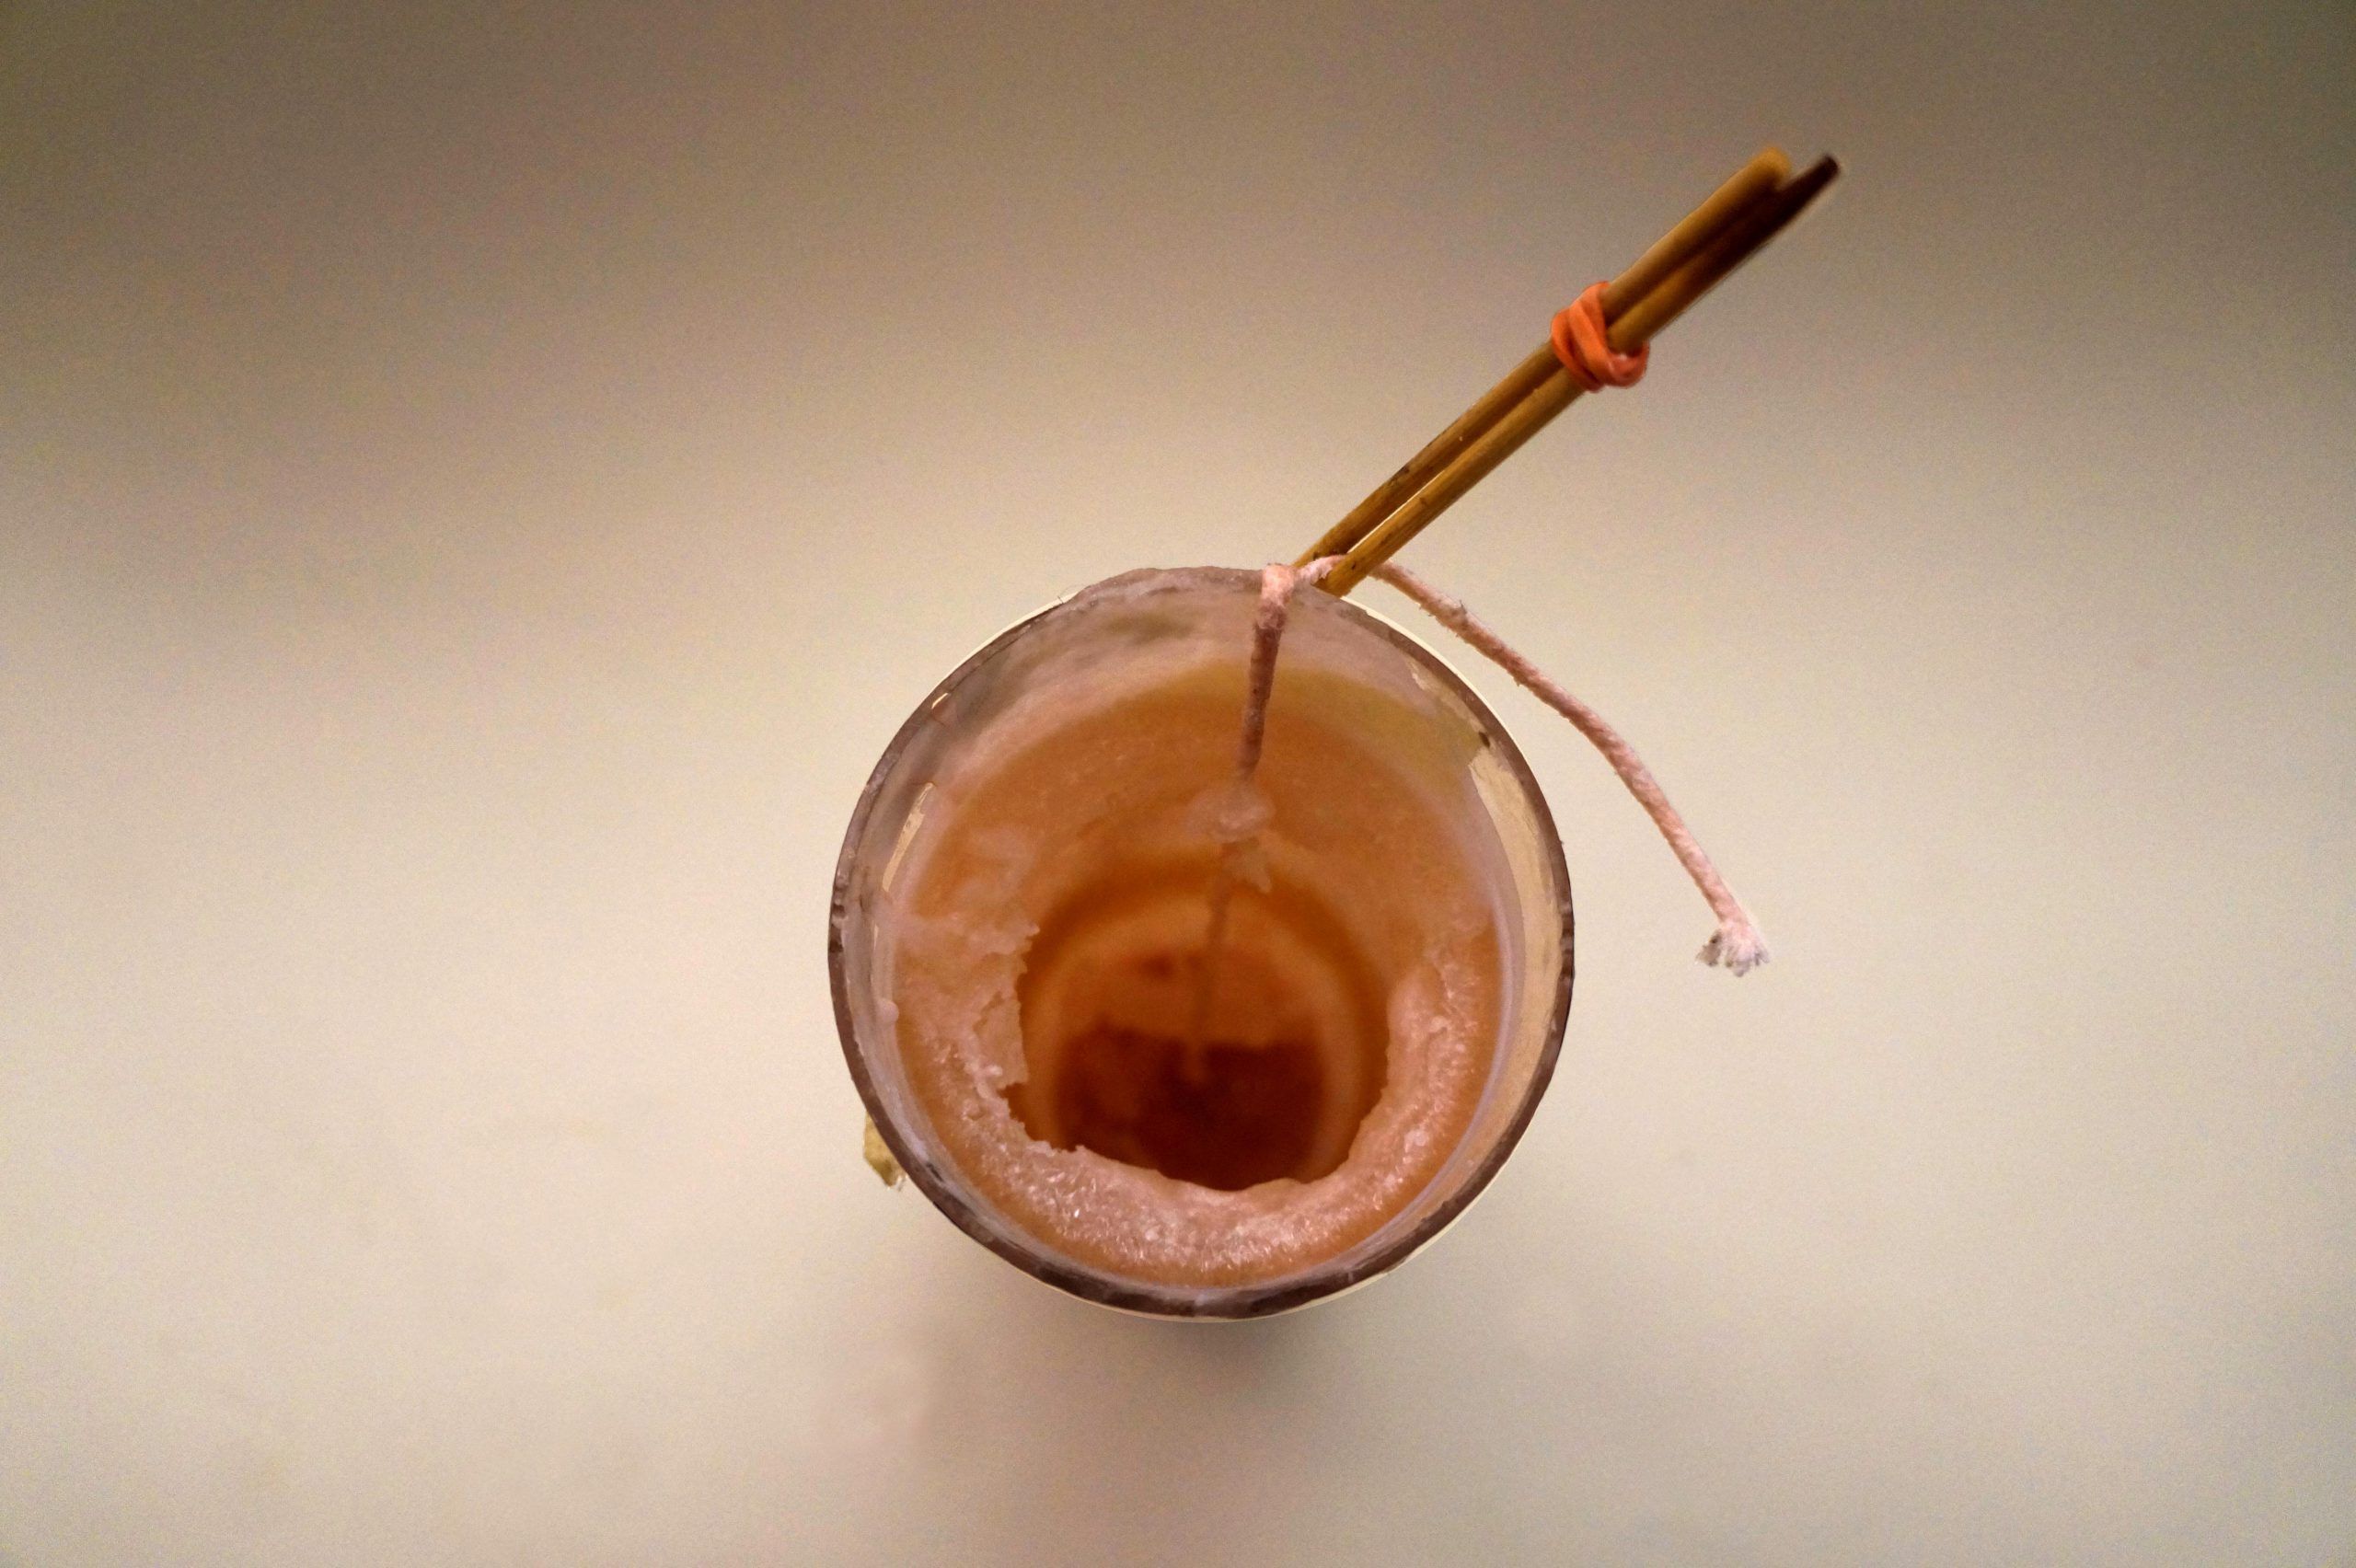
Then gradually fill the inside of the candle in two or three stages.
I know it's a bit of a slow process, but it will give you a perfect result.
Step 8
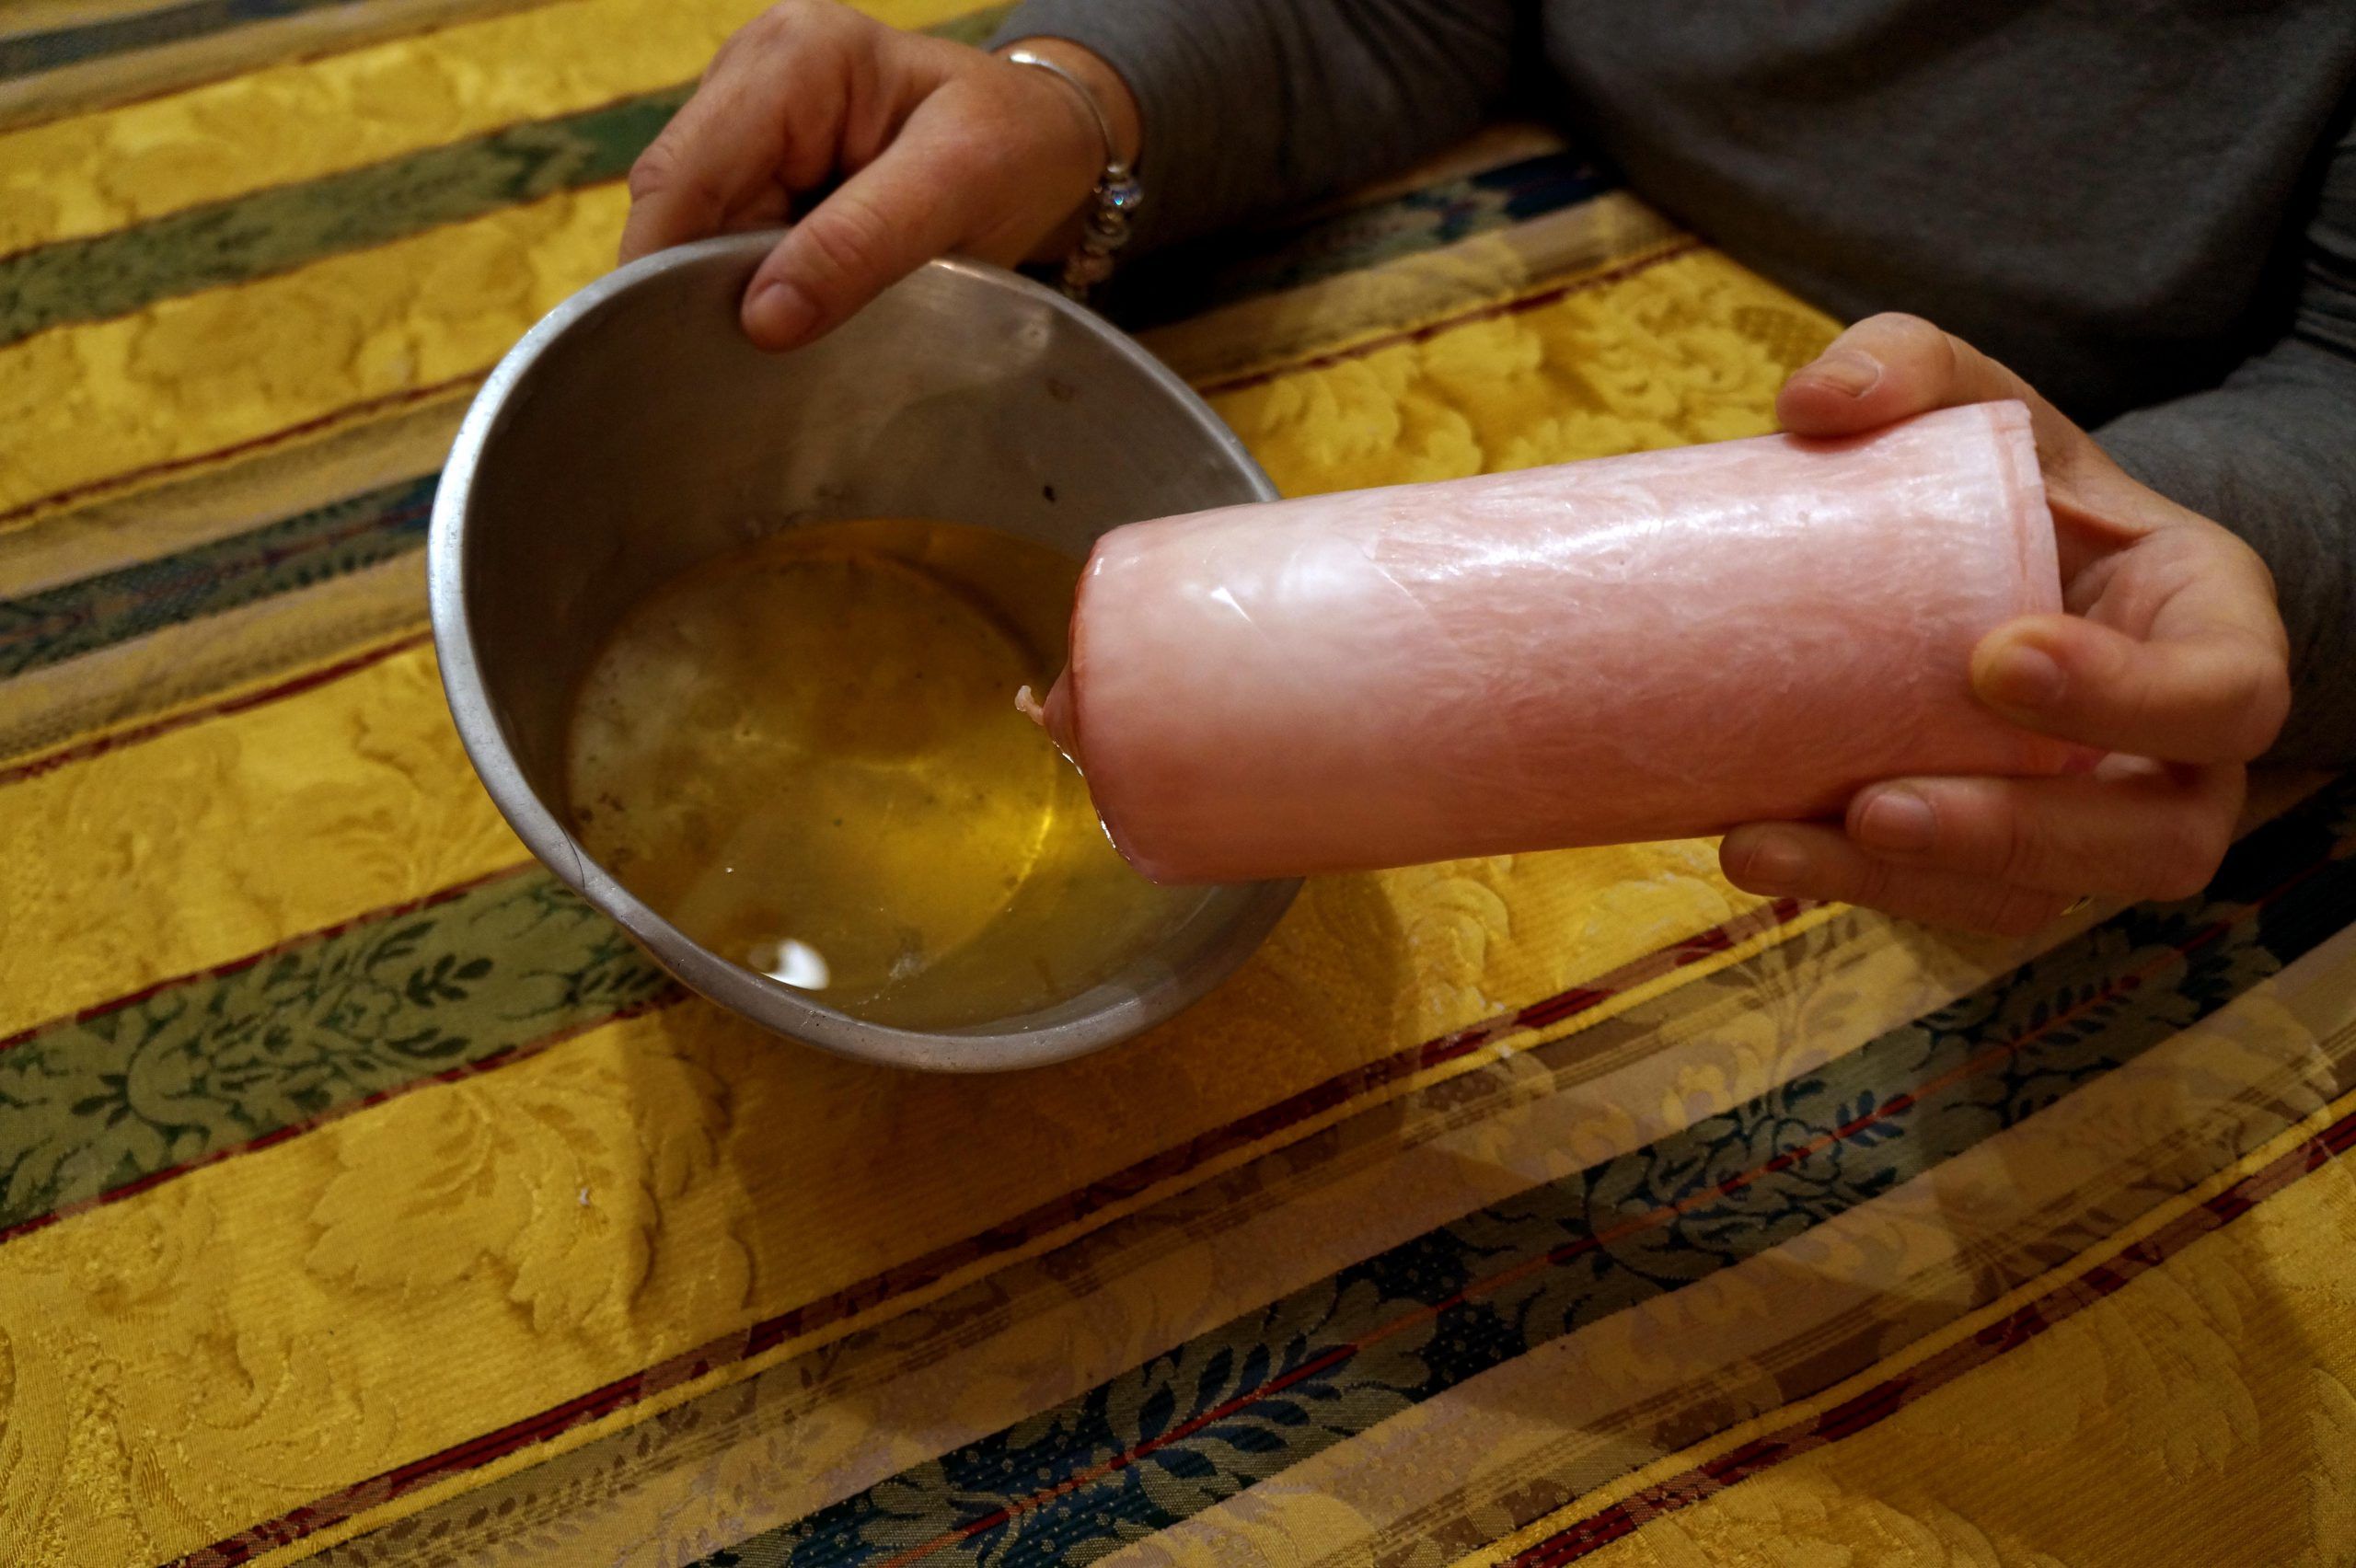
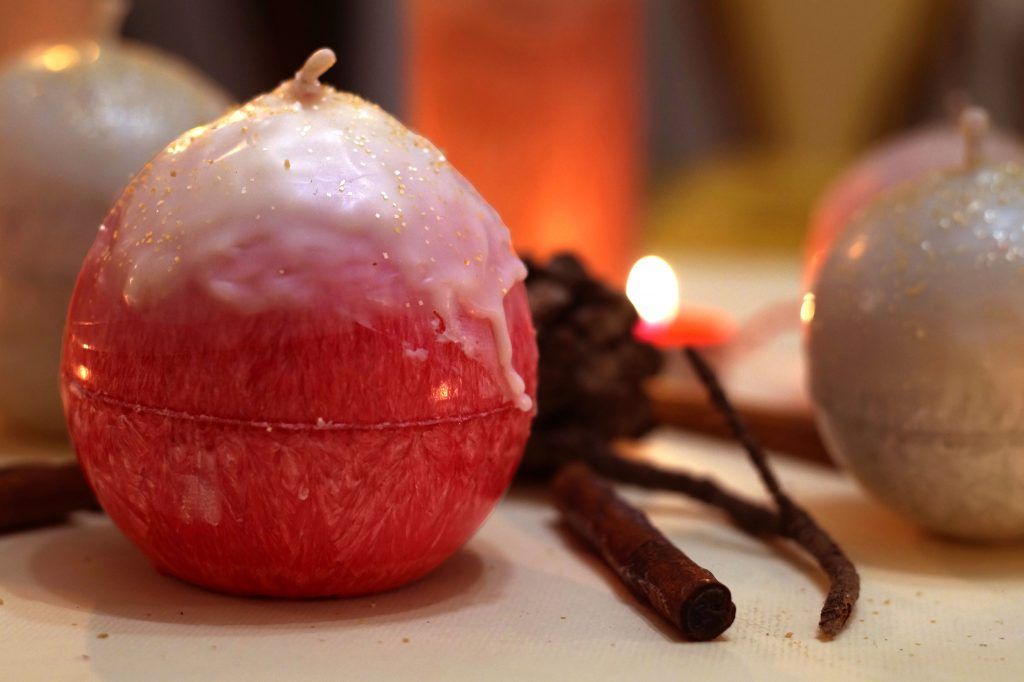
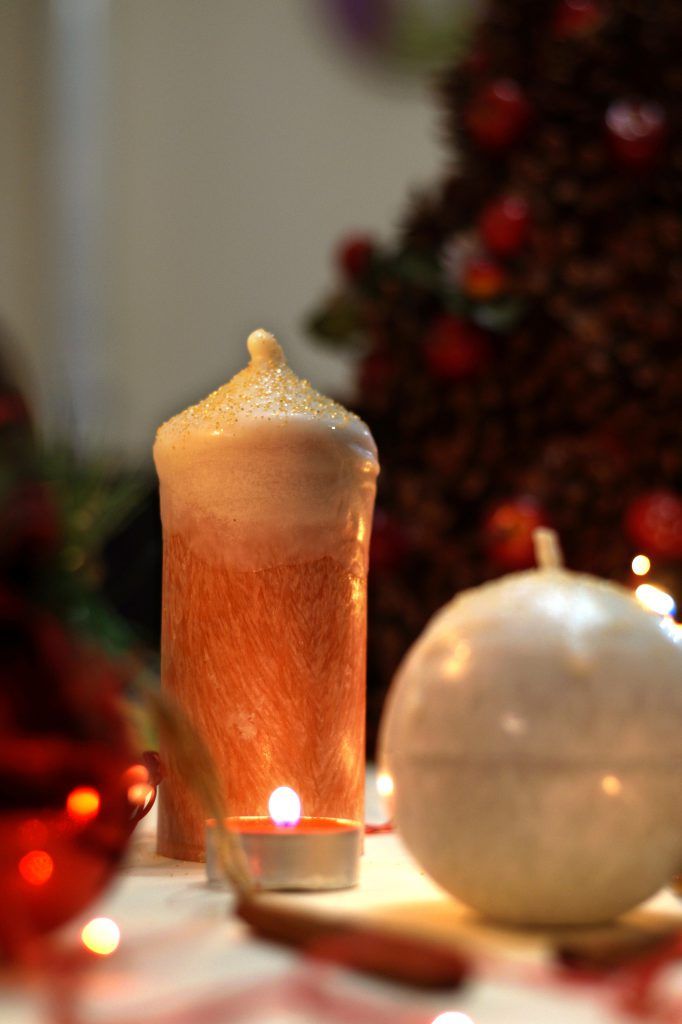
At this point, your candle is already ready, but if you want to give it a snow effect, melt some soy wax in a double boiler and dip your candle several times to create different layers: the more layers you make, the more evident the snow effect will be.
Step 9
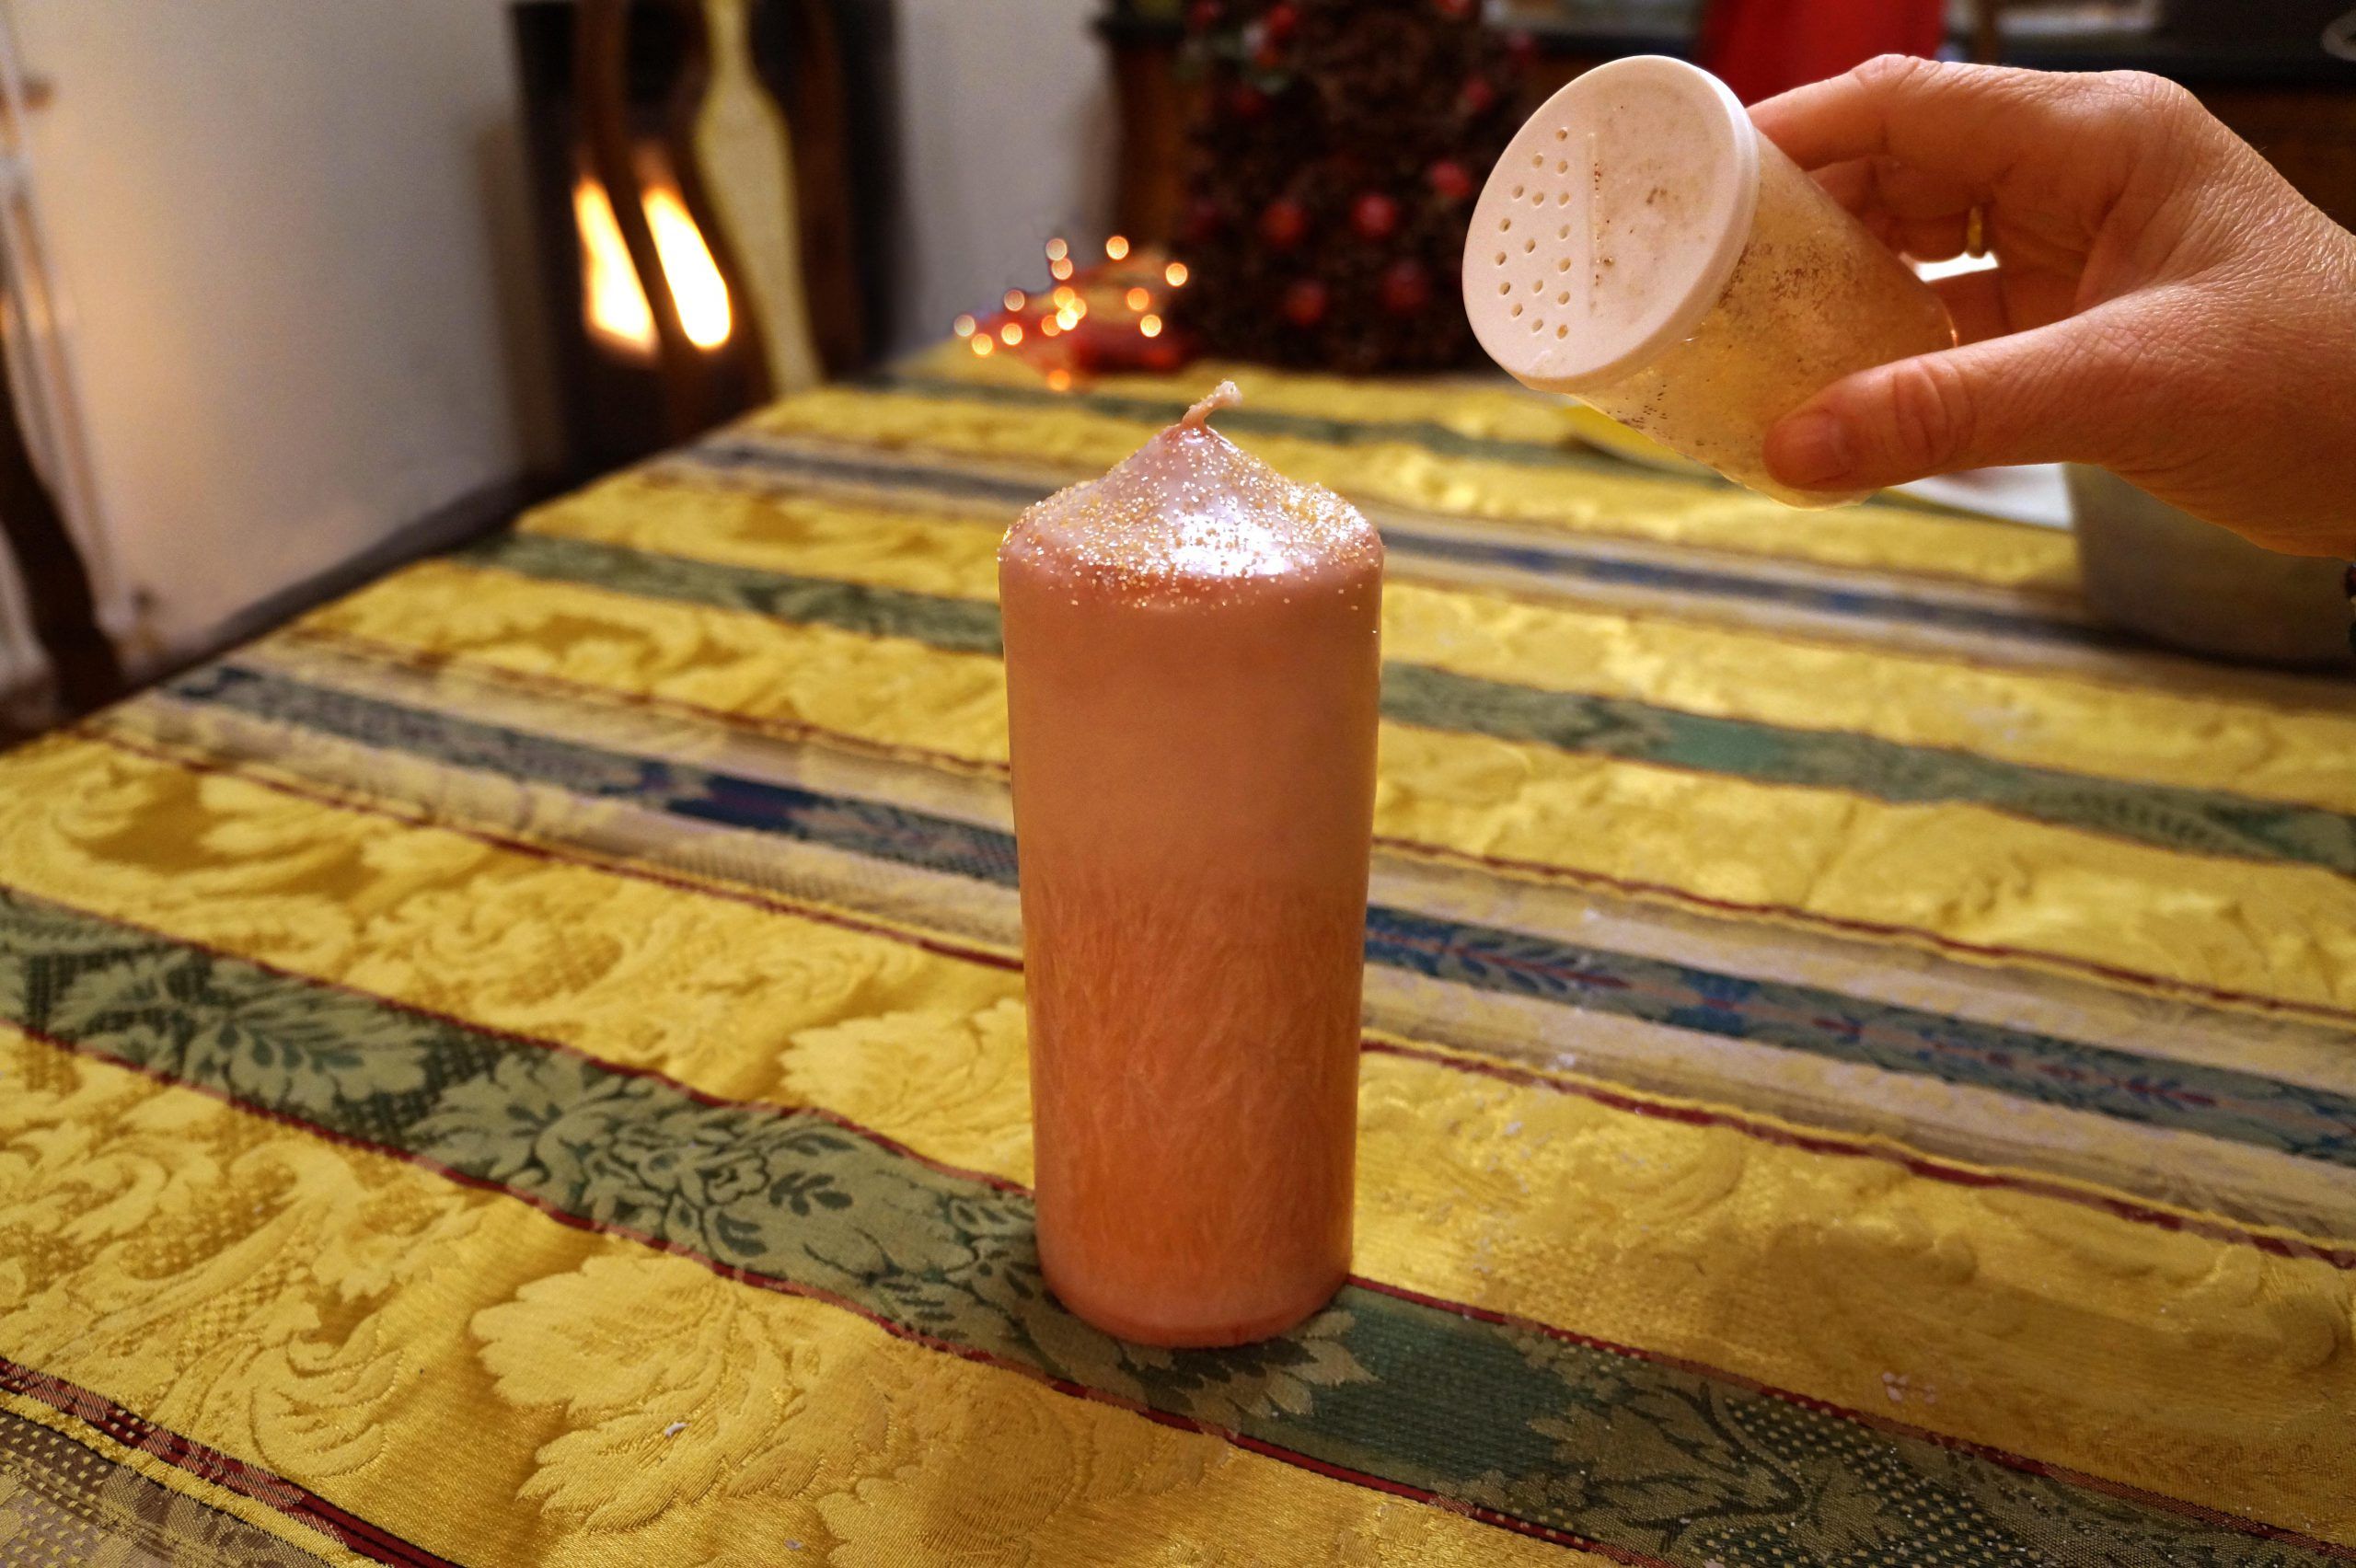
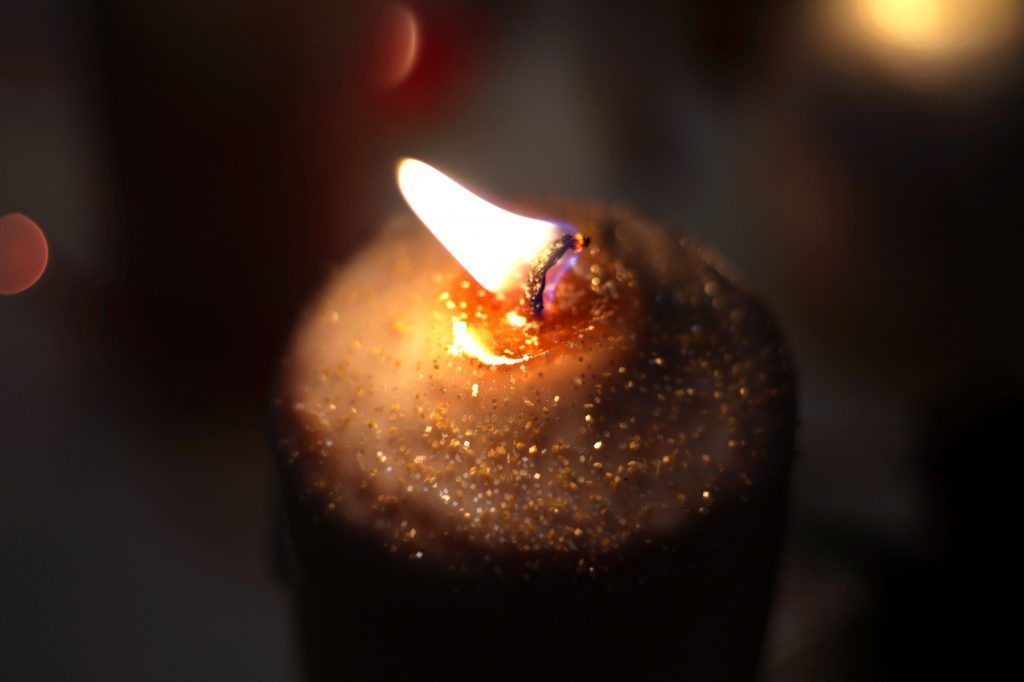
If you want, when you are on the last dip with the wax still "wet," sprinkle some glitter that will stick to your candle.