 Italiano
 English
 Français
 Español
 Deutsch
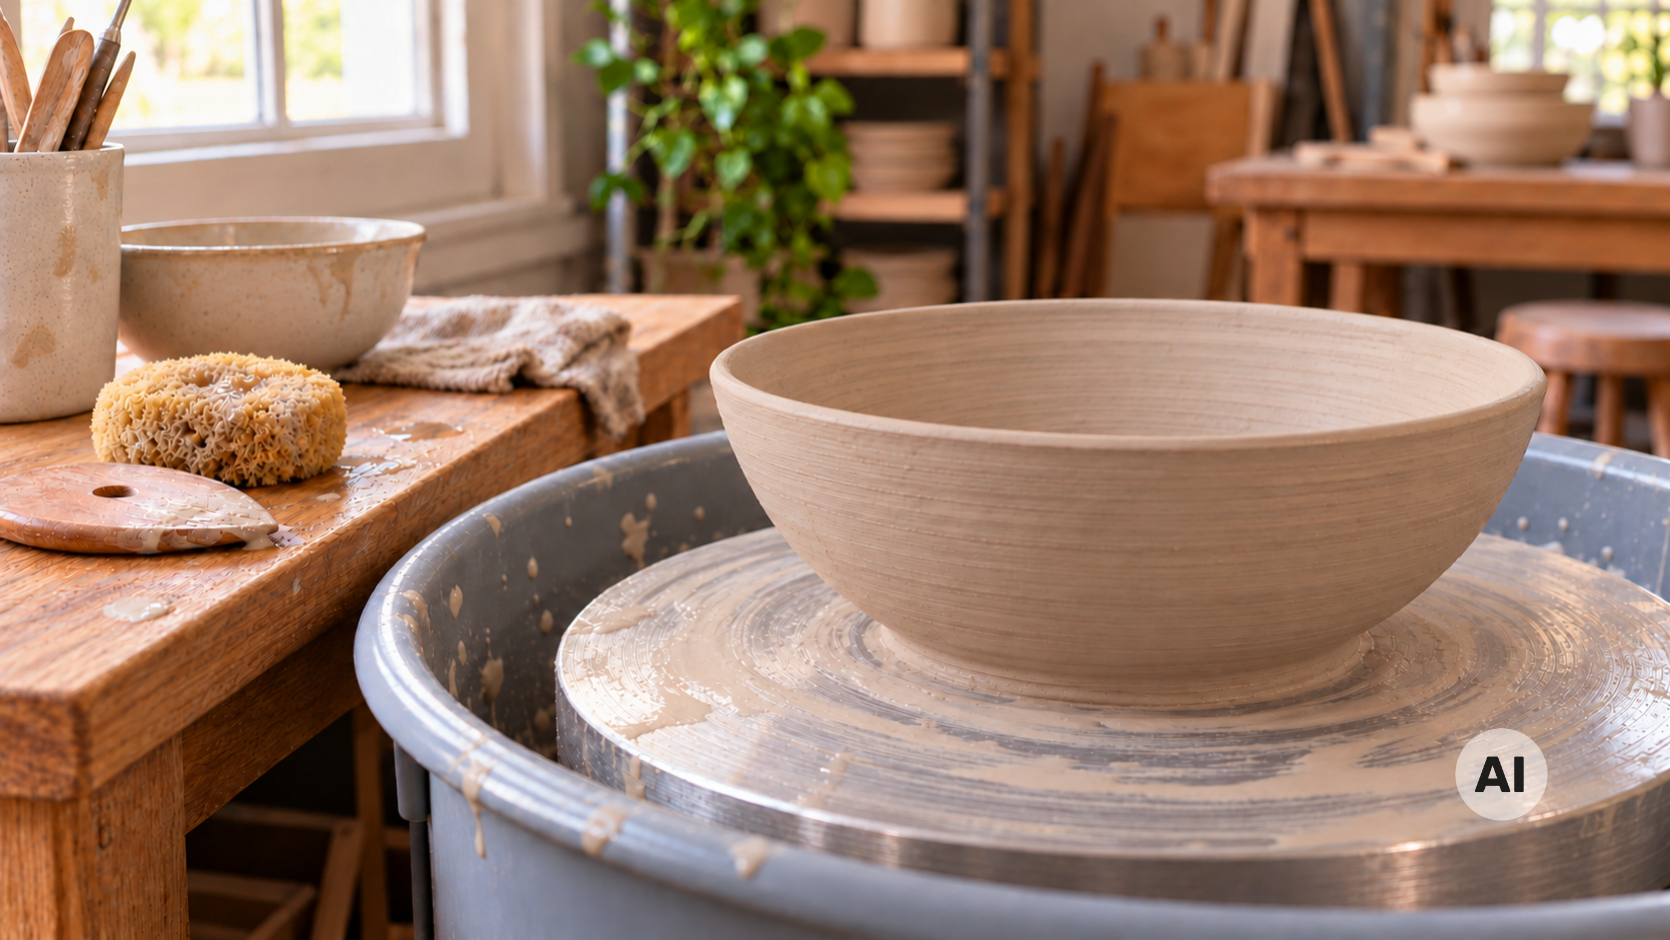
You have decided: you want your own pottery wheel. It's a wonderful moment, and we understand the desire to immediately compare models, motors, and platters.
In our guide Buying a pottery wheel: how to choose? we explained how to evaluate the right wheel: price, space, power supply, type of drive. Here we go beyond the technical specifications: what a wheel is made of, how to sit comfortably while working, where to learn, where to fire your pieces, which clay to choose, how to reclaim it, and what you need to get started.
Everything you need to begin is here. Let's get started!
What a pottery wheel is made of
Knowing the parts of the wheel helps you read product sheets and understand what you are buying.
Here are the main elements:
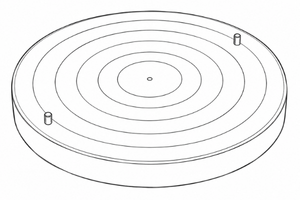
- The platter: the round surface on which you centre and shape the clay. On many models, you can attach bats, removable discs that allow you to move the piece without touching it.
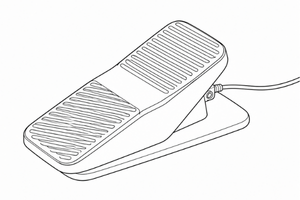
- The pedal: controls the speed, leaving your hands free to work.
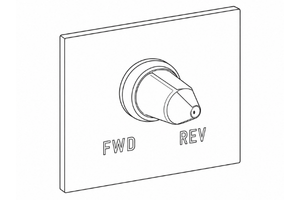
- The rotation reversal: allows the platter to spin clockwise or counterclockwise, useful for certain techniques and for left-handed users.
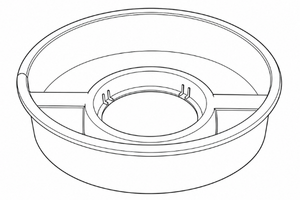
- The splash pan: holds water and clay slurry, keeping the area around you clean.
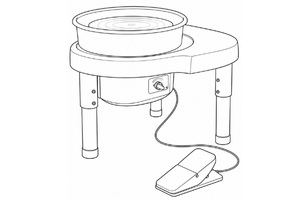
- The motor: spins the platter and determines its power, meaning its ability to maintain speed even with a lot of clay.
- The transmission: connects the motor to the platter, either with a belt or direct drive.
BTH pottery wheels: Sirius or Andromeda?
Hobbyland is the official distributor for Italy of BTH pottery wheels, designed for those who want a solid and durable tool. In the catalogue, you will find two models:
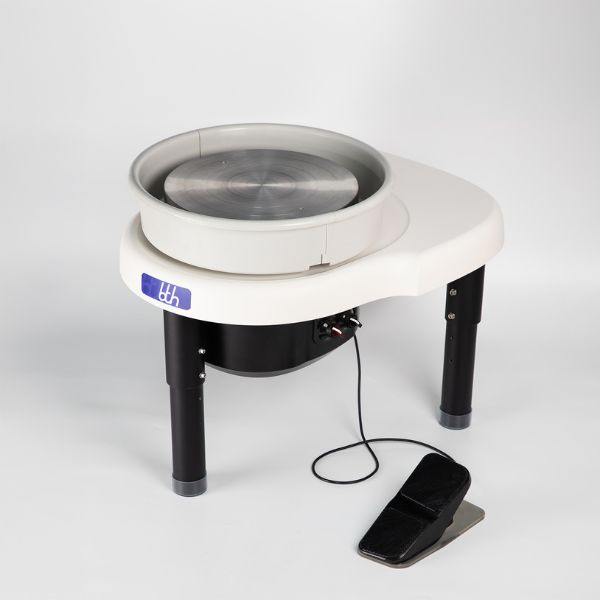
BTH Sirius has belt drive, the most common system: reliable, easy to maintain, and quiet.
Platter diameter Ø 315 mm with standard pins and maximum clay load of 40 kg.
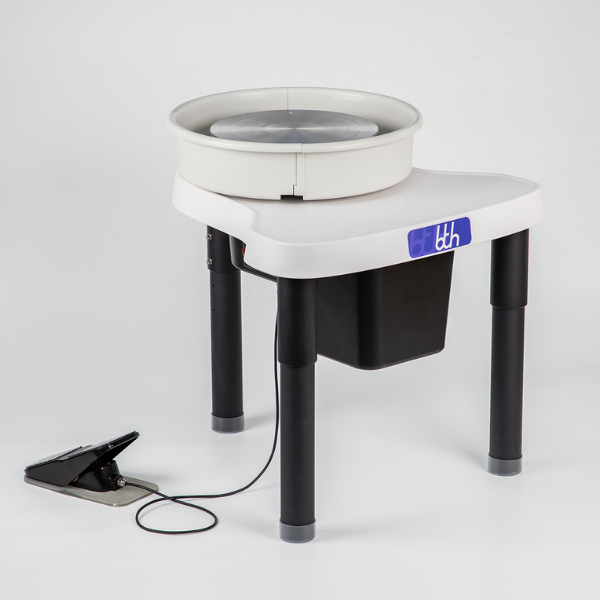
BTH Andromeda is direct drive: the motor is directly connected to the platter, providing constant power and very quiet operation.
Platter diameter Ø 352 mm with standard pins and maximum clay load of 60 kg.
If you want to delve into the differences between belt and direct drive, you can find them explained in our guide to choosing a wheel.
How to sit at the wheel
You spend several hours at the wheel with your torso leaning towards the platter, and a wrong posture can quickly affect your back, shoulders, and wrists. Sitting correctly is not just a matter of comfort: it gives you more control over the clay and allows you to work longer.
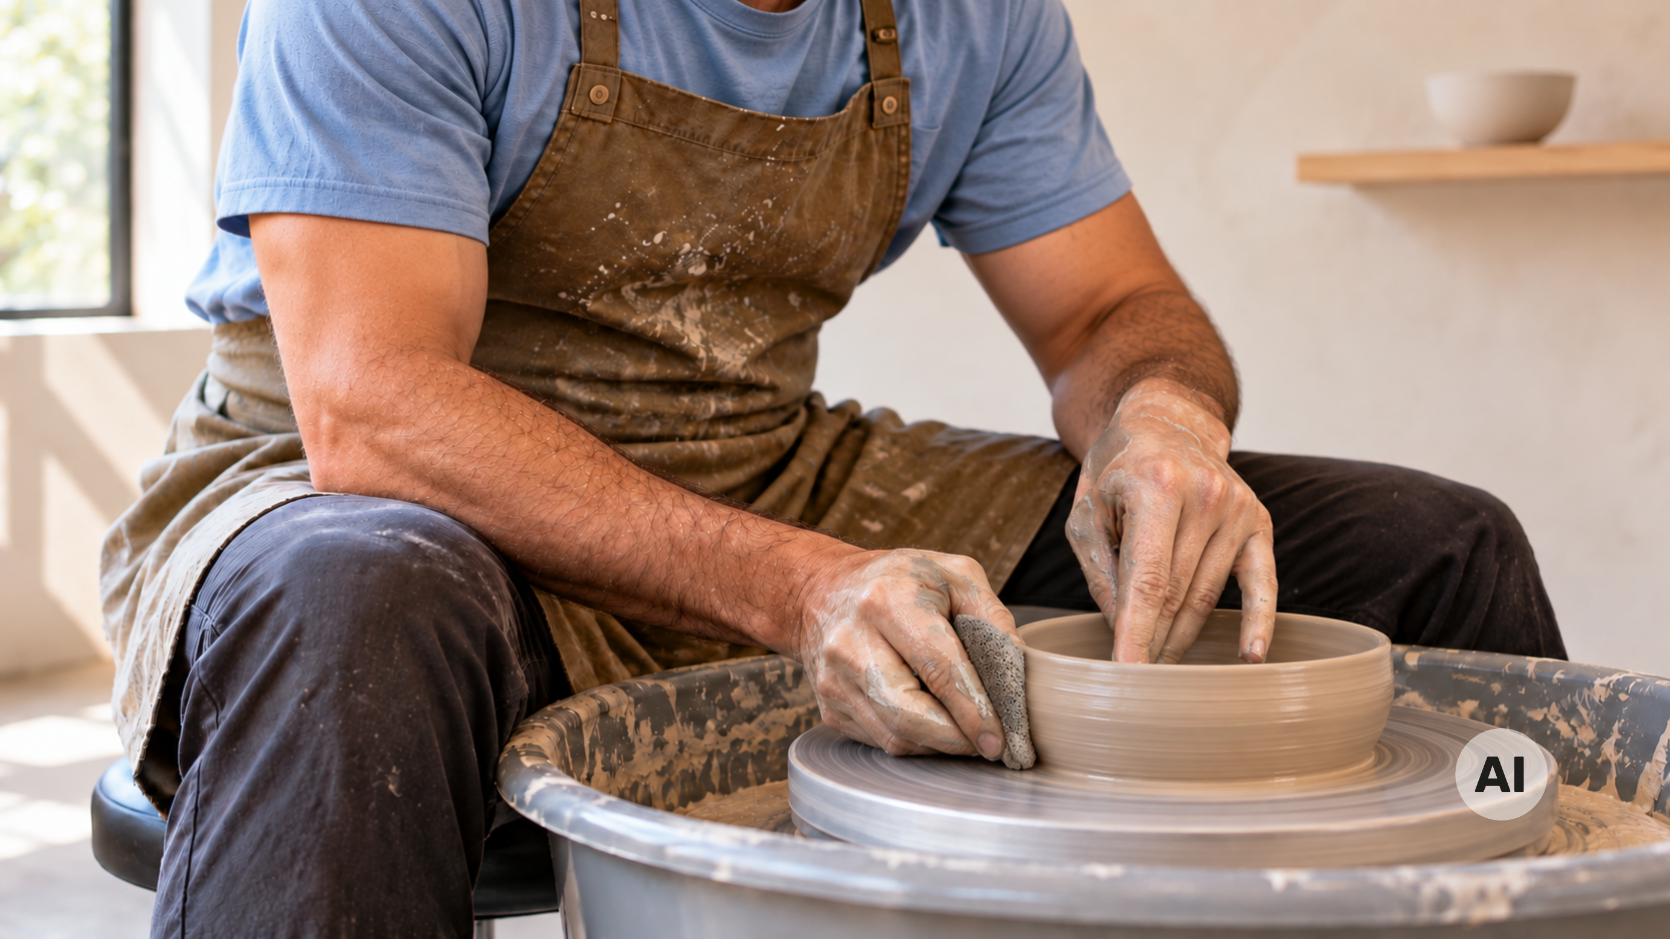
Here are some tips to find the right position:
- Sit close to the platter, so you don’t have to stretch to reach the clay.
- Keep the seat a bit higher than the platter: this way, you can lean forward without bending your back too much.
- Rest your forearms on your thighs or knees: steady arms mean stable hands, especially when centring.
- Keep your feet firmly planted, one on the ground and one on the pedal, to maintain balance.
- Shift your weight forward and don’t tense your shoulders.
- Take breaks: stand up, stretch your back, and move your shoulders occasionally.
Any ordinary chair is unlikely to have the right height. That’s why we recommend our potter's stool, which you can adjust to your wheel and body type. You can tilt the seat up to 10° and quickly adjust the height thanks to the pneumatic system.
Learn the basics with a wheel course
Centred clay is the first real hurdle of wheel throwing. As long as the ball of clay doesn’t spin steadily at the centre of the platter, opening, pulling up the walls, and shaping remains very difficult.
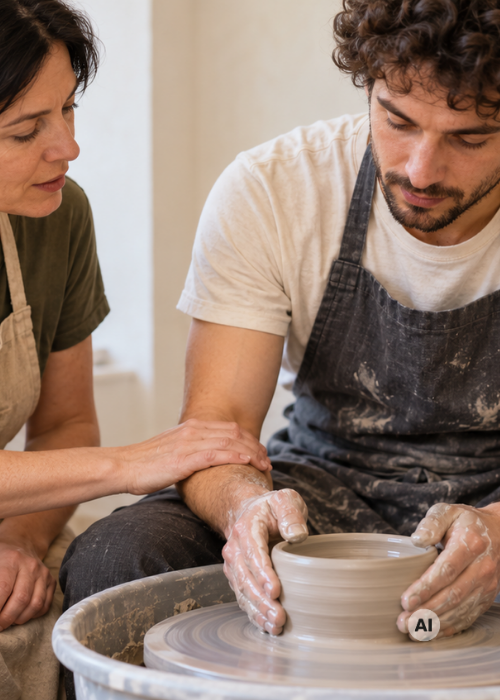
Learning on your own is possible, but it requires a lot of patience.
With a teacher beside you, however, mistakes can be corrected immediately: hand position, pressure, amount of water, platter speed. A few lessons can save you weeks of attempts.
That’s why we organise wheel courses at our headquarters in Legnano (MI). You will work with BTH wheels, the same ones you find in our catalogue, and with our materials, with the help of an experienced teacher who will guide you step by step.
It’s the best way to start off on the right foot and to purchase your wheel already knowing how to use it. Discover the dates of our wheel courses in Legnano.
Clay for the wheel: which to choose to start
Not all clays behave the same way on the platter. For throwing, a plastic body is needed, meaning it can stretch and bend without cracking, but is strong enough to support the walls as they rise.
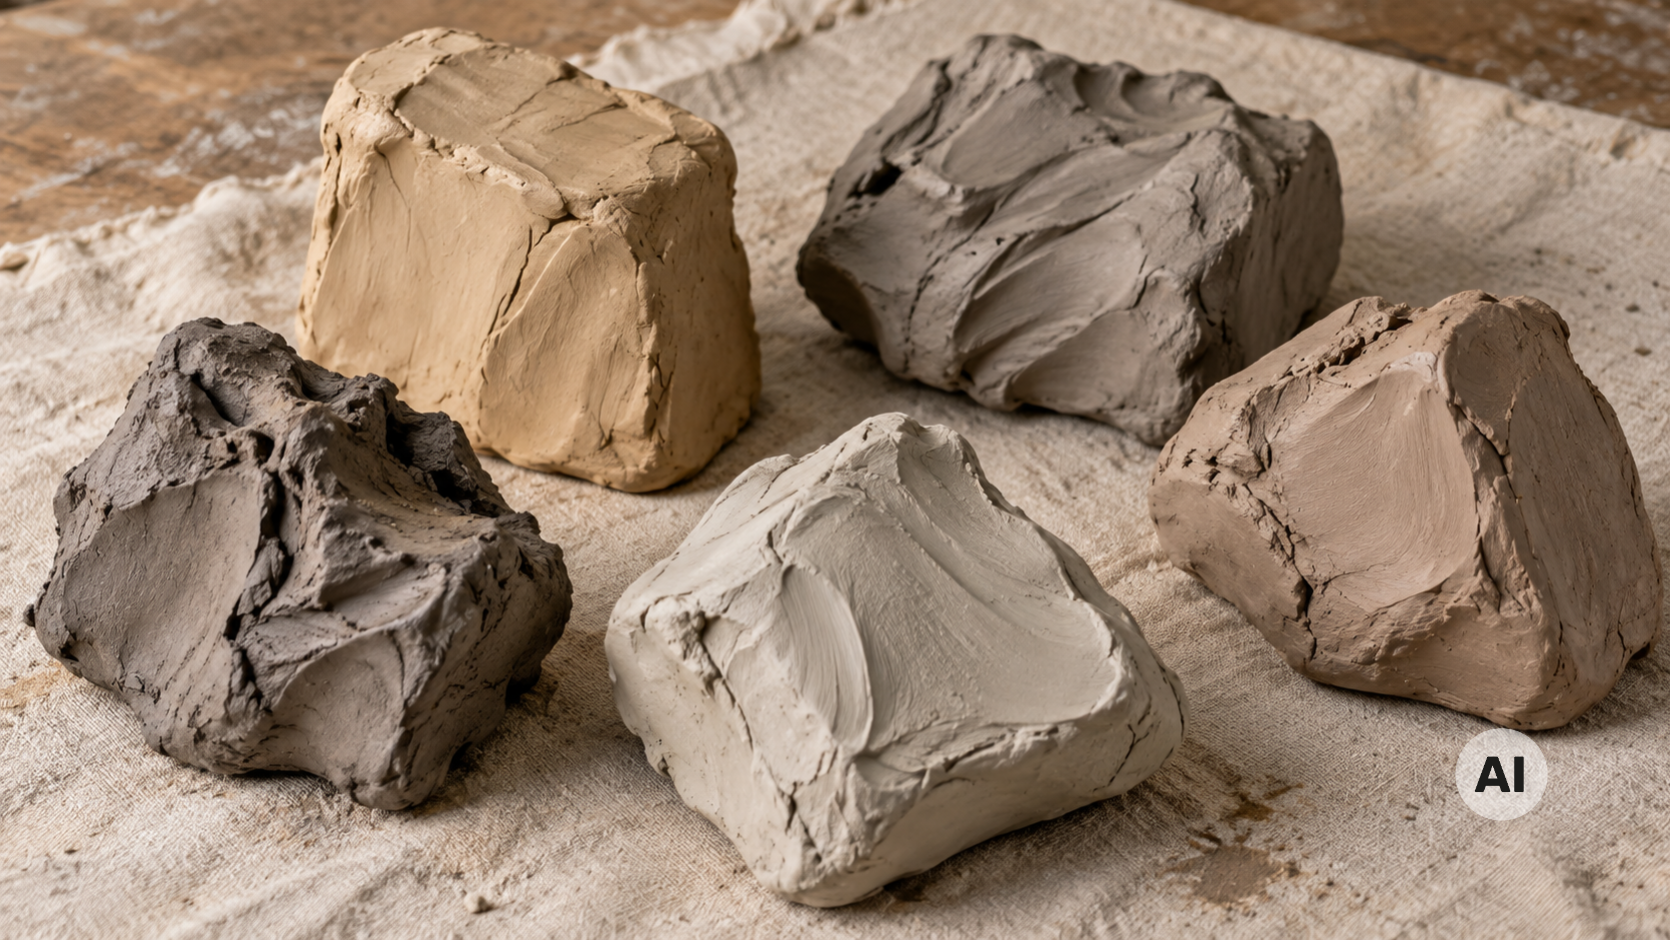
The main families are three:
- Red or white earthenware: soft and generous, fires at lower temperatures. It’s the best choice for beginners and for decorative items.
- Stoneware: more durable and compact after firing. It fires at higher temperatures, but care must be taken with the amount of grog as the body may be abrasive to the hands.
- Porcelain: very white and refined, but more delicate to work with. It’s better to tackle it when you have some experience.
How to reclaim clay (and what the decantation tank is for)
At the wheel, there is always a bit of waste: poorly made pieces, trimmings, slurries that accumulate in the splash pan. The good news is that raw clay, meaning not yet fired, can be reclaimed almost entirely.
How to reclaim scraps. Let trimmings and failed pieces dry completely, then break them up and immerse them in a bucket of water: dry clay dissolves much more easily than wet clay. When you have obtained a soft paste, spread it on a surface that absorbs water, such as a plaster slab or a cotton cloth, until it returns to the right consistency. Finally, knead it well to remove air before using it again.
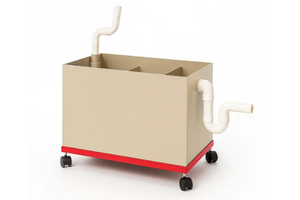
What the decantation tank is for. The water you use to rinse your hands, tools, and sponges is full of clay. When poured down the sink, the clay settles in the pipes and can clog them. The decantation tank solves the problem: the dirty water rests, the clay settles at the bottom, and clearer water remains on the surface. The sediment at the bottom can be reclaimed like other scraps, while the water can be reused for working.
Reclaiming clay saves you material, protects your home drains, and makes your workshop more sustainable.
The materials needed in addition to the wheel
The wheel is the heart of your workshop, but you also need some tools to work. Here are the essentials to have from the start:
- Bats: removable discs to attach to the platter. They allow you to remove the freshly thrown piece without deforming it and to start another one immediately. There is also a convenient set of bats with 5 removable discs, which allows you to remove only the central part.
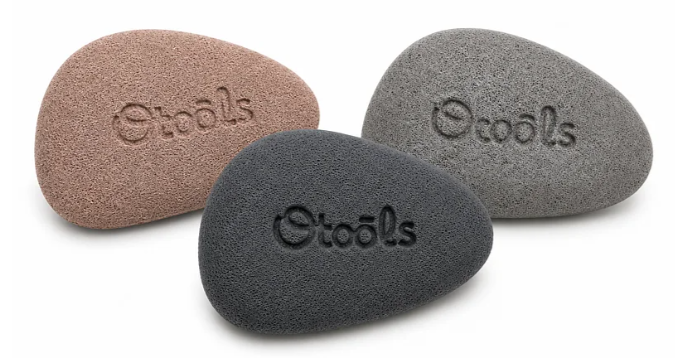
- Sponges: used to remove excess water, soften edges, and finish surfaces. The Otools synthetic sponges are durable and come in different densities for various absorption needs.
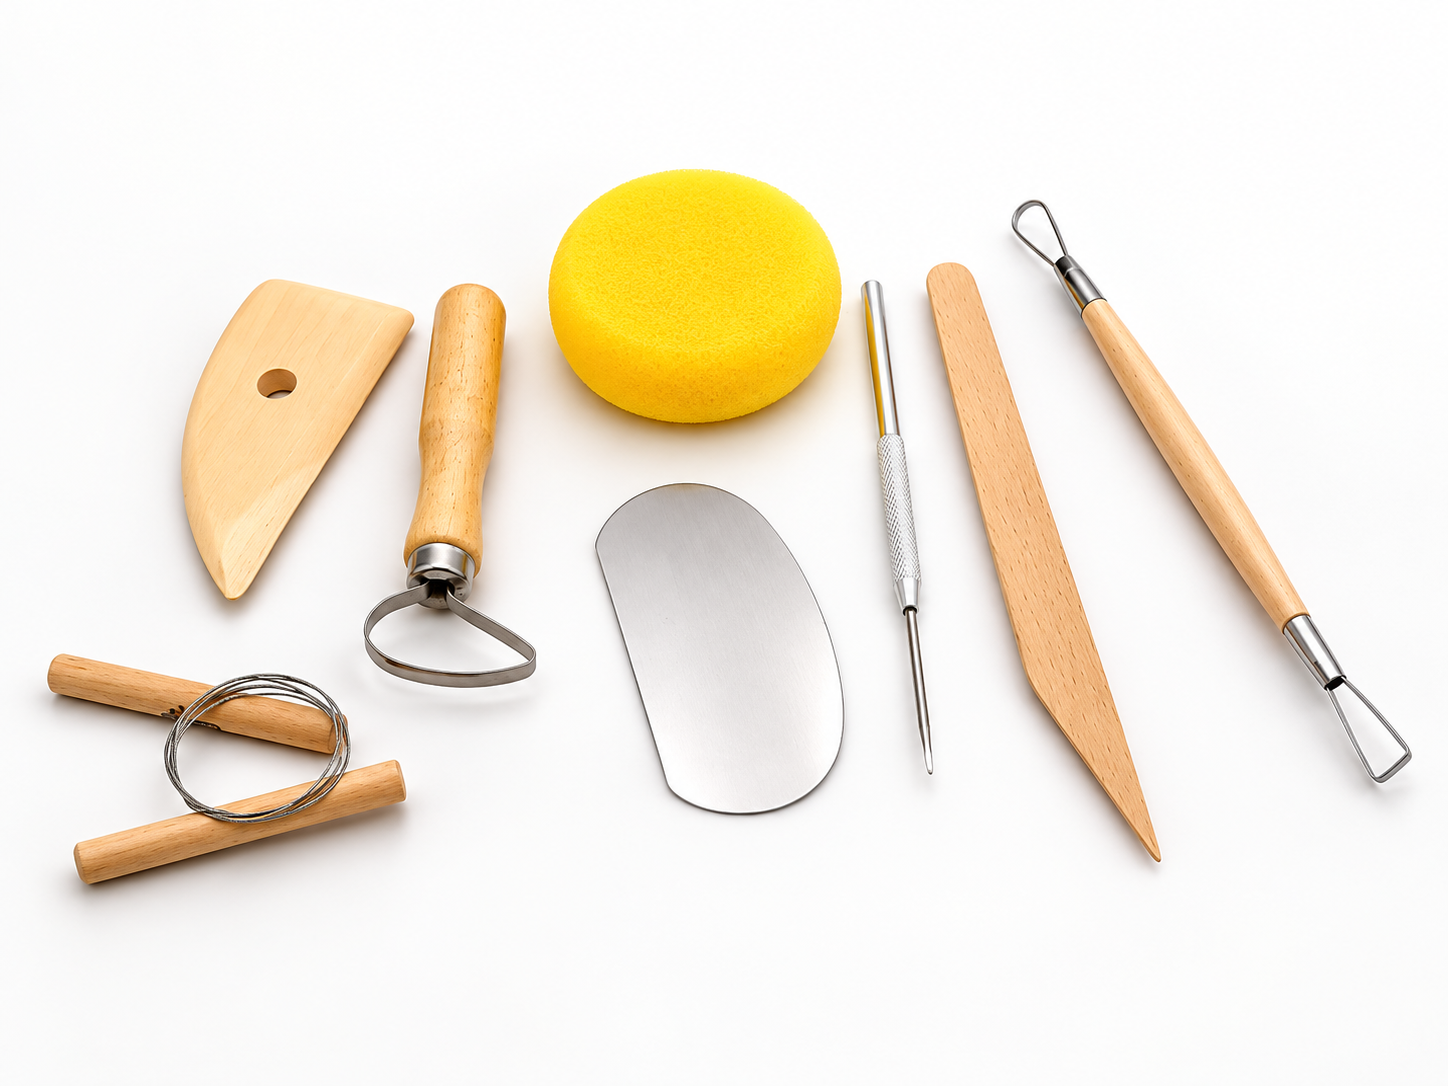
- Ribs and tools: help smooth the walls, compact the clay, and define profiles. You can find a wide selection of shaping ribs and tools. on the Hobbyland website.
- Clay cutting wire: to detach the piece from the platter or bat with a clean cut.
- Needle or fine point stylus: to refine the top edge and check the thickness of the bottom.
- Mirettes: ring tools for carving and finishing the foot of pieces when they are at leather-hard.
- Basin: to have water always at hand while you work.
To start, you can choose a basic tool kit and complete it over time as you discover what you really need.
Where and how to fire your pieces
The wheel allows you to shape the clay, but to transform it into ceramics, you need a kiln. Usually, pieces undergo two firings: the first, called bisque, makes the clay hard and ready to be glazed; the second fixes the glaze and completes the work.
Before buying the wheel, therefore, think about where you will fire your creations. There are two options.
Rely on our firing service. If you live near Legnano and work with clays and glazes purchased from Hobbyland, you can bring your pieces to our headquarters: we will fire them for you, with the care and experience of those who work with ceramics every day. If you live far away, contact us: we will direct you to the nearest firing studio. It’s the ideal solution to start without having to invest in a kiln right away.
Choose a kiln of your own. It gives you full freedom over firing times and cycles, and it’s the natural step when ceramics becomes a daily passion. To find the model suitable for your needs, you can use our ceramic kiln configurator: it guides you in choosing based on how you work and what you want to create. When the kiln arrives, in our guide you will find how to install the ceramic kiln and start it for the first time safely.
How much does it cost to start working at the wheel
It’s a legitimate question, and we would like to give you a precise figure. In reality, there is no single price: it depends on the wheel you choose, how much you will work, and how much you want to complete your workshop right away.
The good news is that you don’t have to buy everything at once. To start, just the essentials are needed:
- The wheel: is the most important item. The most accessible model in our catalogue is the BTH Sirius, around €1,000, and you can pay for it in instalments.
- The clay: a 10 kg block of earthenware costs approximately €8-10, and it’s enough for many hours of practice.
- Basic tools: a basic tool kit costs around €10.
Everything else can come over time, as your practice grows: the potter's stool, a few more bats, the decantation tank, glazes. The kiln can also wait: if you live nearby, you can use our firing service; otherwise, we will help you find a studio near you.
In practice, aside from the wheel, you need just a few dozen euros.
All set to start?
Now you have a complete picture: you know what a wheel is made of, how to sit comfortably while working, where to learn, where to fire your pieces, which clay to choose, and how not to waste it.
If you want to delve deeper into how to choose the right model, reread our wheel buying guide. And if you have any doubts, write to us: our team is happy to help you put together everything you need for your workshop.
Oh, one last thing: don’t forget the apron! Clay has a special talent for finding your favourite clothes.
Find everything you need in our ceramics category.
Note: BTH wheels are available for sale only in Italy and Malta. If you are in another country, you can find other wheel models that can be shipped abroad on our website. Wheel courses and the firing service take place at our headquarters in Legnano (MI). If you live far away, contact us: we will direct you to the nearest firing studio. Clays, tools and accessories mentioned in the article are also available for shipping to other countries served by Hobbyland.
Domande frequenti
What clay to use to start at the wheel?
Earthenware, red or white, is soft, plastic, and fires at lower temperatures: it’s the most forgiving choice for beginners.
How much does it cost to start working at the wheel?
Besides the wheel, just a few dozen euros are needed: a block of clay and a basic tool kit. The rest can come over time.
Is a kiln needed to fire pieces made at the wheel?
Not immediately: if you live near Legnano and use Hobbyland clays and glazes, you can entrust your pieces to our firing service. If you live far away, contact us and we will indicate the nearest studio to you. You can buy the kiln when ceramics becomes a daily passion.
Can leftover clay be reclaimed?
Yes, as long as it is raw. It is left to dry, dissolved in water, returned to the right consistency on plaster or cotton, and kneaded again.
How should you sit correctly at the wheel?
Close to the platter, with the seat a bit higher, forearms resting on the legs, and feet stable, one on the ground and one on the pedal.
Which pottery wheel to choose to start?
For beginners, an electric belt-driven wheel like the BTH Sirius is perfect: reliable, quiet, and easy to maintain. You can find all the selection criteria in our wheel buying guide.