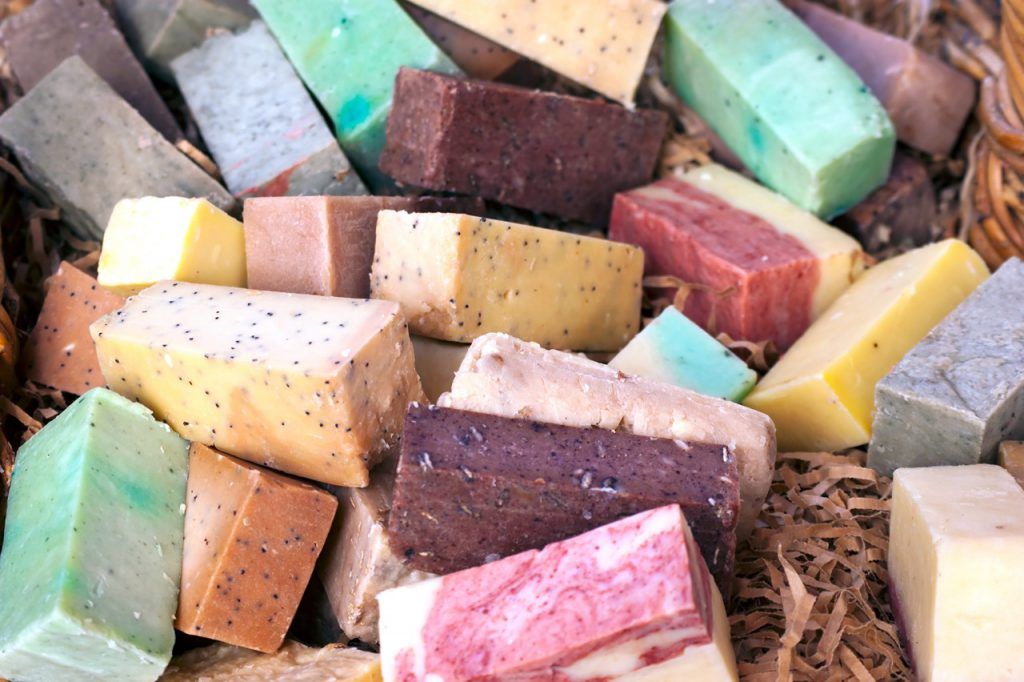
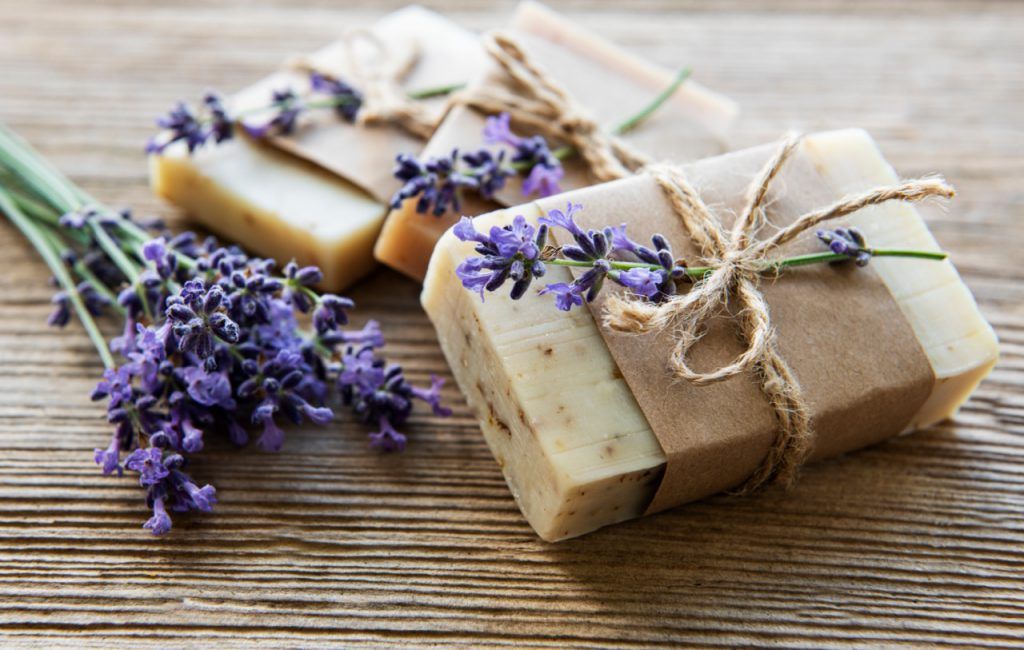
Making soap bars with the "melt and pour" technique is very simple and safe. With just a few materials and a low cost, you can create unique, fun, and colourful items, perfect for impressing someone with an original gift or for brightening up your bathroom.
Not only that: if you intend to specialise in soap making, this is a great first step to get started!
With the melt and pour technique, you can unleash your creativity by choosing and mixing different fragrances, as well as using various colours and moulds to create original and personal shapes. In this short guide, we will show you the ingredients for this simple recipe and the preparation methods, along with some practical tips for working safely and conveniently.
Let's start with the base
Ready-made soap bases, available in various types and sizes, allow you to skip the soap preparation phase, which involves using potentially hazardous materials like lye.
No risks, no time wasted: you can dive straight into the creative process!
On our website, you can find a wide range of melt and pour soap bases for creating soap butter and even bubble bath and shampoo. Choose the base that best suits your project and… let’s get started!
The recipe: ingredients and tools
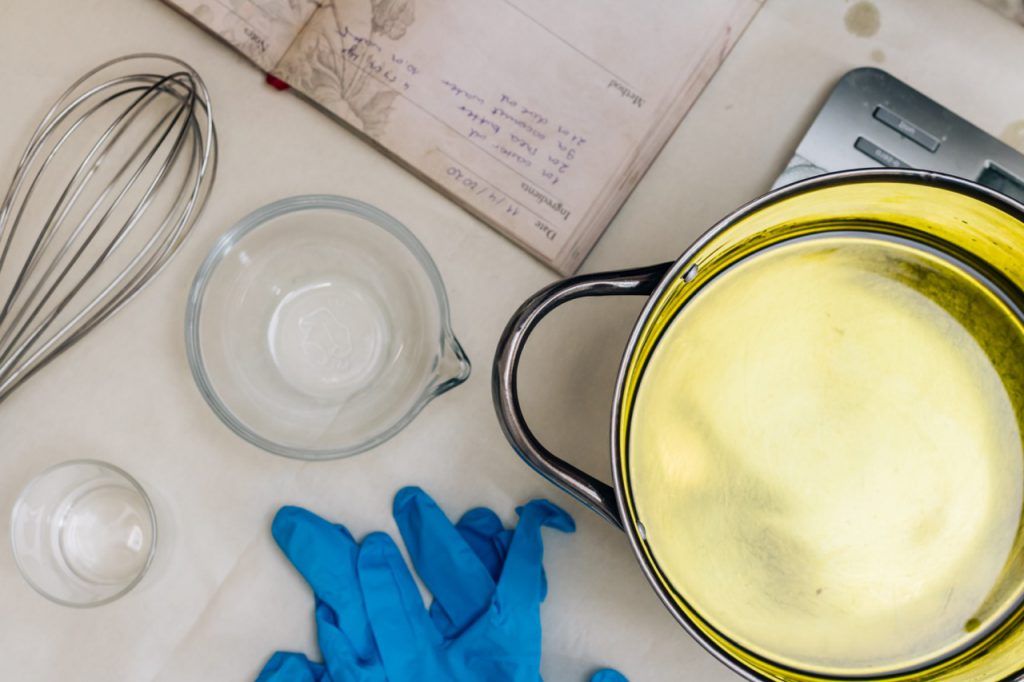
To make a soap bar using the melt and pour technique, you will need some simple tools and equipment:
- a scale
- a cutting board
- a set of measuring spoons
- a metal whisk
- a soap mould
- a cup or a measuring jug for measuring liquids and melting the soap
- wipes or paper towels
- microwave
Before moving on to the materials, here are some useful tips.
Make sure the tools you use are clean: any residue of dirt or impurities can transfer into the mixture during processing and into the finished product. Especially if you plan to use the melt and pour technique often, we recommend dedicating a set of tools exclusively to this activity!
Write down all the components of the recipe and the quantities used, so if you are satisfied with the result, you can replicate the same formula or experiment with variations.
The materials you need for your soap are truly essential:
When choosing fragrances and colours, make sure they do not contain irritating components for you or for the person who will use your soap. Some issues caused by using additives or dyes can be the "sweating" of the soap bar, colour loss, or low lather. To find out how to avoid or resolve them, check our melt and pour soap troubleshooting guide.
Melt and pour technique "step by step"
As the name of this technique suggests, the process involves melting the soap, mixing it with the other ingredients, and then pouring it into the mould to set. Let’s see step by step how to proceed.
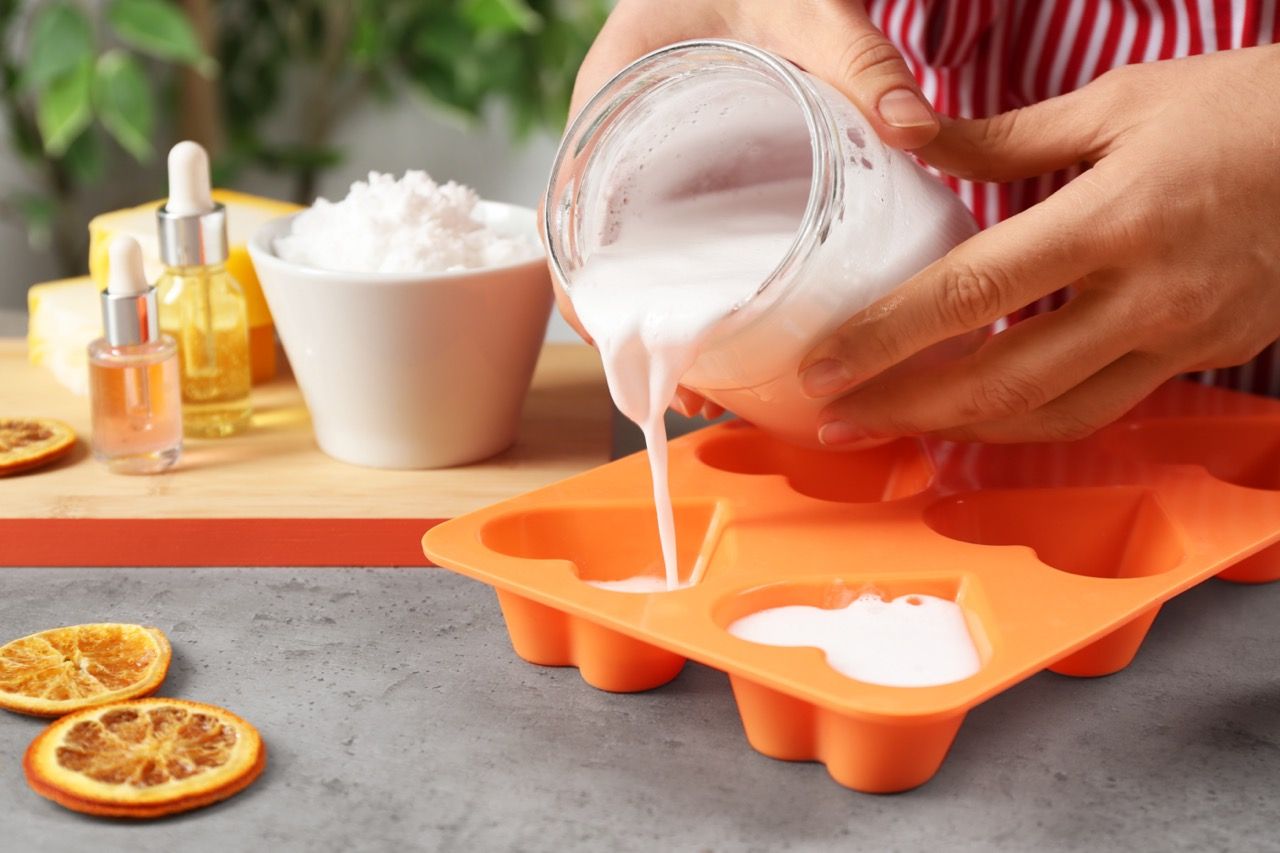
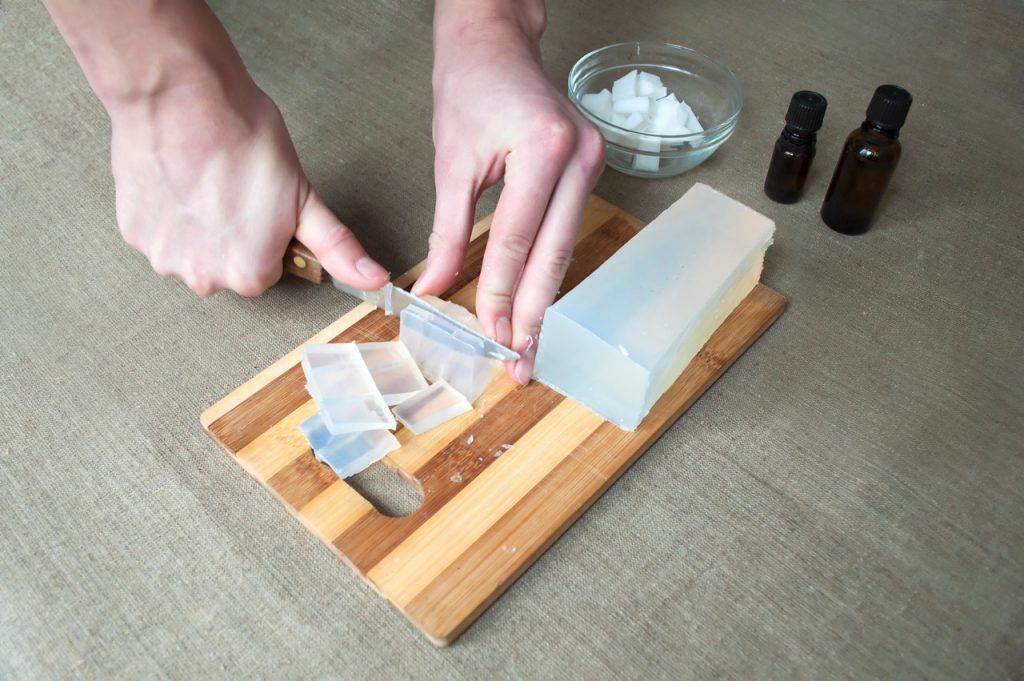
Place the measuring jug on the scale. Cut the soap base into small pieces and place them in the jug until you reach the desired weight and the necessary amount to fill the mould.
Melt the soap in the microwave. Before placing it in the oven, cover the jug with a lid or cling film: this will limit liquid loss during heating. Since every microwave has different power levels, we recommend proceeding one minute at a time and then checking the melting status of the soap. Stir the mixture with a spoon and repeat the heating until the soap is completely melted, with no solid residues. The melting temperatures are high: be careful not to burn yourself!
Add the fragrance for scent, using the measuring spoon and slowly mixing the mixture. The amount can vary based on your personal taste and the type of fragrance. Generally, the recommended proportion is around 2% or 3% of the total amount of soap.
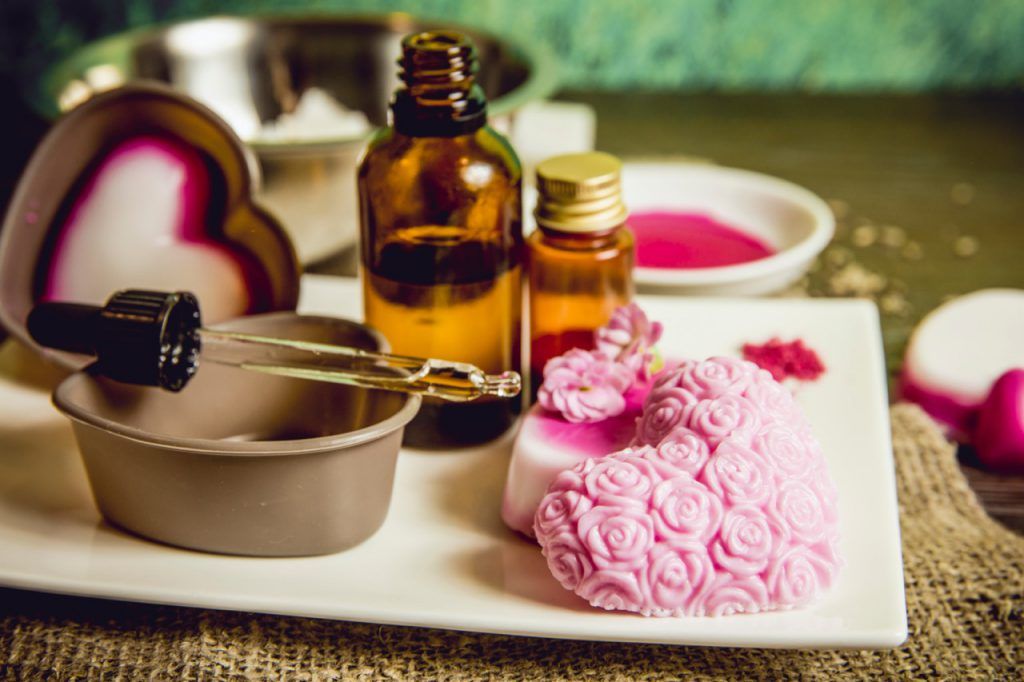
Add the colour (or colours) gradually and mix carefully using the whisk until the ingredients are perfectly blended.
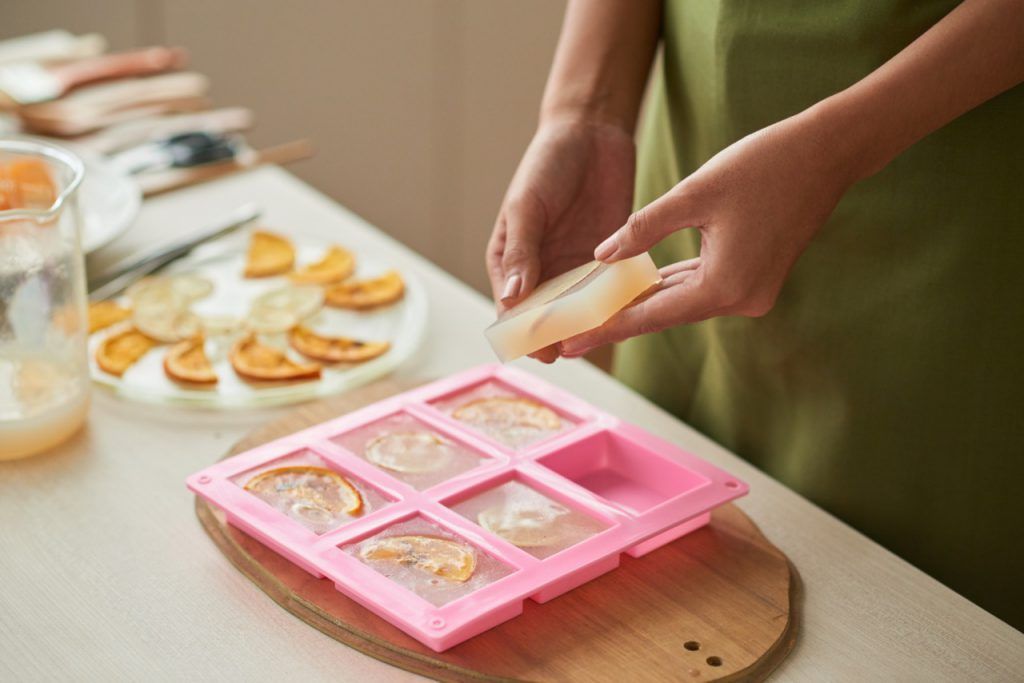
Pour the mixture into the mould slowly, to avoid splashes and prevent bubbles from getting trapped in the soap.
Leave to set in a flat and safe place, covering the mould with cling film. The process takes several hours. If you want to speed up the cooling, you can place the mould in the fridge, but not in the freezer.
Once dry, your soap is ready to be removed from the mould. It should come out easily, but if you encounter resistance, you can try placing the mould upside down under warm running water to help it release. The final step, if necessary, is to finish the soap with a cloth or a small knife to remove any roughness or imperfections.
At this point, all that’s left is to use the soap or package it in a colourful gift wrap for the intended recipient!
And if you need advice or information on materials, fragrances, colours, and optimal quantities to use for a perfect soap: we are always here to help!