
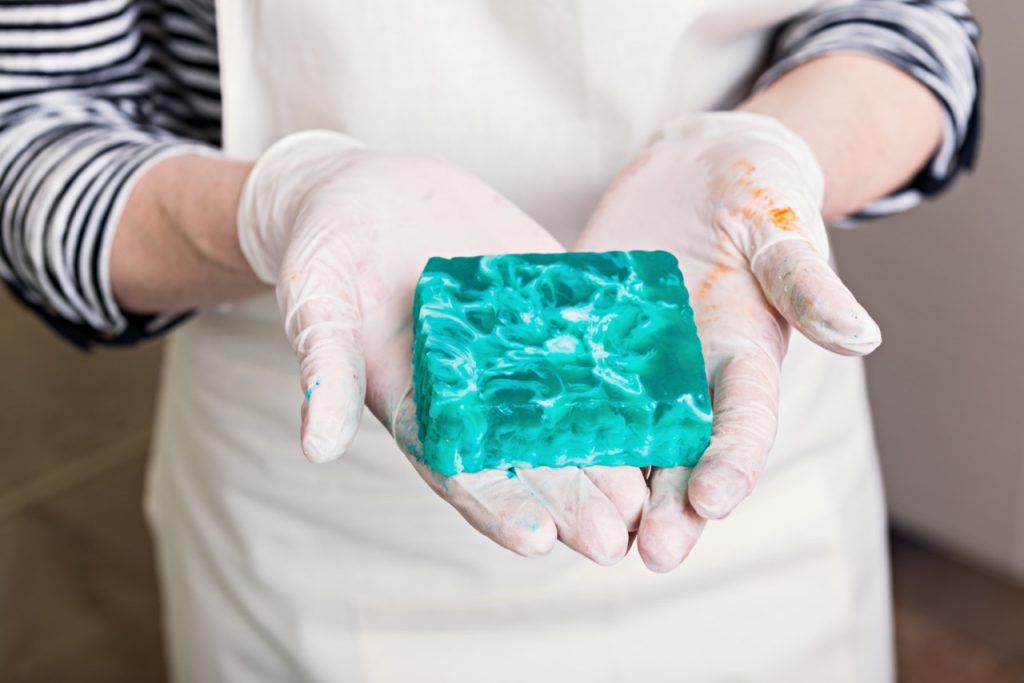
Have you ever tried making soap with the melt and pour technique? If so, you may have occasionally noticed some inconveniences or problems that can compromise the processing and preservation of the soap bar. As with any craft activity, there is always the possibility of an error or inaccuracy. And especially when working with organic substances, there are always various aspects to consider, such as oxidation or deterioration.
The good news is that with a few precautions and knowledge about ingredient selection, soap preparation, and storage methods, you can resolve many of these issues. We have gathered them in this article: they may be useful for solving these small problems and enjoying your soap to the fullest and for as long as possible.
If you have never tried the melt and pour technique and want to experiment with this simple method of making soap at home, we invite you to start with our guide, and then come back to read this article.
So let’s see what the best ways are to store your soap or how to address some small inconveniences that may arise from a craft process like this.
Why does my melt and pour soap "sweat"?
Melt and pour soap may "sweat," meaning it has droplets of water on the surface, but there is no need to worry: this is a natural process where the glycerin in the soap attracts moisture from the surrounding air.
These droplets do not affect the quality of your soap nor change its effect. However, if you want to avoid "sweating," you can wrap the soap bar in cling film, store it in a dry place or near a window, or keep it in a container that prevents contact with the humid air of the bathroom.
Why are there ripples on the surface of my melt and pour soap?
Melt and pour soap takes several hours to dry in its mould. The top part of the soap is the first to solidify, so at some point, it may seem that your soap has completely dried: but this is not the case. The bottom part may still be in liquid form and can experience shock waves if the mould – or the table on which the mould rests – is jolted. The result is that the fluid moves, creating a wave, and then, instead of settling, maintains this wavy ripple pattern on its surface. If this is not the aesthetic result you are looking for, make sure your soap always rests on a stable, level surface and is away from potential bumps or knocks.

Can melt and pour soap develop mould?
Soap itself does not develop mould. However, some additives used to prepare it can cause mould formation in the soap bar. Organic additives, in fact, undergo their natural decomposition, and if the environment in which the soap is stored is very humid, over time there is a possibility that mould may develop.
If you have used organic ingredients in your melt and pour preparation, we recommend wrapping the soap bar in cling film to avoid contact with the air.
Why does melt and pour soap discolour?
The discolouration of soap has nothing to do with the soap base itself, but is mainly due to the additives, especially those of organic nature.
Vanilla, for example, contains vanillin, which gives the soap a brownish colour. Botanical products like rose petals, lavender buds, or calendula petals can leach or drain the colour from the soap. To avoid leaching, the advice is to use hot water to extract some of the colour, then let the petals and buds dry on their own before adding them to the soap.

Why does my melt and pour soap have little lather?
The amount of lather in a soap bar depends on the amount of soap it contains, indeed. But as we know well from the basic melt and pour soap recipe, there are also additives, colourants, oils, or fragrances in a soap bar: all substances that can influence the appearance and performance of the soap.
Powders, such as clays or activated charcoal, increase the volume of the soap bar during preparation, causing the actual amount of soap to decrease. The effect? Less lather. If we add too many oils, it will cause the same effect: although our soap bar may increase in fragrance or moisturising effect, it will decrease its ability to lather. If you want to avoid losing lather, therefore, carefully calculate the amount of additives you want to add to your soap.
Why does my melt and pour soap smell burnt?
This problem is caused by overheating the soap during preparation. Keep in mind that the melting point of soap is around 49°C. If the temperature rises above 60°C during cooking, the fats in the soap will reach combustion, and your soap will have an unpleasant burnt smell. Therefore, always monitor the heating temperature, using a suitable immersion thermometer.
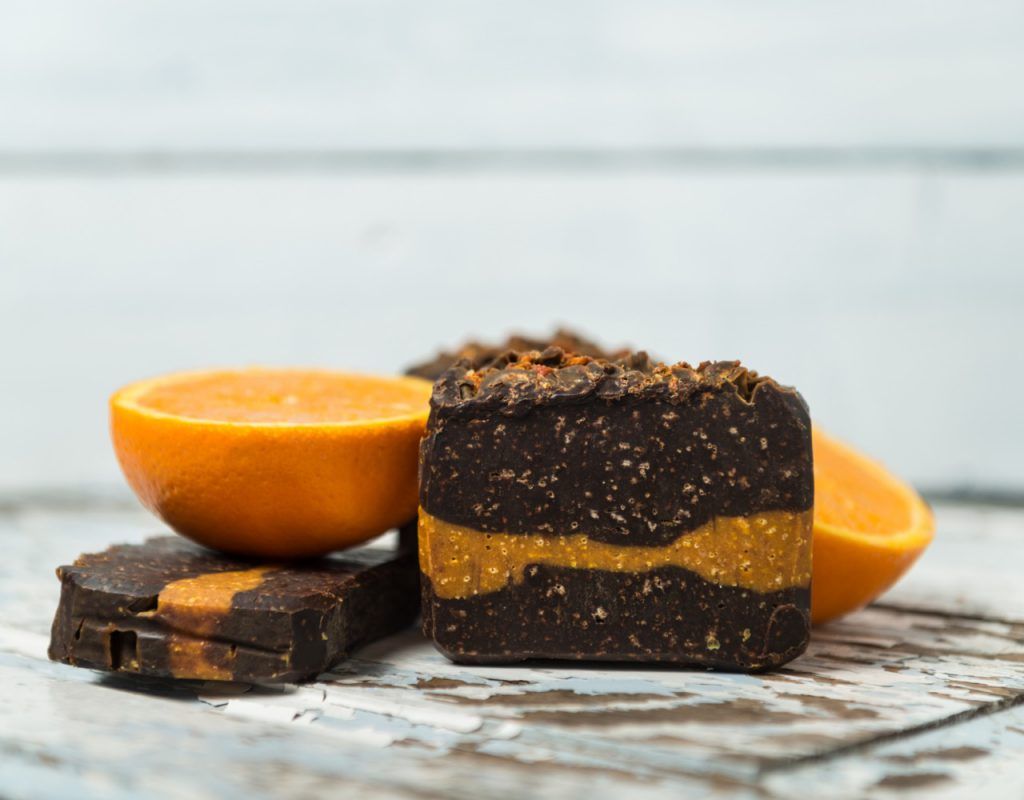
The layers of my melt and pour soap have separated
One of the techniques for preparing melt and pour soap is layering, which involves the successive overlapping of layers on top of each other, often in different colours. If the technique is not executed correctly, the layers will not adhere and may separate, either after removal from the mould or during use.
To perform the layering technique, it is essential to accurately monitor the temperature of the soap layers. Once the first layer is poured, you must wait for the liquid to solidify, but not too much; otherwise, it will not fuse properly with the next layer. In turn, the upper layer must be warm, but not too hot. Our advice is to keep the lower layer around 26.5 degrees and the upper layer between 43 and 49 degrees.
Before pouring one layer over another, make sure to add a generous amount of alcohol to the lower layer: in contact with the heat of the upper layer, the alcohol will evaporate and help the soap of the upper layer to fuse properly with the lower one. We recommend using 99% or 70% denatured alcohol.
As you can see, ensuring that the layers are properly fused together requires some experience and attention, but with a bit of practice, you will surely be able to create a multi-layered melt and pour soap too!