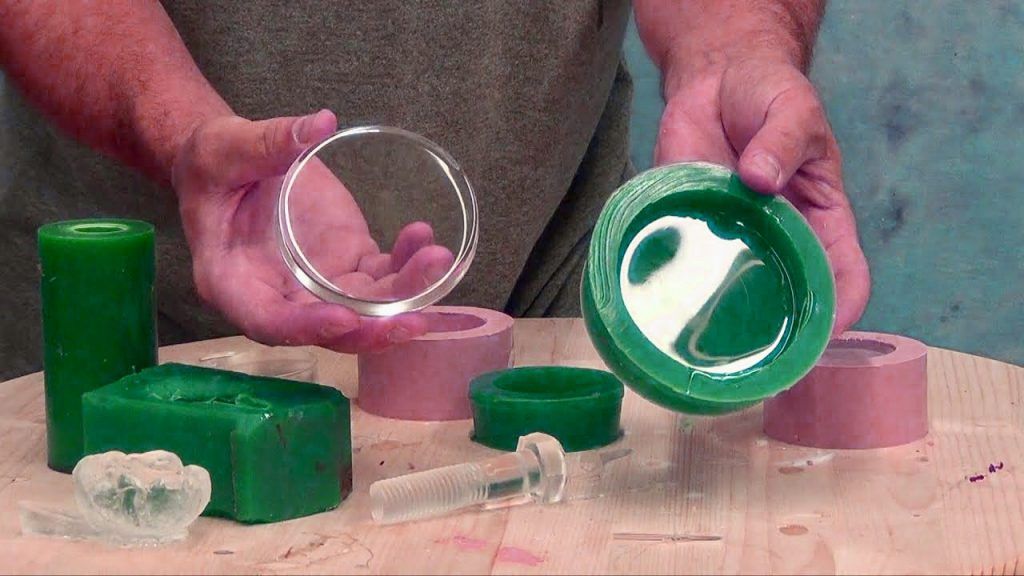
Silicone rubber is the ideal material for creating unique and customised moulds for producing items in series. The versatility of this material allows for the reproduction of the original model even in the smallest details, while its durability enables the model to be replicated potentially indefinitely. Furthermore, silicone rubber is well-suited for making moulds for practically any type of material: plaster, resins, wax, soap, as well as metals and concrete.
In the guide dedicated to discovering silicone rubbers, we presented the different types of silicone rubber, along with their usage indications based on the project. In this tutorial, however, we take a step forward and see together how to create a mould!
But first, a premise: with silicone rubber, you can create open moulds if the goal is to make flat-based objects such as decorations or bas-reliefs, or closed moulds (as in the case of well or two-part moulds), which are used to create three-dimensional objects through “casting”. In this tutorial, which aims to introduce the techniques and phases of creating a mould even for those who have just started working with silicone rubbers, we will focus on creating open moulds.
Silicone Rubber Mould: What Do You Need?
First, let’s see what equipment and tools you need to create a mould.
An essential tool is the scale, preferably a digital one that ensures greater precision. As we will see shortly, it is very important to measure the components of the silicone rubber accurately.
The other tools you need are a bowl or container for mixing the "ingredients", a spatula for stirring, and a pair of protective gloves.
Finally, you will need your matrix, which is the model from which to create the cast, and a container in which to pour the rubber. Let’s start right here!
Preparing the Mould: Matrix and Container
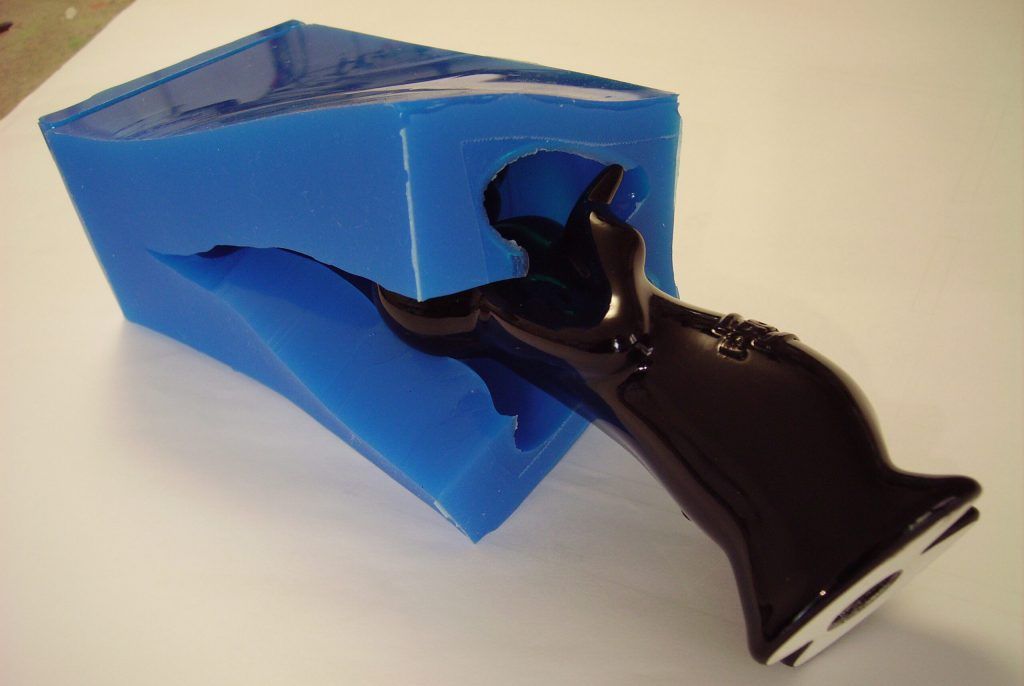
As mentioned, in this guide we focus on creating open moulds, starting from flat-based models. Most likely, the object from which you want to obtain the mould will be small or medium-sized, so that it can be easily placed inside a plastic container like a Tupperware or similar. In this case, the procedure is really very simple and intuitive. By placing the model at the bottom of the container, with the decorated side facing up, you just need to pour the silicone rubber into the container until it completely covers the surface of the object, let it dry, and remove the matrix from the mould.
But there are a couple of precautions to keep in mind: the first is that the height of the container must be greater than that of the matrix, because you need to cover your object completely, even with a certain abundance. The second, essential, is that the matrix must be fixed to the bottom of the container, especially if it is a lightweight object. Use glue or adhesive tape to ensure that the matrix adheres perfectly to the base and does not move or lift when you pour the rubber. Otherwise, the work will be ruined!
Another crucial preparation phase before proceeding with the mould is cleaning the model: the surface of the matrix must be perfectly clean, free from residues that could compromise the adhesion of the rubber or the success of the mould. Silicone rubber is extremely faithful, capable of reproducing even the smallest details, so any imperfections present on your matrix will become an integral part of the mould.
What to Do If the Object Is Large or If You Don’t Have an Adequate Container?
If you do not have a container suitable for holding your object properly, you can alternatively fix the matrix to a base (your work surface, or a panel made of wood, cardboard, or plastic) and create around it a "counter-mould", that is, walls capable of containing the rubber pour. To do this, you can use objects like a box, a bottle, or a plastic cup from which you have removed the bottom, or panels made of wood or plastic that can be fixed using hot glue or adhesive tape.
Now that the matrix and counter-mould are ready, it’s time to prepare the silicone rubber.
Silicone Rubber and Catalyst: The Mixture
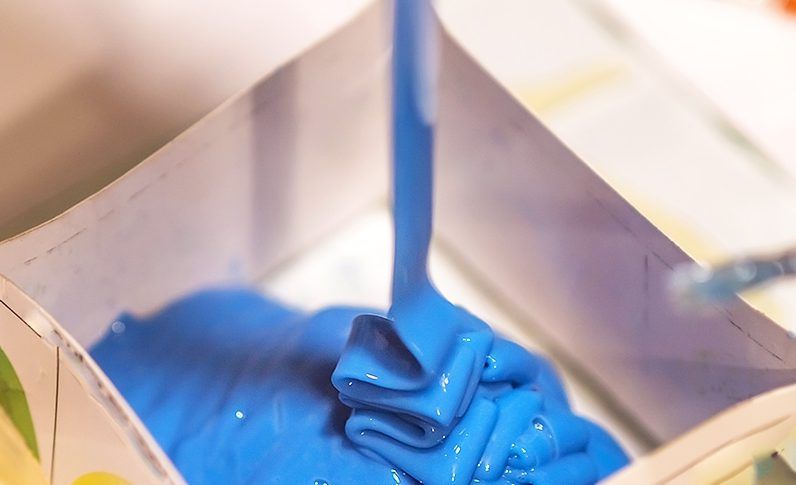
Silicone rubber is a two-component material, consisting of a base and a catalyst. The catalyst is the substance that activates the reaction in the rubber, ensuring that it acquires all the properties we desire: compactness, flexibility, durability, etc. Both the base and the catalyst are in liquid form and must be mixed in exact proportions: this is why the scale is essential.
All silicone rubber packages indicate the proportion for the catalyst, so always refer to the product instructions to ensure you proceed correctly.
Using the scale, measure the exact amounts of base and catalyst in the bowl and mix well with the spatula until the mixture has a uniform colour and consistency.
At this point, you can proceed to pour the rubber into the container with the matrix (or into the counter-mould). To avoid splashes or the formation of bubbles, pour gently and steadily from a height of about 30 centimetres. Ensure that the mould is in a horizontal position on a stable work surface, and that the rubber evenly covers the entire surface of the matrix. At this point, all you have to do is wait!
Silicone rubbers have different curing times, so the wait will be longer or shorter depending on the specific product and the size of the mould. Again, always check the indications provided by the manufacturer on the packaging.
Demoulding the Mould
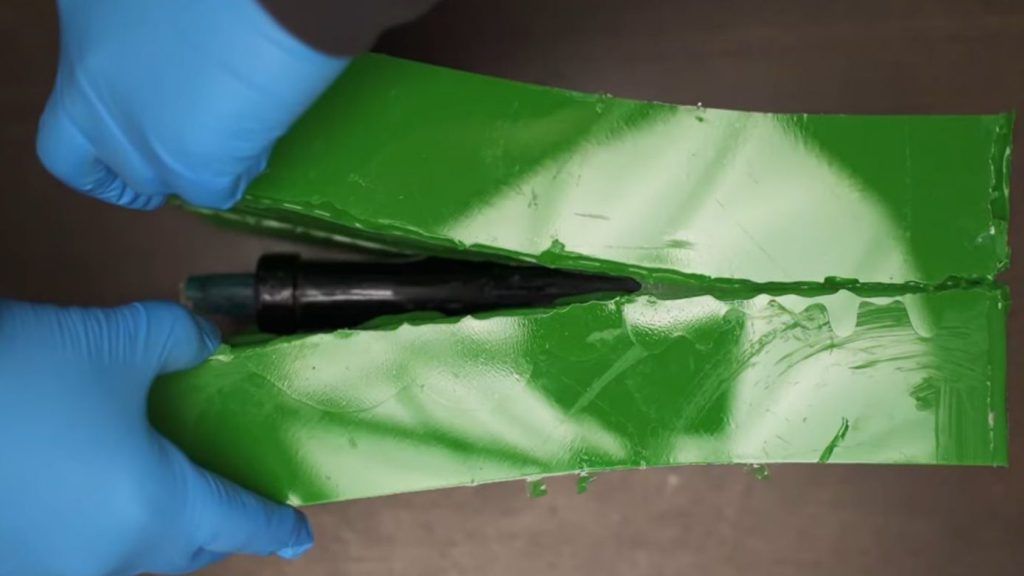
Once the rubber has cured, you can remove the mould from its container using a craft knife or spatula (or by cutting/dismantling the walls, in the case of a counter-mould built specifically) and separate the rubber from the matrix.
In some cases, it may be necessary to use a release agent to properly separate the rubber mould from its container. We recommend using a liquid wax-based release agent or a silicone-based release agent. Feel free to ask our experts to identify the product most suitable for your needs!
To complete and refine the work, you can use a knife or craft knife to trim the edges of the mould, eliminating any inaccuracies or irregularities. And your mould is ready to be used!