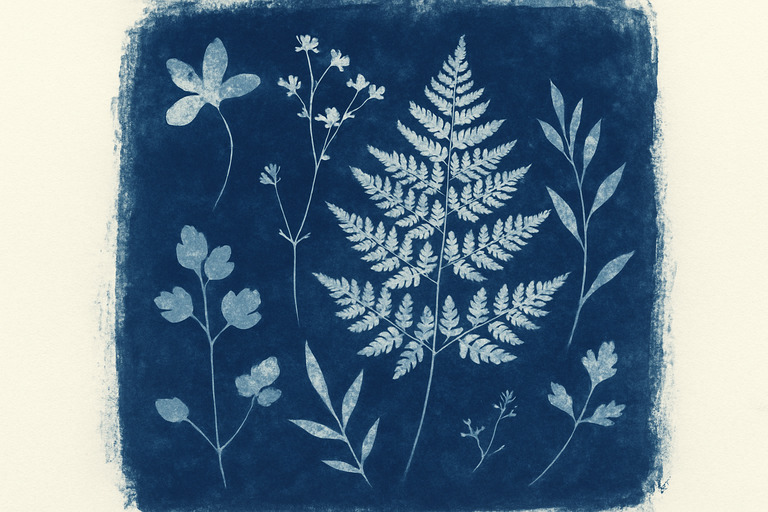
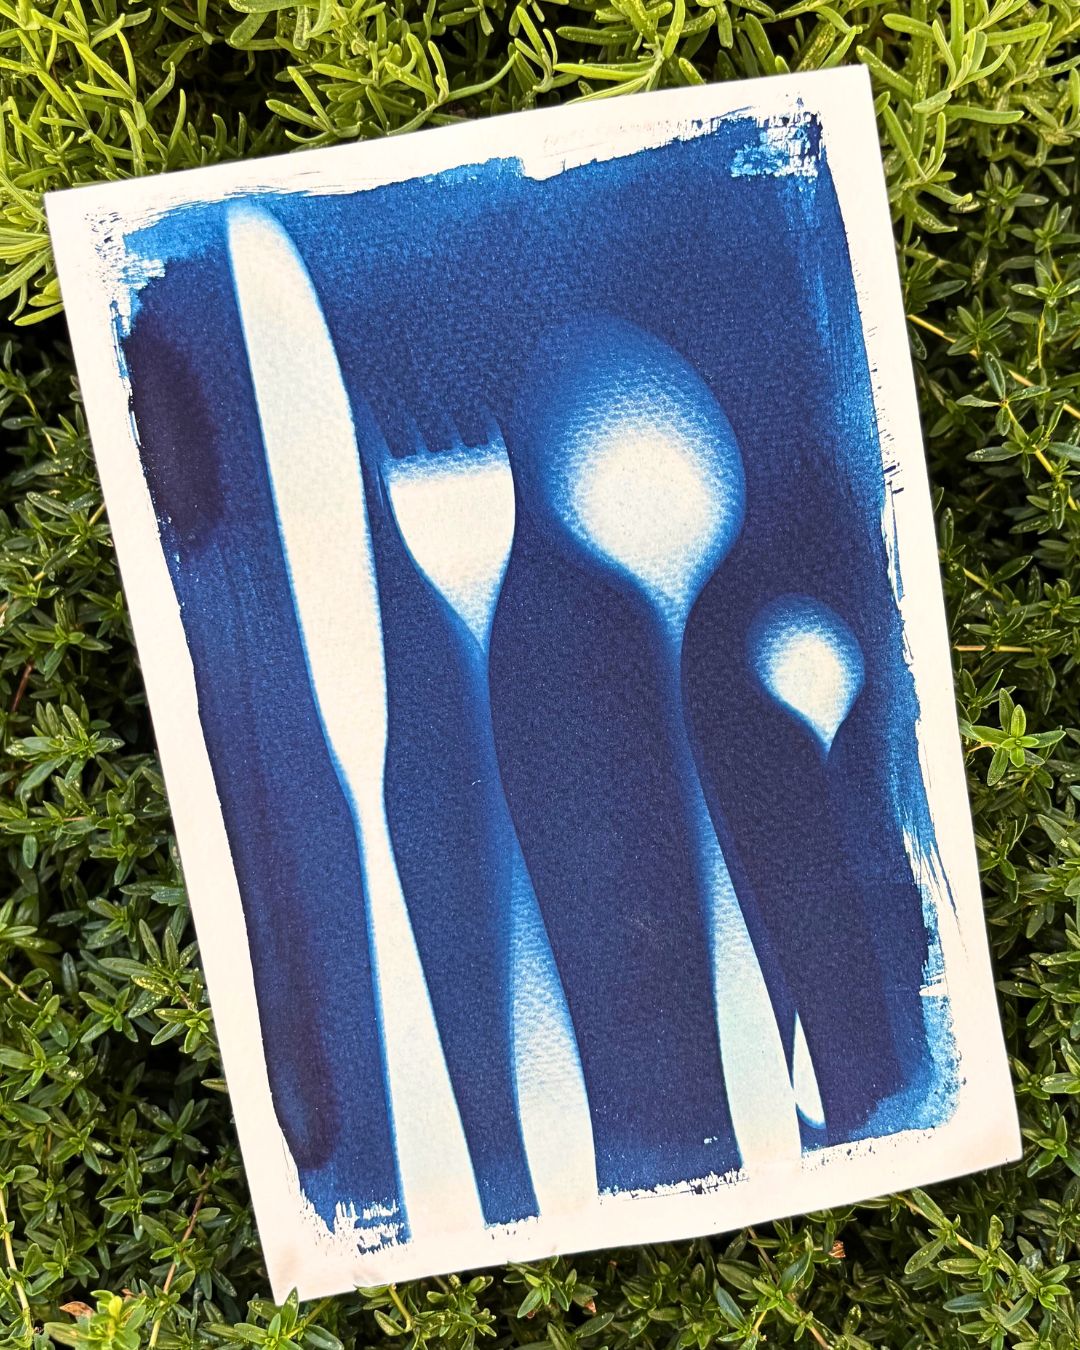
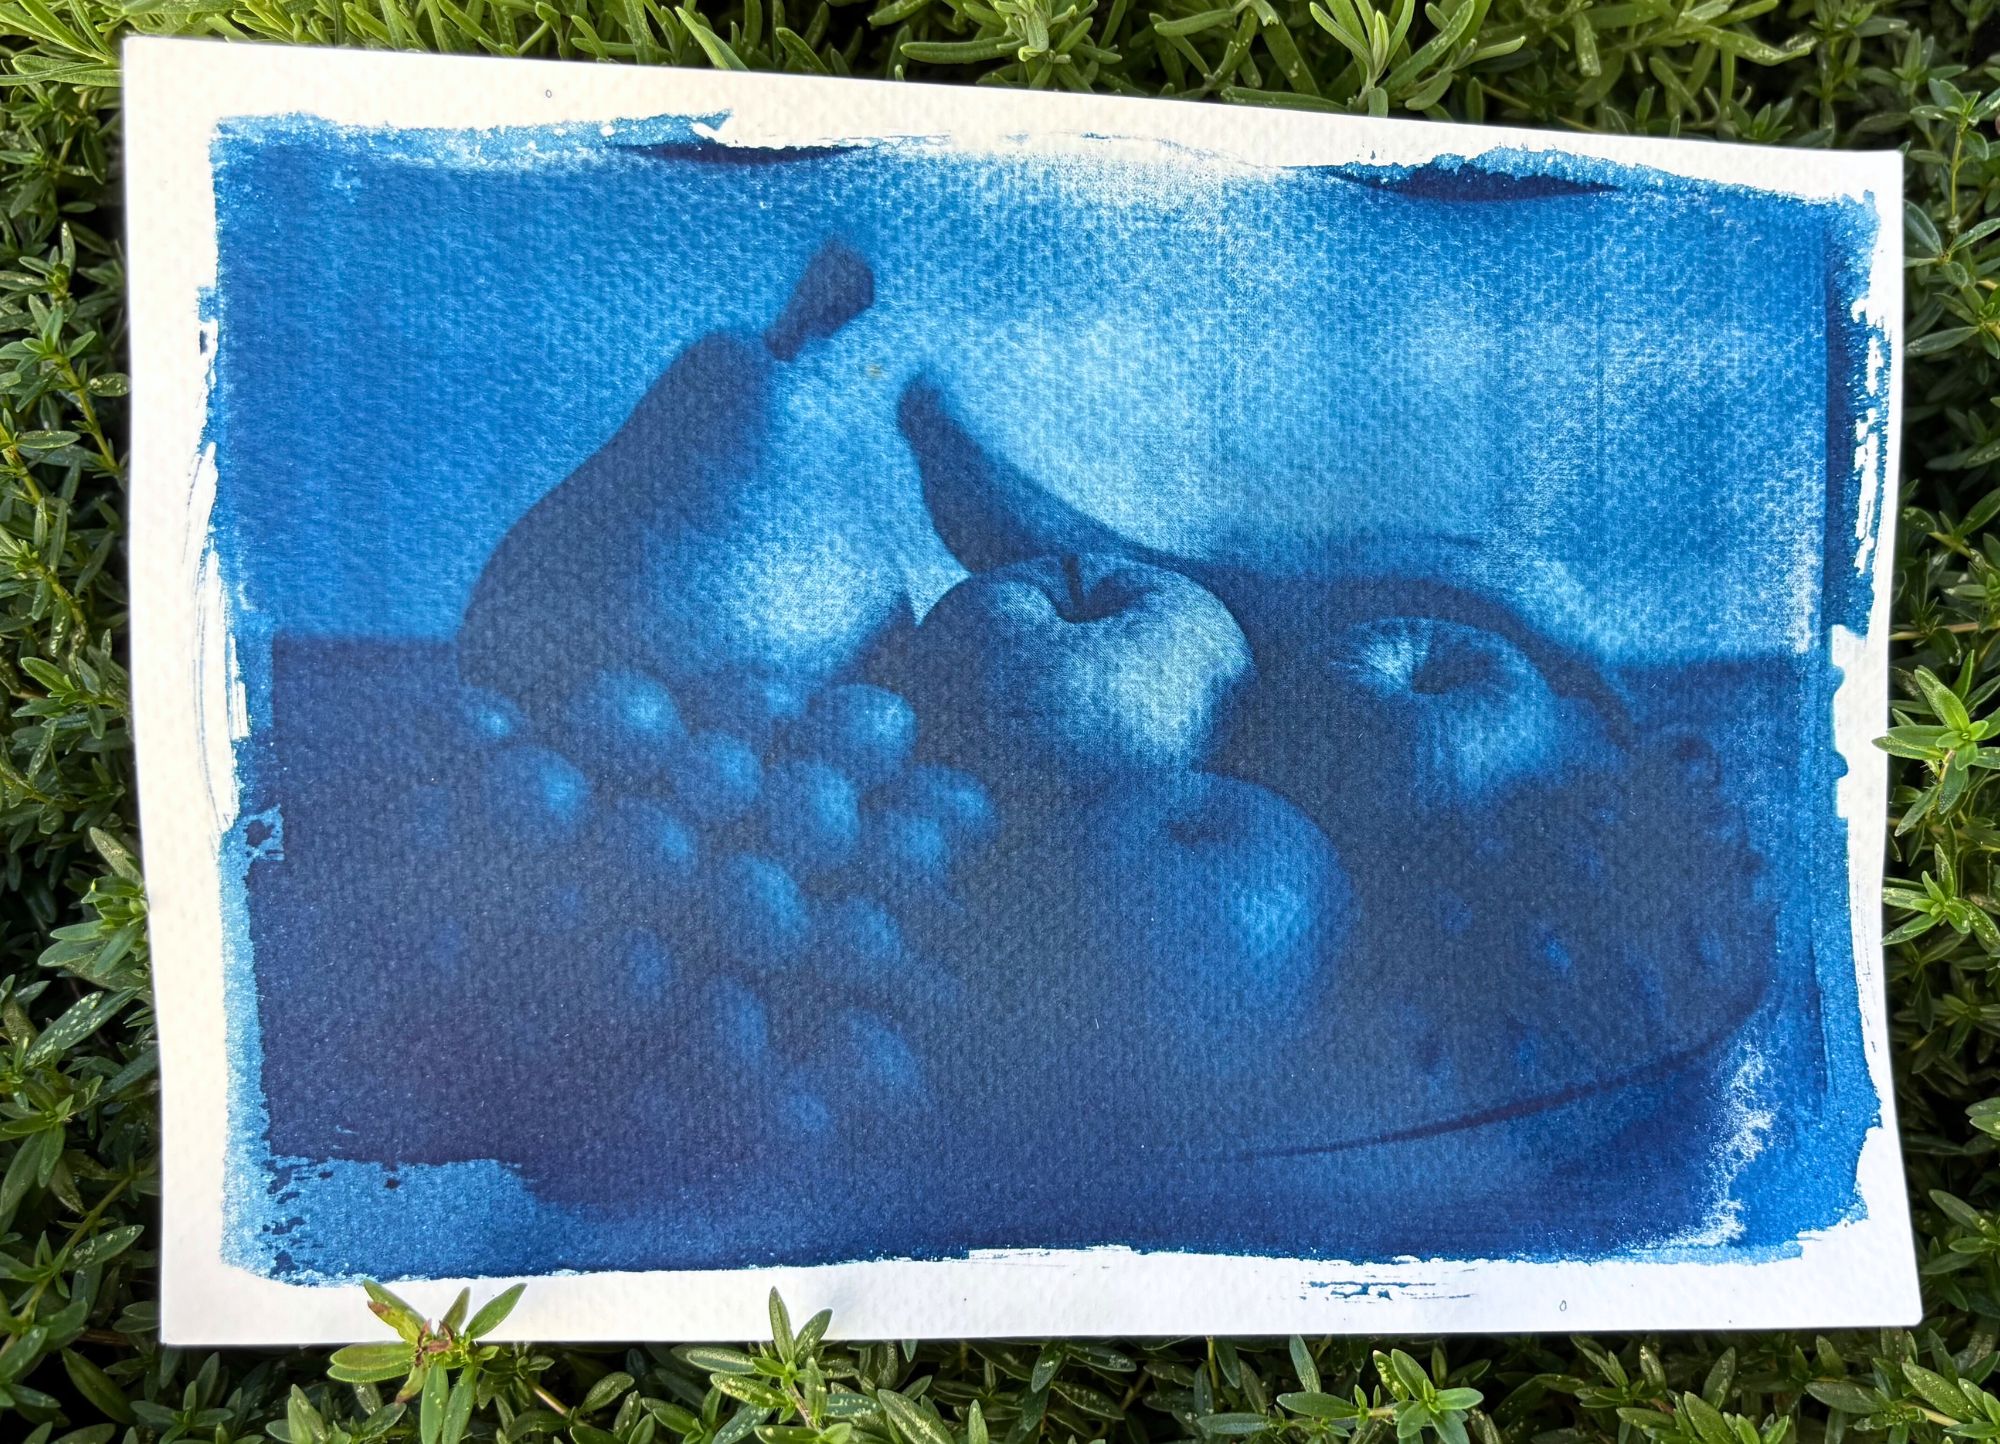
Cyanotype is a simple and fascinating historical photographic technique that produces prints with a characteristic shade of blue, known as Prussian Blue, which is achieved by mixing two iron salts that are sensitive to the ultraviolet part of sunlight.
This is a contact printing technique; the negative or the object you want to get on the image is placed in direct contact with the sensitive paper and then exposed to sunlight. It is a simple process that can be done at home.
Let’s see together how it works and how you can make your first experiments.
Where does it originate?
Invented in 1842 by Sir John Herschel, it was initially used to reproduce documents and diagrams, but has become an art form valued for its aesthetic qualities and simplicity.
Consider that the first photographic use was pioneered by Anna Atkins, a botanist and photographer, who published a book, considered the first book in history with photographic images.
Since then the technique has remained virtually unchanged: easy, inexpensive and always amazing.
Where can it be applied?
This technique is mainly done on paper or fabric, with negative prints or simple objects.
The paper must be thick and strong, because after the printing process it will have to be immersed in water. The fabric, on the other hand, must be light-colored cotton or linen .
It is also possible to experiment with rendering on other materials such as leather, wood, ceramics or any porous natural surface that can be immersed in water.
What you need
As a first step, remember to cover your work surface, use utensils or containers you don’t use for food, and wear an apron and gloves.
Our CIANOTIPIA KITS already contain everything you need; you won’t have to worry about anything except getting the items you need to use and a frame if you perform technique with negative printing.
- Cyanotype kit containing:
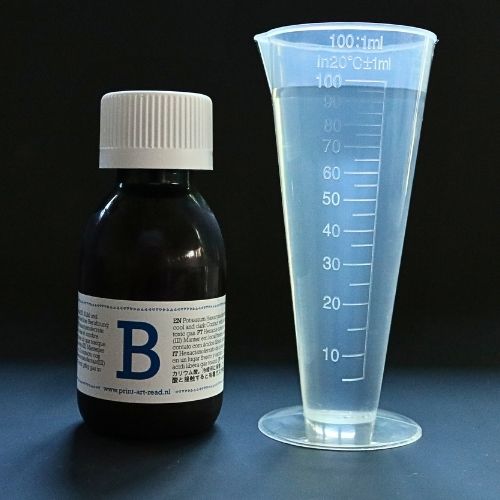
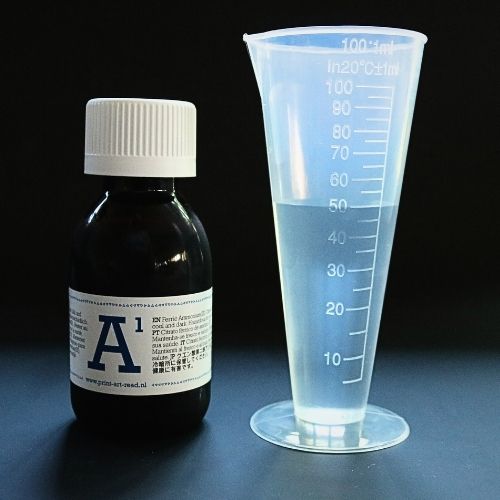
– ComponentsA1 and B
– printing paper or fabric
– liquid dispenser
– application sponge (or brush without metal parts)
– small round container
– gloves
– rinse tray - objects (leaves, lace, silhouettes…) or negatives on acetate
- glass/frame
- a sunny day
- water
Preliminary information:
Work in a room in semi-darkness or otherwise out of direct light. The solution is sensitive to UV light, so neon light illumination should also be avoided.
Application method with objects
Step 1: Prepare the components
Add 100 ml of water to component B, close and shake until the powder is completely dissolved. Add to component A1 50 ml of water, and again close and shake well.
Reopen bottle A1 and add more water until it reaches the same liquid level as in bottle B, shake again. Components thus prepared can be stored in the refrigerator for about 6 to 8 months, and if you use distilled water instead of tap water, this storage time doubles.
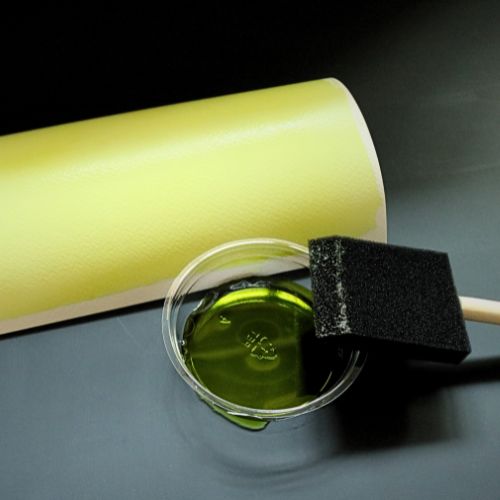
Step 2: Create the mixture and spread it on paper or fabric
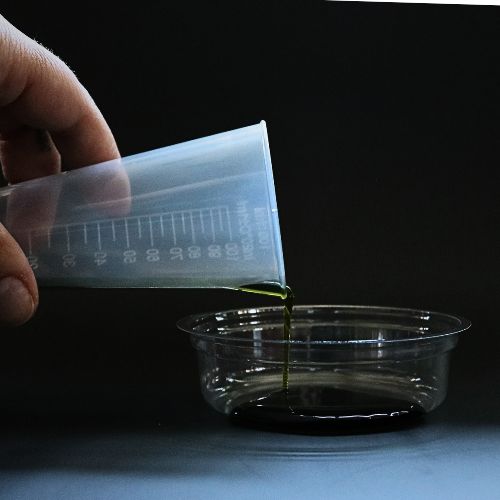
Out of sunlight, mix the two components in equal parts; for the first experiments, 5 or 10 ml per part are enough. This mixture is to be used immediately; it cannot be stored.
Pour the resulting mixture into the round container, included in the kit or available to you, and spread the emulsion with a sponge or brush (no metal parts), trying to cover the surface as evenly as possible without leaving streaks or stains.
The treated surface does not keep for long, so prepare only what you intend to use.
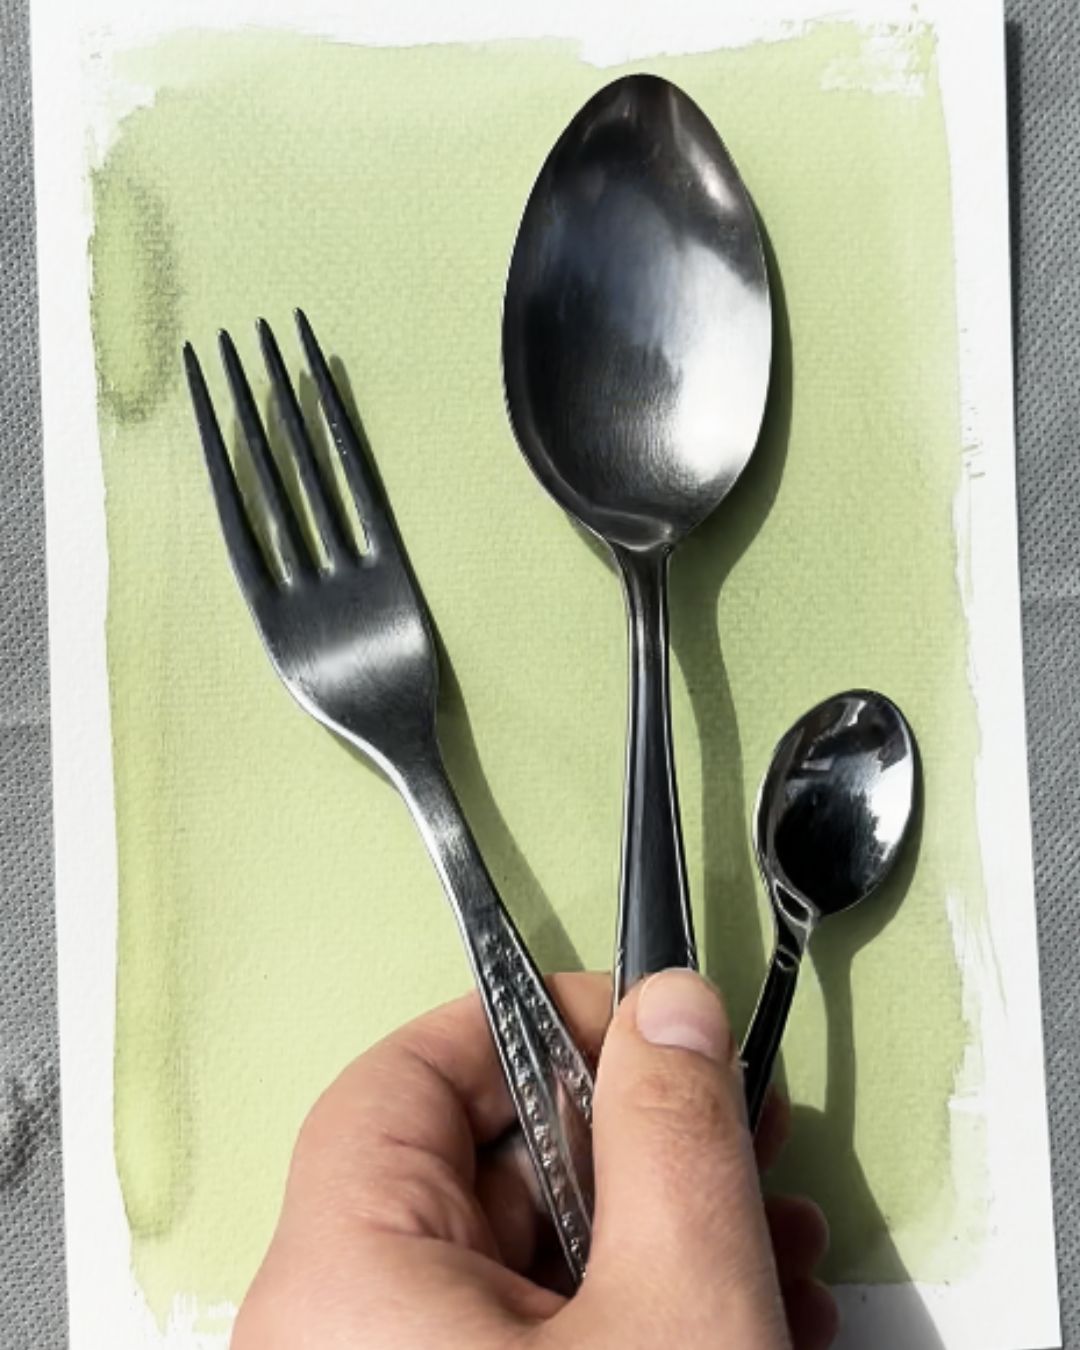
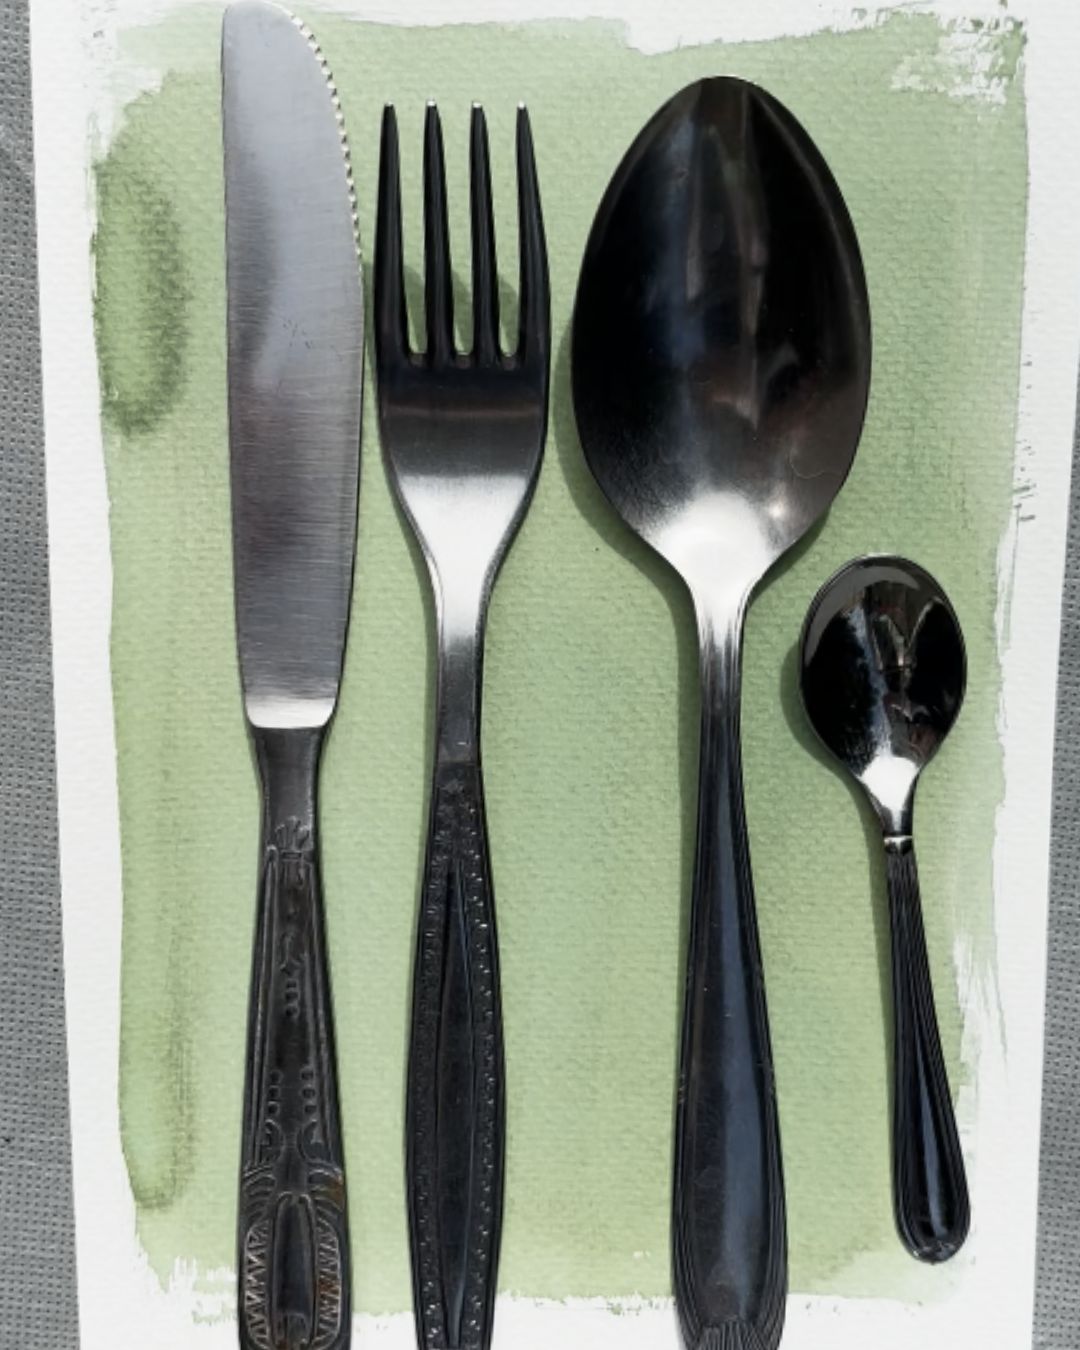
Step 3: Compose your image
Let the paper dry in the dark, after which the printing process begins.
Place your printing base in direct sunlight and immediately overlap the objects “to be photographed” by exposing them to the sun for about 10 to 15 min.
You can increase or decrease the exposure time according to its intensity.
Step 4: Rinse, dry and store
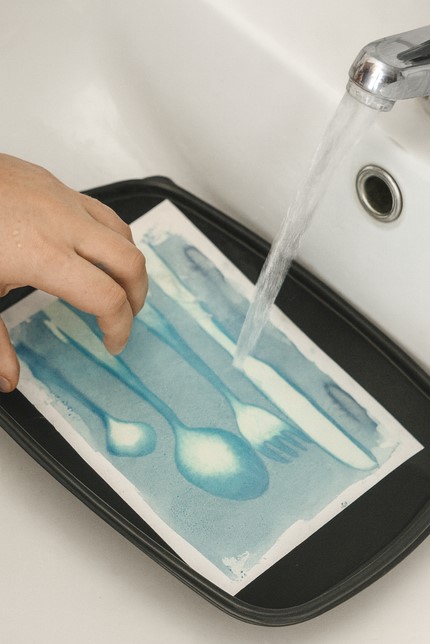
Remove the objects and place the print under running water to remove the mixture; the wash water will become cleaner and cleaner, and only at this point will the blue tint be visible.
Simply move the sheet into the water without rubbing until the yellow patina comes off completely.
Let dry in shade or in the dark.
Keep the prints out of direct sunlight. If they ever fade, just leave them a few days in the dark for them to regain their original hue.
Using the photographic negative
Want to print a real photograph in cyanotype?
Here’s how:
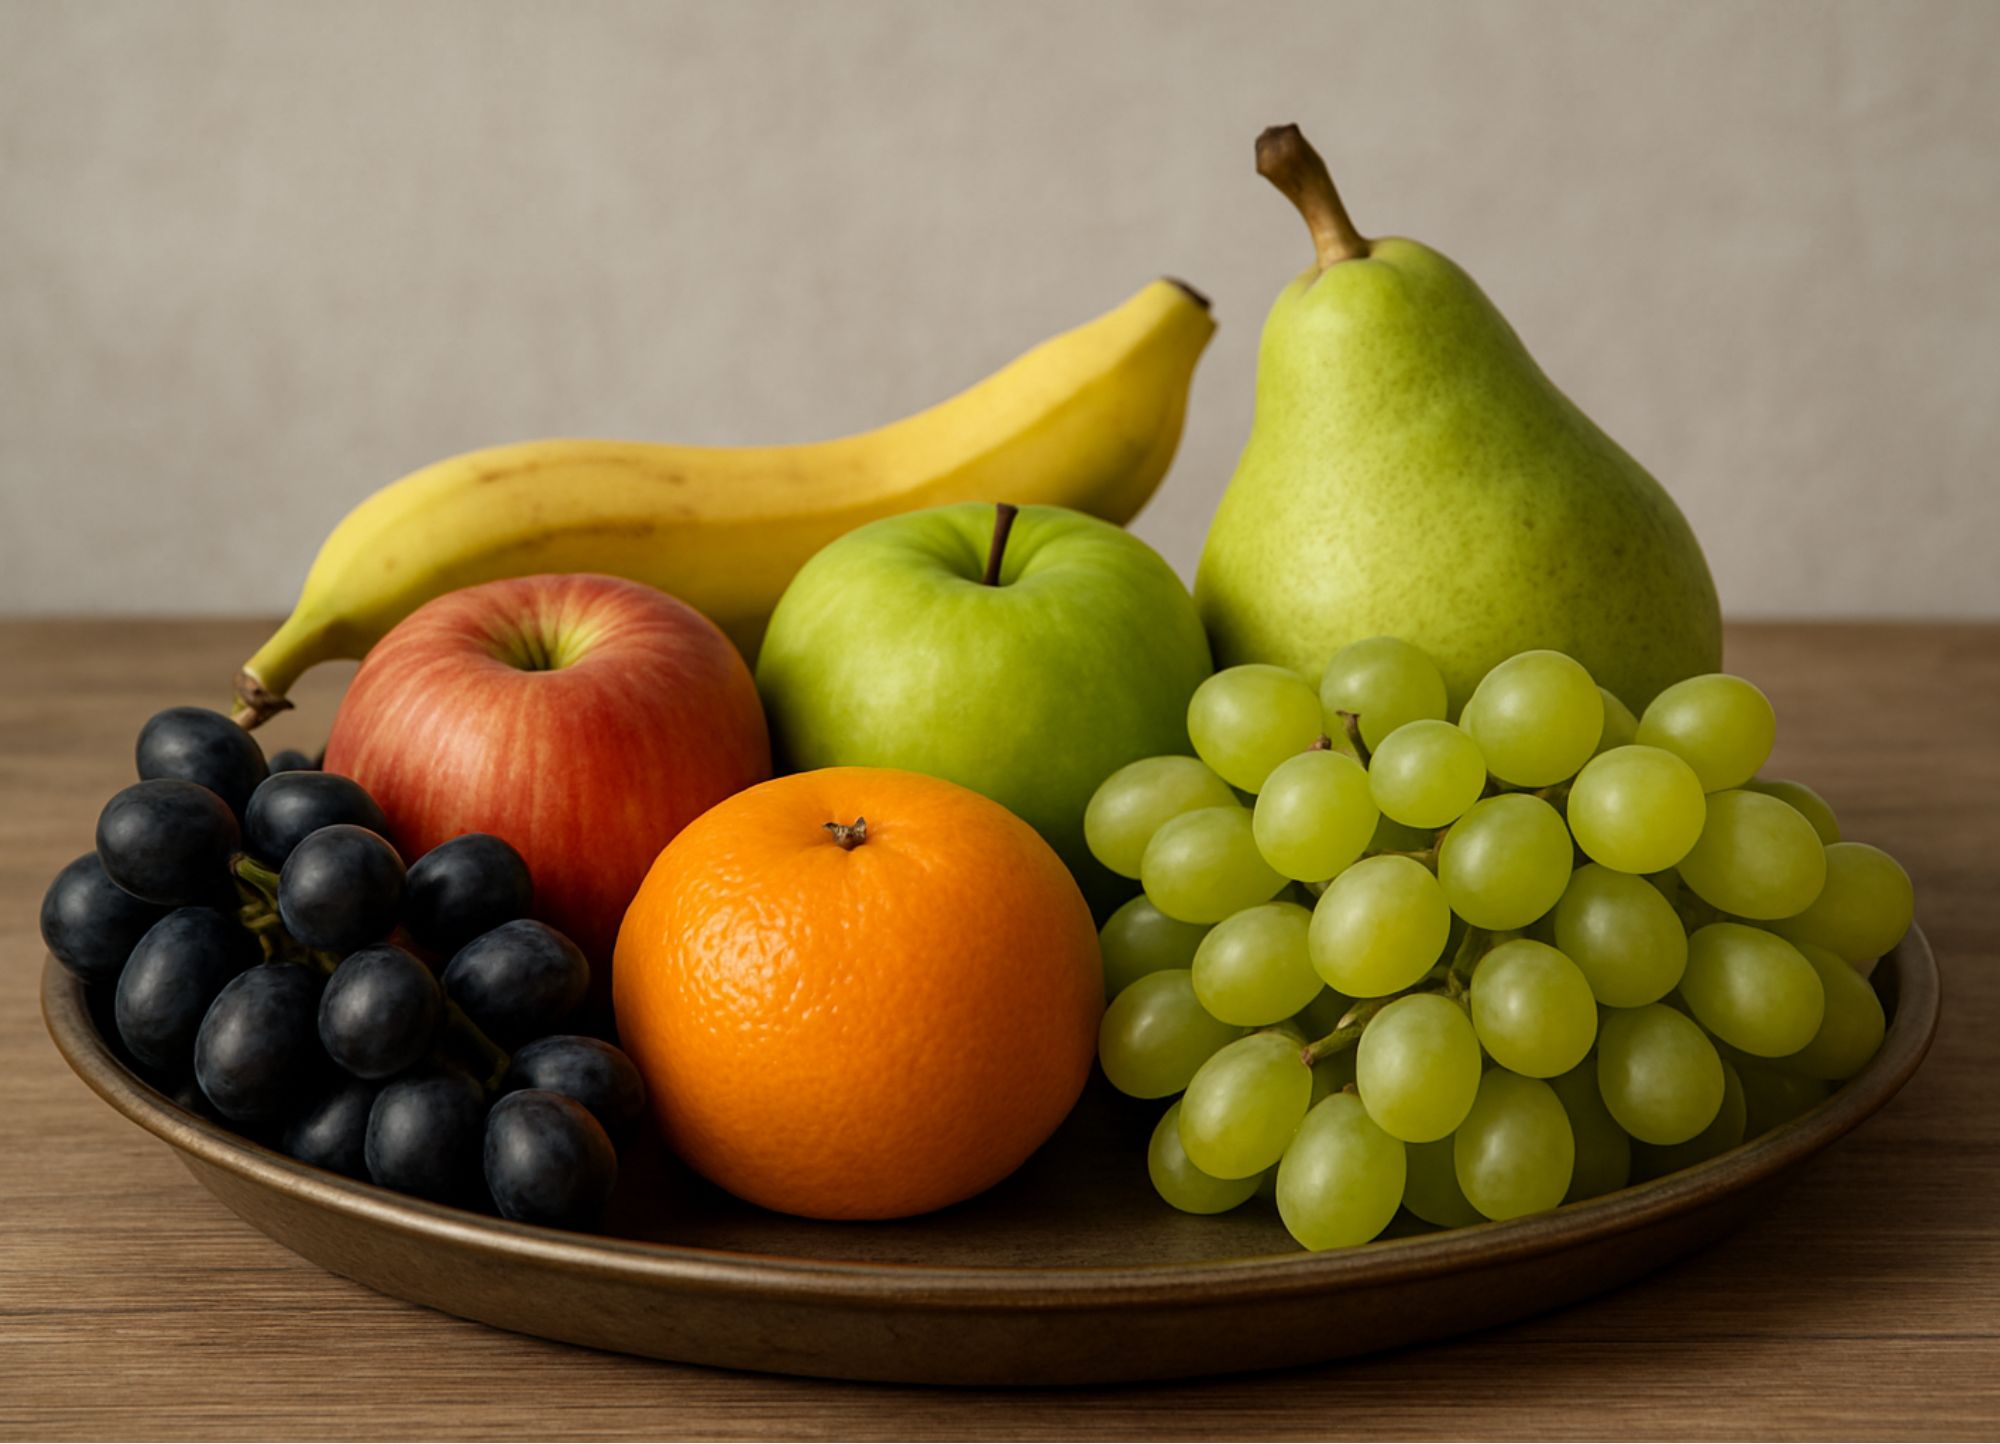
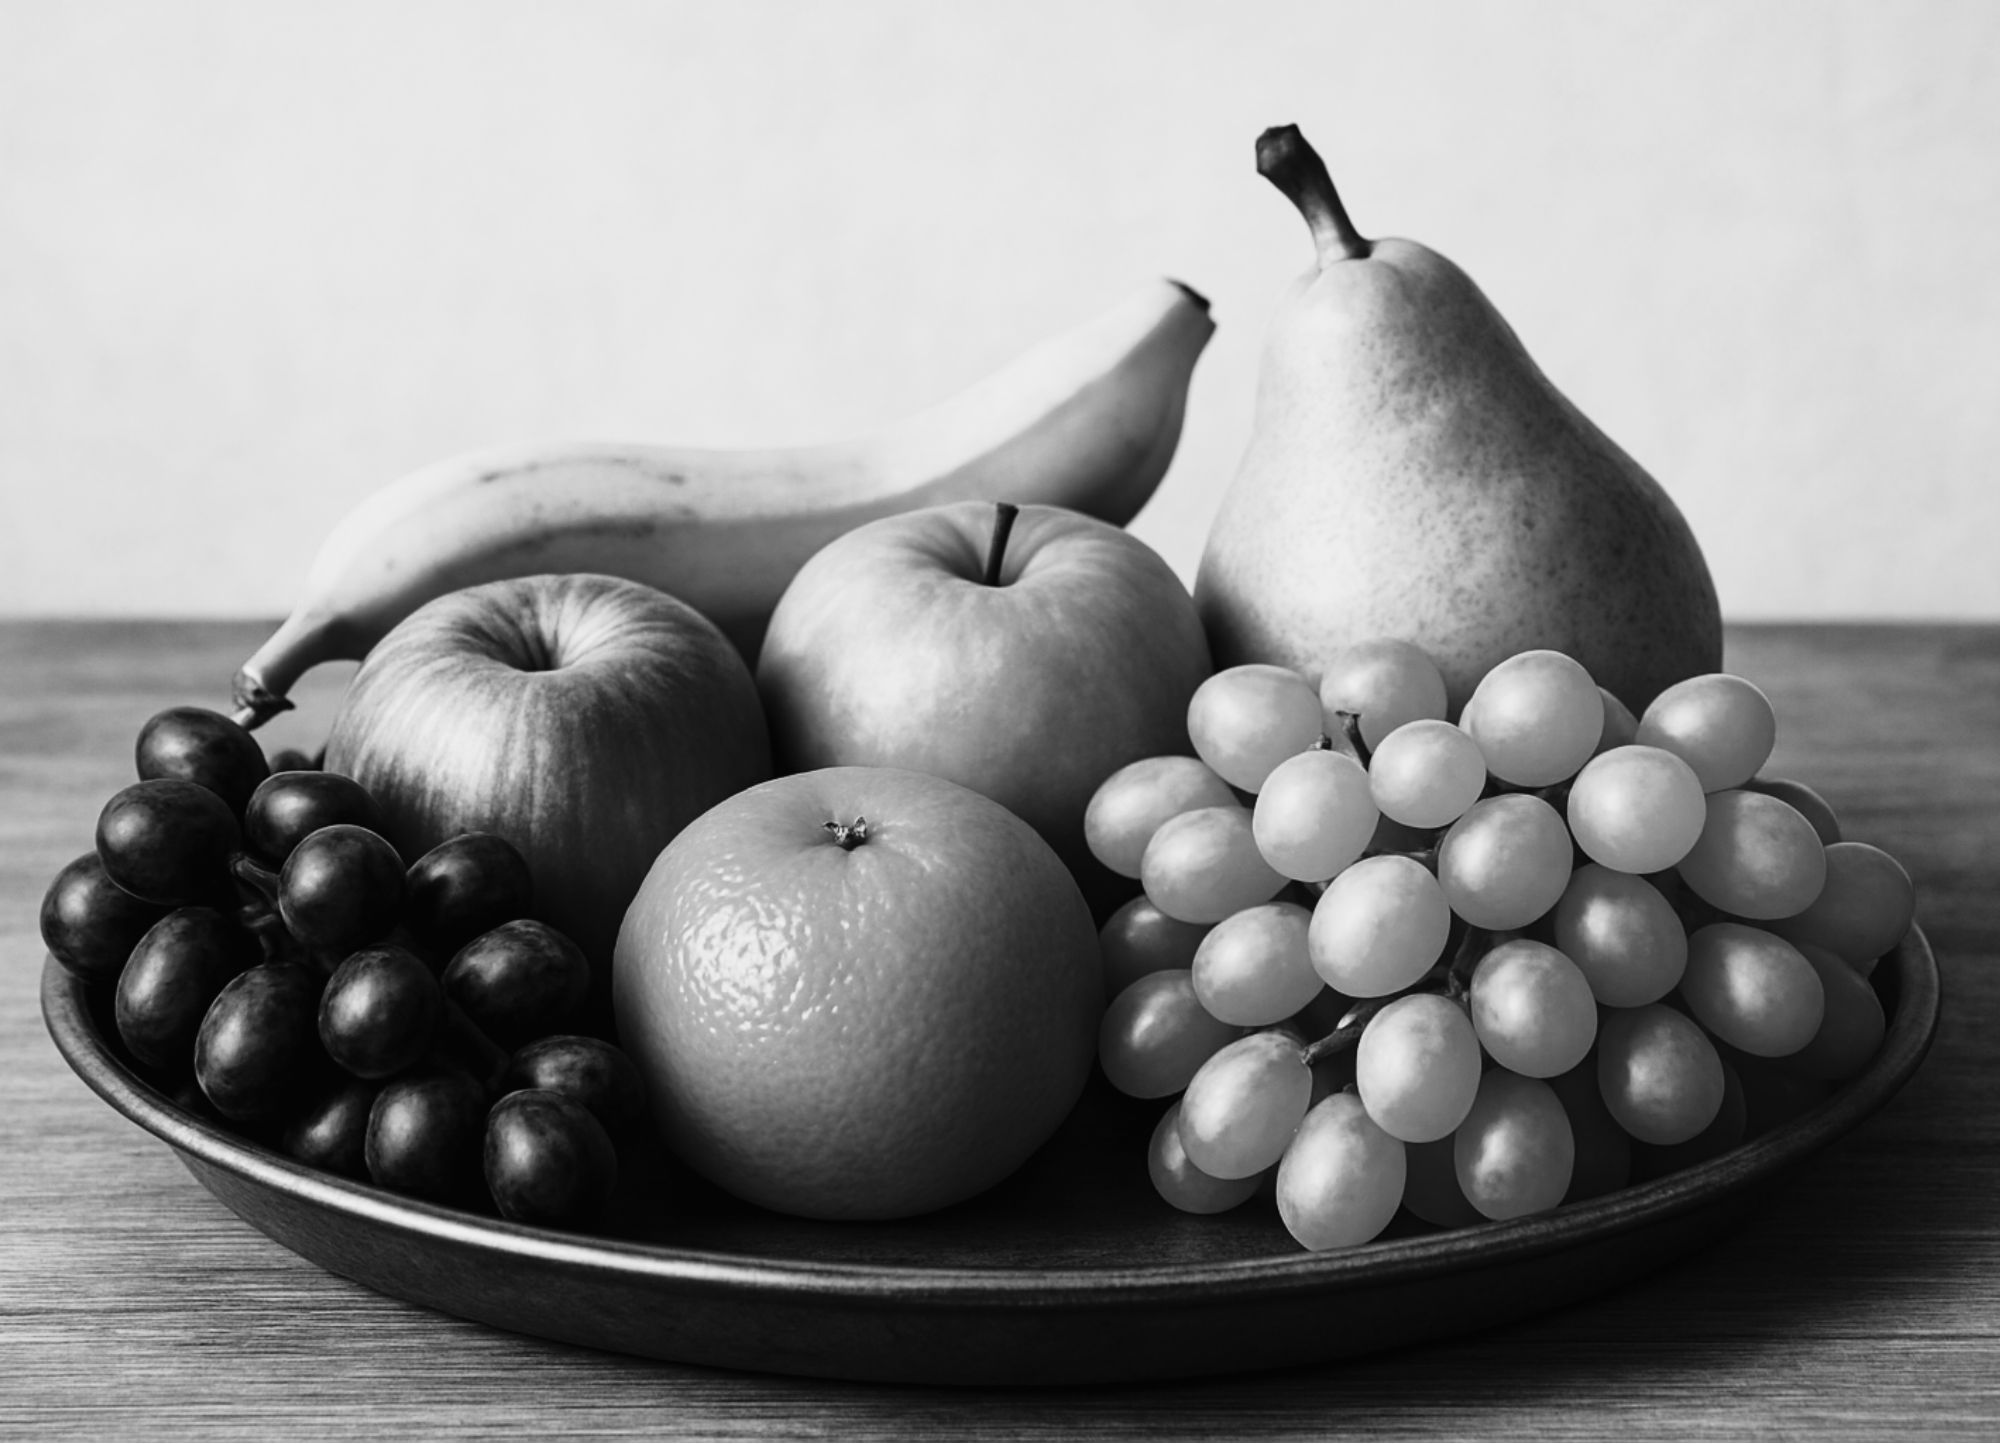
- Turn your image into black and white with software (like Photoshop).
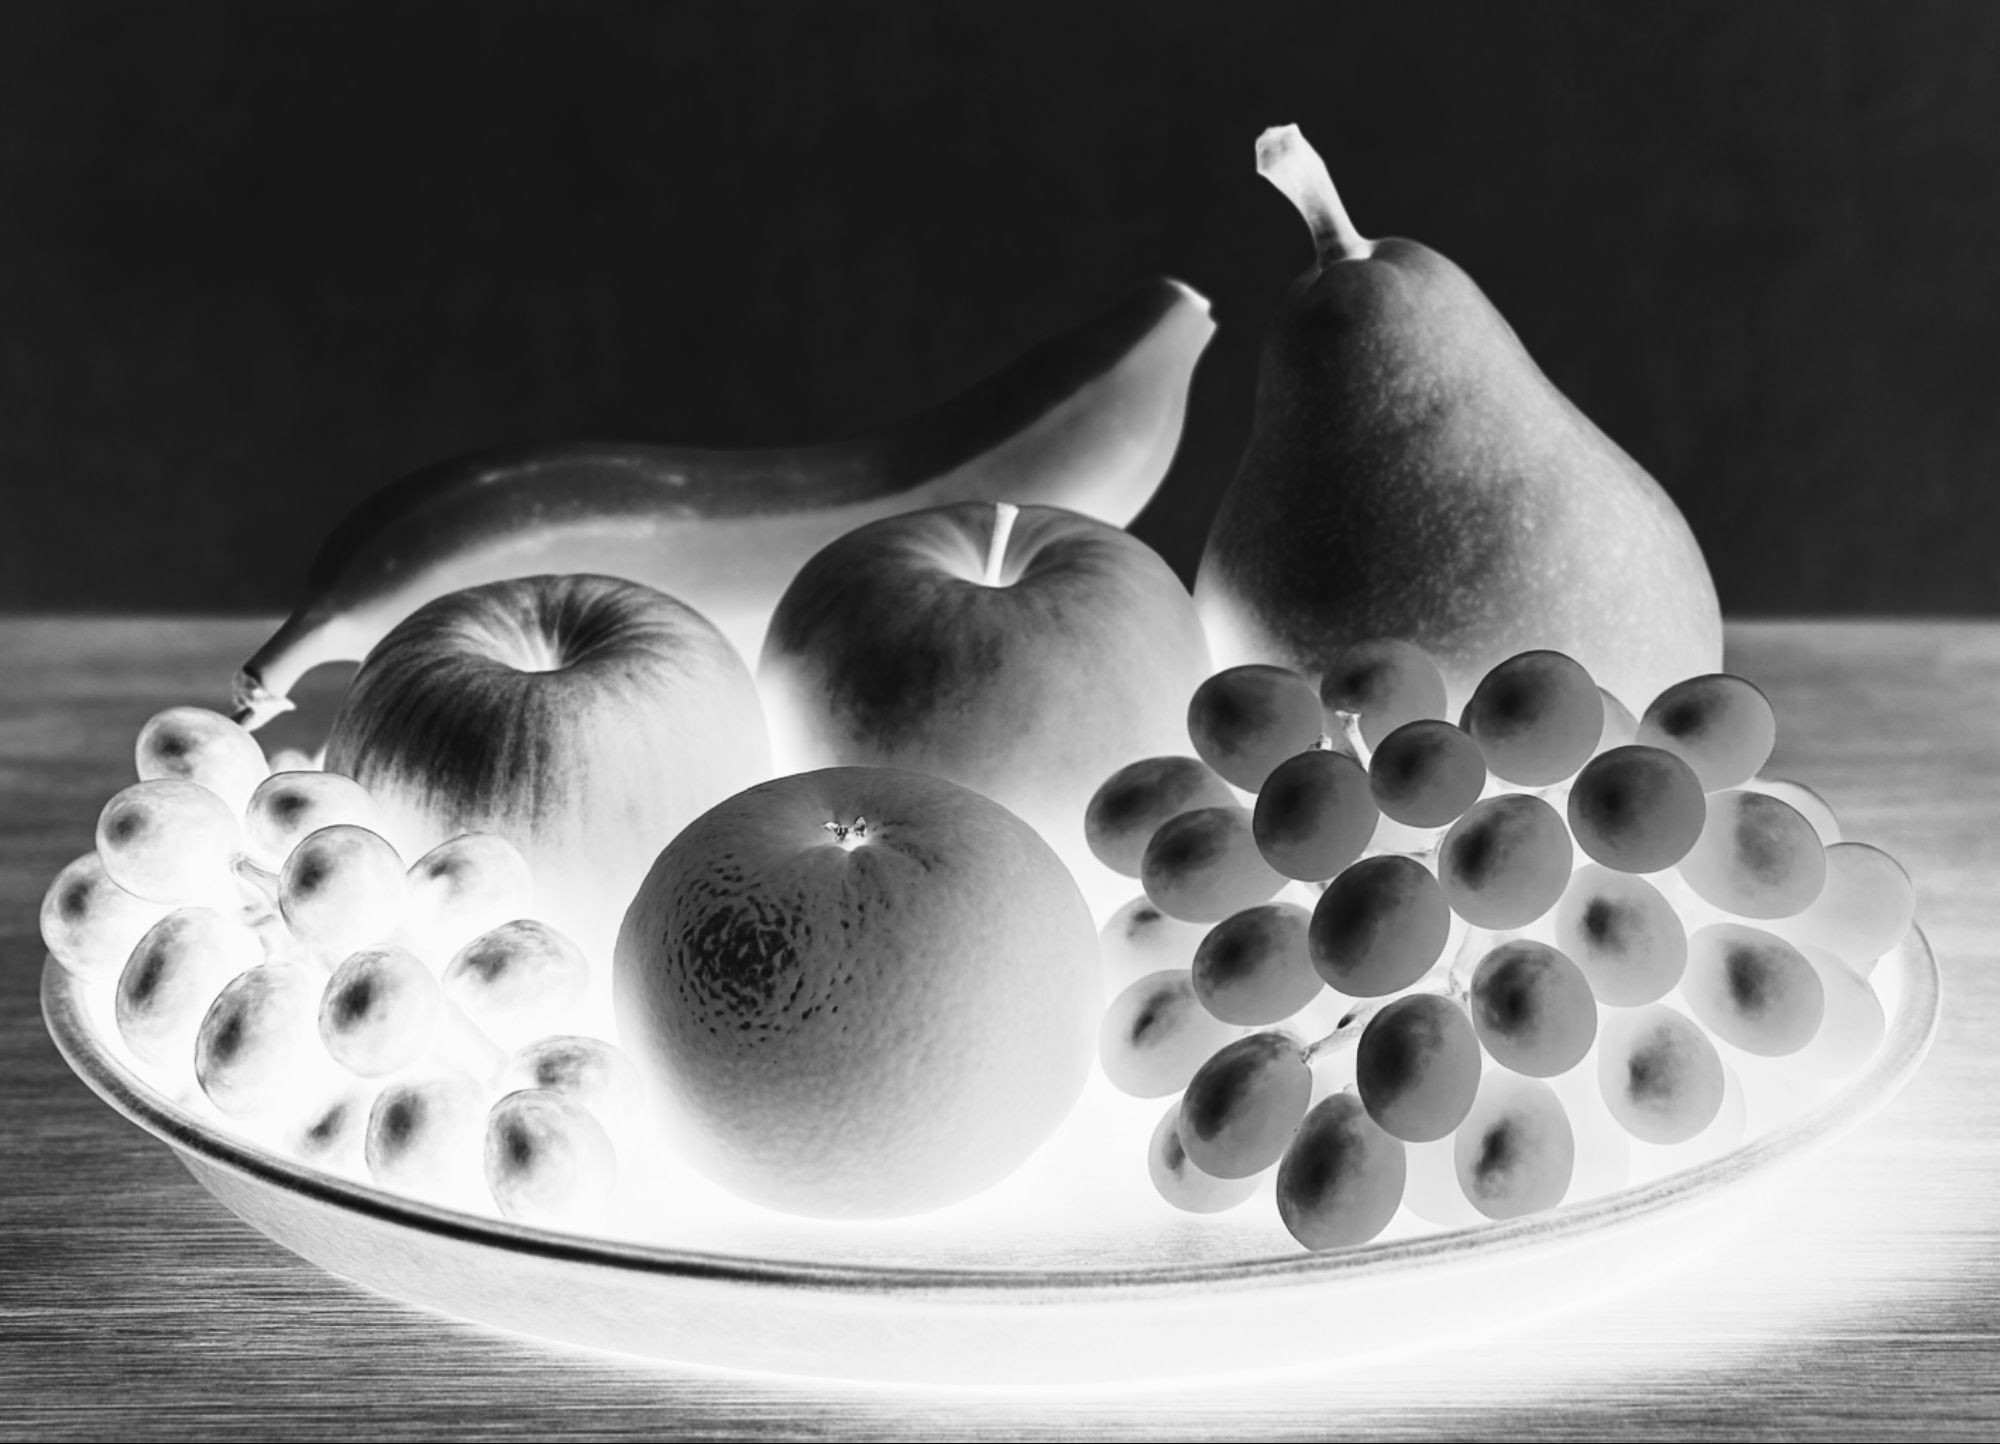
- Reverse the colors to make a negative and print it on clear acetate suitable for inkjet or laser printing.
- Remember: the print of the negative must be mirrored, so that when we print the final photograph the image will return to the correct orientation.
- Place, inside a frame with glass (the glass must not have UV filters), the sensitized sheet facing the glass and the negative in contact. The printed side should be in contact with the mixture spread on the sheet.
- Close the frame, expose to the sun, and continue as in the procedure with objects.
- If you do not have glass available, you can also simply use clothespins to hold the print in place on the sensitized sheet.
Component preparation, rinsing, drying and storage follow the same pattern.
Extra tips
- After rinsing the mixture in water, rinse again with a little hydrogen peroxide; this will intensify the contrast between the blue and white areas.
- Apply the mixture a second time after the first coat has dried.
- The A1 and B components found inside the paper kit are sufficient for the application of ± 50 A4 sheets.
Cyanotype is much more than a blue print: it is pure art!
Since it is not a faithful reproduction of reality, every print will be different, so don’t seek perfection and follow the artistic process to create unique and striking images.
Experimentand have fun !