Those who start working with clay will eventually encounter results they did not expect: small lifts, fine cracks, glaze that chips and separates from the bisque. Often, these defects appear in the final phase of the process, when the piece seemed successful, or they manifest some time after firing.
These phenomena do not necessarily indicate a serious error, but are often a sign of internal tensions between the ceramic body and the coating, which emerge when one or more phases of the process (working, drying, glazing, or firing) have not been properly balanced. Learning to recognise and prevent them allows for reducing waste, processing times, and frustration.
What is flaking or scaling
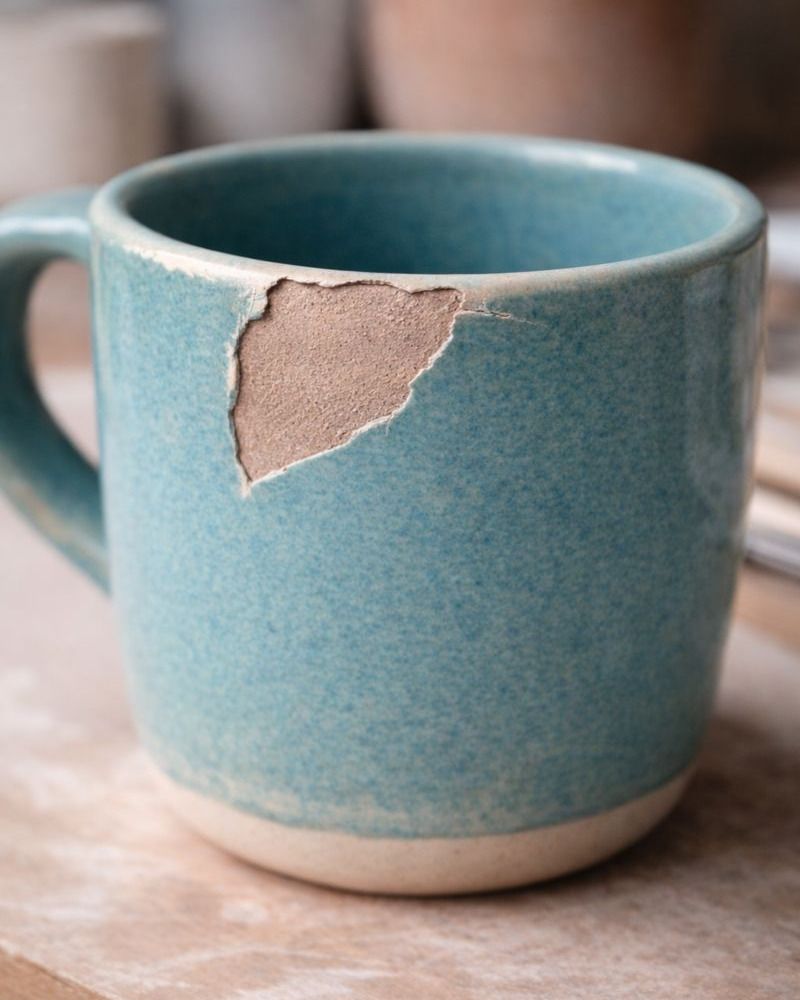
Flaking appears as a superficial peeling of the glaze: the vitrified layer tends to lift or detach in small flakes, giving the impression that the surface is “peeling.”
Main causes:
1. Incompatibility of expansion coefficients: the support contracts more than the coating during cooling.
2. Insufficient cleaning of the bisque: a dusty surface prevents proper adhesion of the glaze. The sponge used must be free of soap contaminants, and hands must be clean to avoid transferring fats from handling the piece.
3. Application of Engobe on bisque: The engobe is designed to be applied to leather-hard clay, but it often happens that some ceramists apply it to bisque as well.
So why does the defect not appear? Because in this case, the Engobe must be applied more diluted to avoid leaving a layer that is too thick on the surface of the object.
4. Thermal shock during cooling: kilns with small chambers cool more quickly. Even if the thermocouple allows for monitoring the temperature drop, it is essential to check the internal temperature before opening the kiln and, if possible, let it cool completely.
5. Glaze or crystalline applied too thickly.
Craquelé: the almost invisible micro-cracks
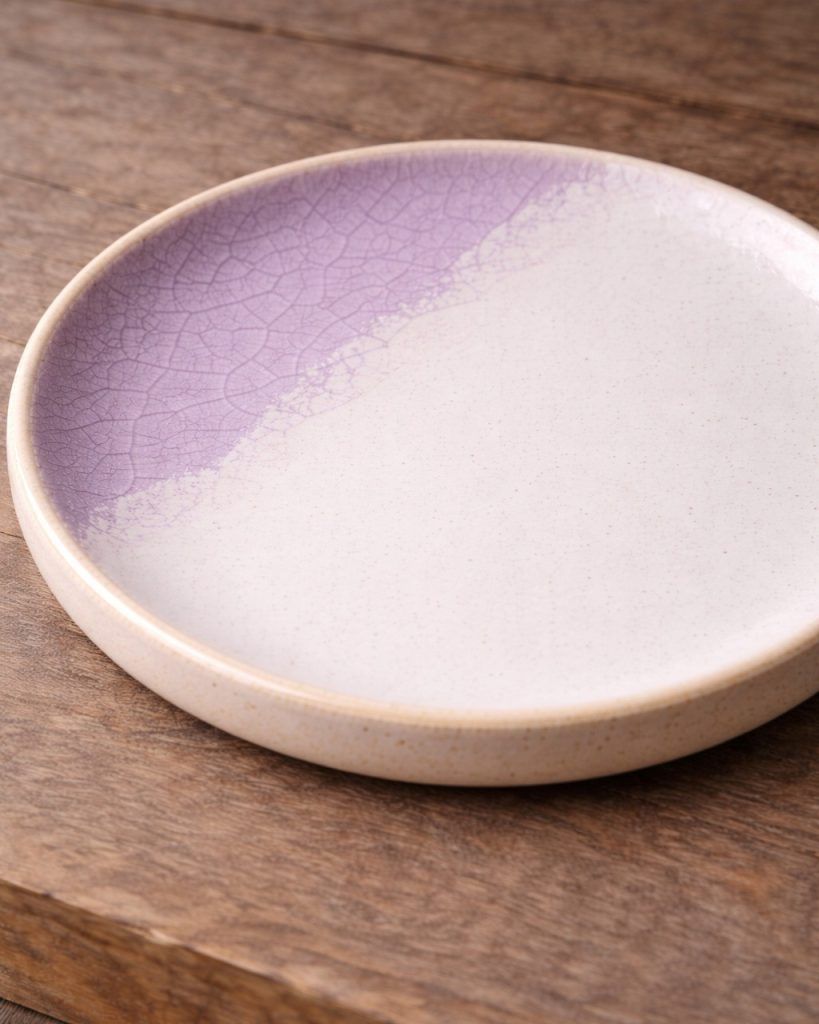
Craquelé, also known as craquelé, is a more insidious defect than flaking.
It appears as a dense network of fine cracks, sometimes visible only in backlight, and occurs when the coating contracts more than the support during cooling, that is, under conditions opposite to flaking.
It is often intentionally sought after as artistic expression, by choosing a glaze with a high expansion coefficient compared to the clay, but if unwanted, it is a significant defect, especially for items intended for contact with water or food, as it promotes moisture absorption.
Here are the reasons it occurs:
1. Presence of grog in the clay: Grog gives a textured and raw appearance, but is not compatible with a homogeneous application of the glaze.
2. Uneven drying. Irregular thicknesses or too rapid drying.
3. Thermal shocks, similar to what happens with flaking.
Micro-leakage
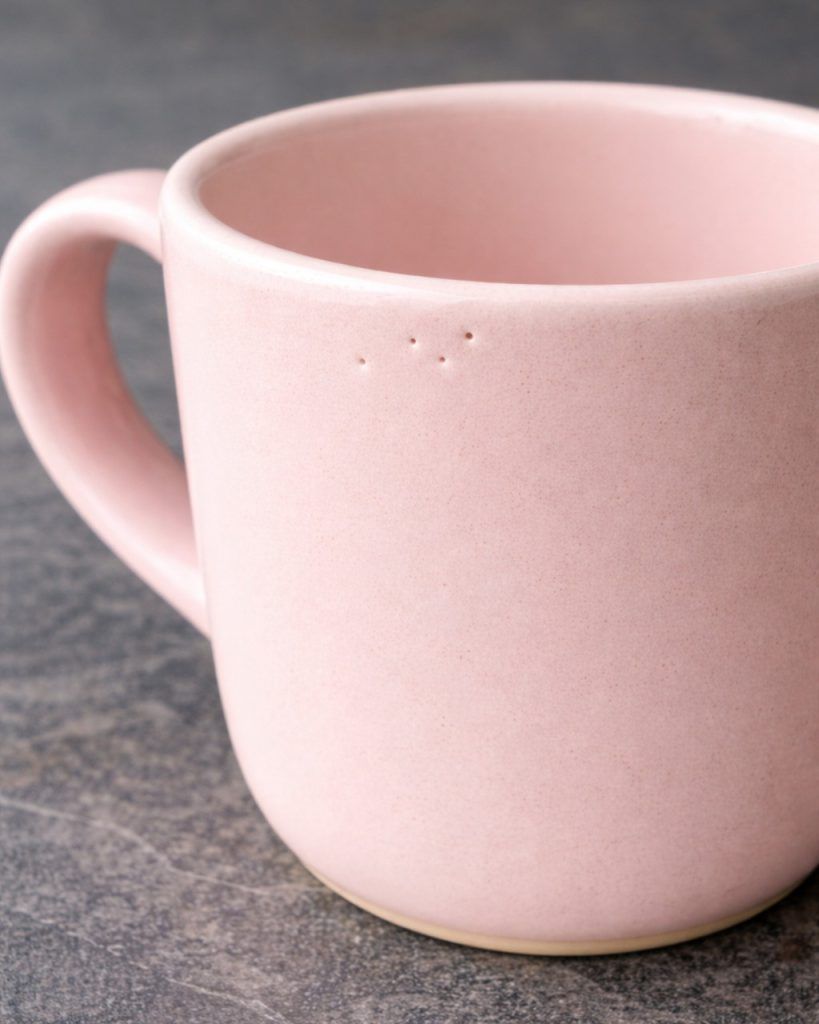
It appears in the form of micro-points or micro-bubbles that are sometimes almost invisible, becoming evident when the item is intended for food use. Through these micro-defects, moisture can penetrate, creating stains under the glaze.
There are two reasons why it occurs: bisque not fired at the right temperature and crystalline/glaze applied at the wrong density or quantity. Therefore, for the next project, it will be sufficient to fire the bisque at its optimal temperature and improve the application of the glaze.
Orange peel
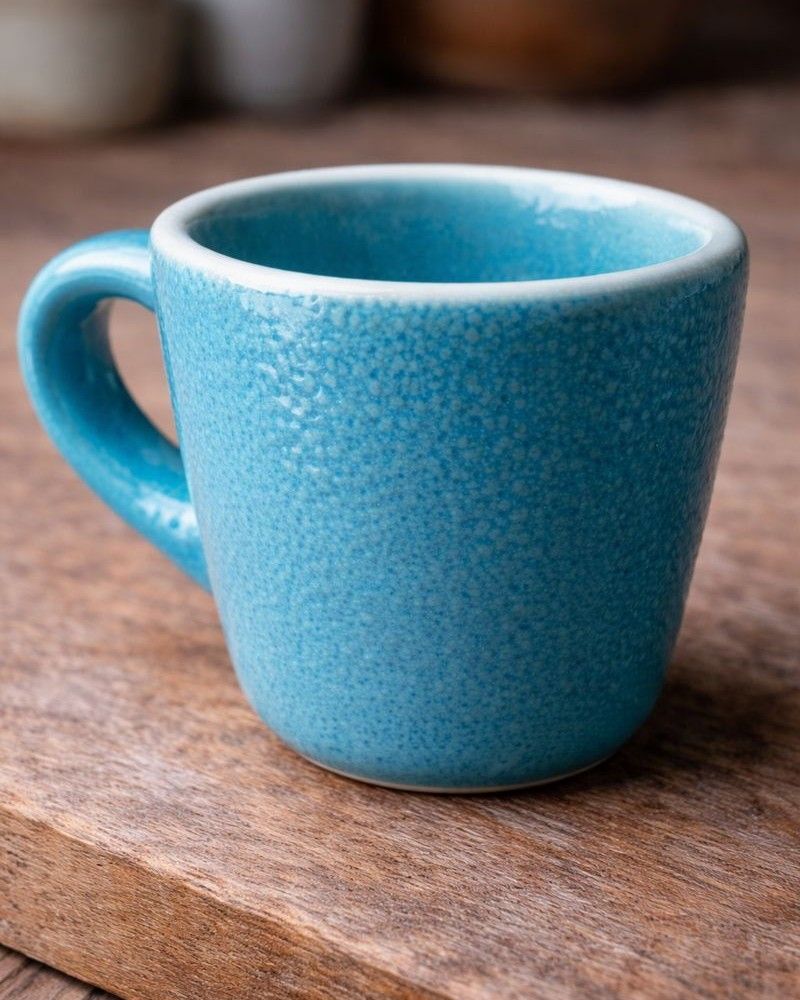
The fired glaze appears irregular and grainy, resembling the surface of an orange peel. This defect occurs when the glaze fails to spread properly and is common in spray applications.
Recommended corrections:
– Slightly increase the firing temperature to promote the spreading of the glaze
– Use a smaller nozzle
– If the defect is visible before firing, you can simply run your hand over the areas you wish to smooth out; the layer will even out.
The fired glaze appears irregular and grainy, resembling the surface of an orange peel. This defect occurs when the glaze fails to spread properly and is common in spray applications.
Recommended corrections:
– Slightly increase the firing temperature to promote the spreading of the glaze – Use a smaller nozzle – If the defect is visible before firing, you can simply run your hand over the areas you wish to smooth out; the layer will even out.
The colour is not uniform
The piece is correctly fired but has transparent or chromatically uneven areas.
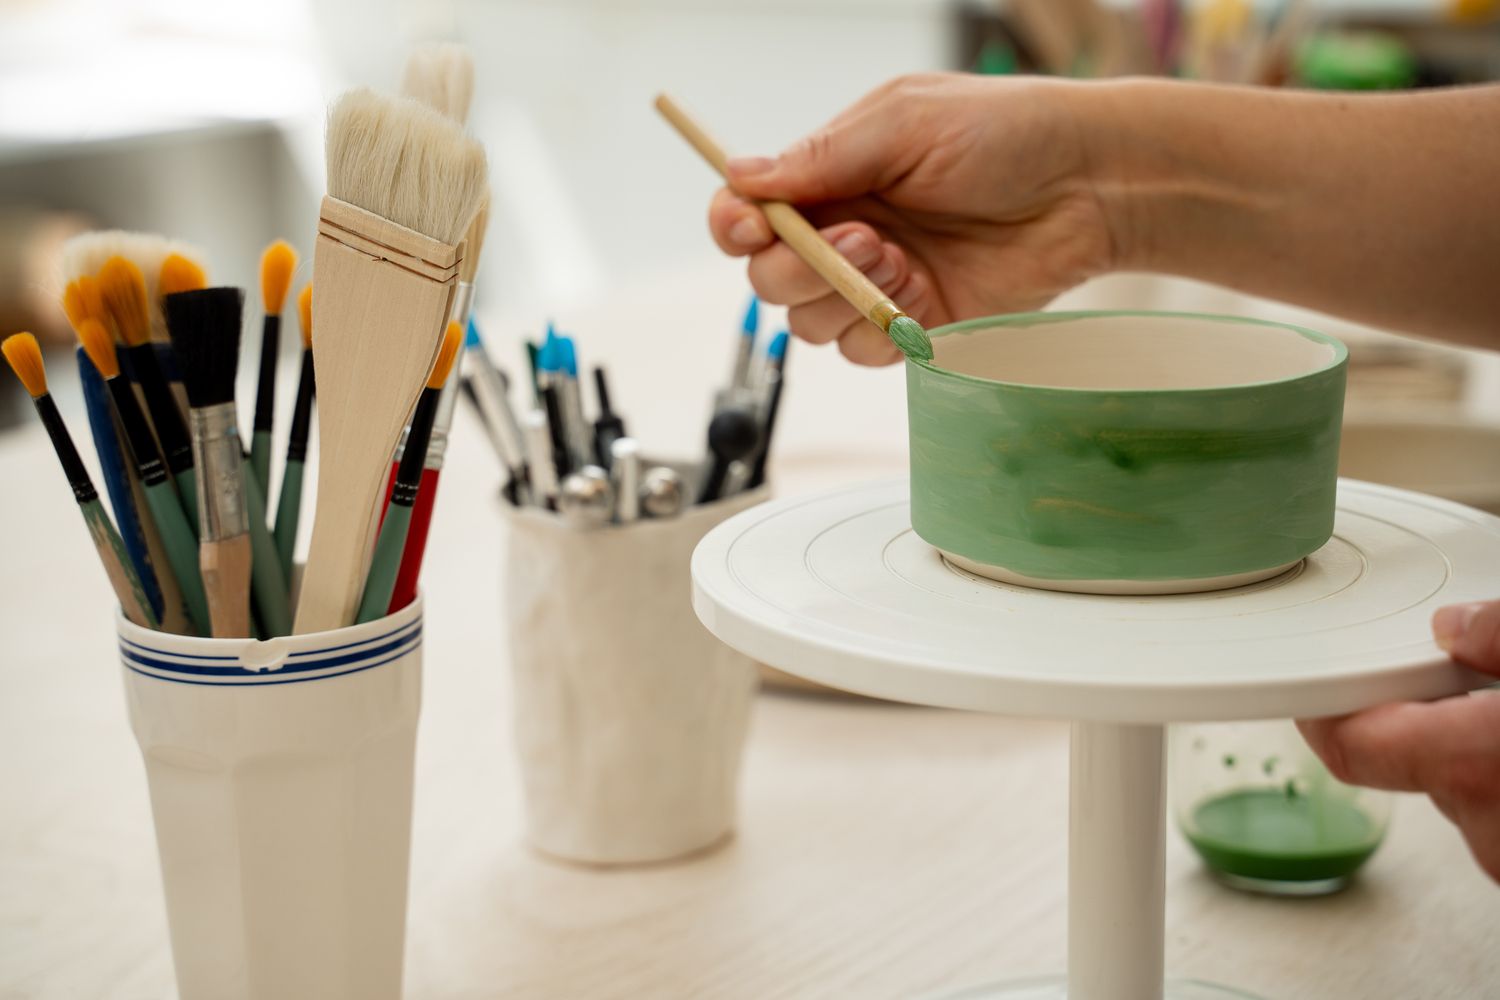
Before glazing, it is essential to thoroughly clean the bisque with a slightly damp sponge to remove residual dust and improve adhesion. The colour must be well mixed and applied according to the manufacturer's instructions, including the number of layers and methods: brush, dipping, or spraying.
In the case of bisque stored for a long time, simple cleaning may not be sufficient: the dust may have infiltrated the surface. To avoid waste, it is advisable to refire the piece along with other bisques, in order to eliminate any residue before glazing.
The piece is correctly fired but has transparent or chromatically uneven areas.
Before glazing, it is essential to thoroughly clean the bisque with a slightly damp sponge to remove residual dust and improve adhesion. The colour must be well mixed and applied according to the manufacturer's instructions, including the number of layers and methods: brush, dipping, or spraying.
In the case of bisque stored for a long time, simple cleaning may not be sufficient: the dust may have infiltrated the surface. To avoid waste, it is advisable to refire the piece along with other bisques, in order to eliminate any residue before glazing.
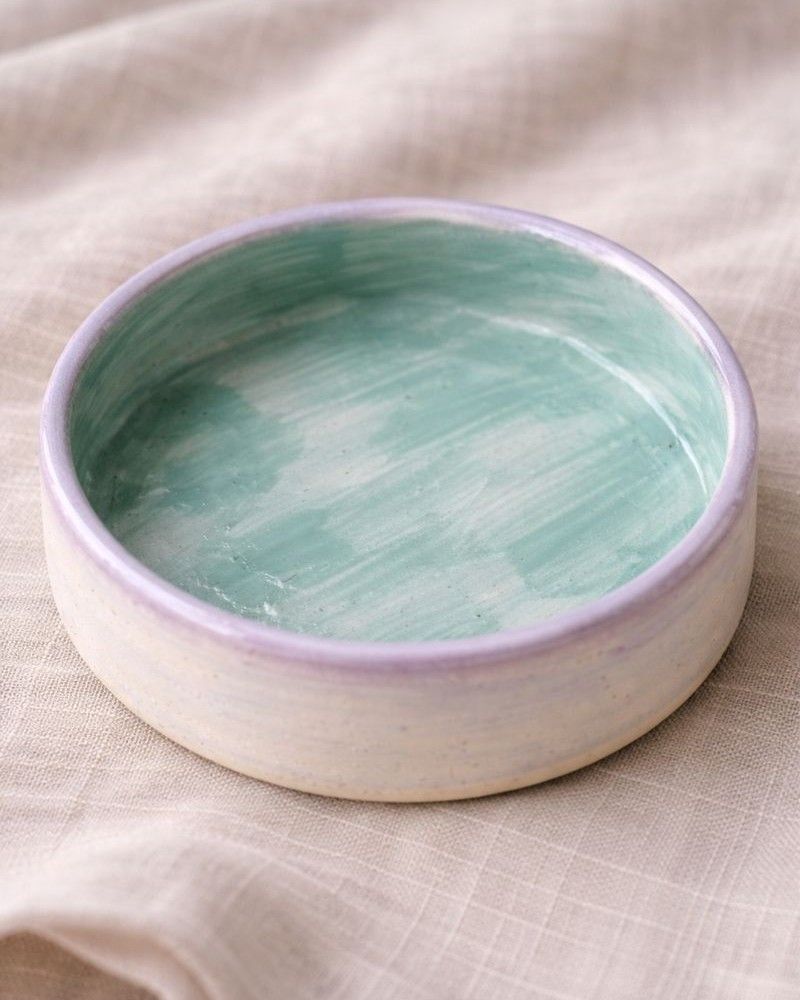
Milky surface
A crystalline that is too dense or fired at insufficient temperature can generate a dull and milky surface. It is useful to check the density with a densitometer:
– 30/40 Baumé on white bisque
– about 45 Baumé on red bisque
An effective visual check consists of observing the underlying decoration: it must always remain visible through the layer of crystalline.
A crystalline that is too dense or fired at insufficient temperature can generate a dull and milky surface. It is useful to check the density with a densitometer: – 30/40 Baumé on white bisque – about 45 Baumé on red bisque
An effective visual check consists of observing the underlying decoration: it must always remain visible through the layer of crystalline.
Defects in single firing
Single firing is a process that presents various critical issues, as it does not follow the traditional phases of ceramics. Its adoption should be carefully evaluated based on the project and is to be excluded for items intended for food contact.
Glazing on raw objects is particularly delicate: the clay, sensitive to water, can absorb it excessively, weakening the structure or deforming the piece. In the presence of Engobe decorations, moreover, the colour can be dragged away during the application of the glaze.
If you wish to experiment, you can proceed with Engobe + crystalline or direct glaze, avoiding in any case immersion application, which is strongly discouraged in single firing.
Can I remedy already fired pieces?
Unfortunately, NO. The only possible solution in each of these cases is to know the materials and your kiln well and to learn from mistakes each time to improve continuously.
For beginners, the best advice is not to view these incidents as failures and to always conduct sample tests before focusing on the final project. Every defective piece is a practical lesson: it tells something about the drying rhythm, the processing, or the type of clay used. Keeping these objects as references can be surprisingly useful over time.
A small lesson
The emergence of these defects teaches one fundamental thing: clay does not like haste.
The more the process respects its natural timings, the more the material responds in a stable and predictable manner.
Learning to slow down, observe, and intervene at the right moment is one of the most fascinating aspects of ceramics.