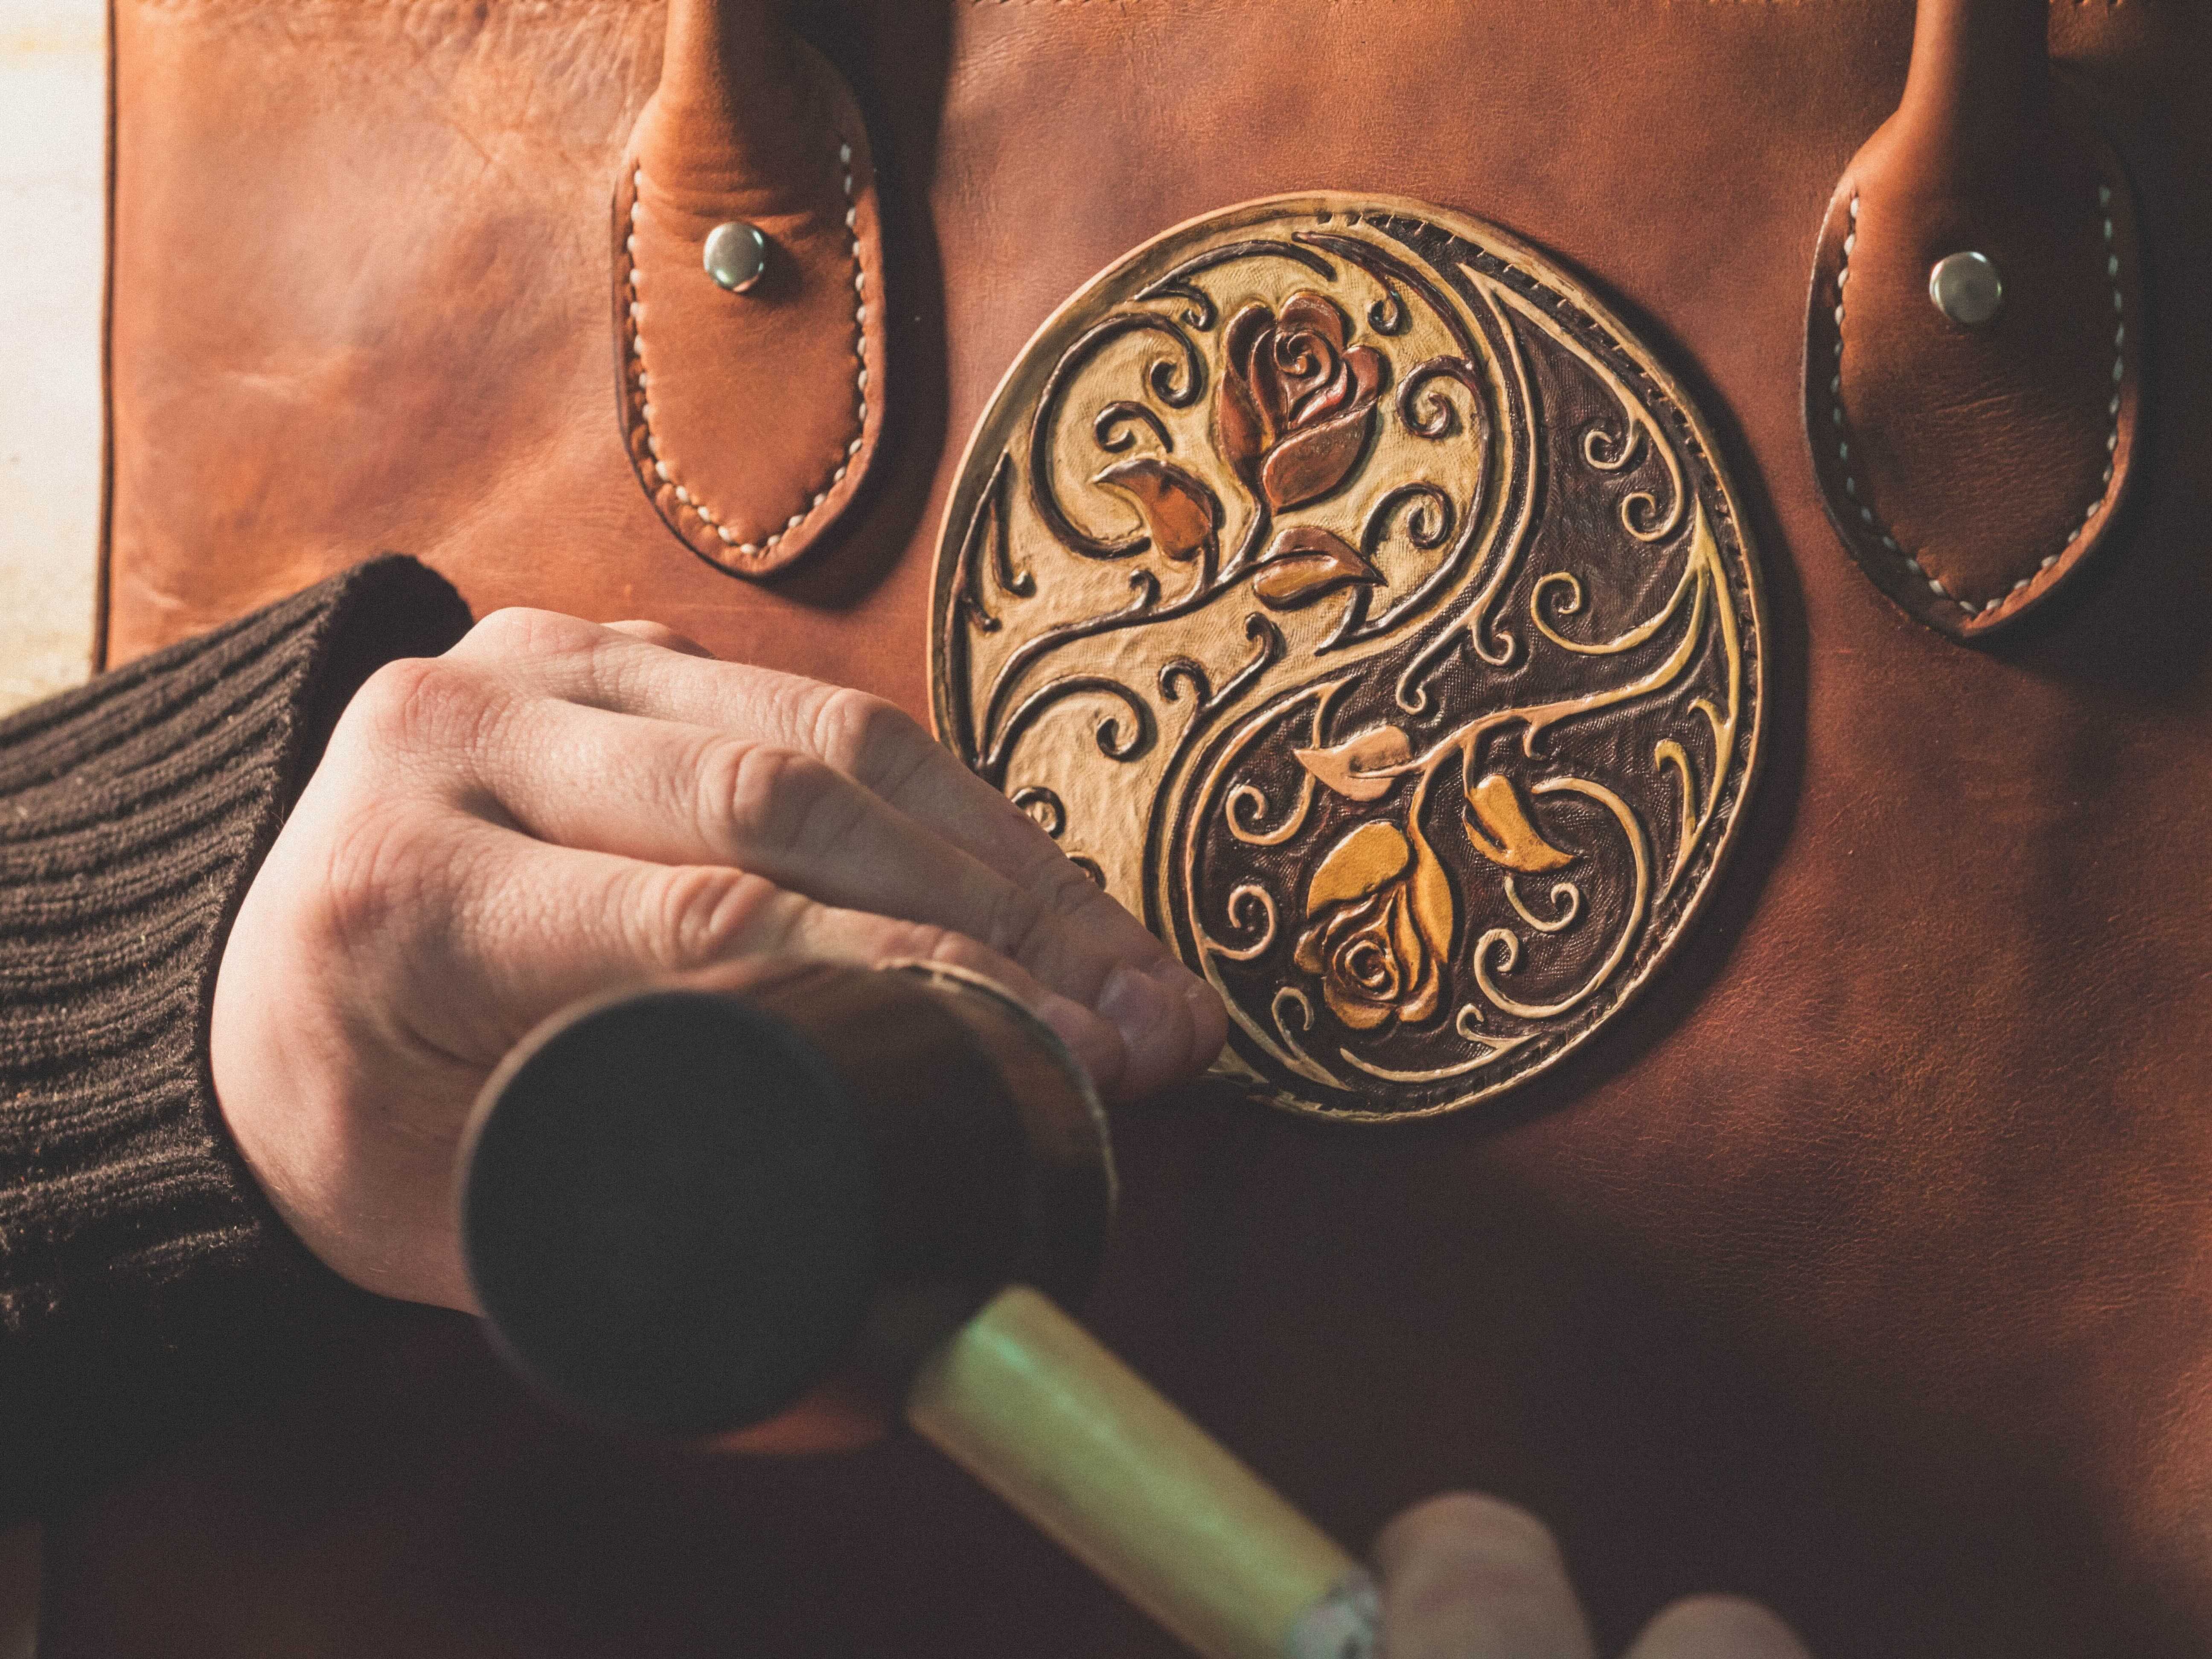
Leather carving, or more precisely, leatherwork, is a decorative technique that involves creating designs and patterns on leather using swivel knives, chisels, and gouges. Carving is ideal for personalising belts, wallets, bags, or other leather accessories, but with the right tools and your creativity, you can create any type of artistic and decorative project.
In this guide, we will explore the materials and tools needed for wood carving and the basic techniques to realise your project.
The first step, of course, is the raw material: leather. The term leather refers to animal hide treated through tanning, which has optimal characteristics for working. Remember: when we talk about “leather work”, even if it is not specified that it is leather, it almost always refers to this specific type of hide. For more information on leather and how to choose the right one for your project, we recommend reading our guide to leatherworking.
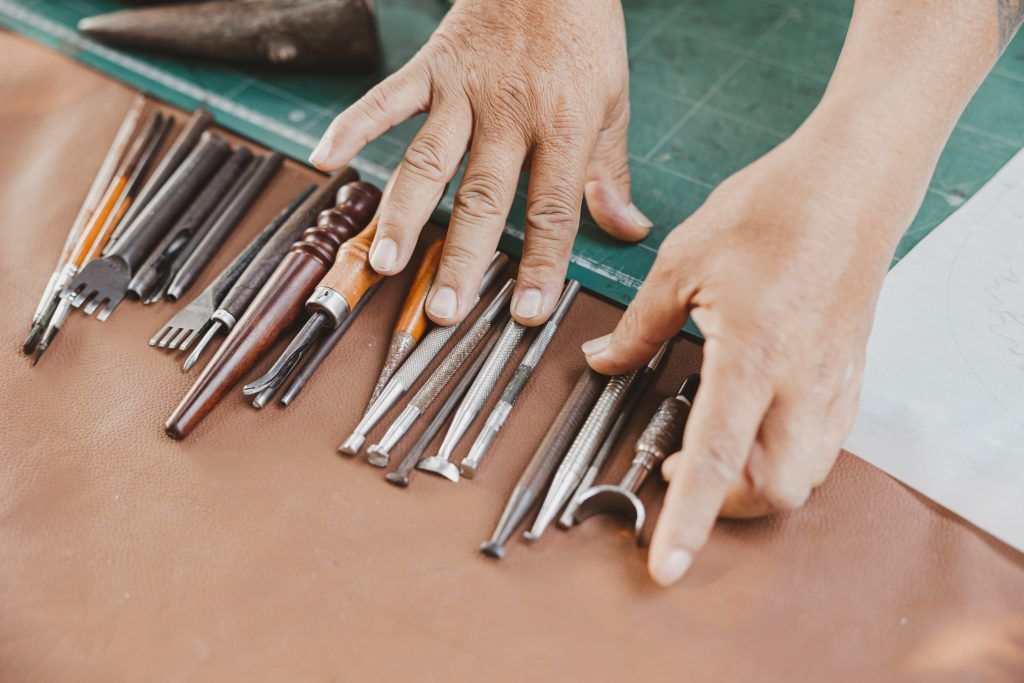
Tools for Leather Carving
As mentioned at the beginning, the main tool you will need is a swivel knife that will allow you to carve the leather with smooth and controlled movements. You can choose from different types of blades for your knife: the steel blade is certainly the most durable, but it needs to be sharpened periodically for optimal use; the ceramic blade does not require sharpening, but it is also more fragile and can break easily if dropped or hit. The ruby blade, particularly precious, ensures an easy and smooth cut on the leather.
Most knives available on the market have interchangeable blades and are adjustable, allowing them to fit any hand.
To keep your knife sharp, especially before starting the carving, you will need a sharpening kit, consisting of:
the work surface, made of a wooden base covered with a layer of leather;
the sharpening roller, to rub on the rough side of the leather (the “flesh” side, opposite the “grain” side, which is the smooth side where the carvings are made);
a holder to help you keep the blade at the right angle during sharpening.
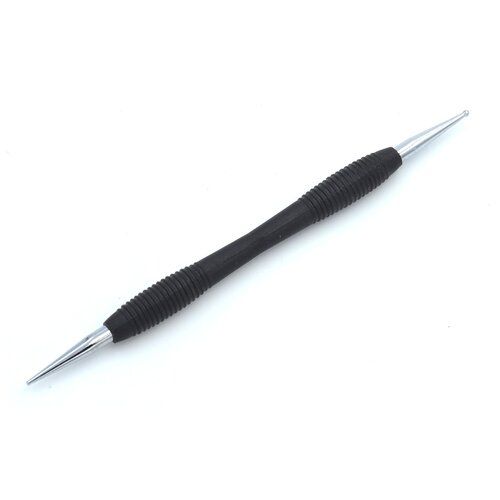
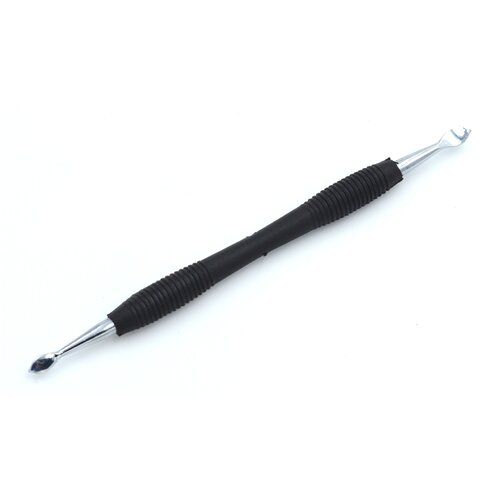
Another tool we recommend you acquire is the mini gouge, particularly one with a stylus tip and one with a spoon tip. The first will be used to transfer the design onto the leather before you start carving, and the second to refine the work by giving more roundness to the clean grooves created by the knife. Both mini gouges have a comfortable handle and come with two tips of different sizes to suit every need.
You will also need chisels to refine the design, create depth, and add patterns to your decoration, and a specific hammer to use with the chisels.
The last thing you need – but not in order of importance! – is the design or decorative pattern you intend to carve. If you are a beginner with this technique, you can use ready-made patterns easily found in books and guides on leather carving. Alternatively, if you prefer to unleash your creativity, you can draw your project independently and freehand. Once finished, transfer the design onto a sheet of glossy paper or paraffin paper to make it easier to trace onto the leather.
The Leather Carving Technique
The process begins with the preparation of the leather, which should be dampened with water. It does not need to be soaked; just a few passes on both sides with a wrung sponge will make the leather softer, more elastic, and easier to work with.
Immediately after, you can proceed with transferring your design onto the leather: apply the tracing film to the surface and, with the help of a mini gouge, trace its lines onto the leather. You can use tape to secure the glossy paper to the leather and prevent it from shifting. In this case, we recommend using clear tape because its adhesive is sufficient to hold the design in place but not so strong as to damage the surface of the leather.
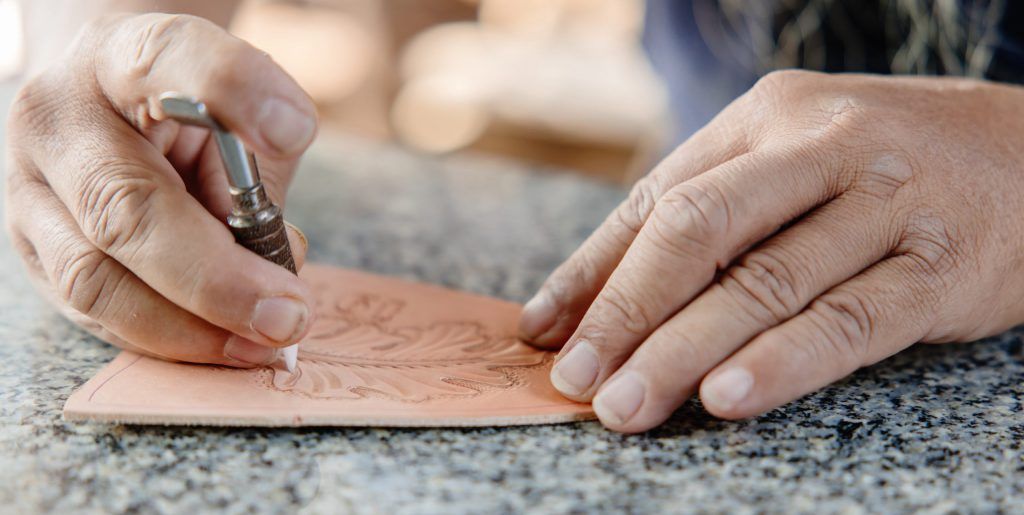
Once the design is traced, it’s time to carve. It is advisable to start immediately after finishing the drawing to avoid the leather drying out too much and losing elasticity. If necessary, you can use a damp cloth to moisten it again.
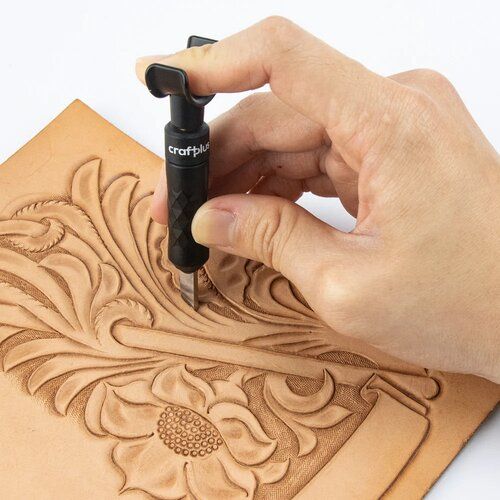
Hold the swivel knife so that it is vertical on the leather, with your index finger resting on the bracket at the top of the knife. This grip will allow you to move the blade smoothly over the leather, following the lines of the design in all its curves. Try to maintain a constant pressure to carve in uniform strokes. If the design is complex, we recommend starting from the edges and the outer lines, working your way inward.
Once the design is complete, you can begin with the finishing: creating thicknesses, rounding the edges, adding details and decorative elements.
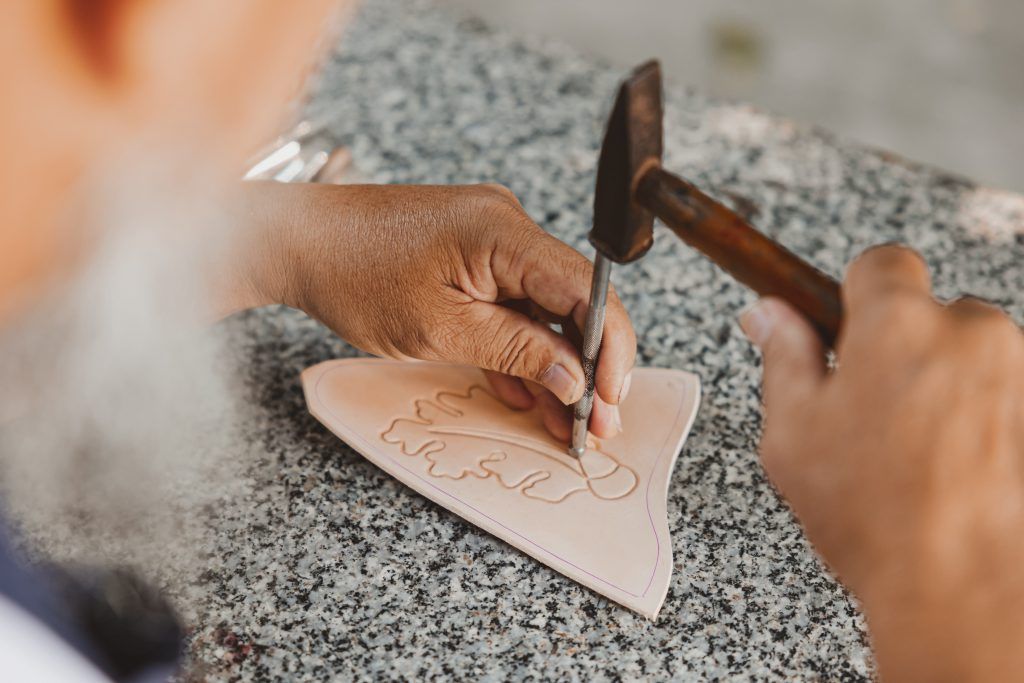
The chisel is the star of this phase. With a kit of chisels with different tips, you can create all the details and effects of three-dimensionality you desire. Wide tips will help you remove excess leather and carve deeper grooves, while smaller blades will allow you to refine details and carve thin lines. Before starting work with the chisel, dampen the areas of leather you will be working on with a brush. Place the tip of the chisel on the leather and, with the help of a small hammer, gently proceed along the lines you wish to refine.
Mini gouges are also very useful in this refinement phase, as they allow you to create roundness in the grooves, especially those with a U-shaped tip. To create more depth in the design, you can use a flat-tipped background chisel that will help you flatten the areas around the design.
Once the work is completed in terms of lines, depths, and volumes, it’s time for decoration. The chisels are once again among the essential tools for this work: geometric chisels or pear shader chisels end with shapes or designs, rather than a simple tip, and are used under pressure – always with the help of the hammer – to imprint designs on the leather and create patterns, motifs, and recurring elements.
With one of our leather carving kits, you will have an essential set of tools and chisels to start your adventure in leather carving.
At this point, all that’s left is the finishing. Leather is, in fact, an organic material and naturally subject to wear or ageing, so it is worth protecting your creation using, for example, waxes or other protective or waterproofing products. And if you happen to decide to dye, we have the right guide for you, entirely dedicated to dyeing leather!
Resources and Guides on Leather Carving
Leatherworking, including carving, has a long history and many styles and techniques, inspired by different traditions. If this practice is your passion, or if you have decided to delve further into the world of leather carving, we can recommend some books and guides on leather carving: the history, styles, tools, and techniques, as well as valuable information on how to create patterns, how to refine and finalise your project.