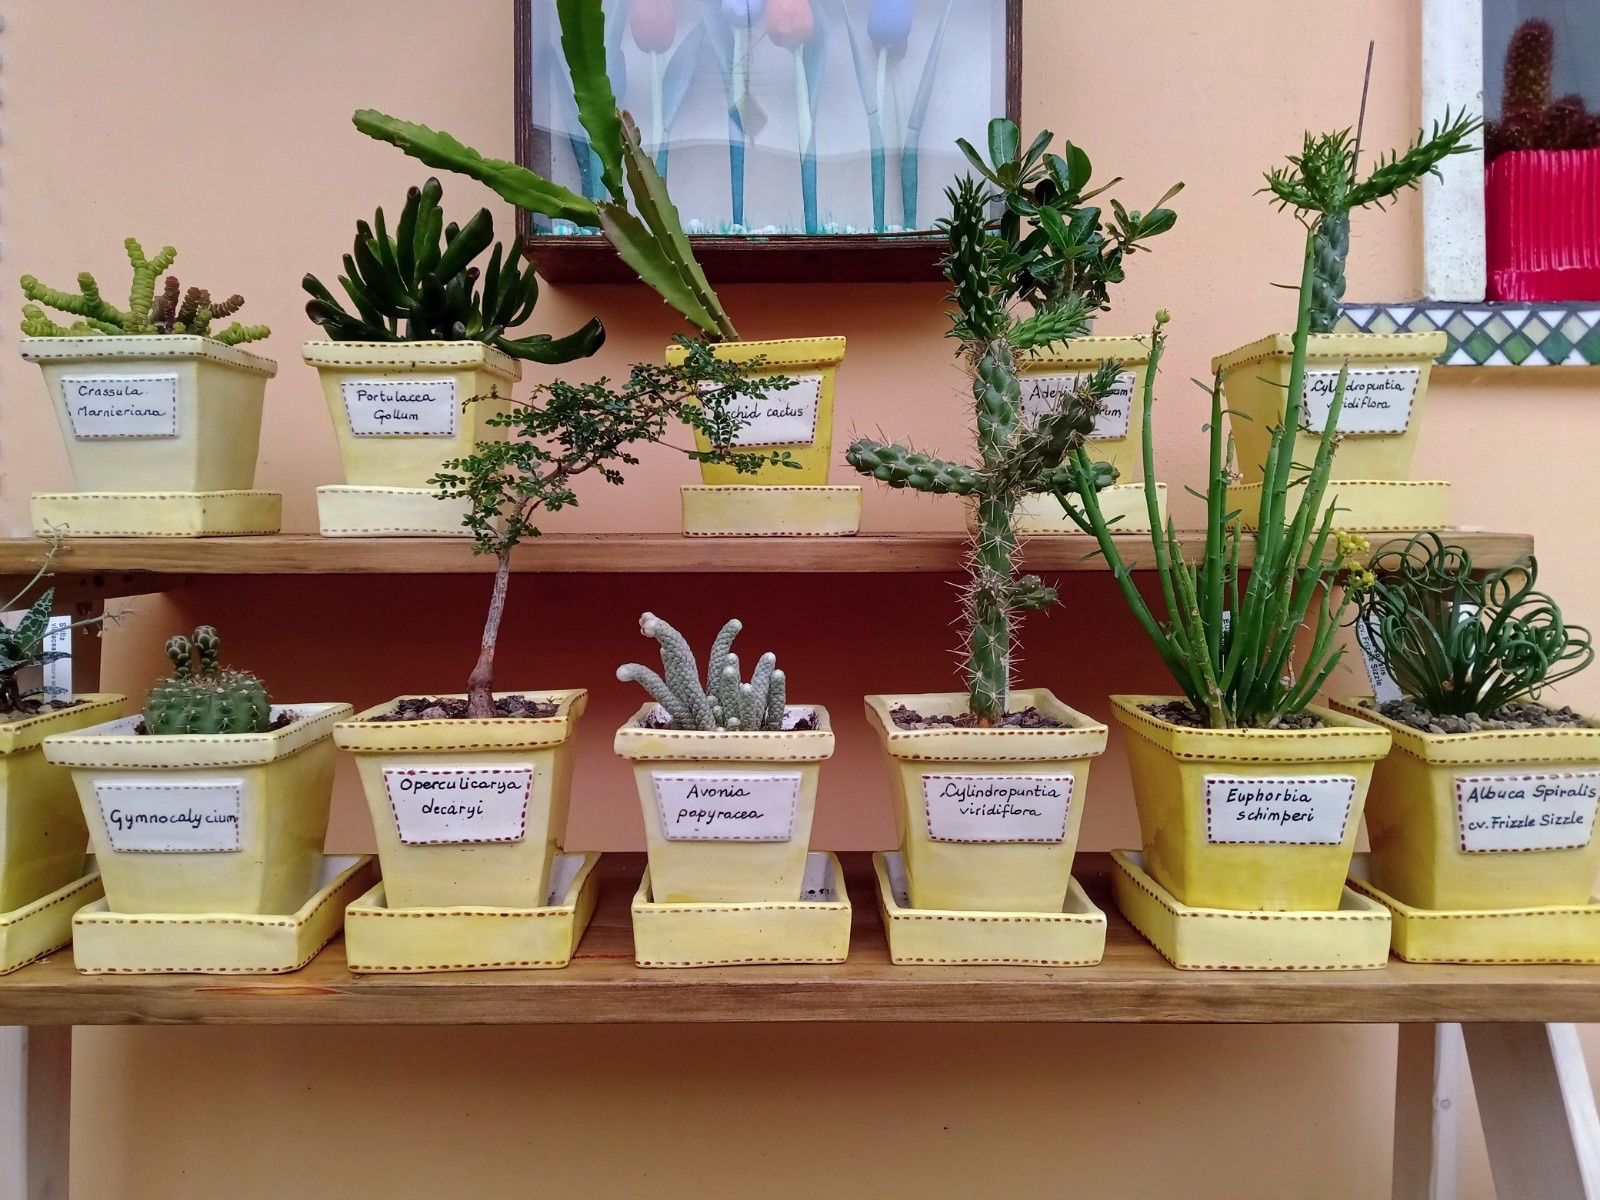
In this guide, we will see how to create a glazed ceramic pot and saucer from scratch. Each step is described in detail and accompanied by photographs: you can't go wrong! If you want to start with something simpler, you can follow the guide on How to create a glazed ceramic plant pot.
Let's get to work!
What you need
- White clay
- a bit of slip
- a wooden board
- 4 wooden spacers or other material, 2 of 6 mm and 2 of 2 mm.
- wooden rolling pin
- a stylus or a blade or metal spatula
- bevel cutter
- steel brush
- 2 flat brushes no. 6 and no. 14
- 1 round tip brush no. 2/0
- round clay cutter 12 mm.
- engobe (2 colours of your choice) or depending on the type of decoration you want to do
- crystalline glaze
- porcelain painter marker in the desired colour
The procedure
Step 1
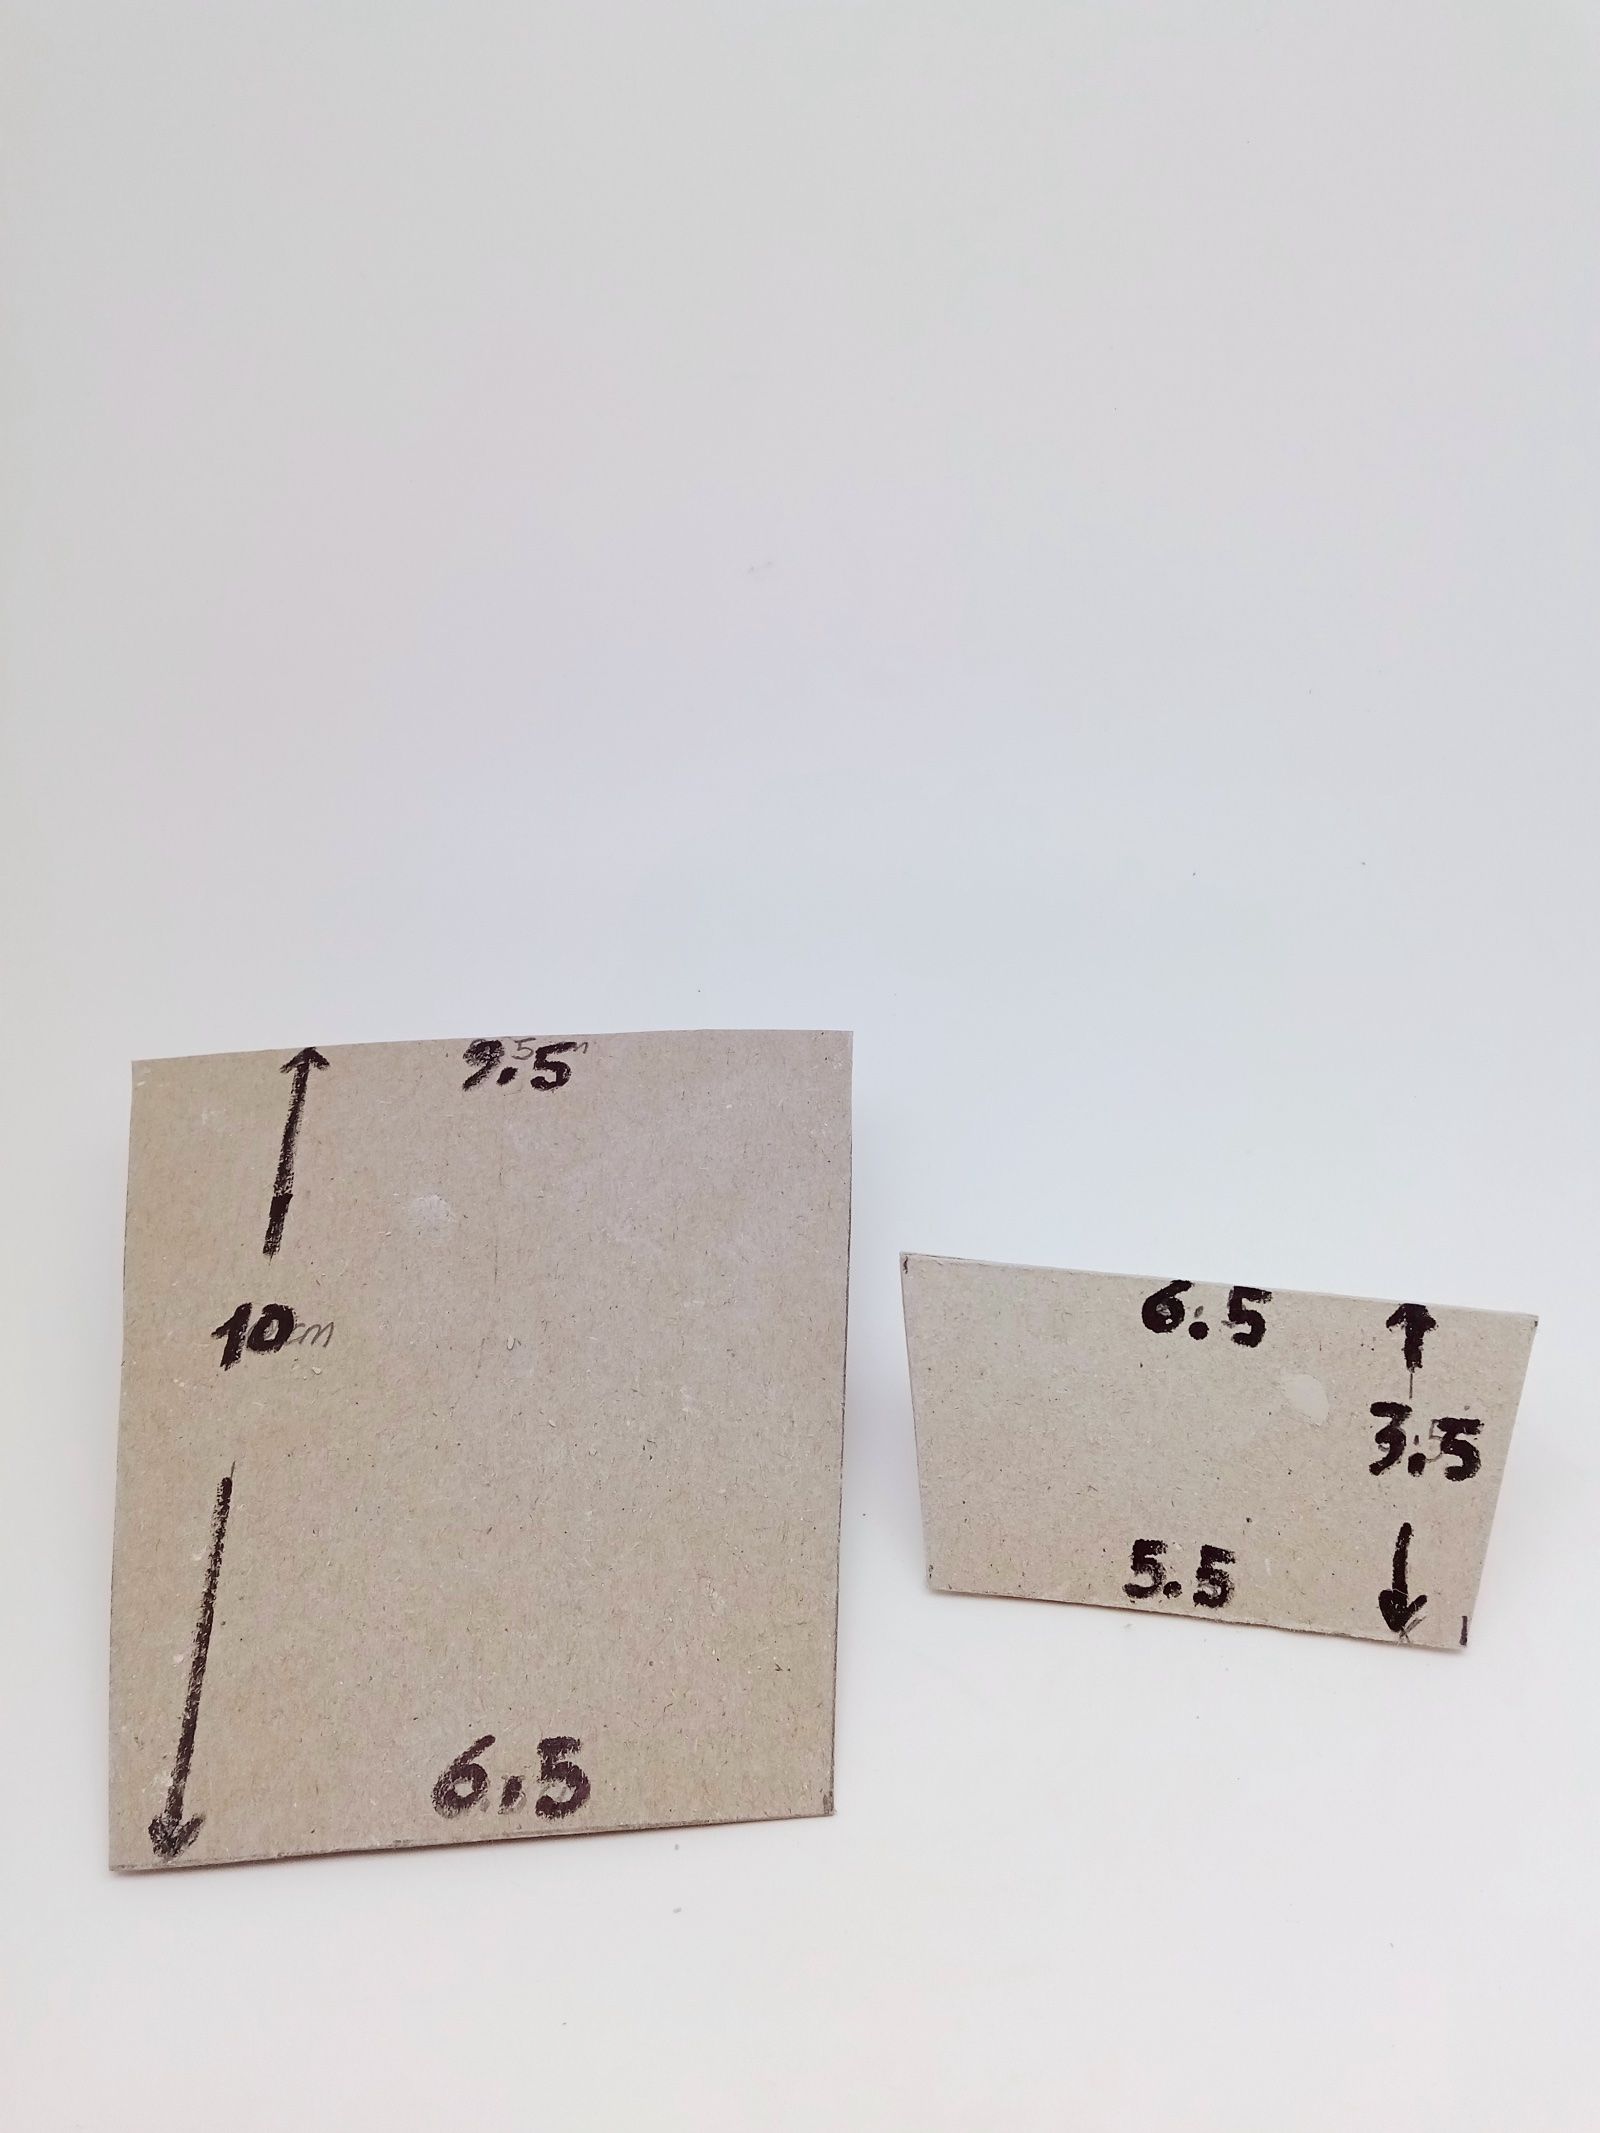
Using sturdy cardboard, prepare two templates. 2 trapezoids with dimensions that you deem most suitable for your needs. In this case, the body of the pot is 10 cm high. The upper side is 9.5 cm and the lower side is 6.5 cm. The second trapezoid will be the label. The measurements we have chosen, proportionate to the pot, are a height of 3.5 cm with the two sides measuring 6.5 cm and 5.5 cm.
Step 2
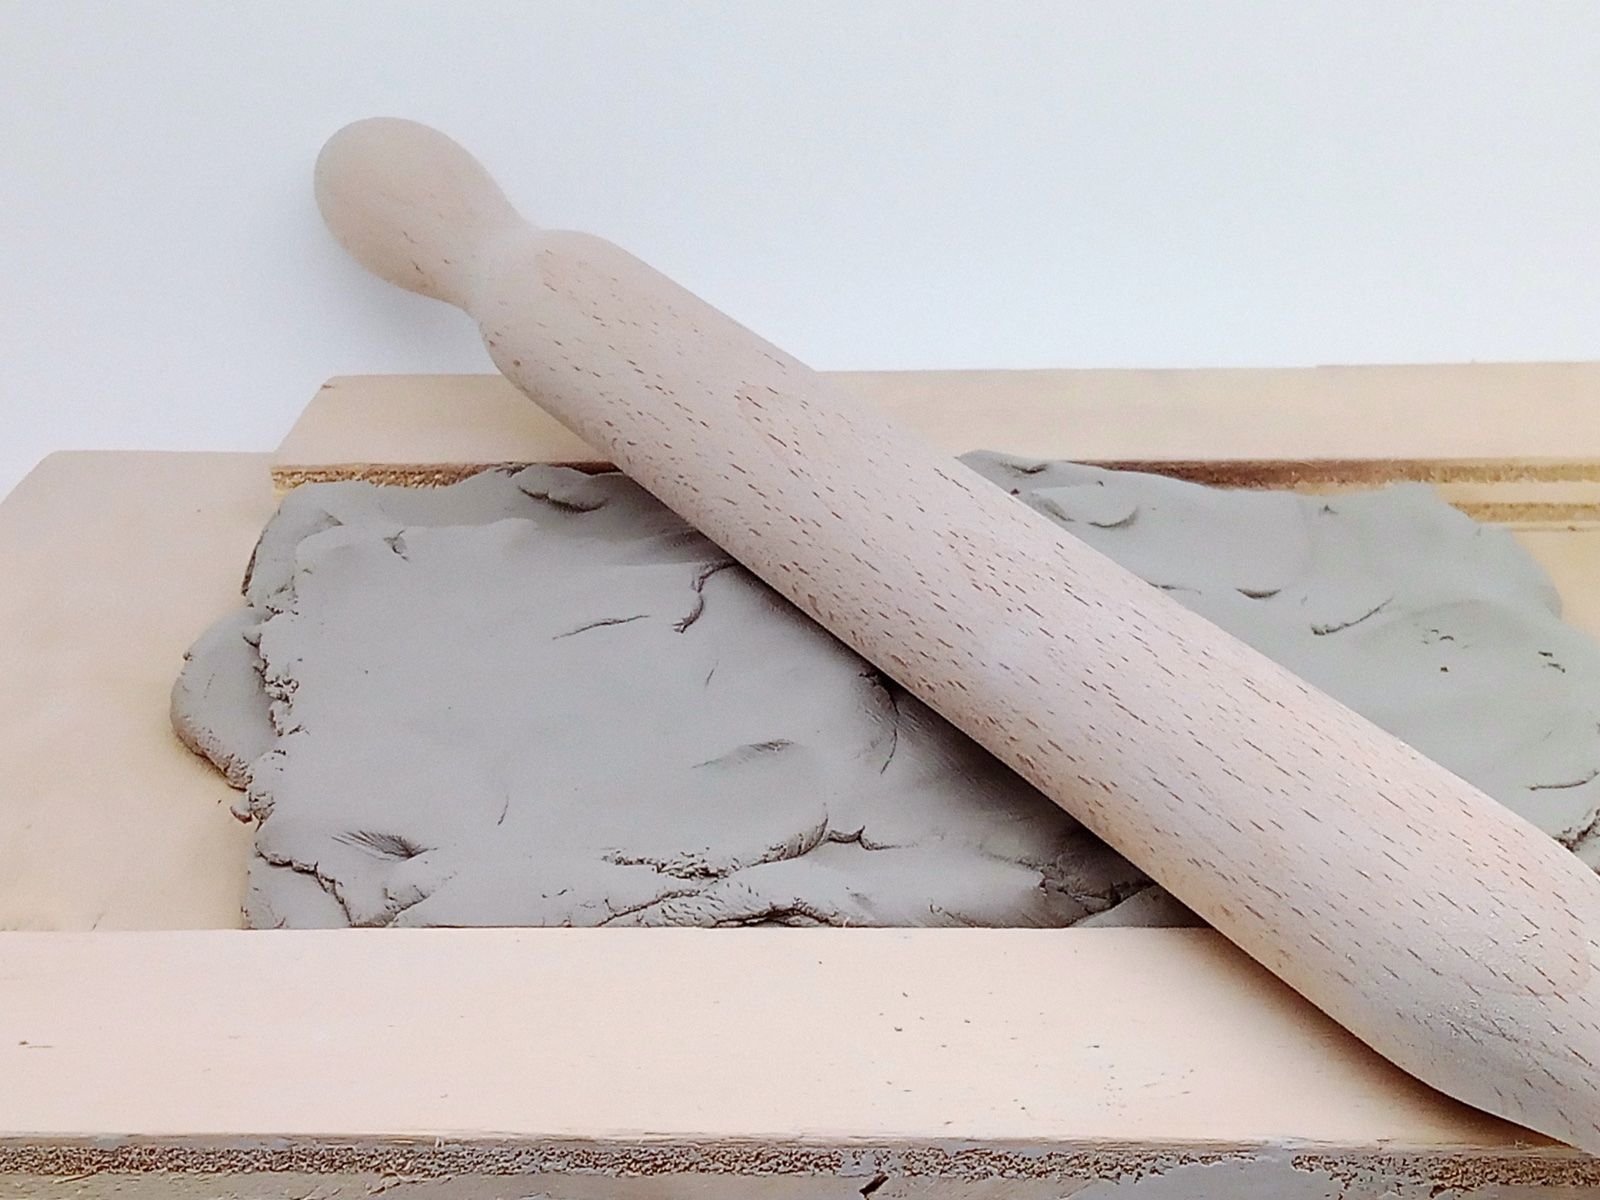
On a wooden board, roughly spread out, pressing it well with your thumbs to avoid the formation of air bubbles, a quantity of clay that will be enough, once flattened, to create the largest trapezoid. Place the 2 spacers of 0.6 mm on the sides and roll it out with the help of the wooden rolling pin.
Step 3
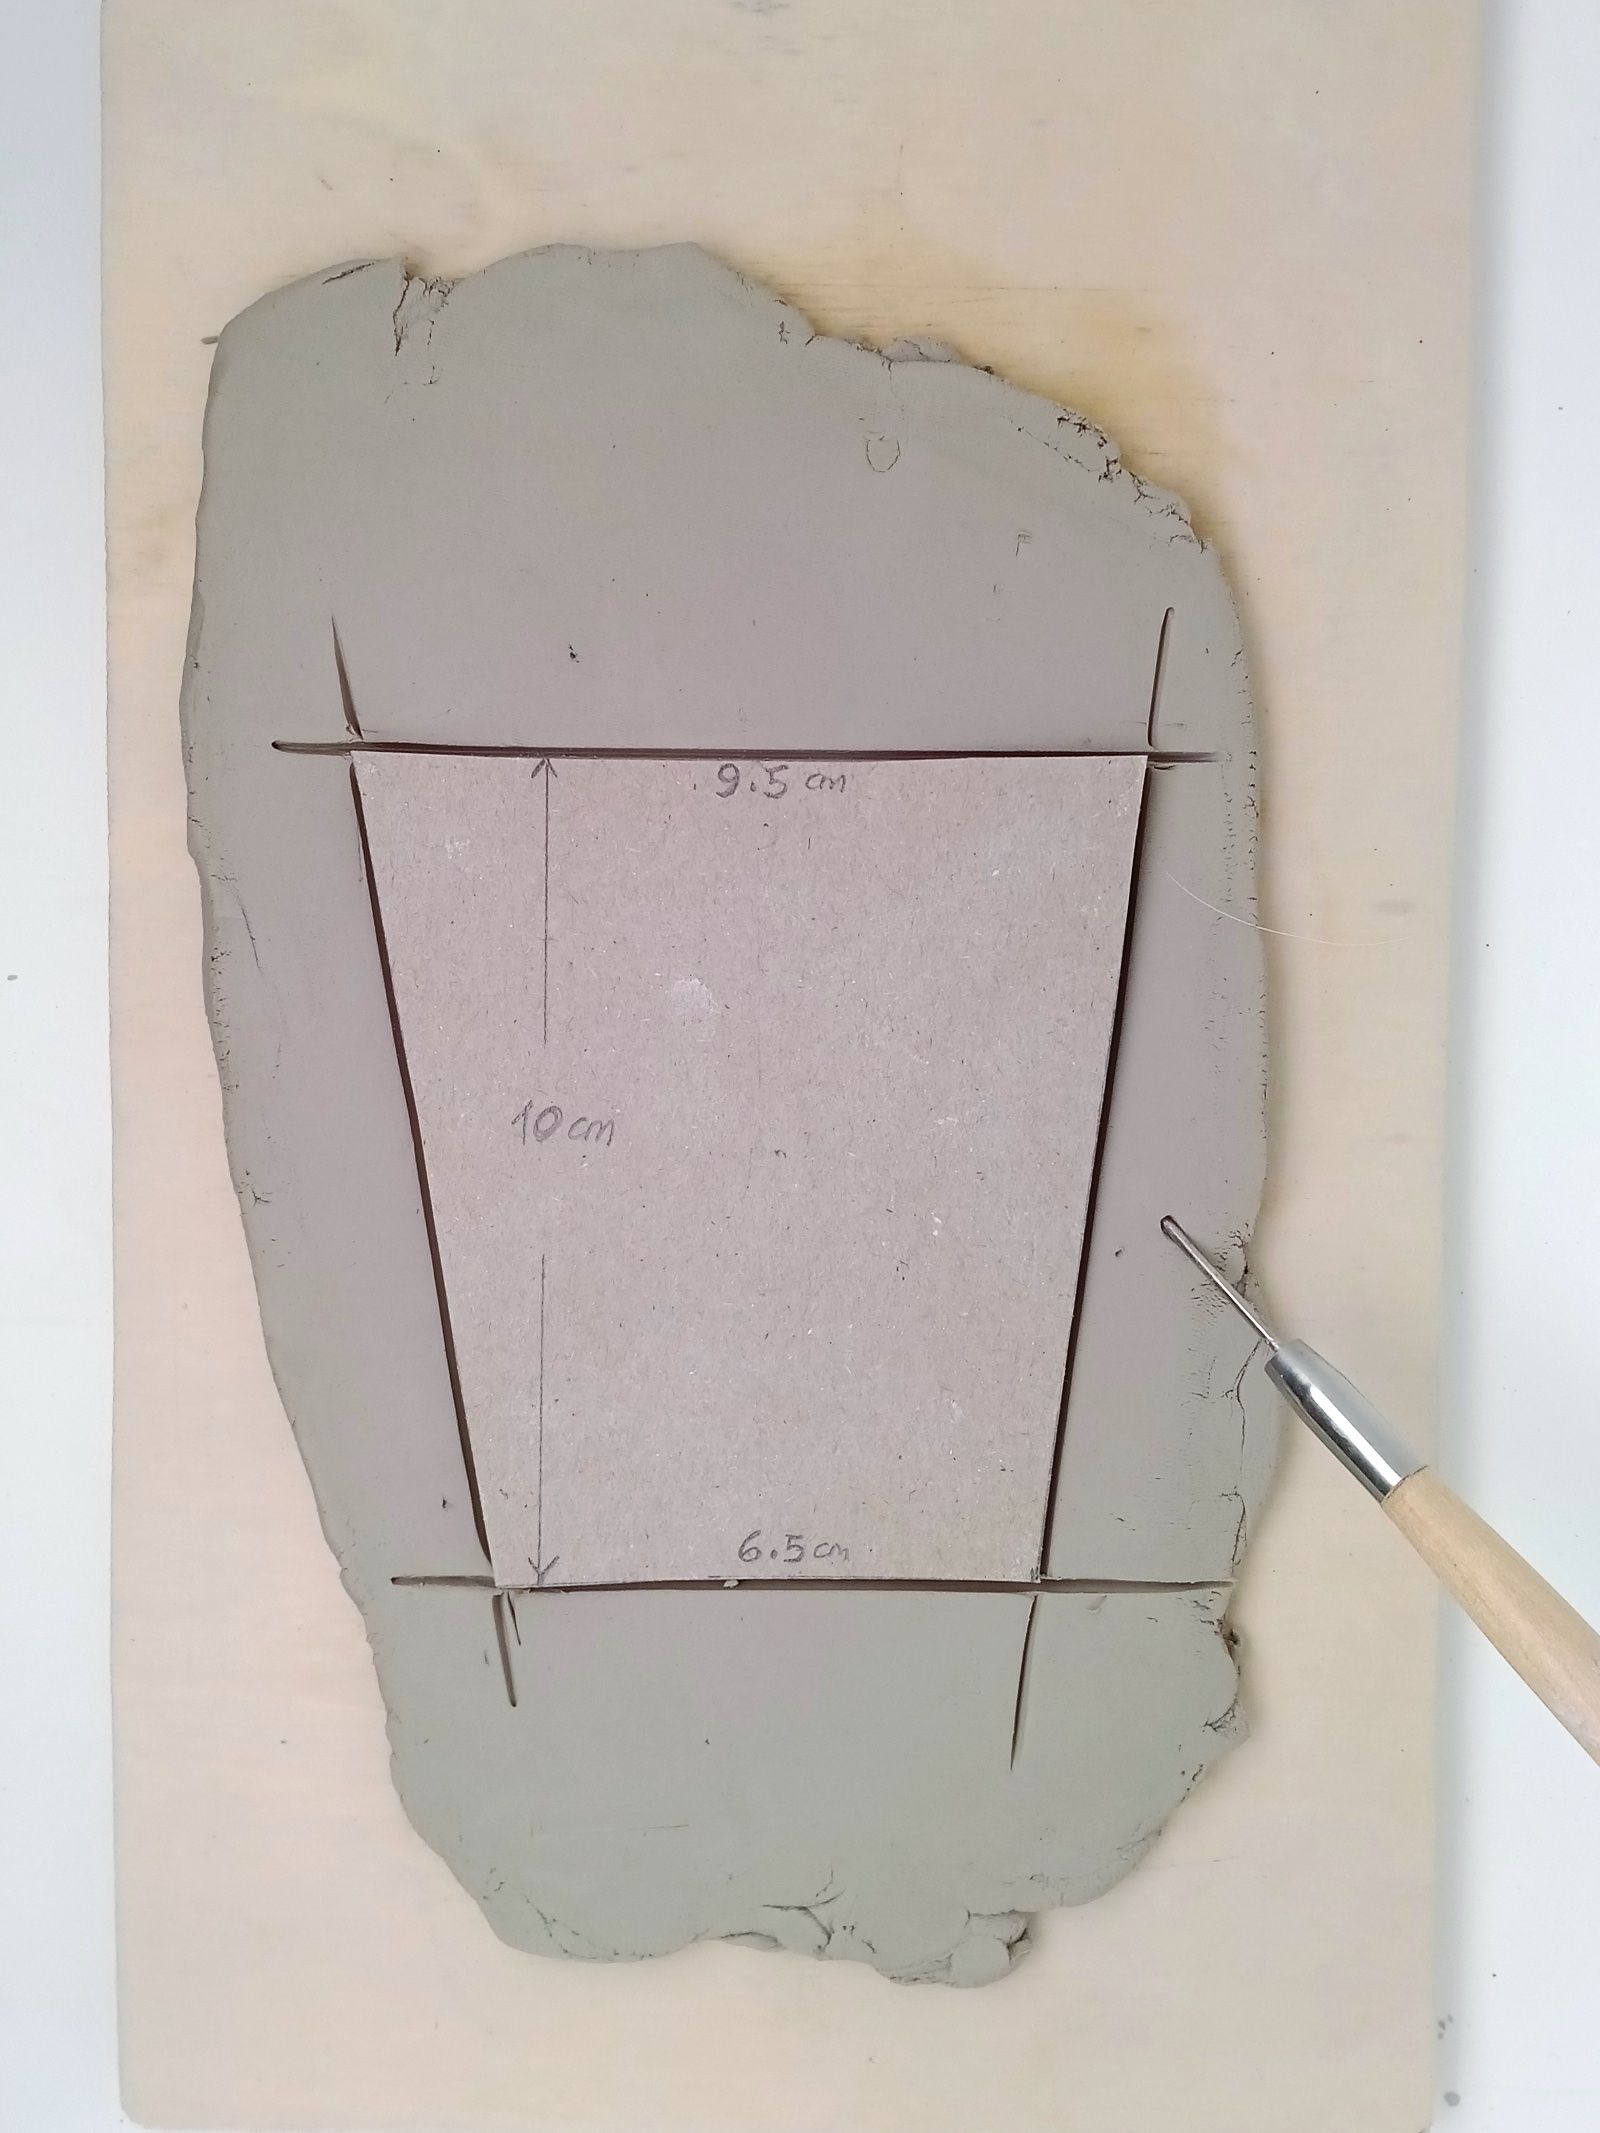
Place the template of the large trapezoid on the clay and, using the stylus, trace the outlines. Remove the cardboard and cut along the lines with the help of a blade or a metal spatula.
Step 4
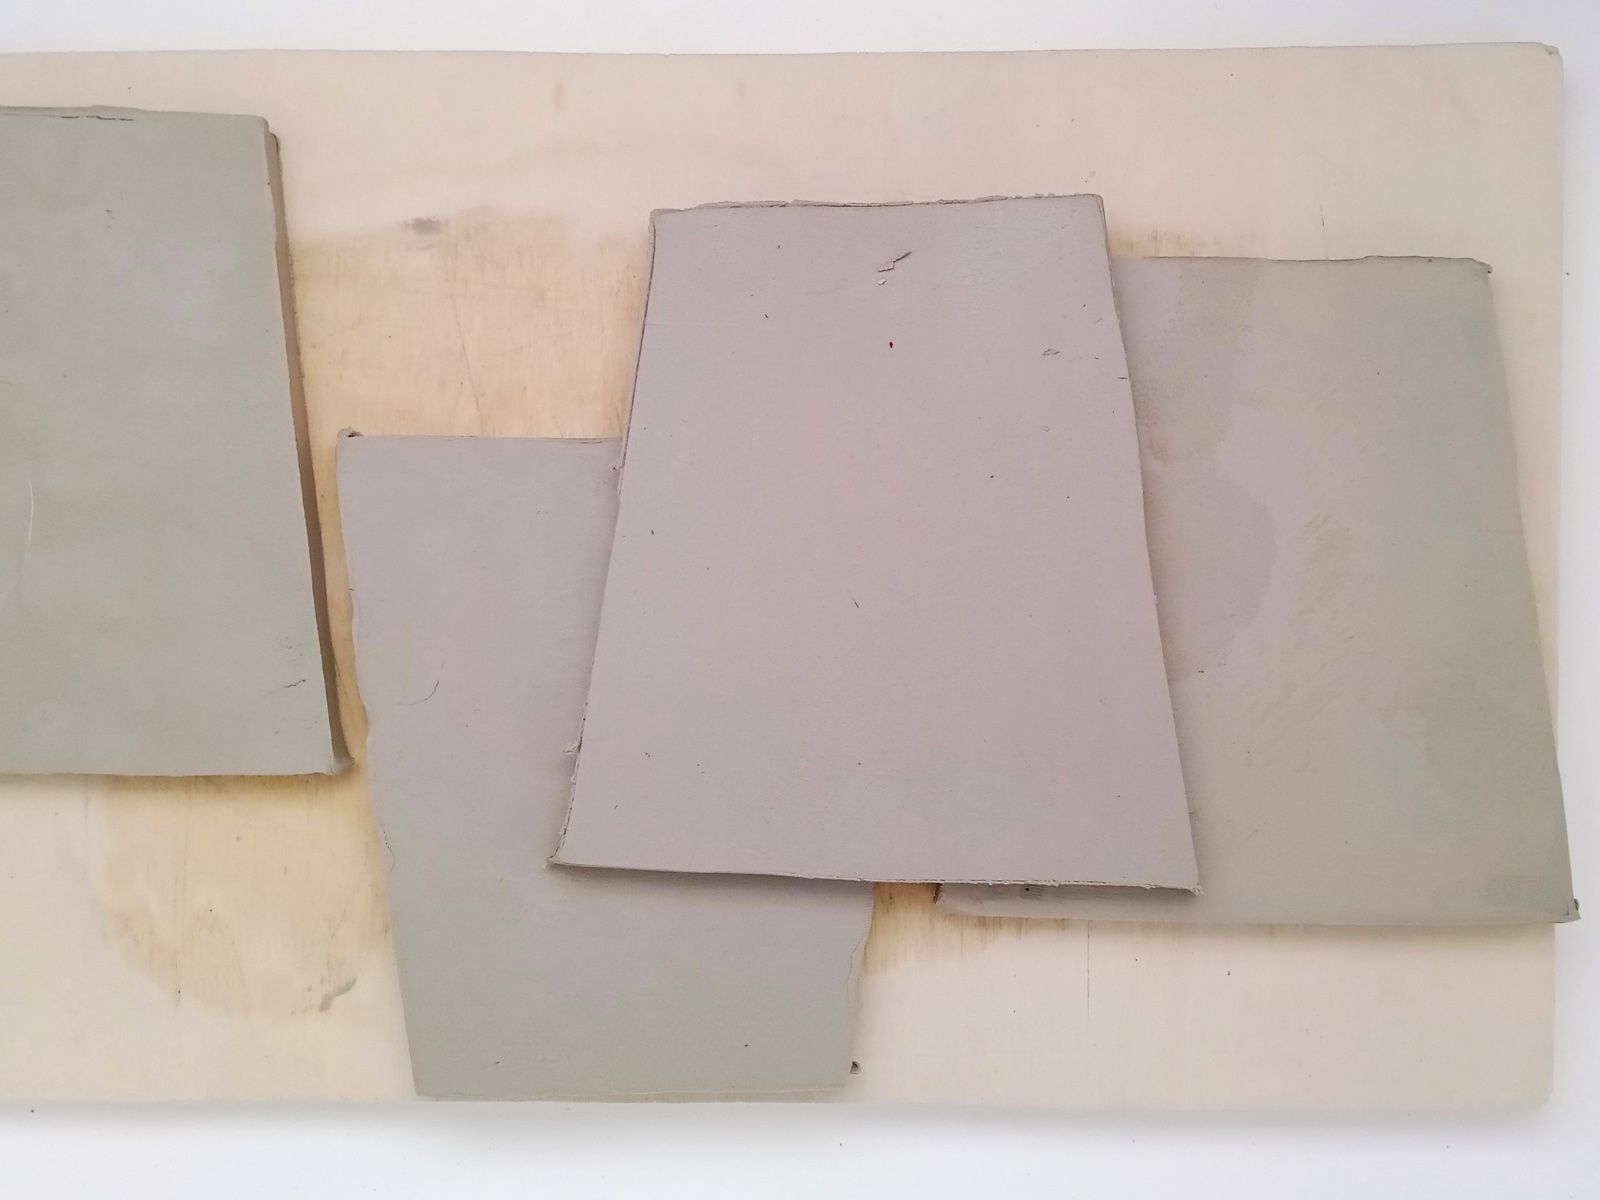
Repeat this operation to create the 4 sides of the pot.
Step 5
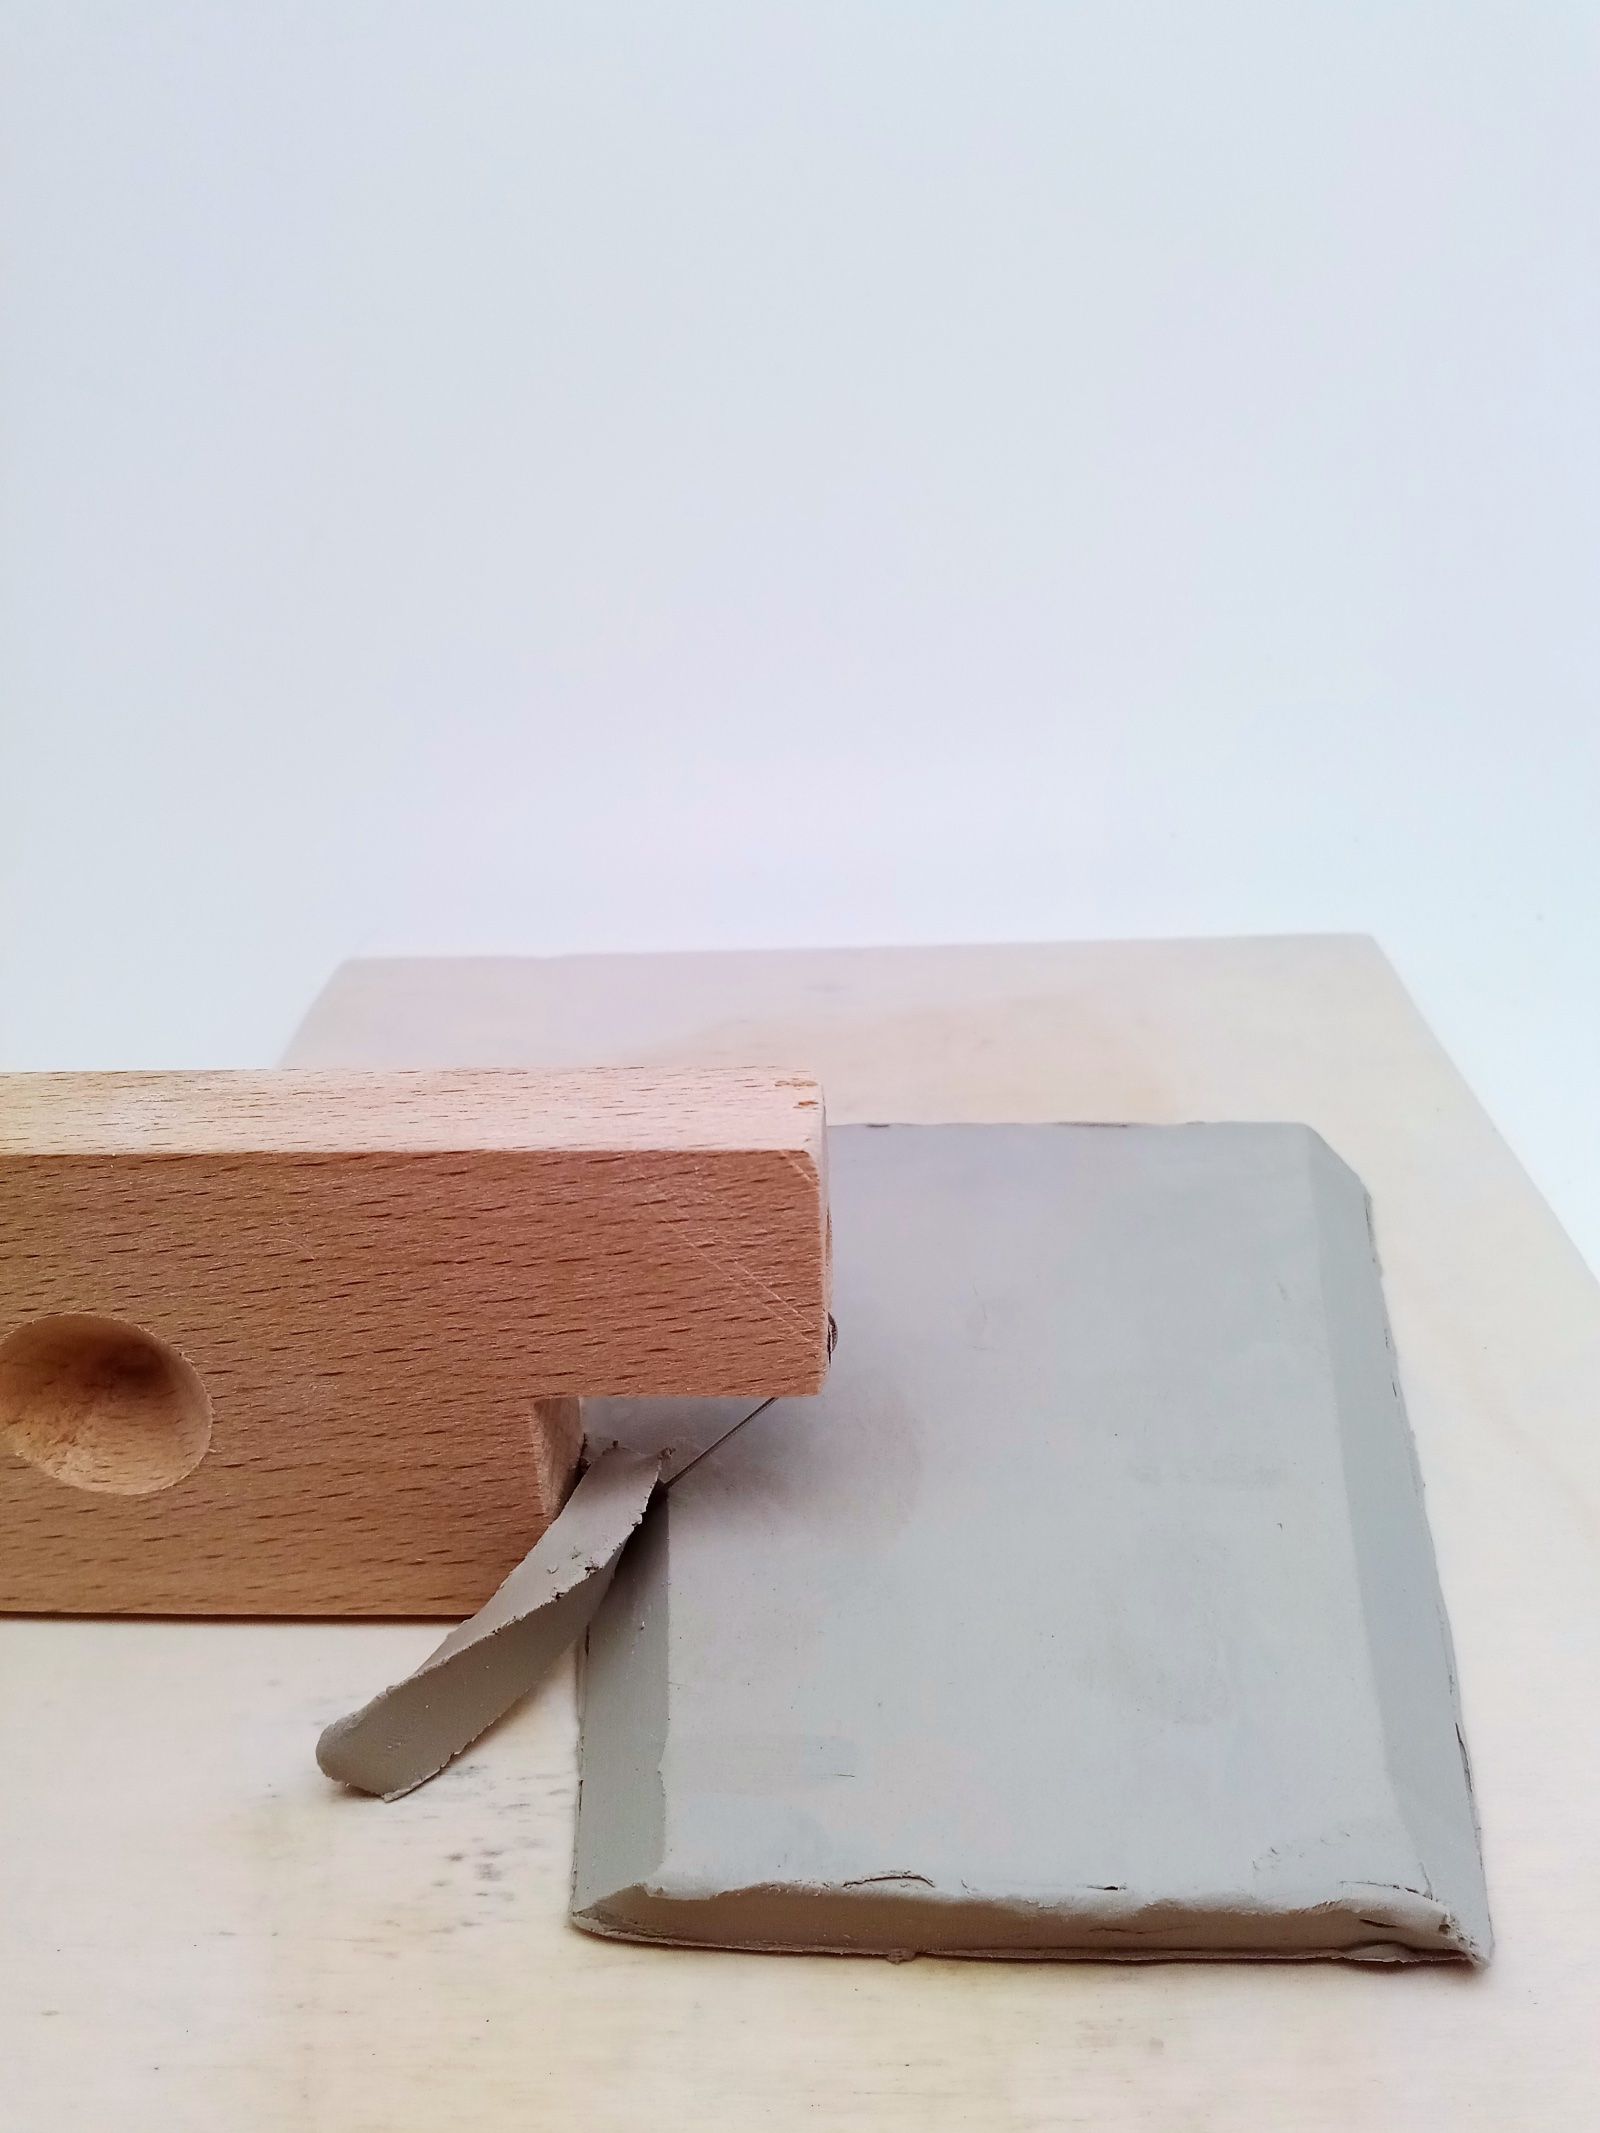
Place the 4 trapezoids on the wooden board and, using the bevel cutter, cut a 45° angle on both long sides.
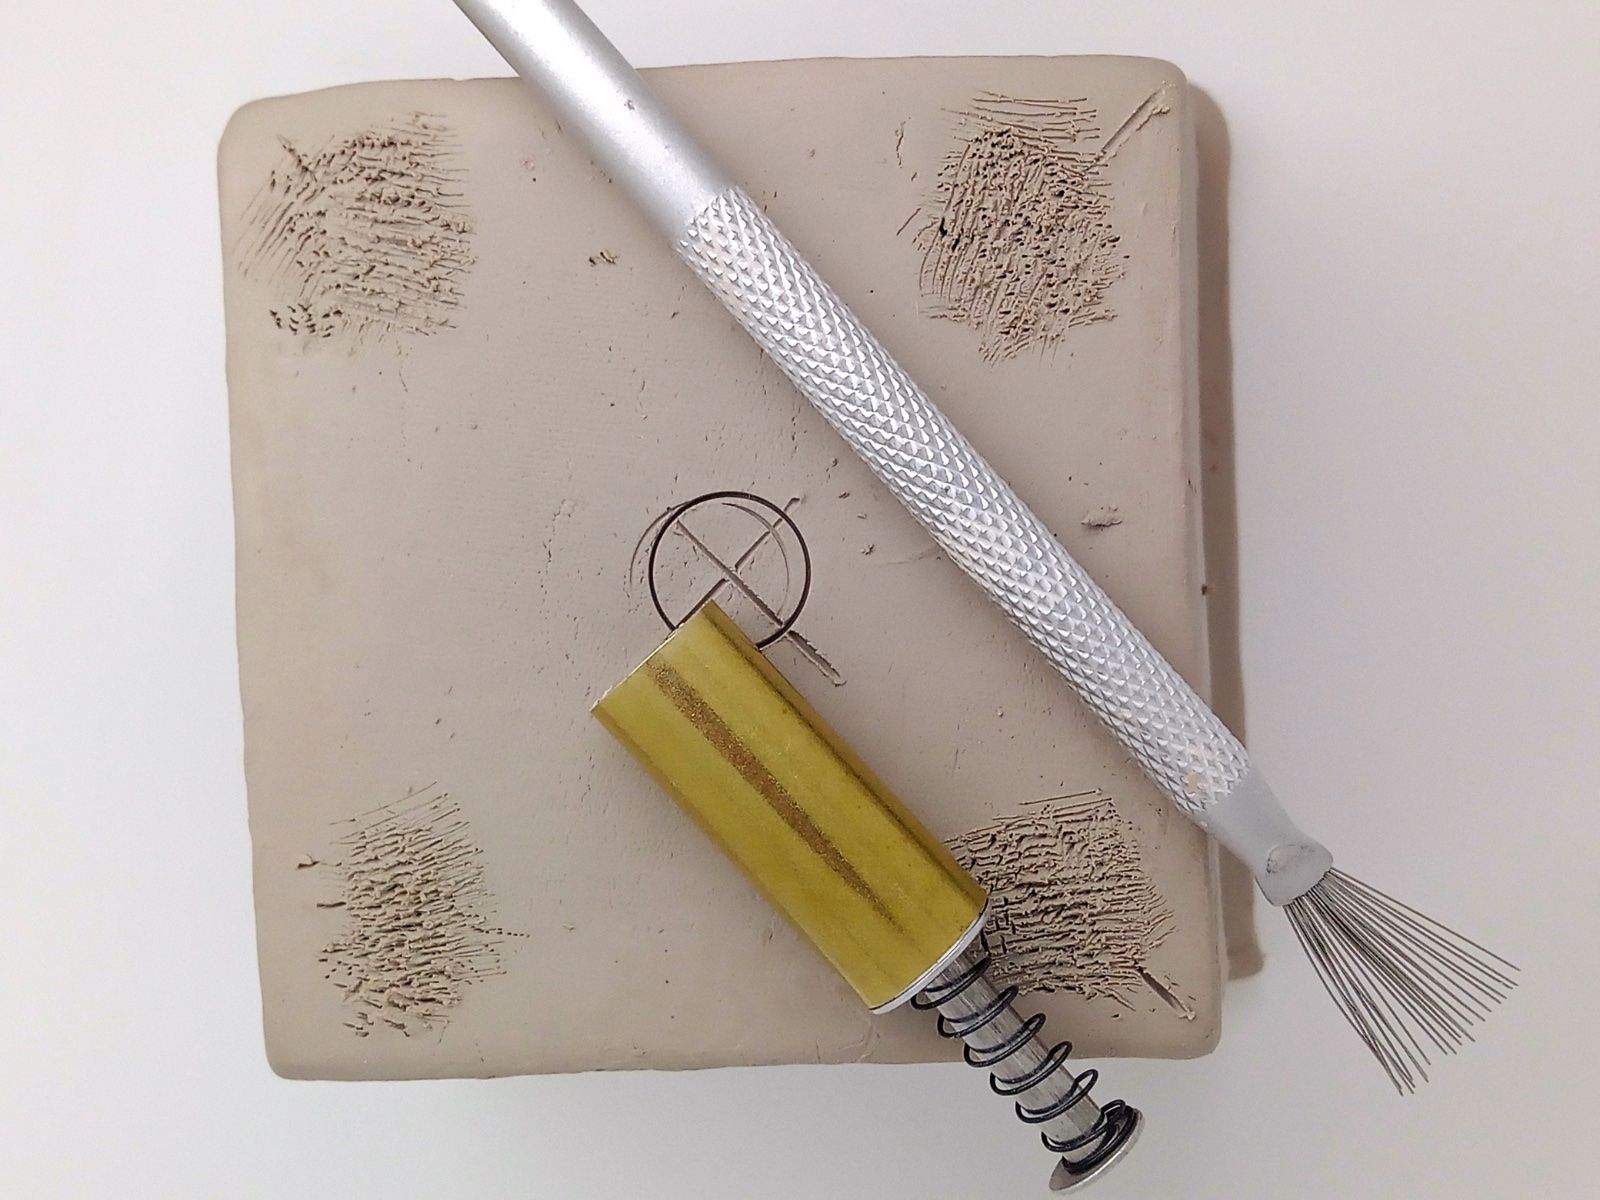
Step 6
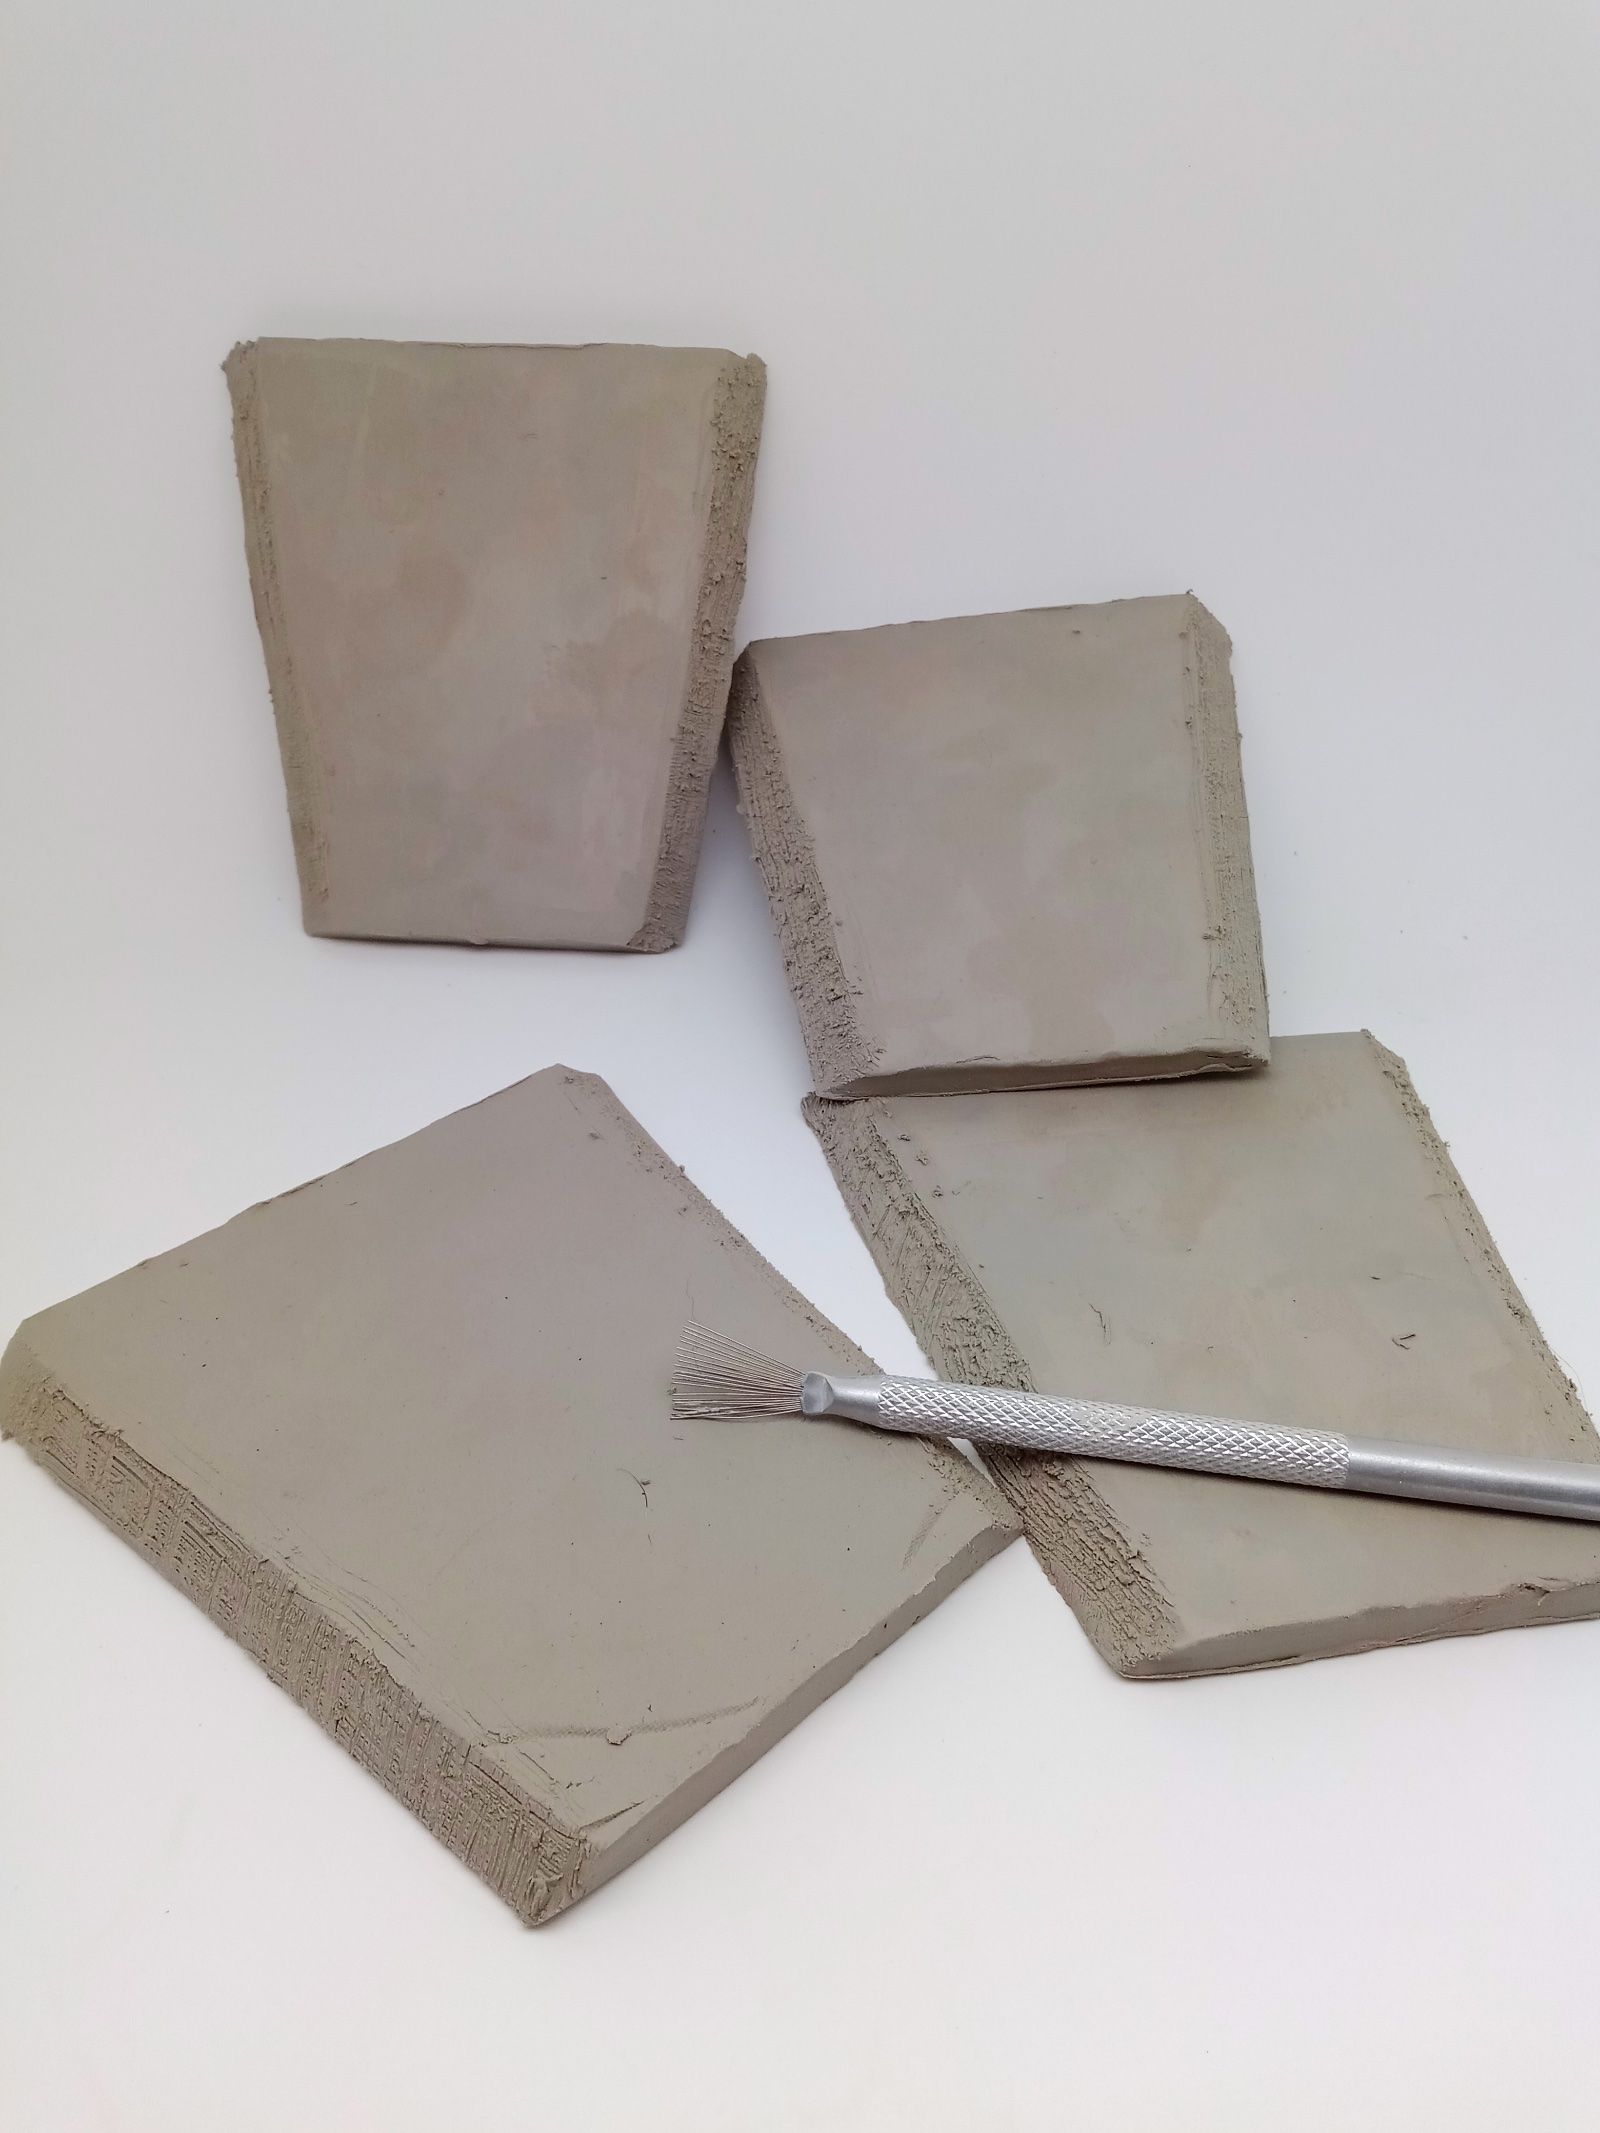
With the steel brush, scratch the 8 beveled edges.
Step 7
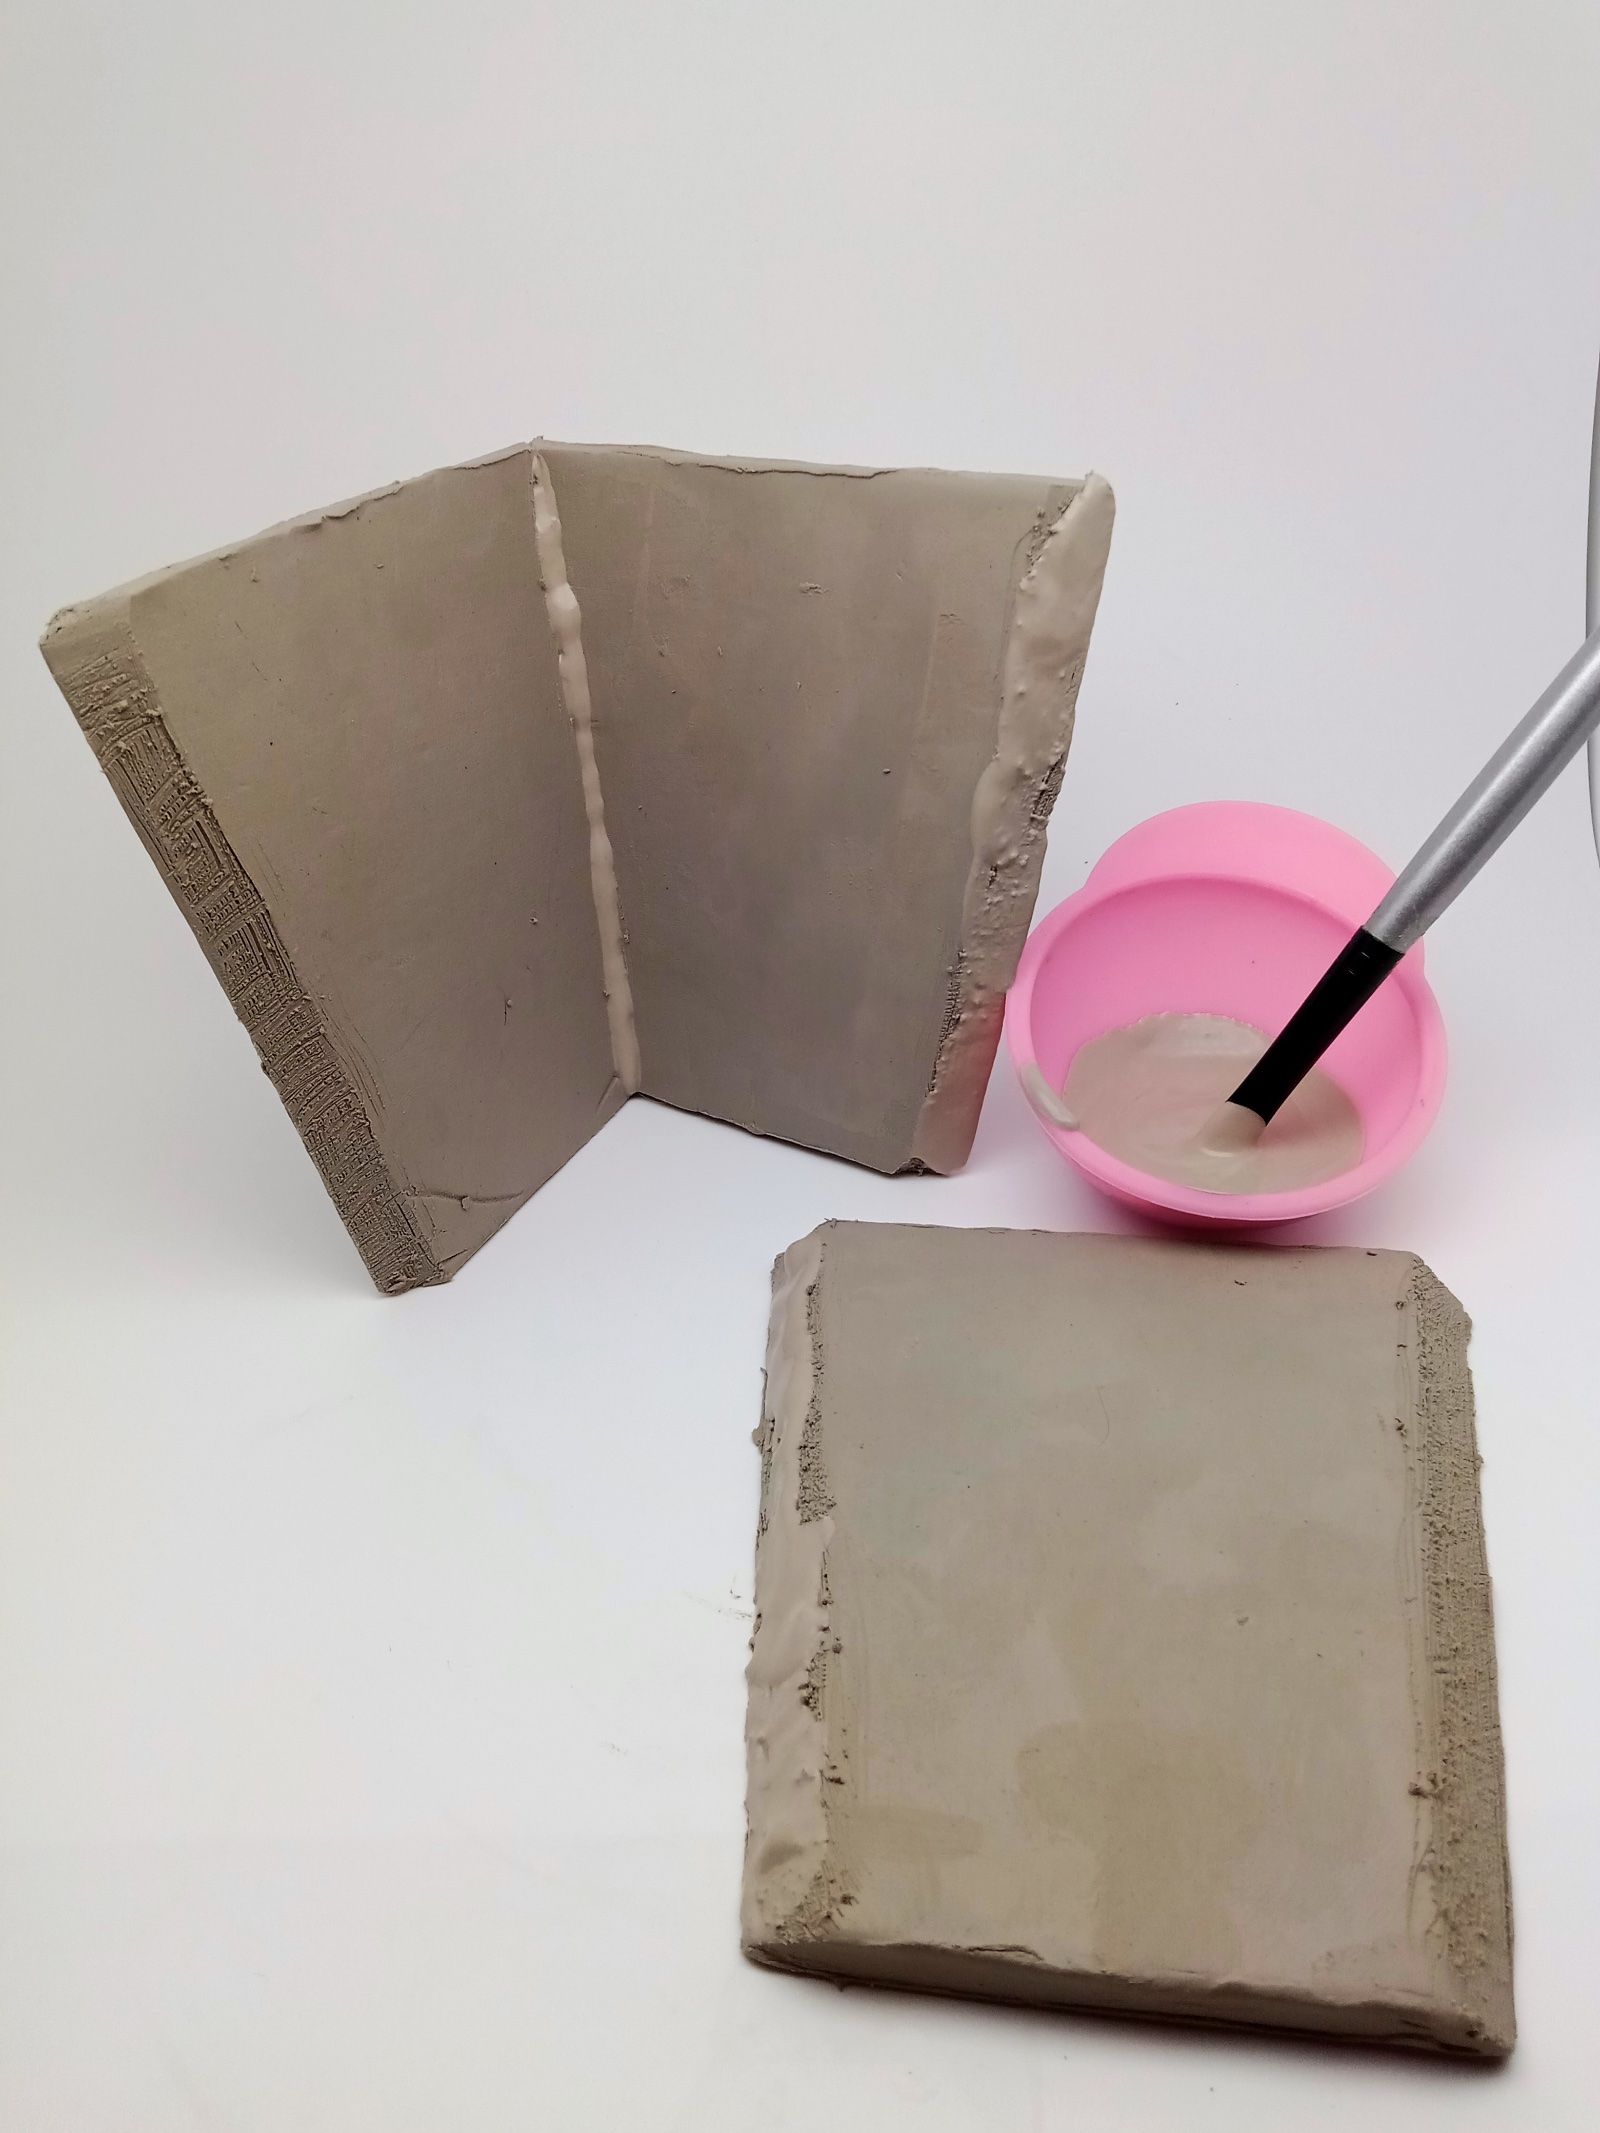
With a brush, generously spread slip on the scratched sides and join them together to form the body of the pot.
Step 8
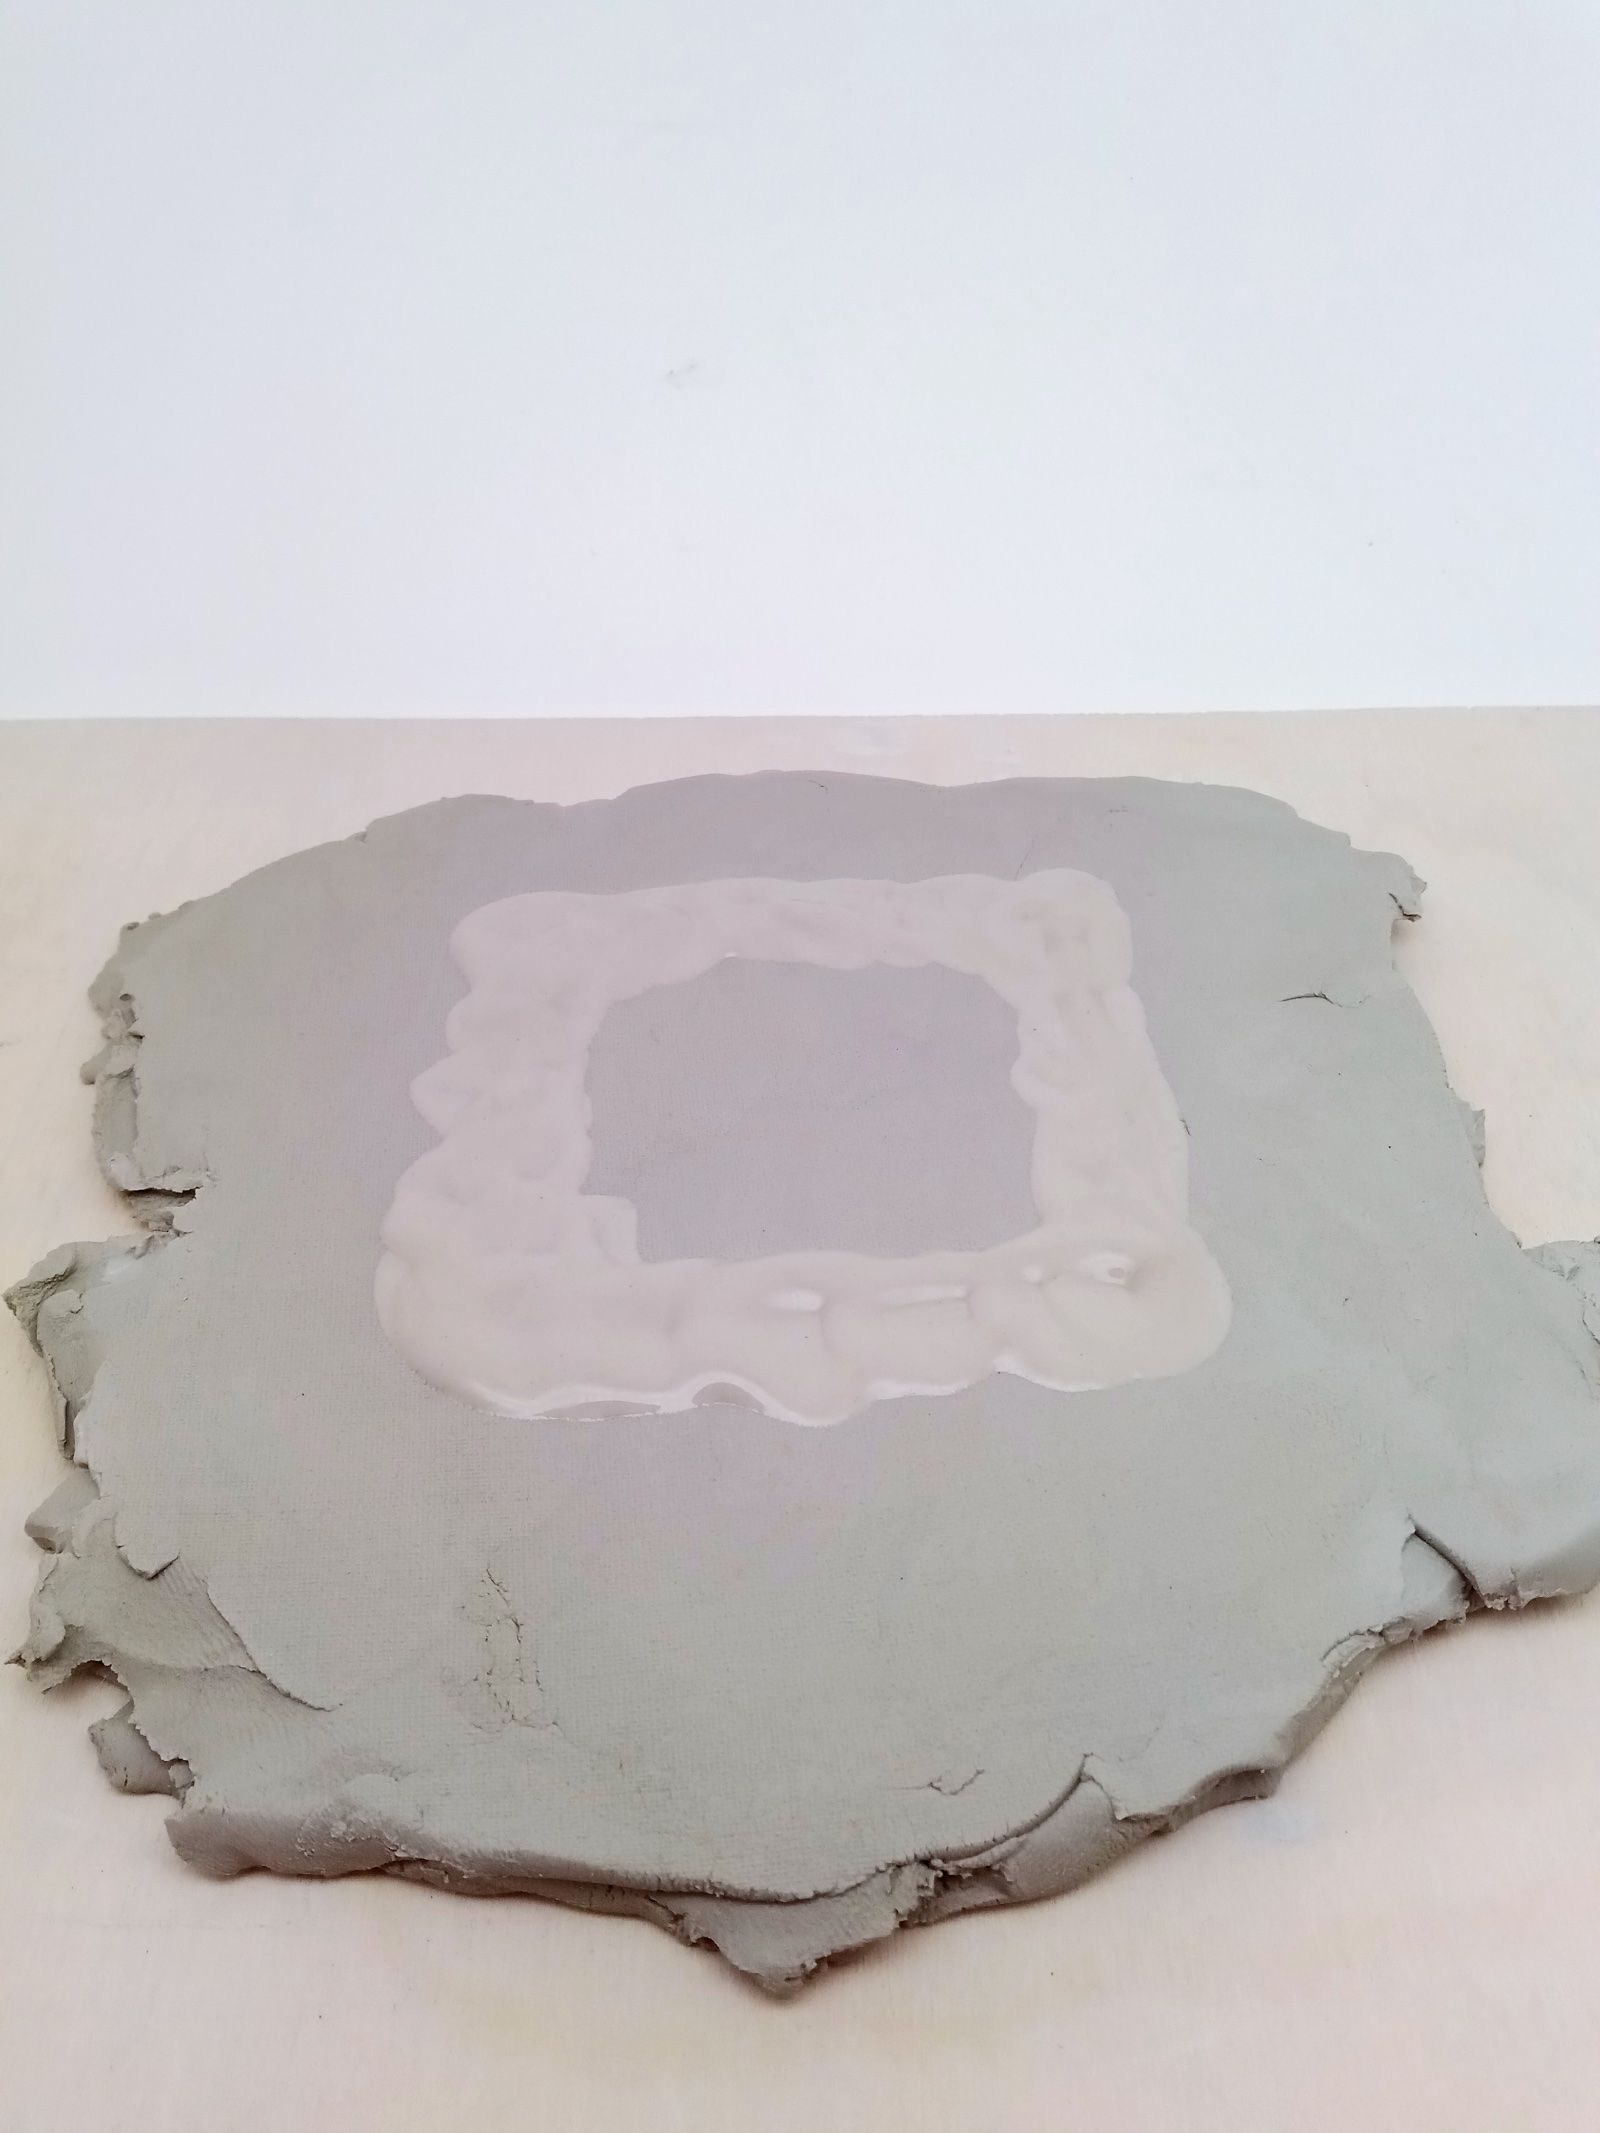
Using the 0.6 mm spacers and the rolling pin, prepare a base wide enough to serve as the bottom of the pot and brush it with plenty of slip.
Step 9
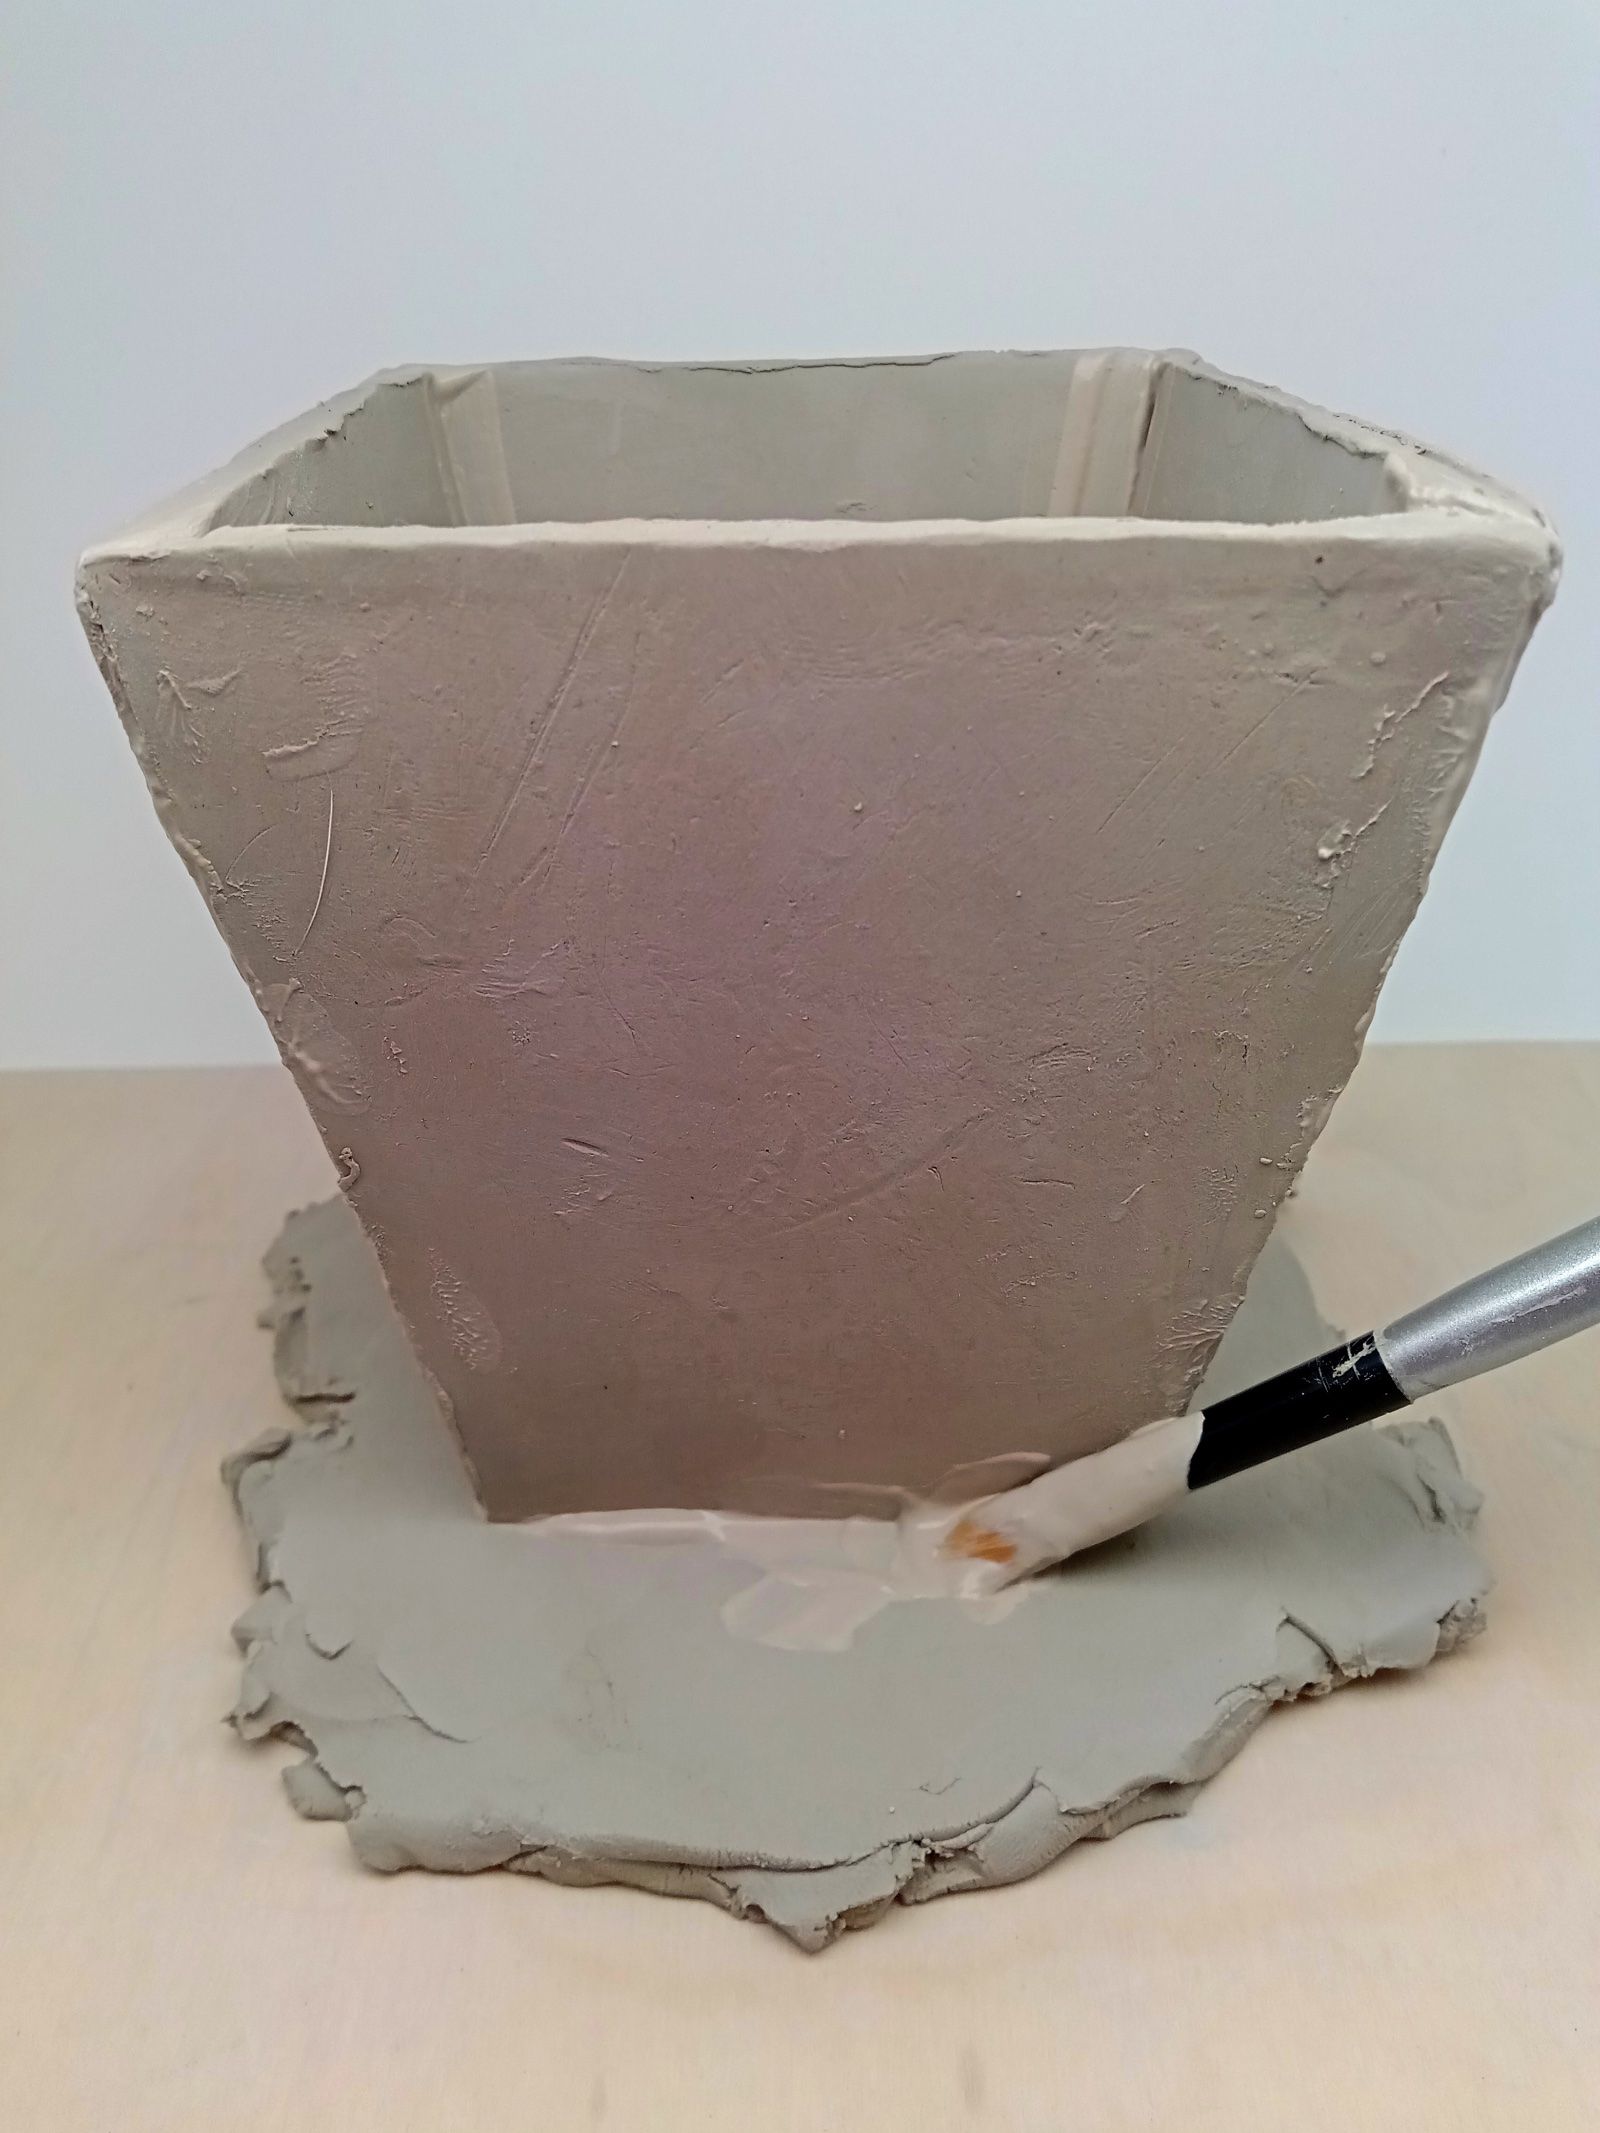
Place the body of the pot on the base and, with the excess slip, use the brush to ensure the joints adhere well both inside and outside.
Step 10

With a spatula or a blade, cut off the excess clay following the inclination of the pot's side.
Step 11
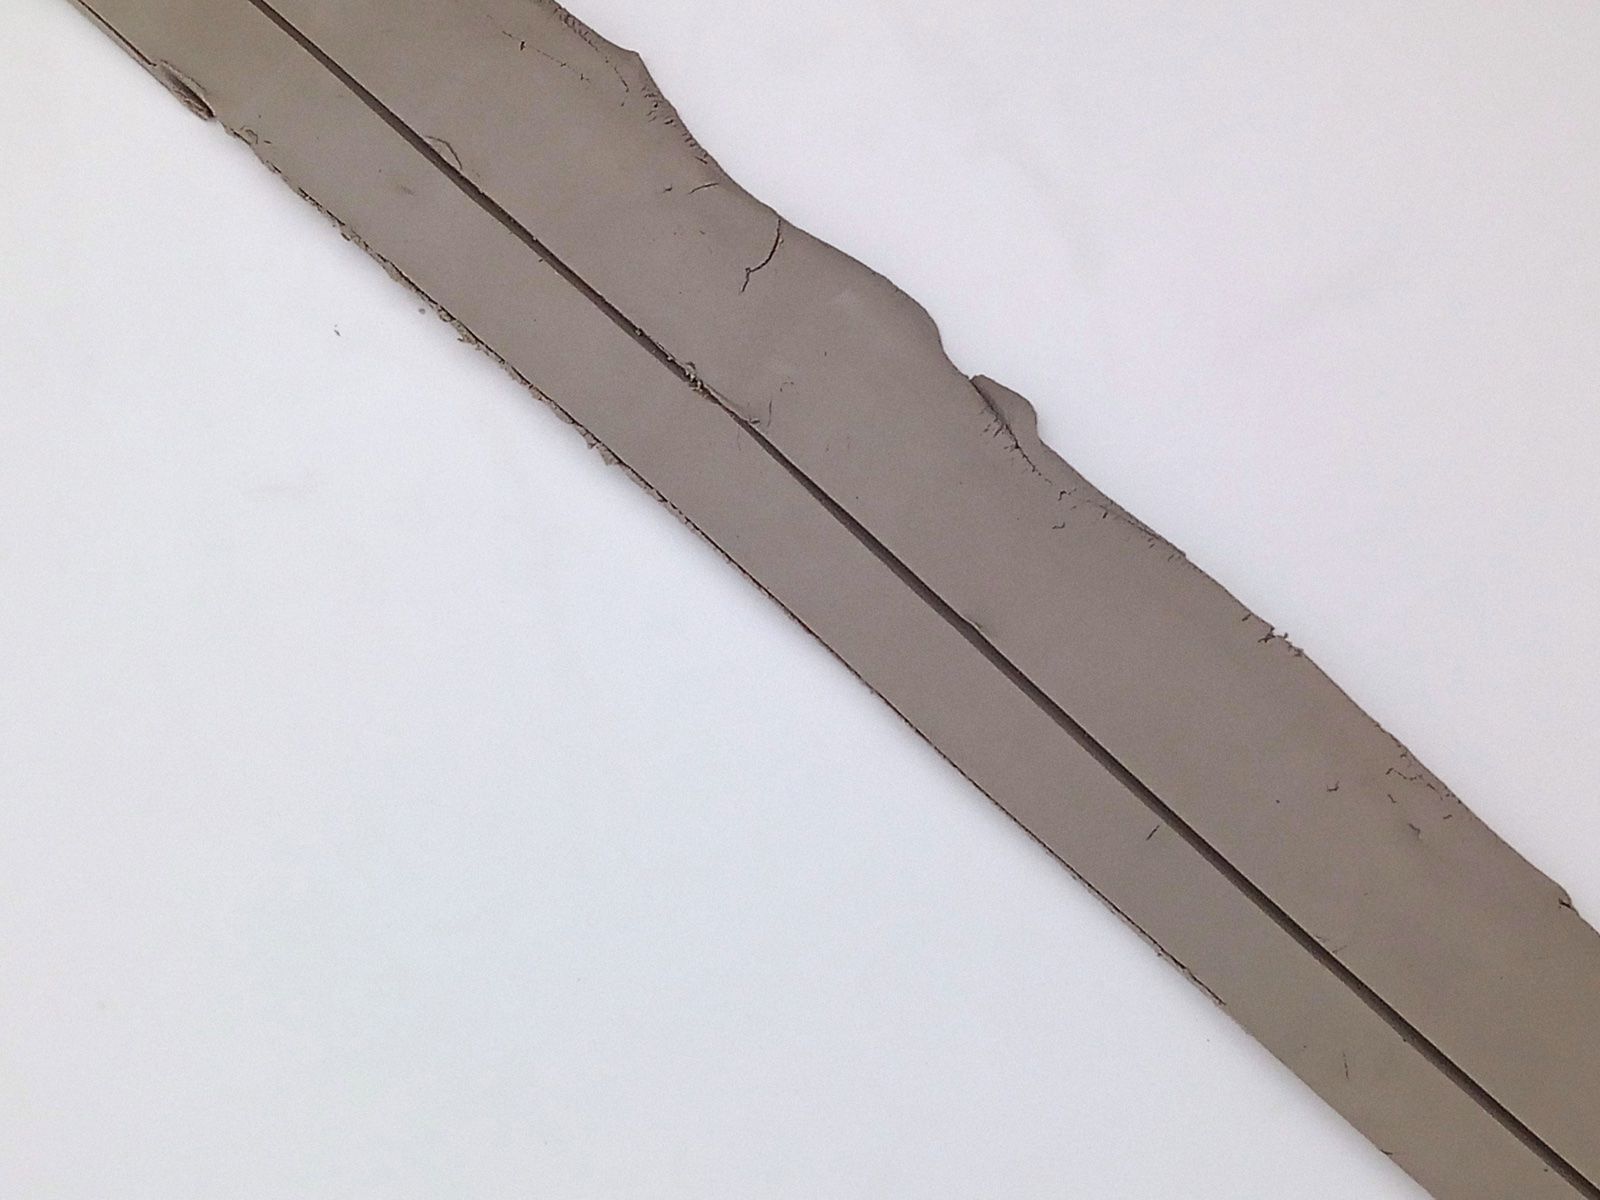
Now use the 2 mm spacers to create a thin, long strip of clay. Always work on the wooden board and flatten it well with the rolling pin. Then cut it into 1 cm pieces along the entire length.
Step 12
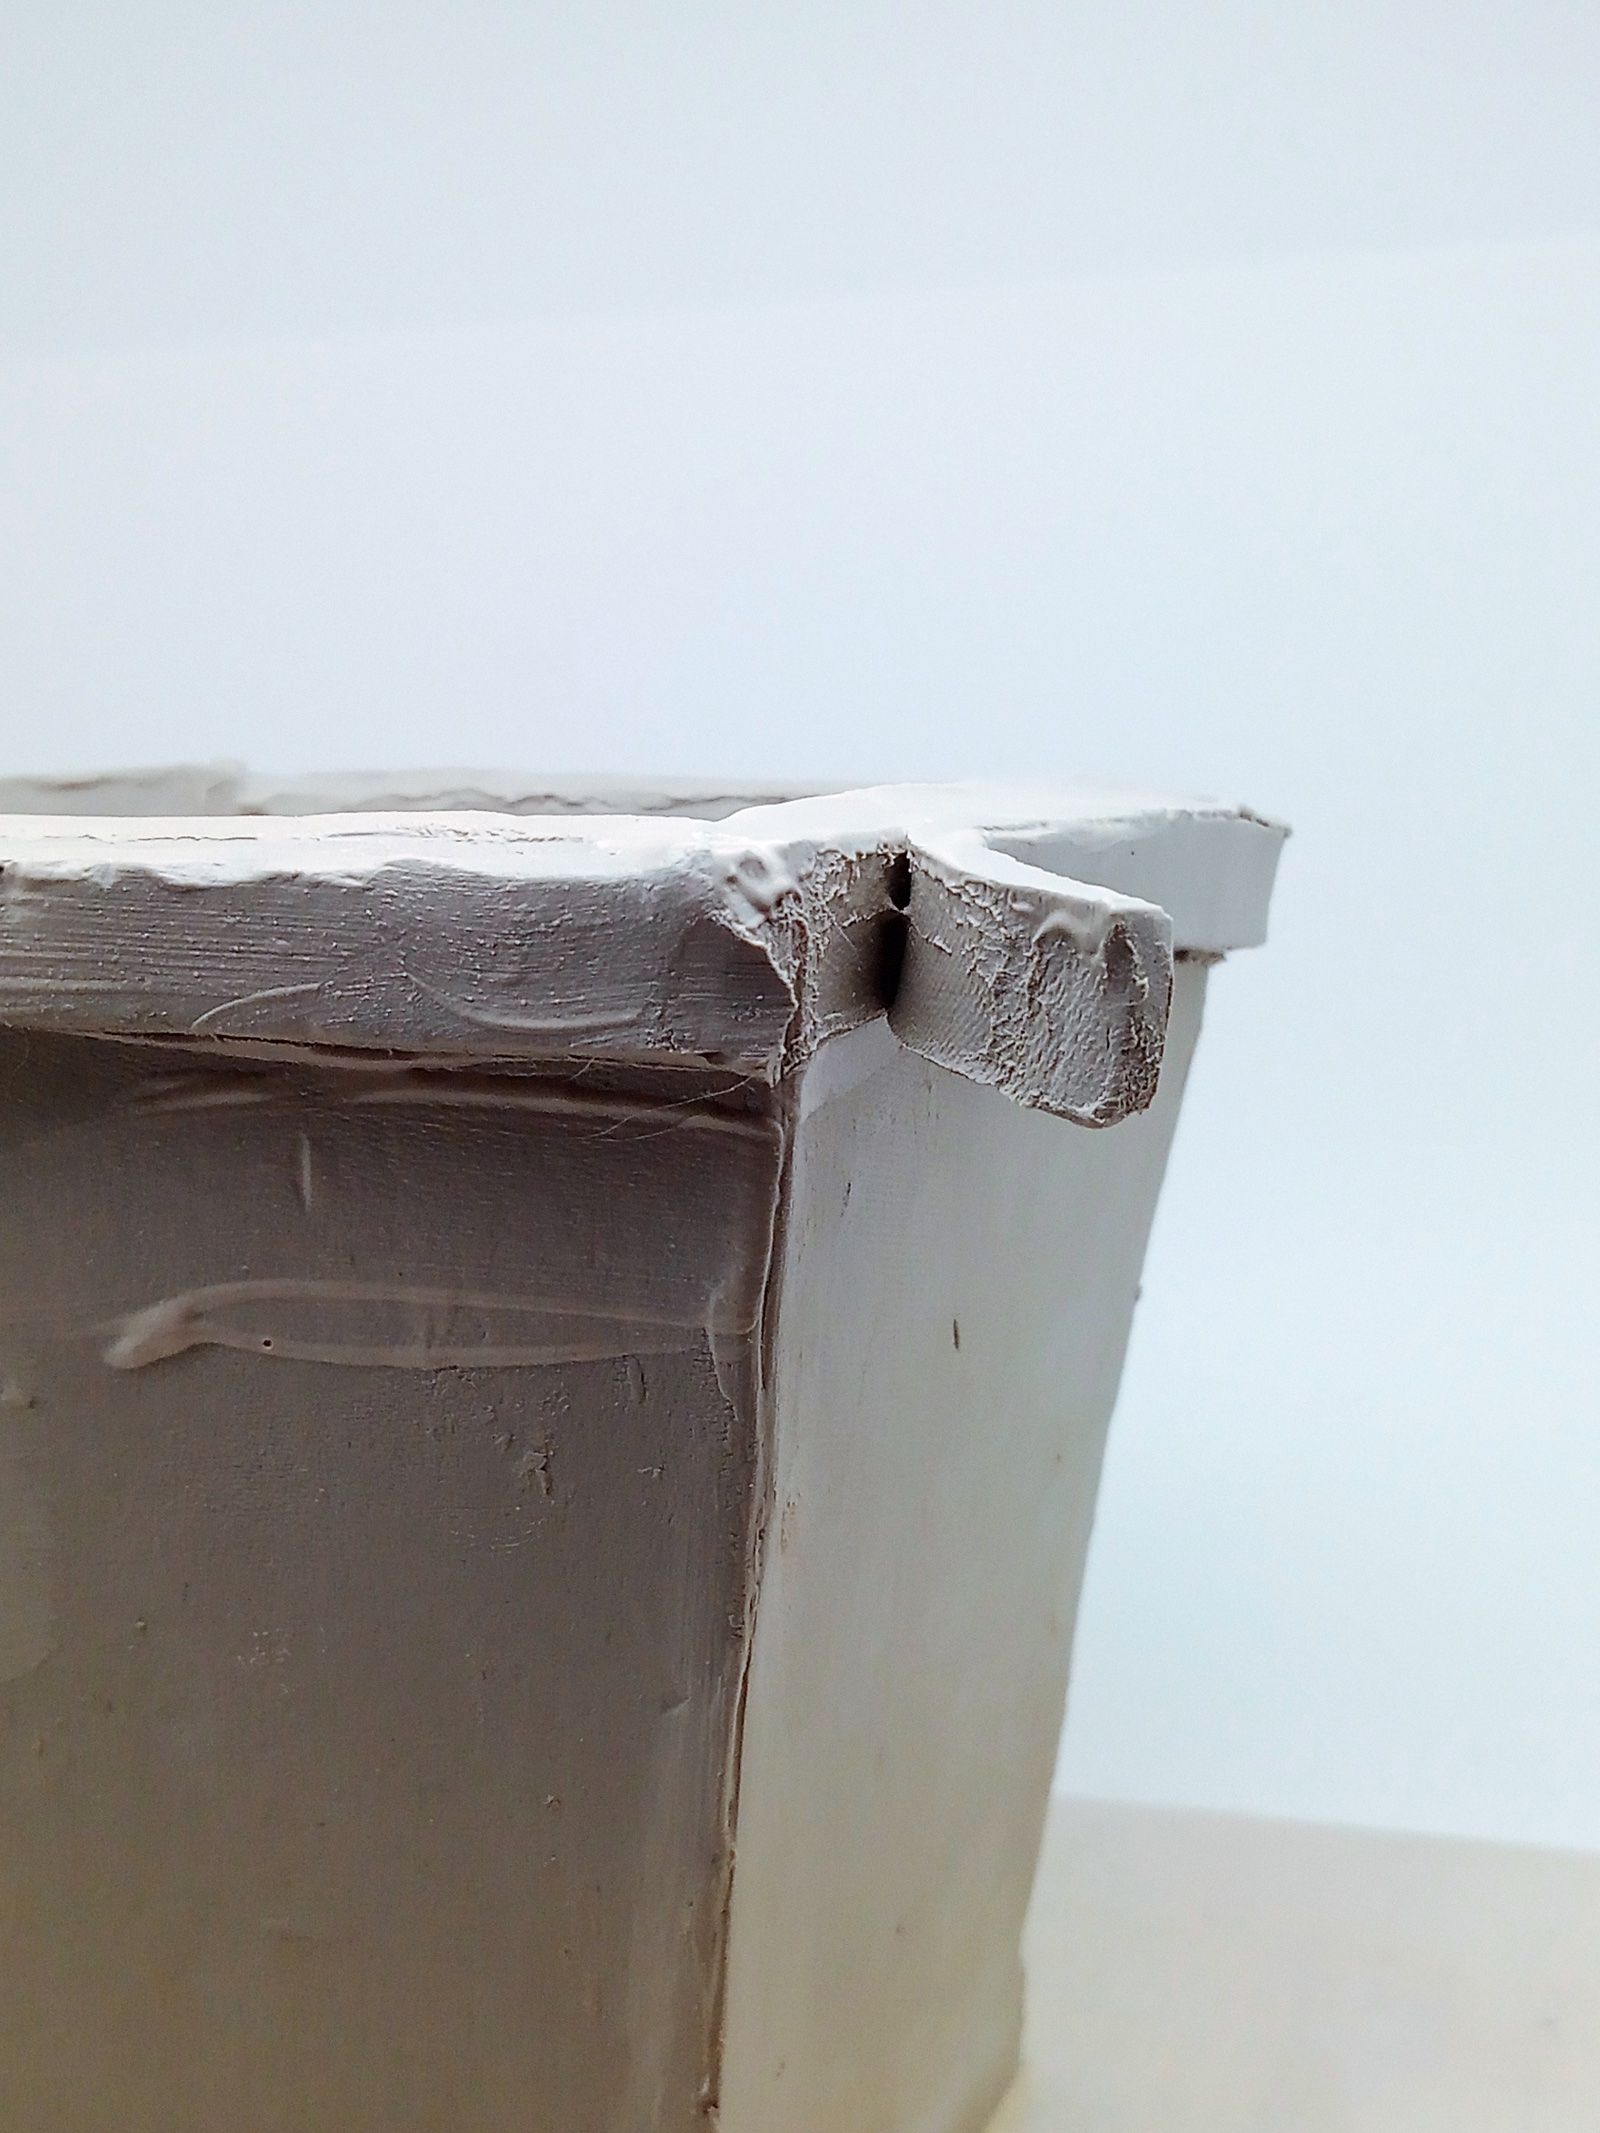
Brush plenty of slip on the upper edge of the pot and, with slight pressure, apply the strip of clay just created.
Step 13
On the bottom of the pot, trace the diagonals with the stylus, and in the centre, cut the drainage hole with the clay cutter. Scratch the 4 sides with the steel brush.
Step 14
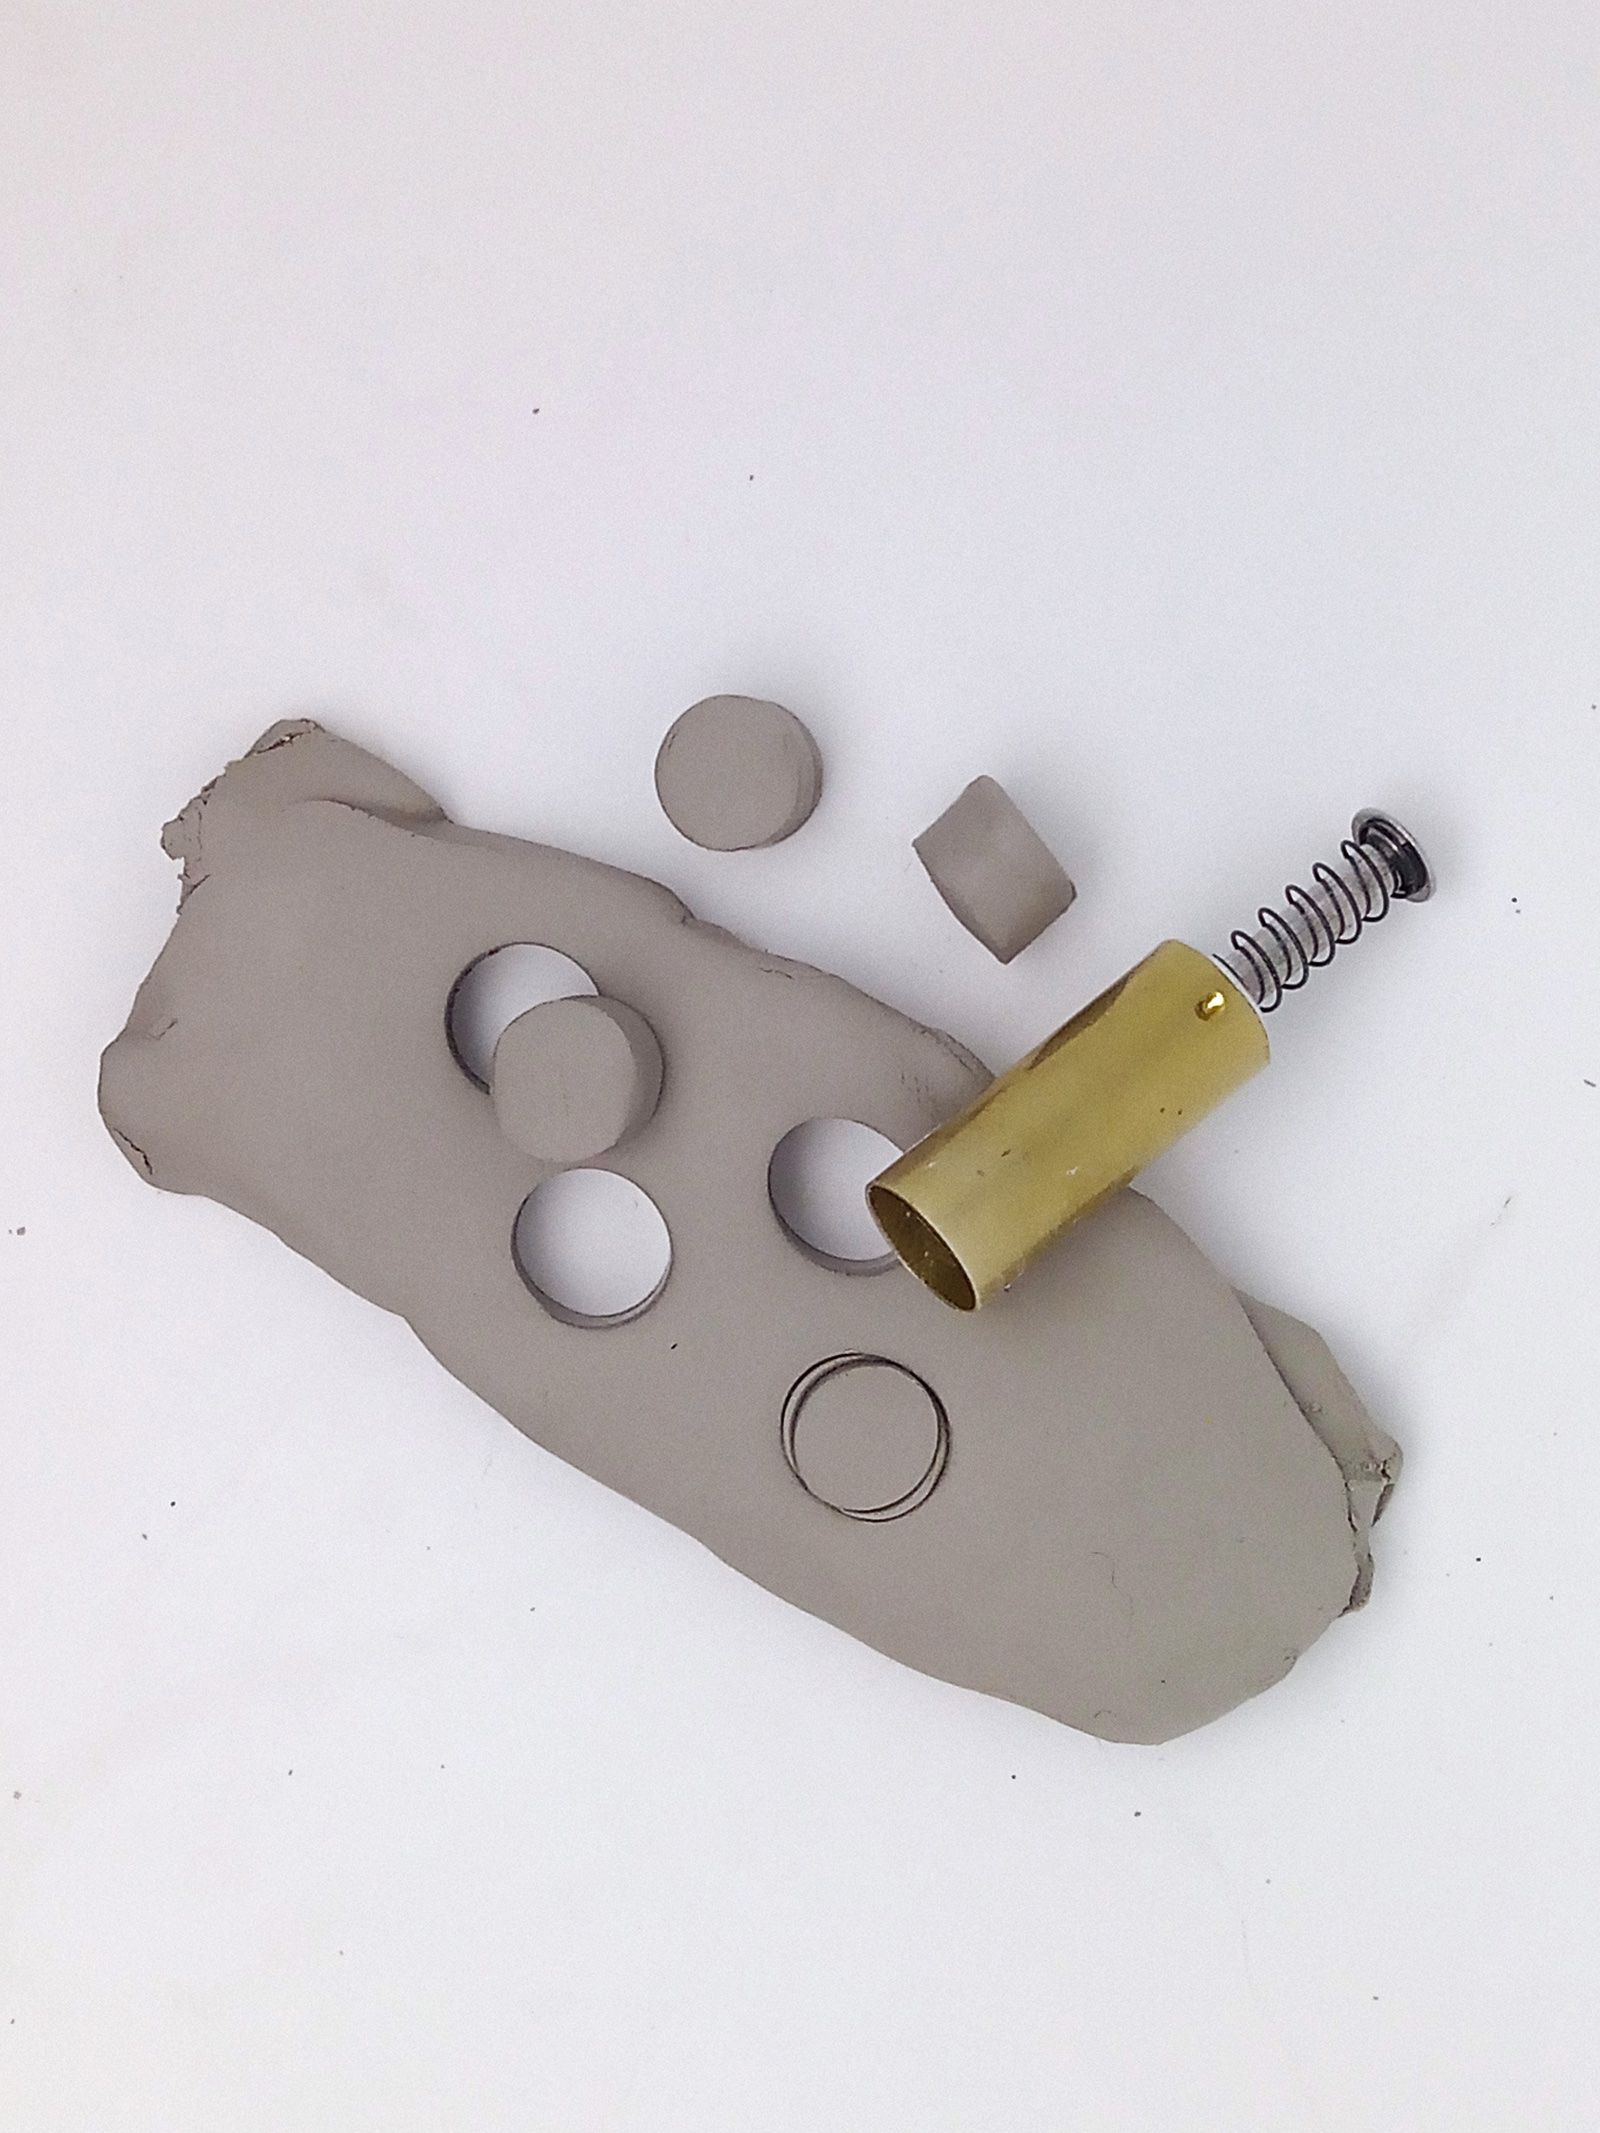
Using the 0.6 mm spacers, prepare a small plate of clay from which you will cut out the 4 feet with the clay cutter.
Step 15
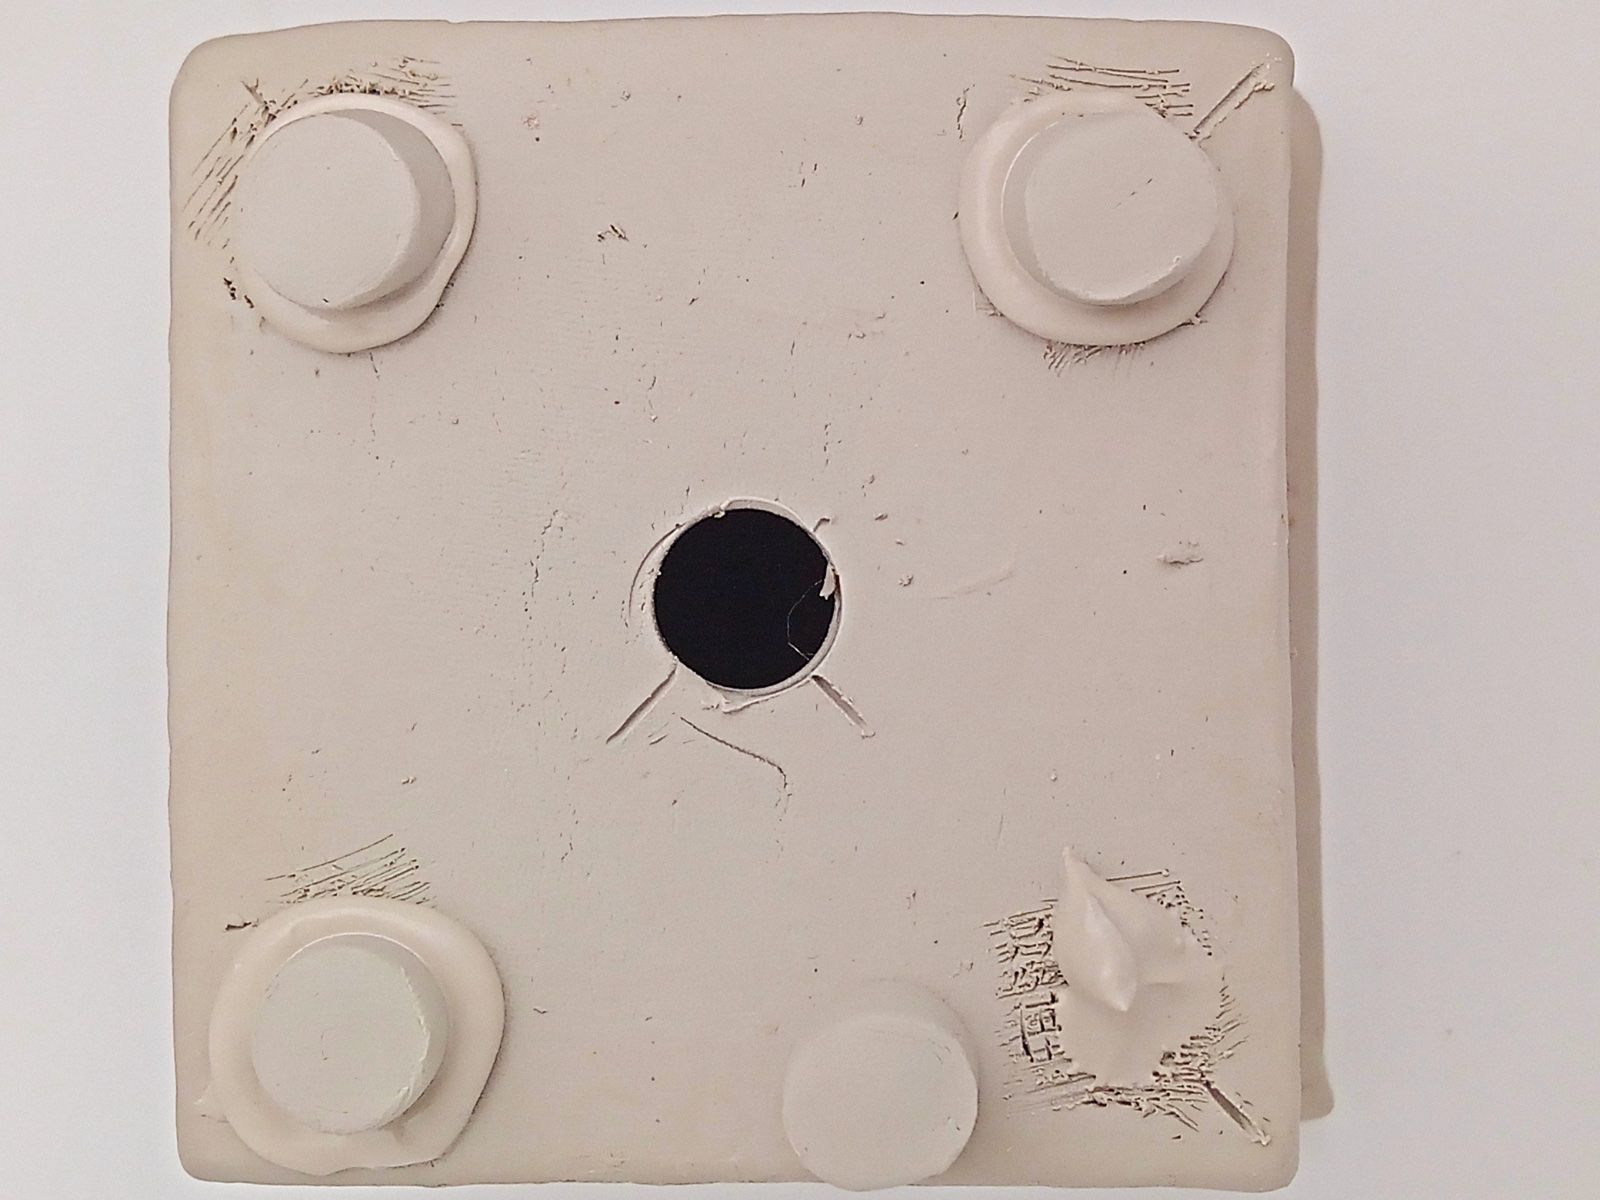
Put plenty of slip on the 4 scratched points on the bottom of the pot and, with slight pressure, attach the feet.
Step 16
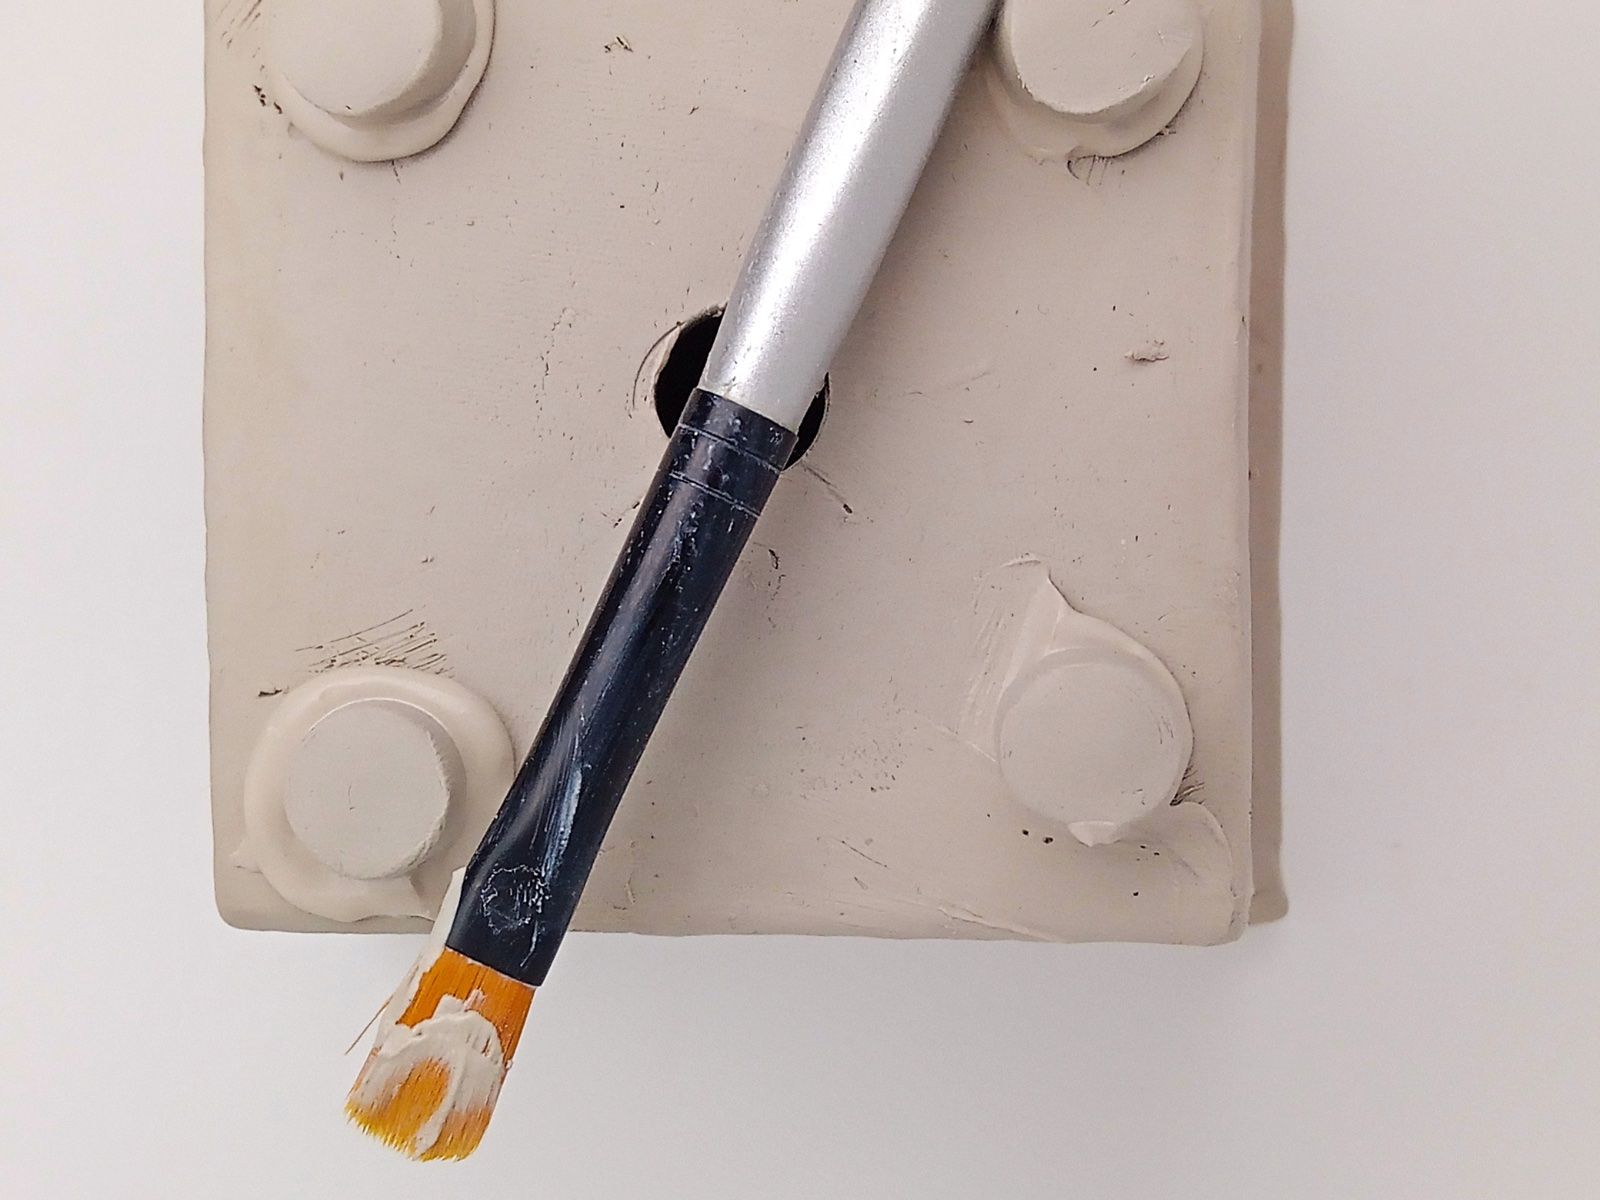
Finish with the flat brush (no. 6).
Step 17

Roll out some clay with the 2 mm spacers, enough to create the label. Place the label template on the clay and cut off the excess with a spatula.
Step 18
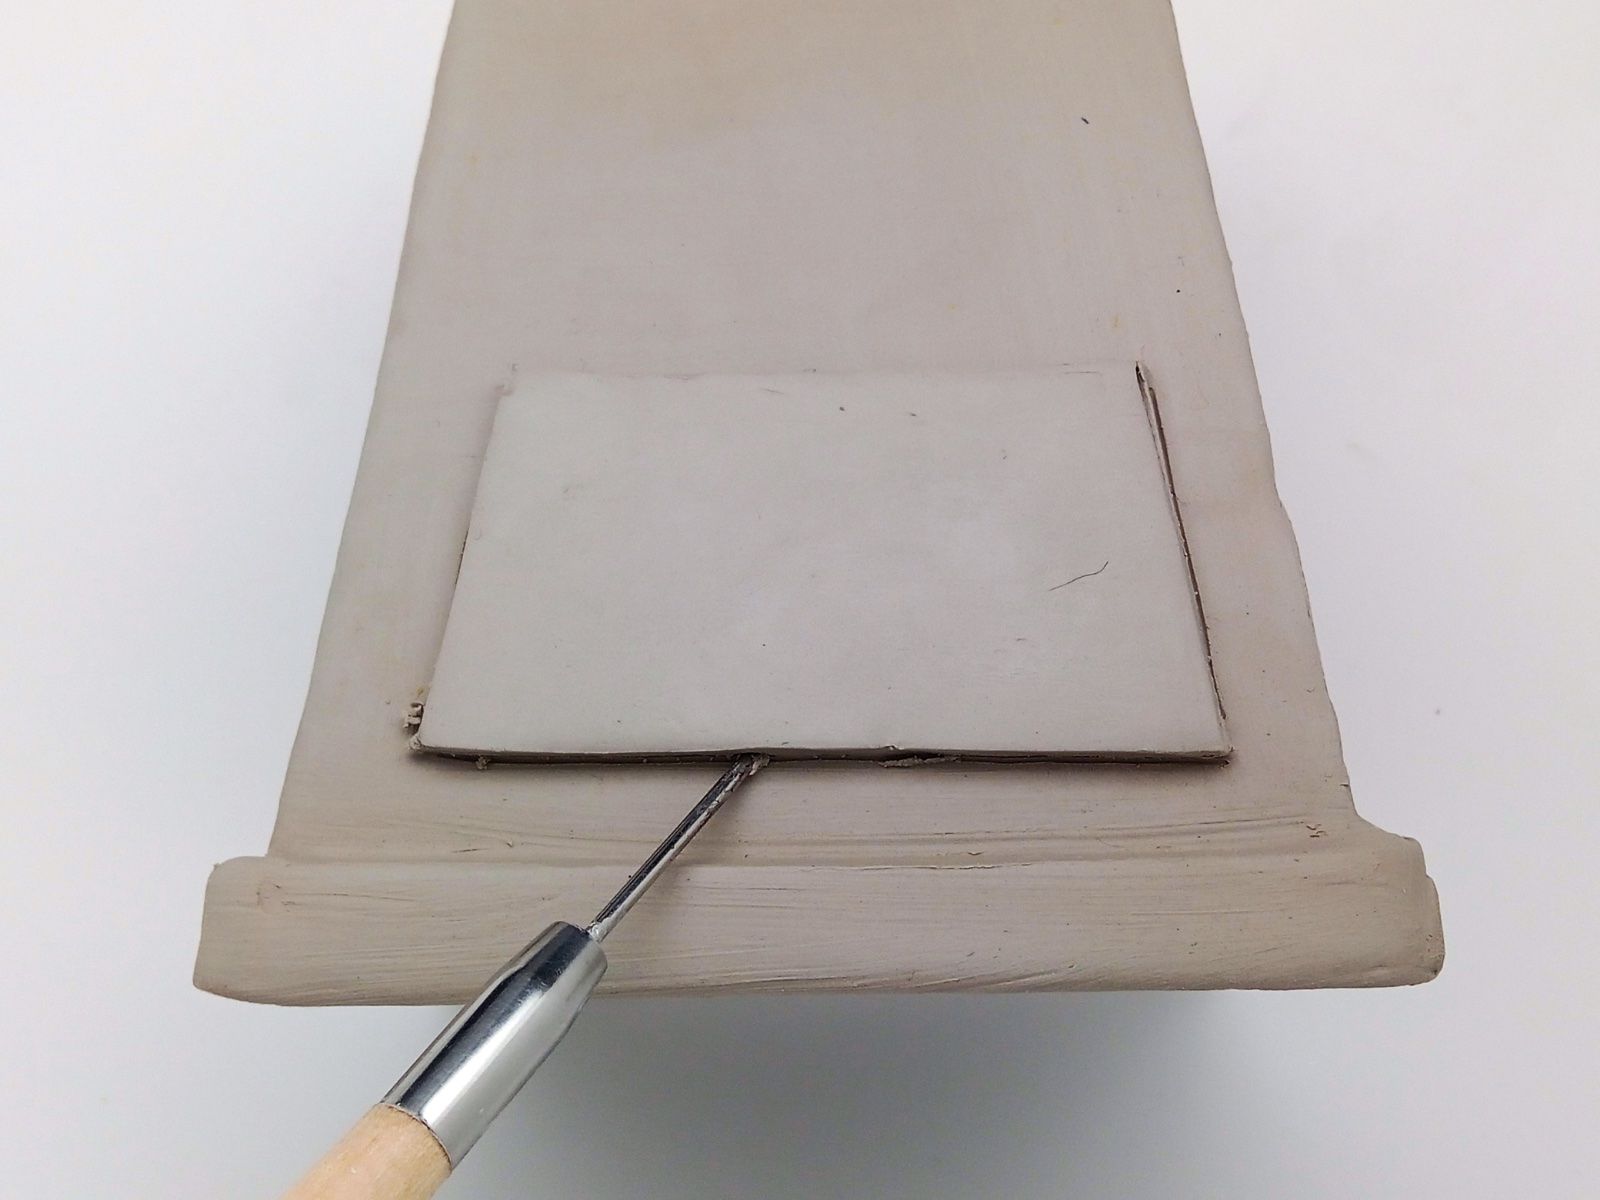
Place the clay label on the pot in the most comfortable or preferred position, making sure to centre it correctly. With the stylus, lightly trace the outline of the label on the pot and then remove it.
Step 19
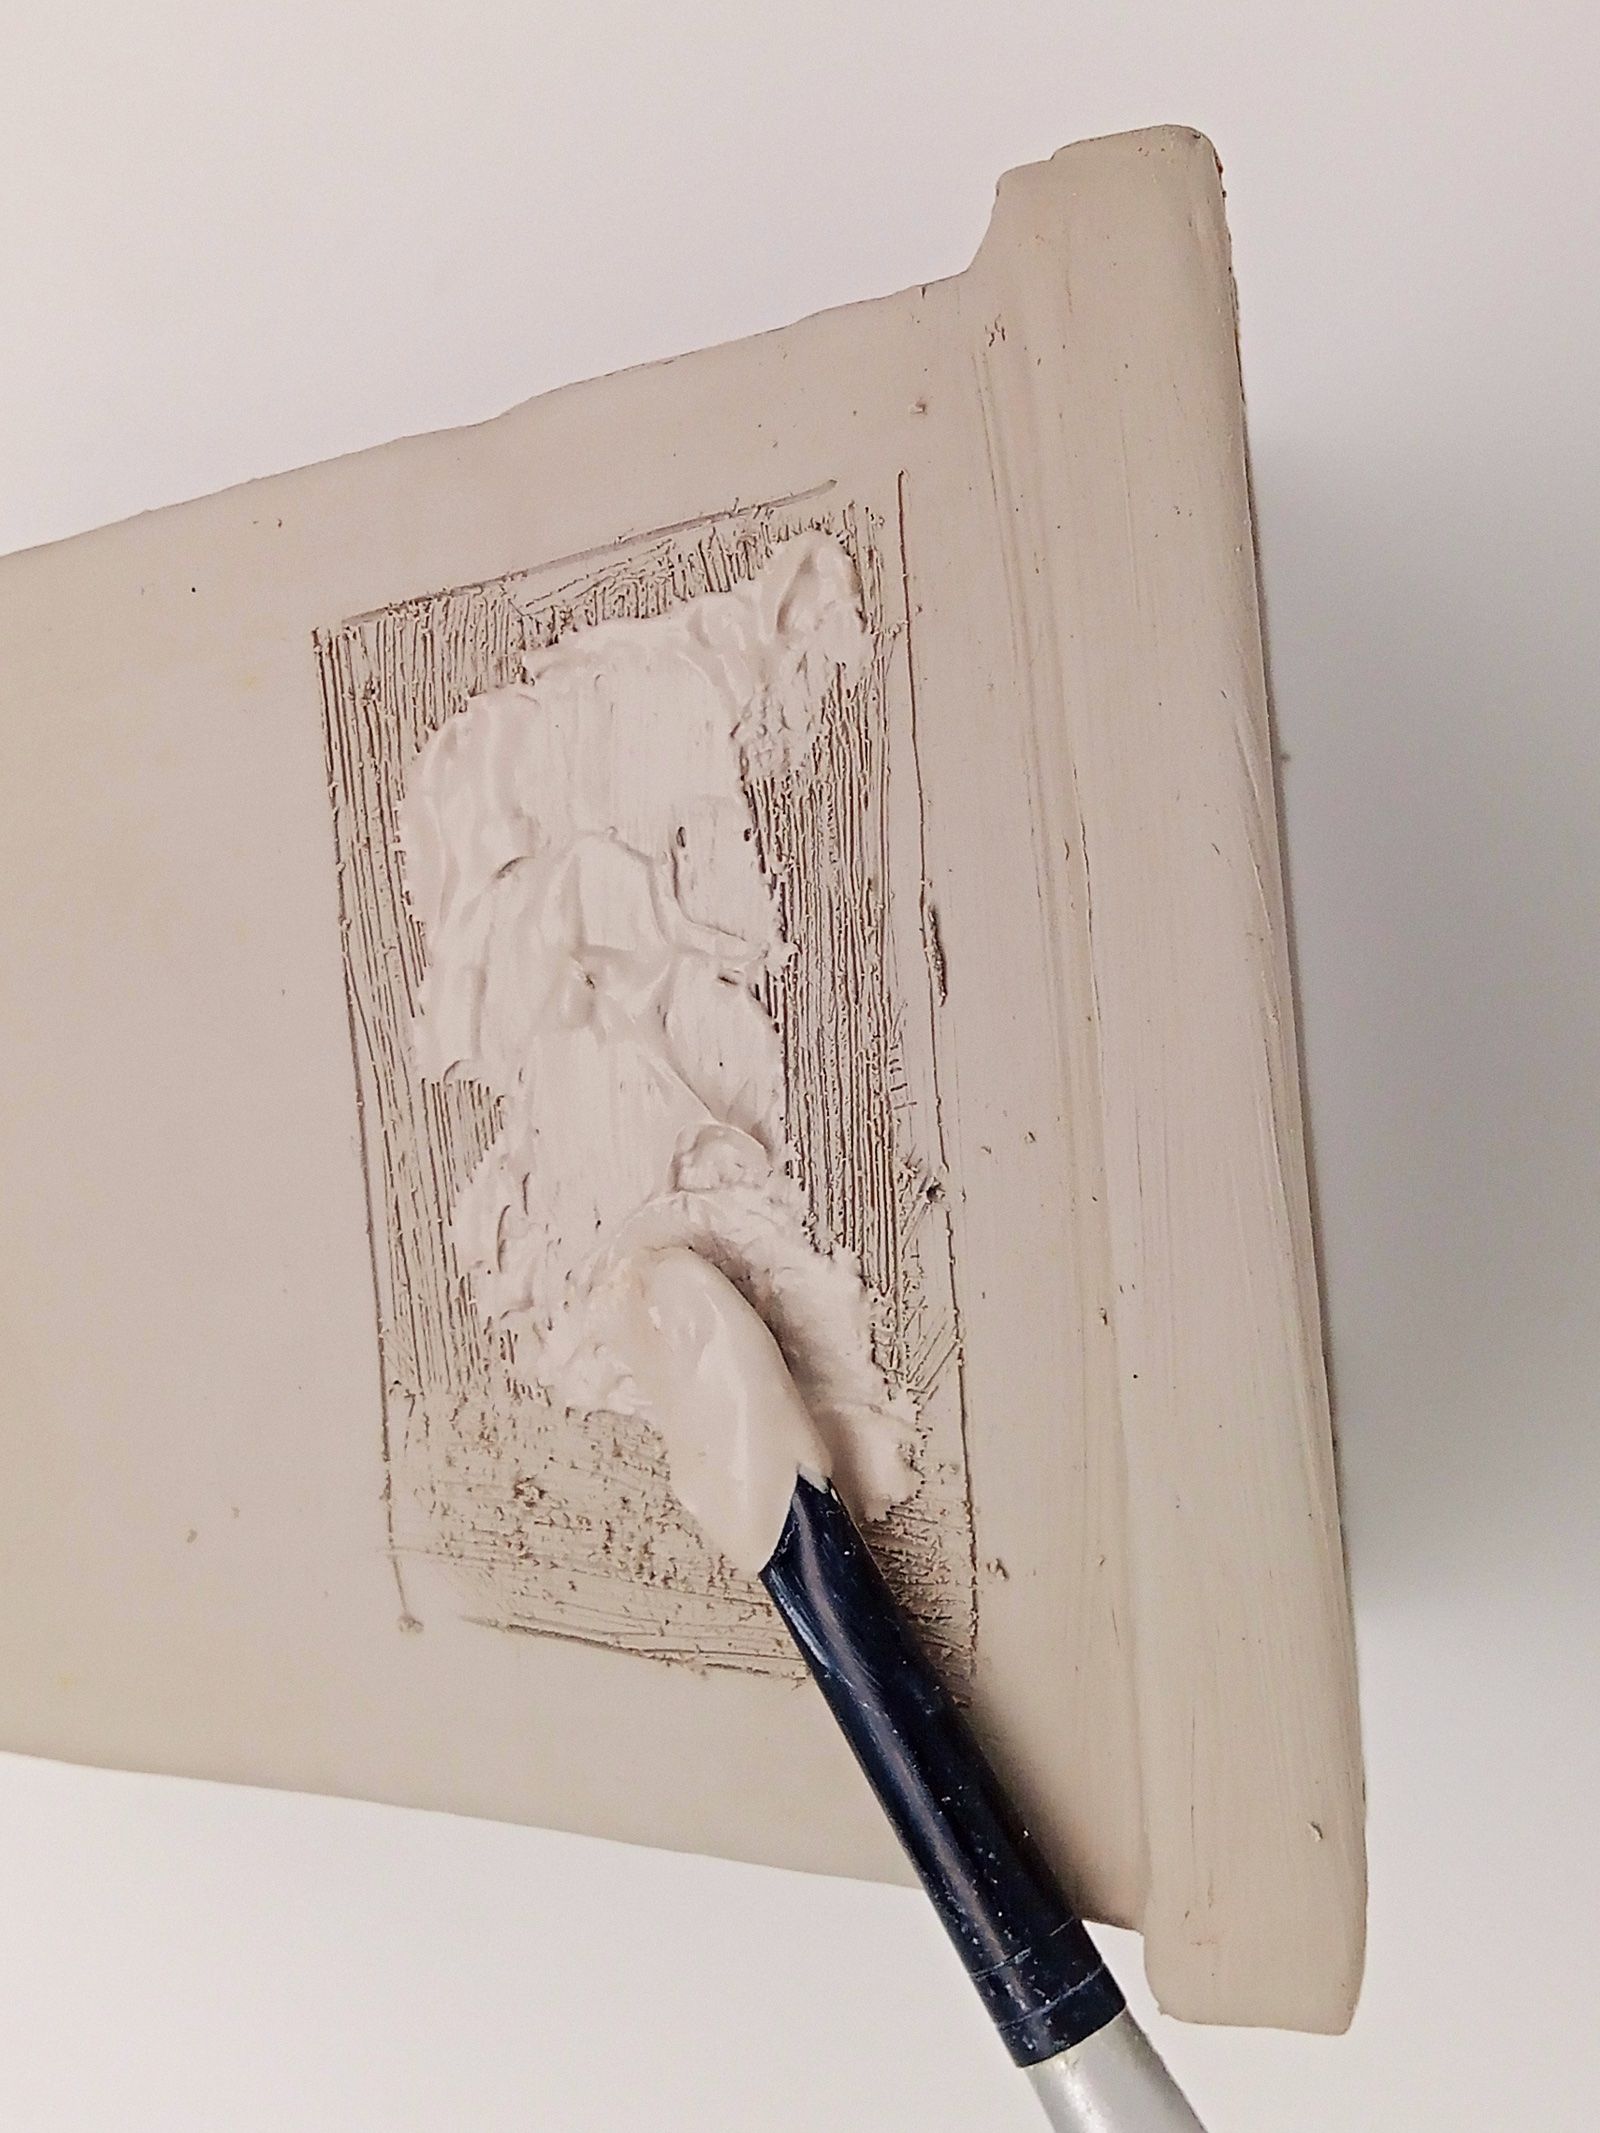
With the steel brush, scratch the surface where you will then glue the label and spread plenty of slip.
Step 20
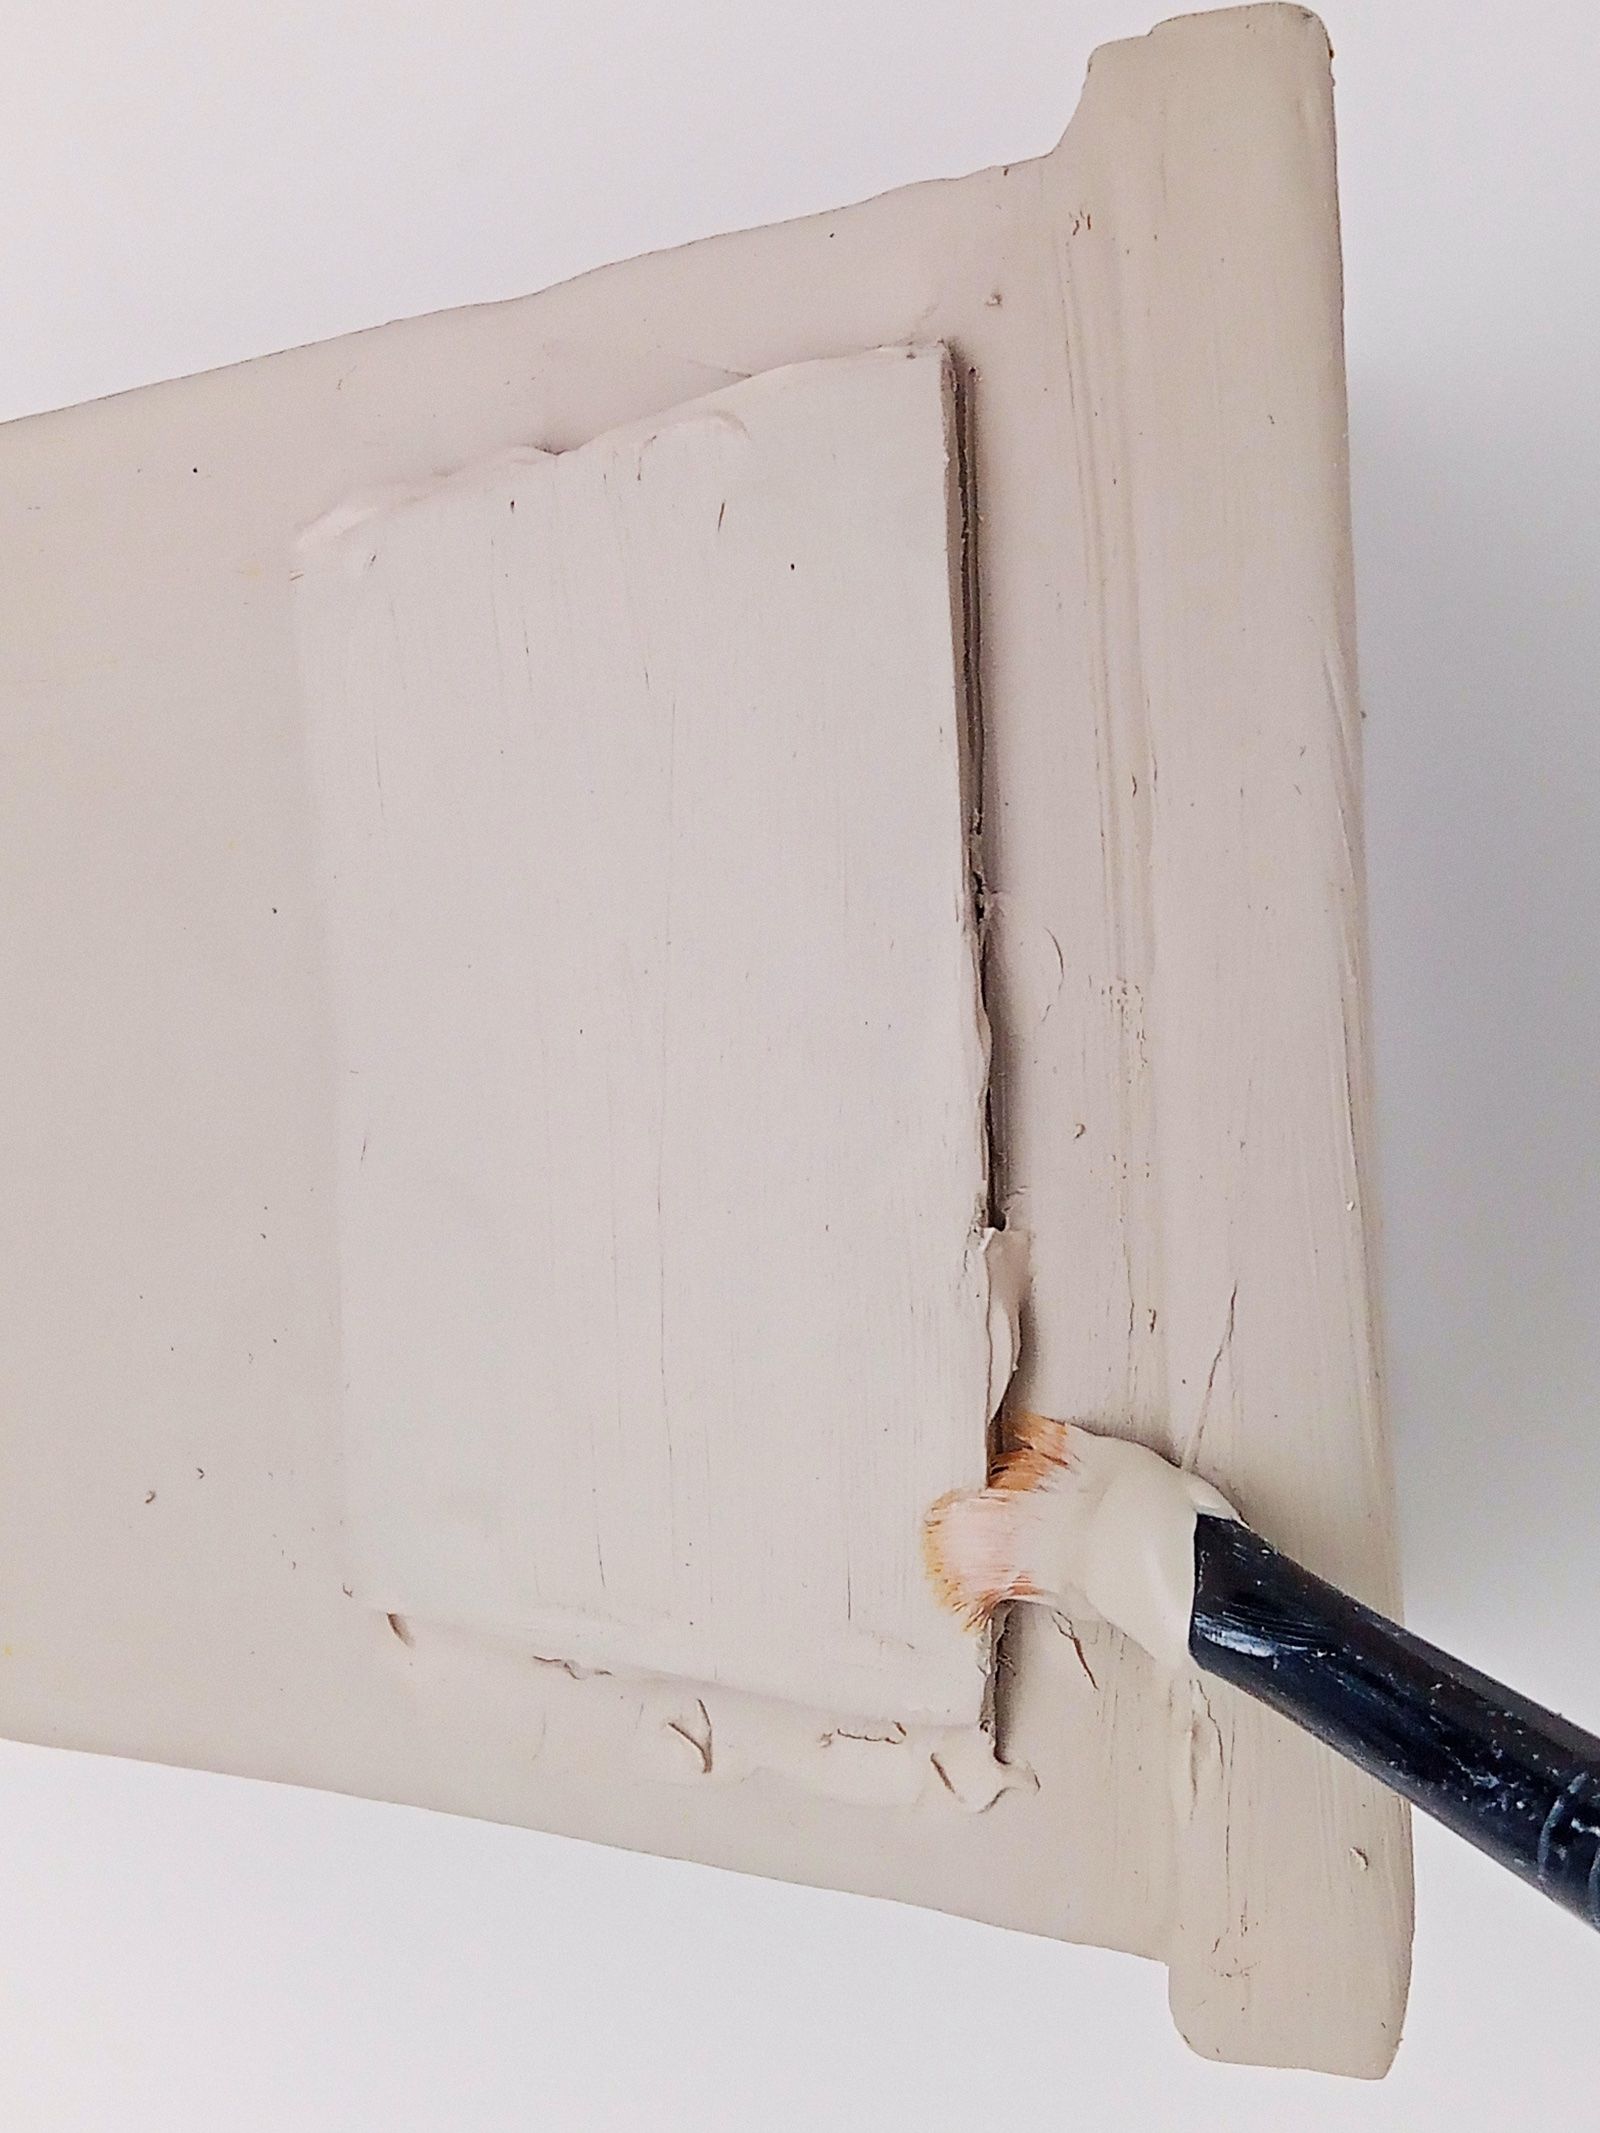
Apply the label with slight pressure and let the excess slip ooze out. Finish with brush no. 6 and leave to dry.
Step 21
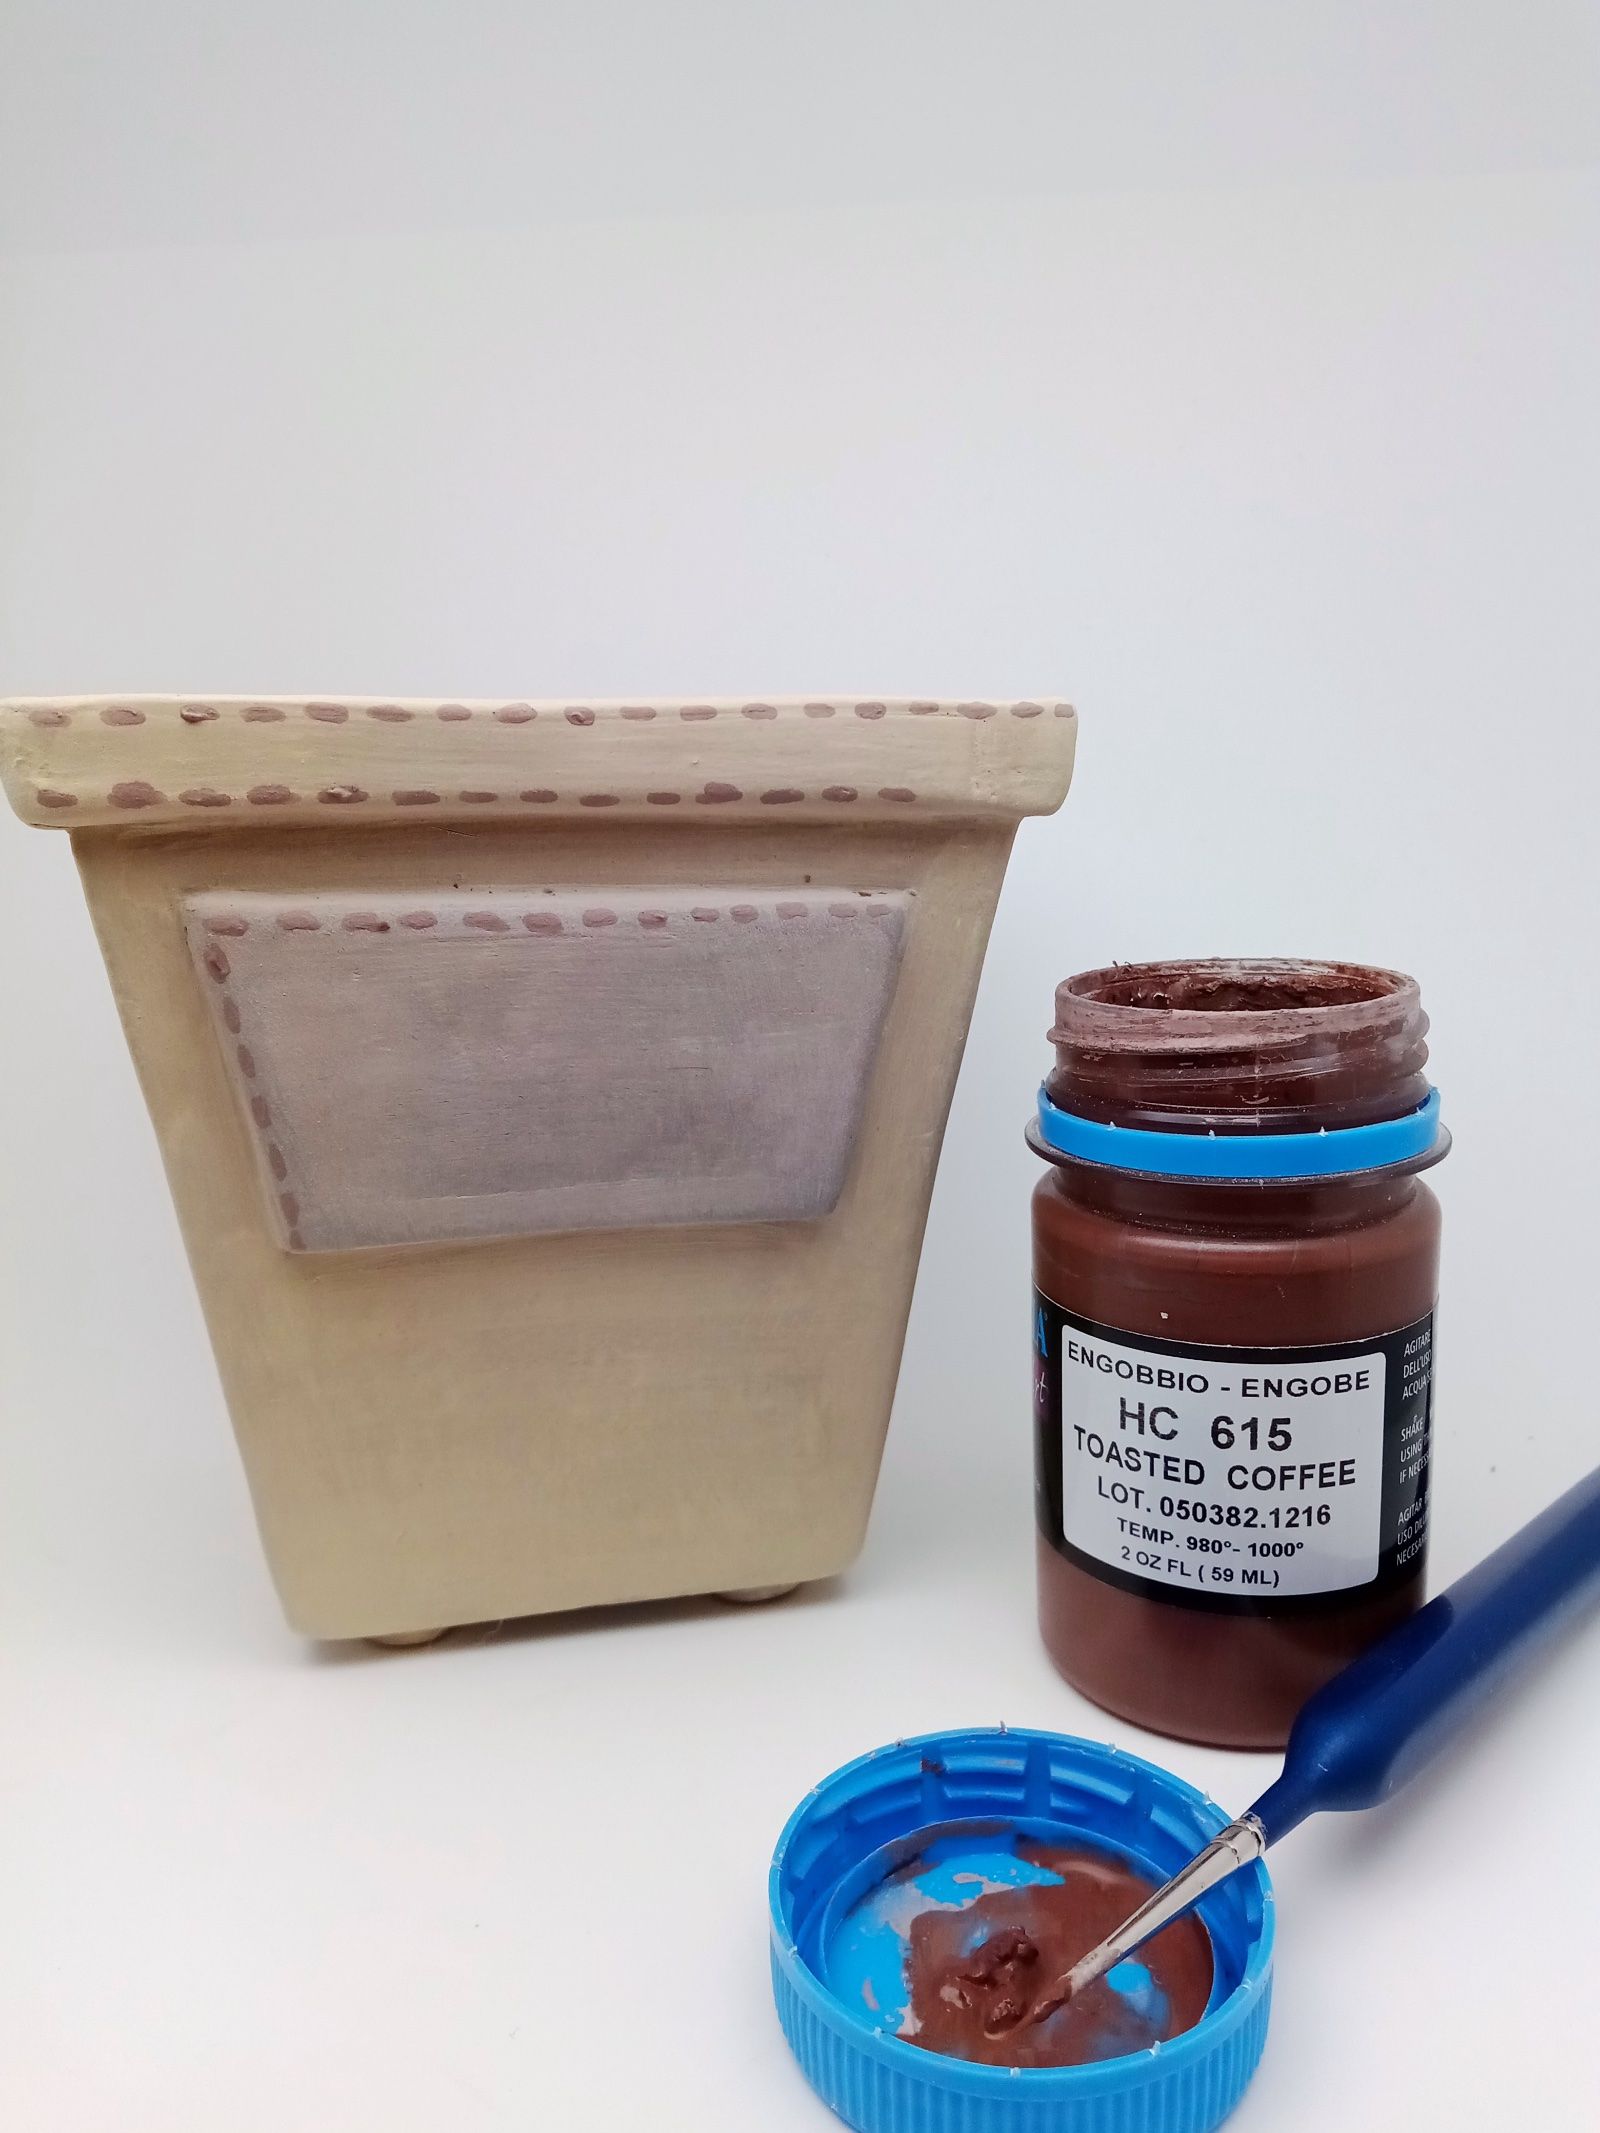
When the clay is at leather hard (not yet completely dry), decorate the pot as desired with the engobes.
Step 22
FIRST FIRING - Bisque When the piece is completely dry, perform the first firing in the ceramic kiln, usually a firing where the temperature rises slowly (by 100° per hour) up to 1000°, maintain 1000° for 15 minutes and then let the kiln cool down. The extracted piece, bisque, is now ready to be glazed, and details can be added or the decoration touched up.
Step 23
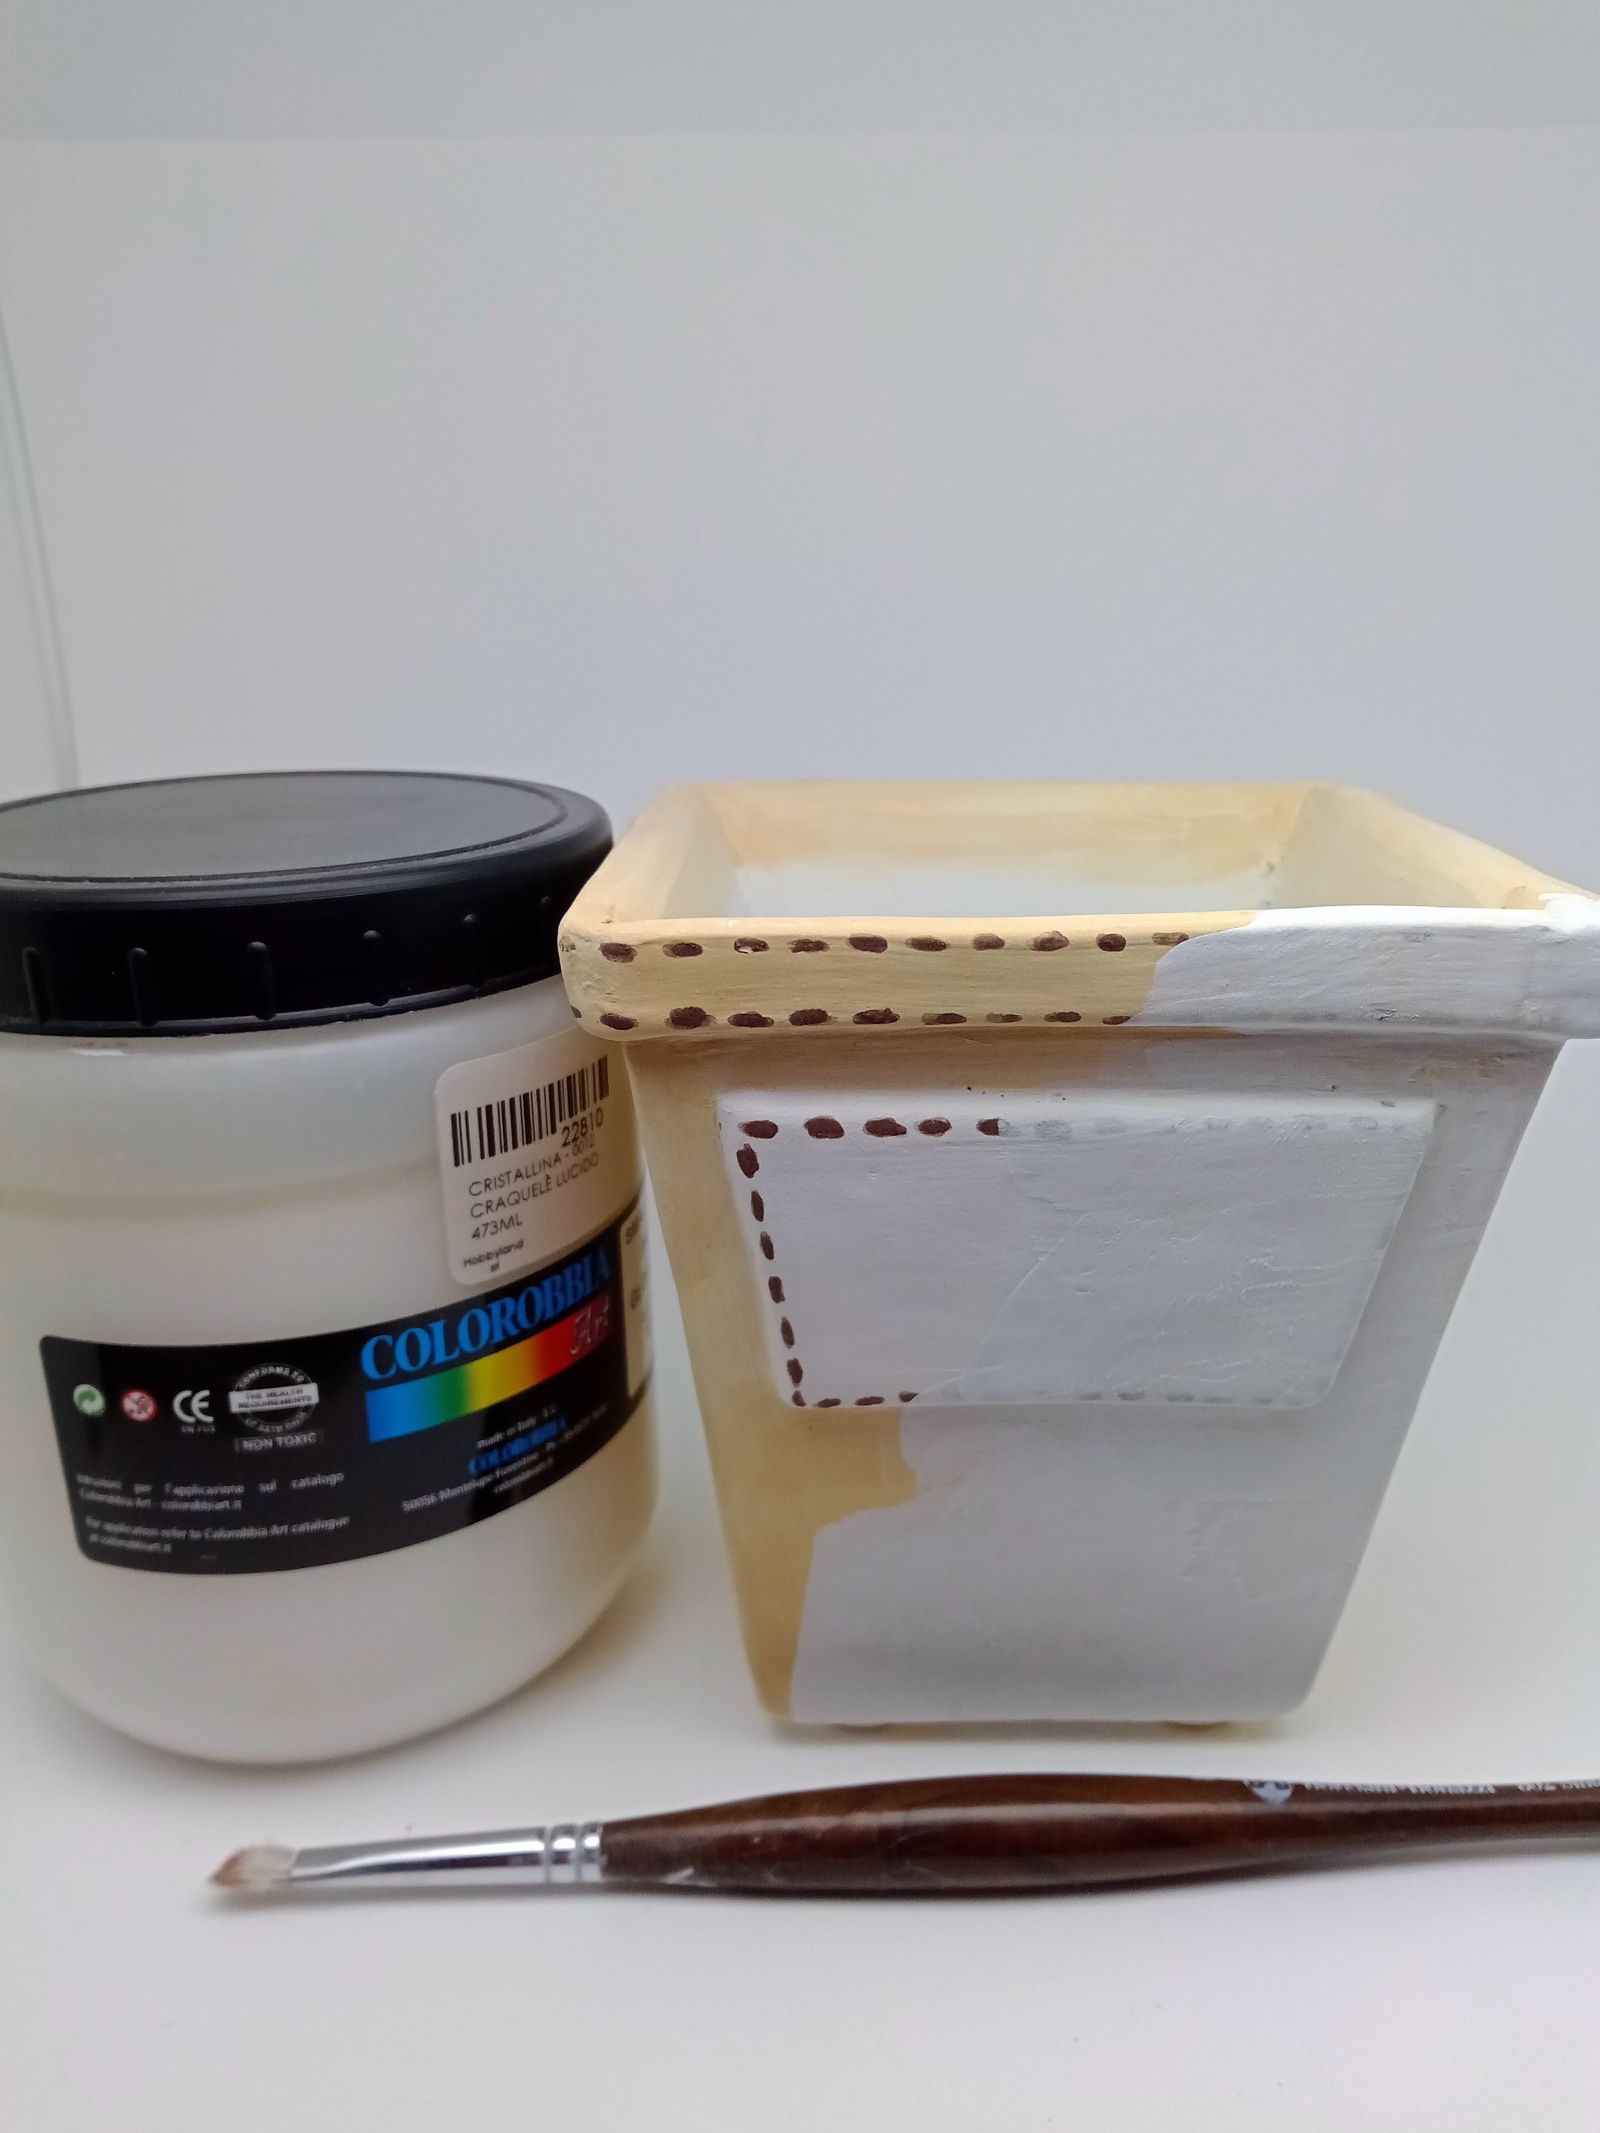
With the brush no. 14, apply the crystalline glaze.
Step 24
SECOND FIRING - Glazing The second firing will be carried out based on the type of glaze that will be used. For this project, we used a lead-free crystalline glaze with which we usually perform a cycle similar to that of the bisque but remaining about 30° lower in the final temperature, so 970°. Each artisan, each kiln, each glaze may use different times and temperatures.
Step 25
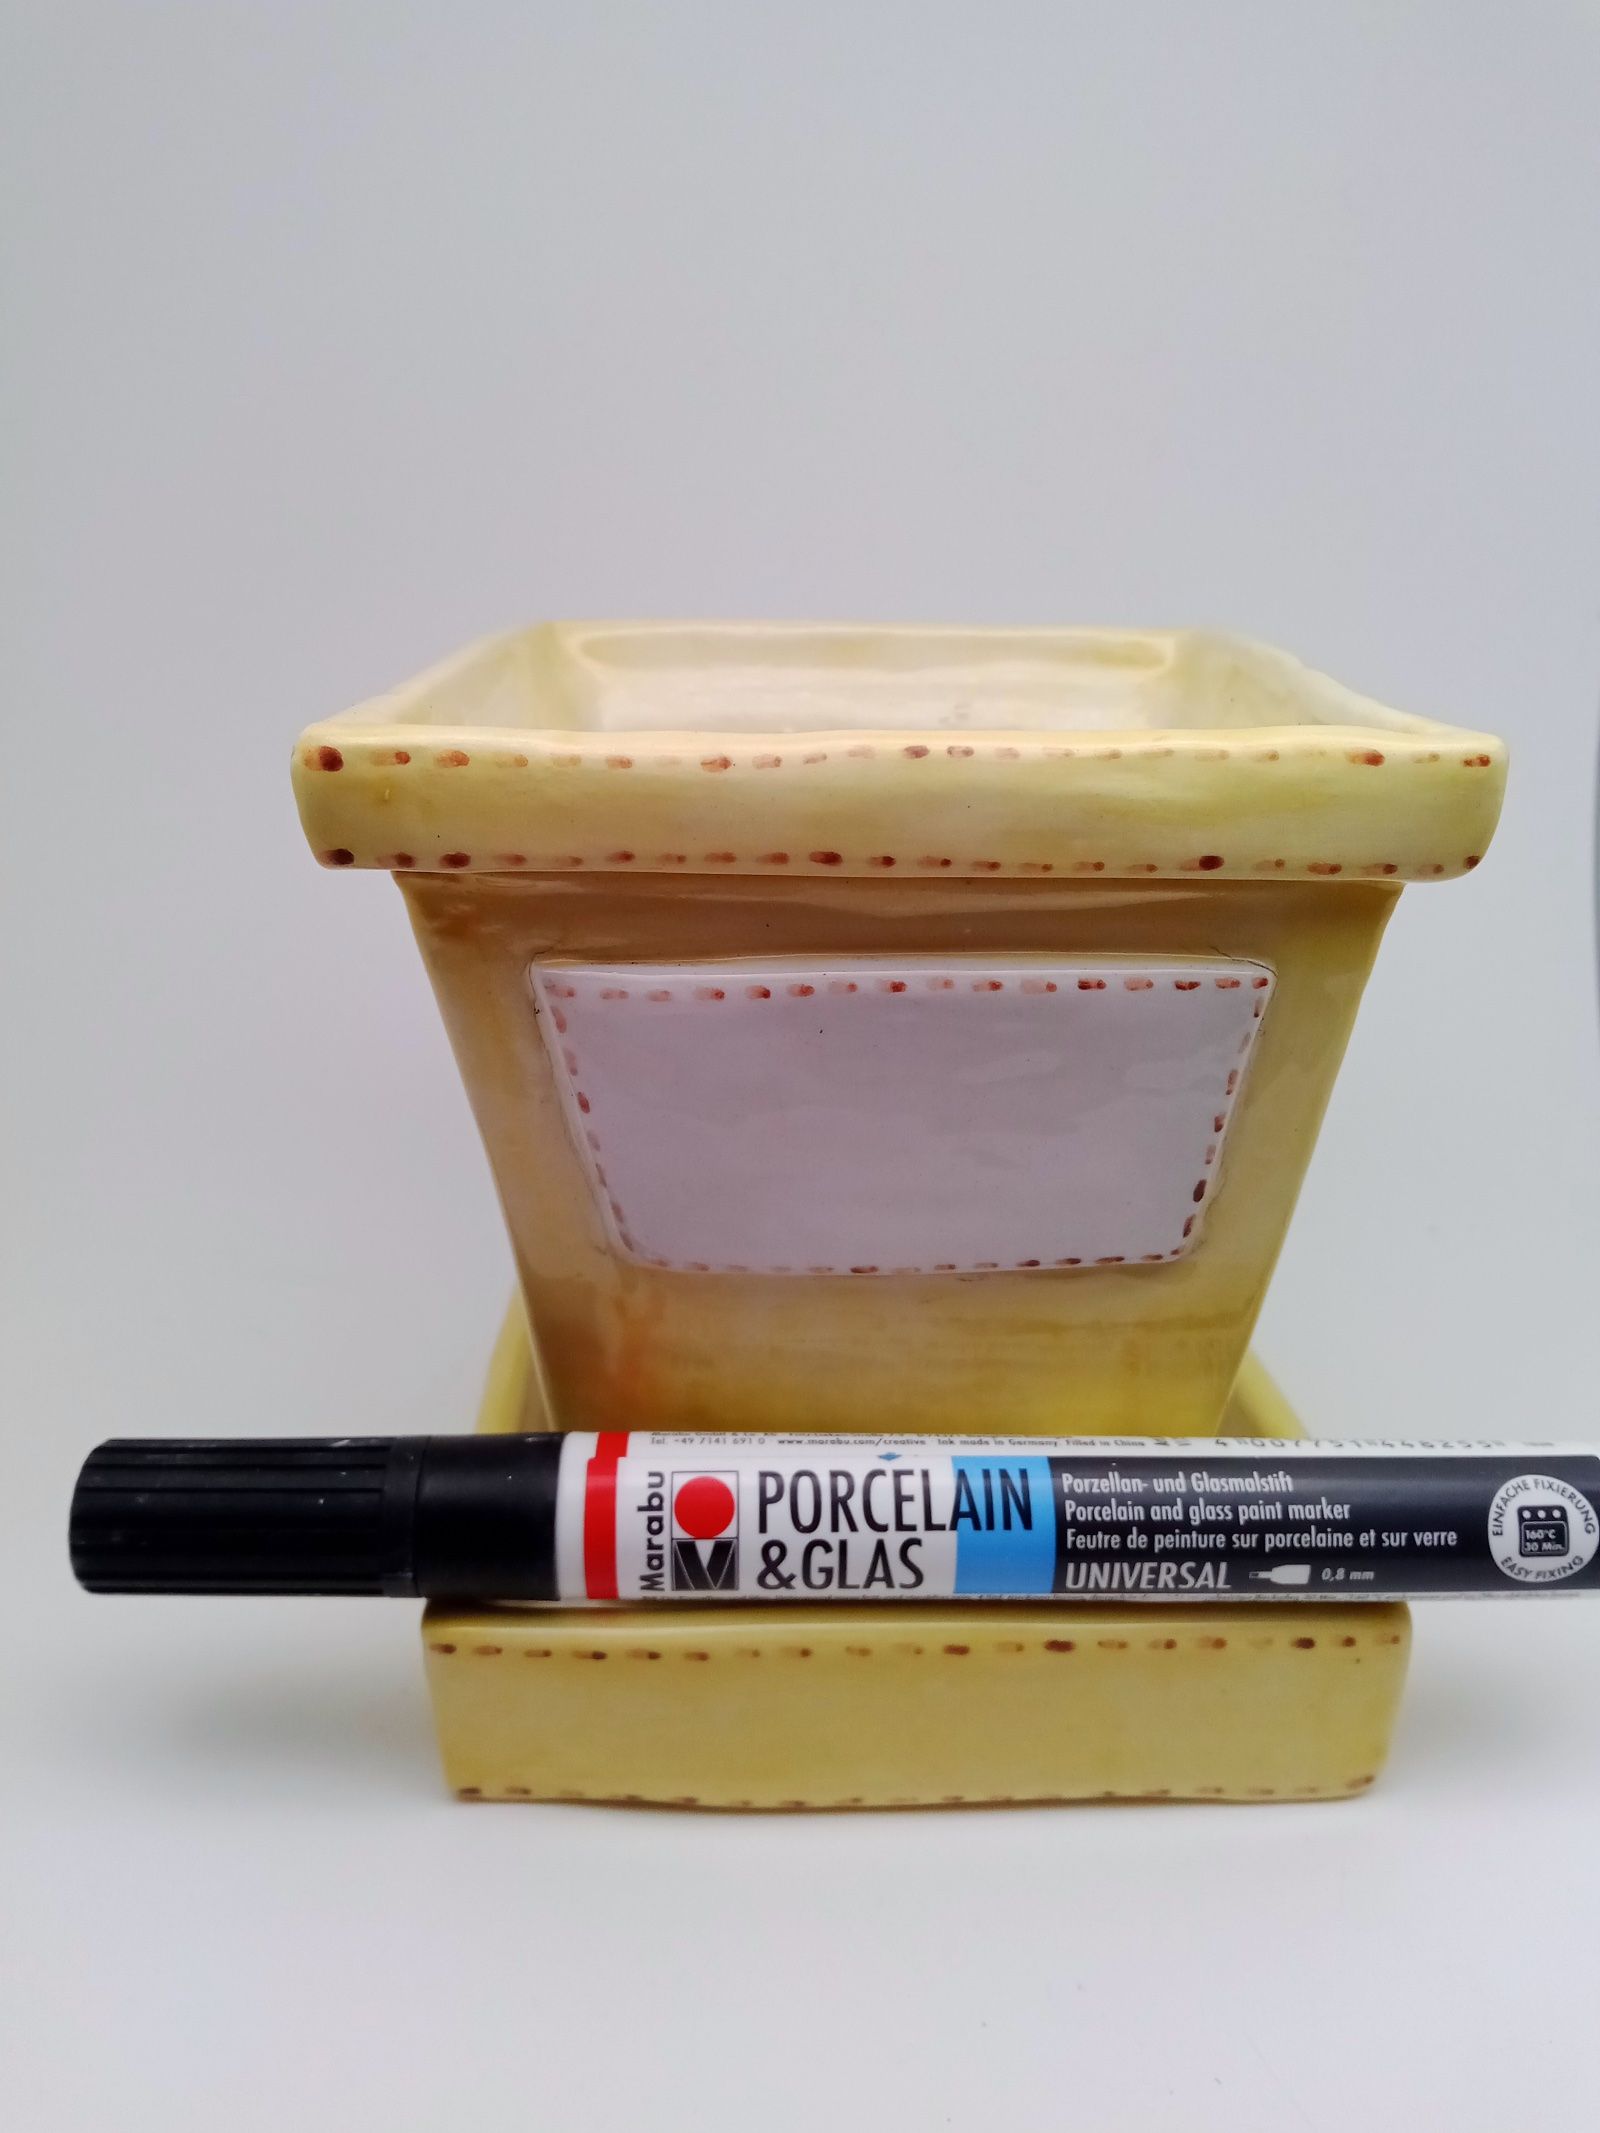
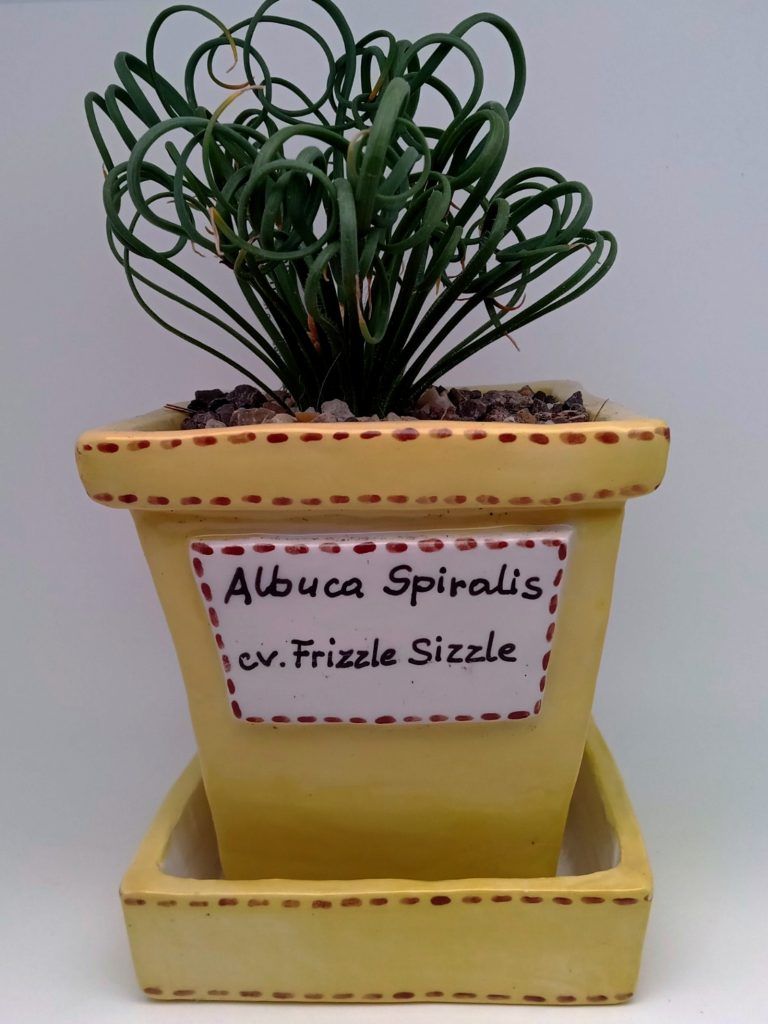
Once the pot is vitrified, before planting the chosen plant, you can write its name on the label with the porcelain painter marker. To create the saucer, use the same technique; you can choose to slightly flare the sides like the pot or leave them straight.