In this short tutorial, we will see together how to create a glazed ceramic pot using a simple cardboard mould. This is a rather simple procedure that can, however, offer great satisfaction and give you the opportunity to experiment with glazing and different shapes!
What you need
- Some pieces of corrugated cardboard
- Ruler
- Pencil
- 1 cutter
- 2 flat brushes no.16 / 20
- 1 small bowl / pot
- Slip
- Paper tape
- High-density sponge
- Bellissimo Glaze
- White earthenware
- engobes
Procedure
Step 1
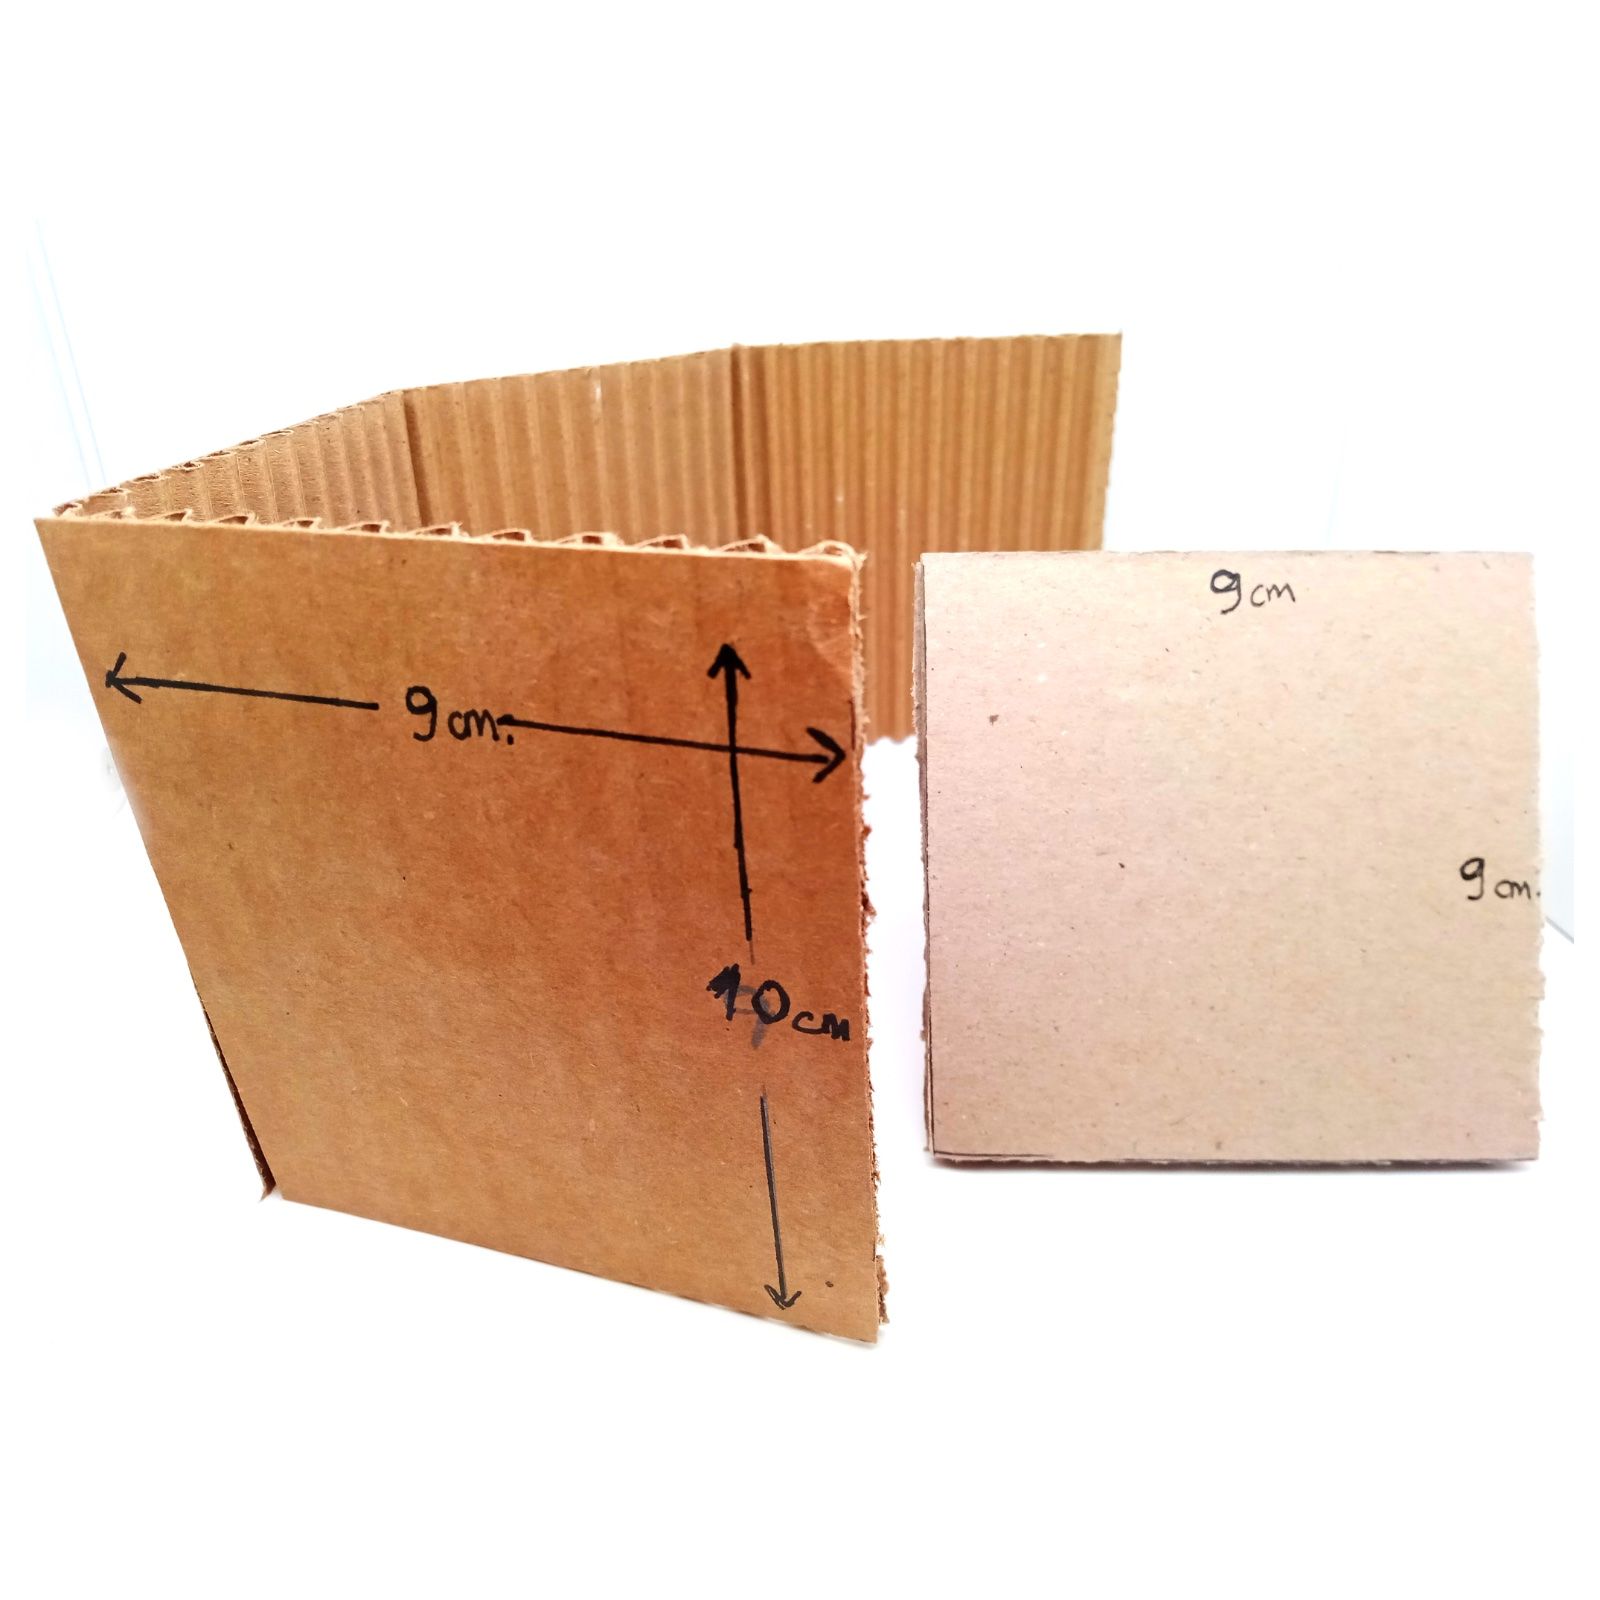
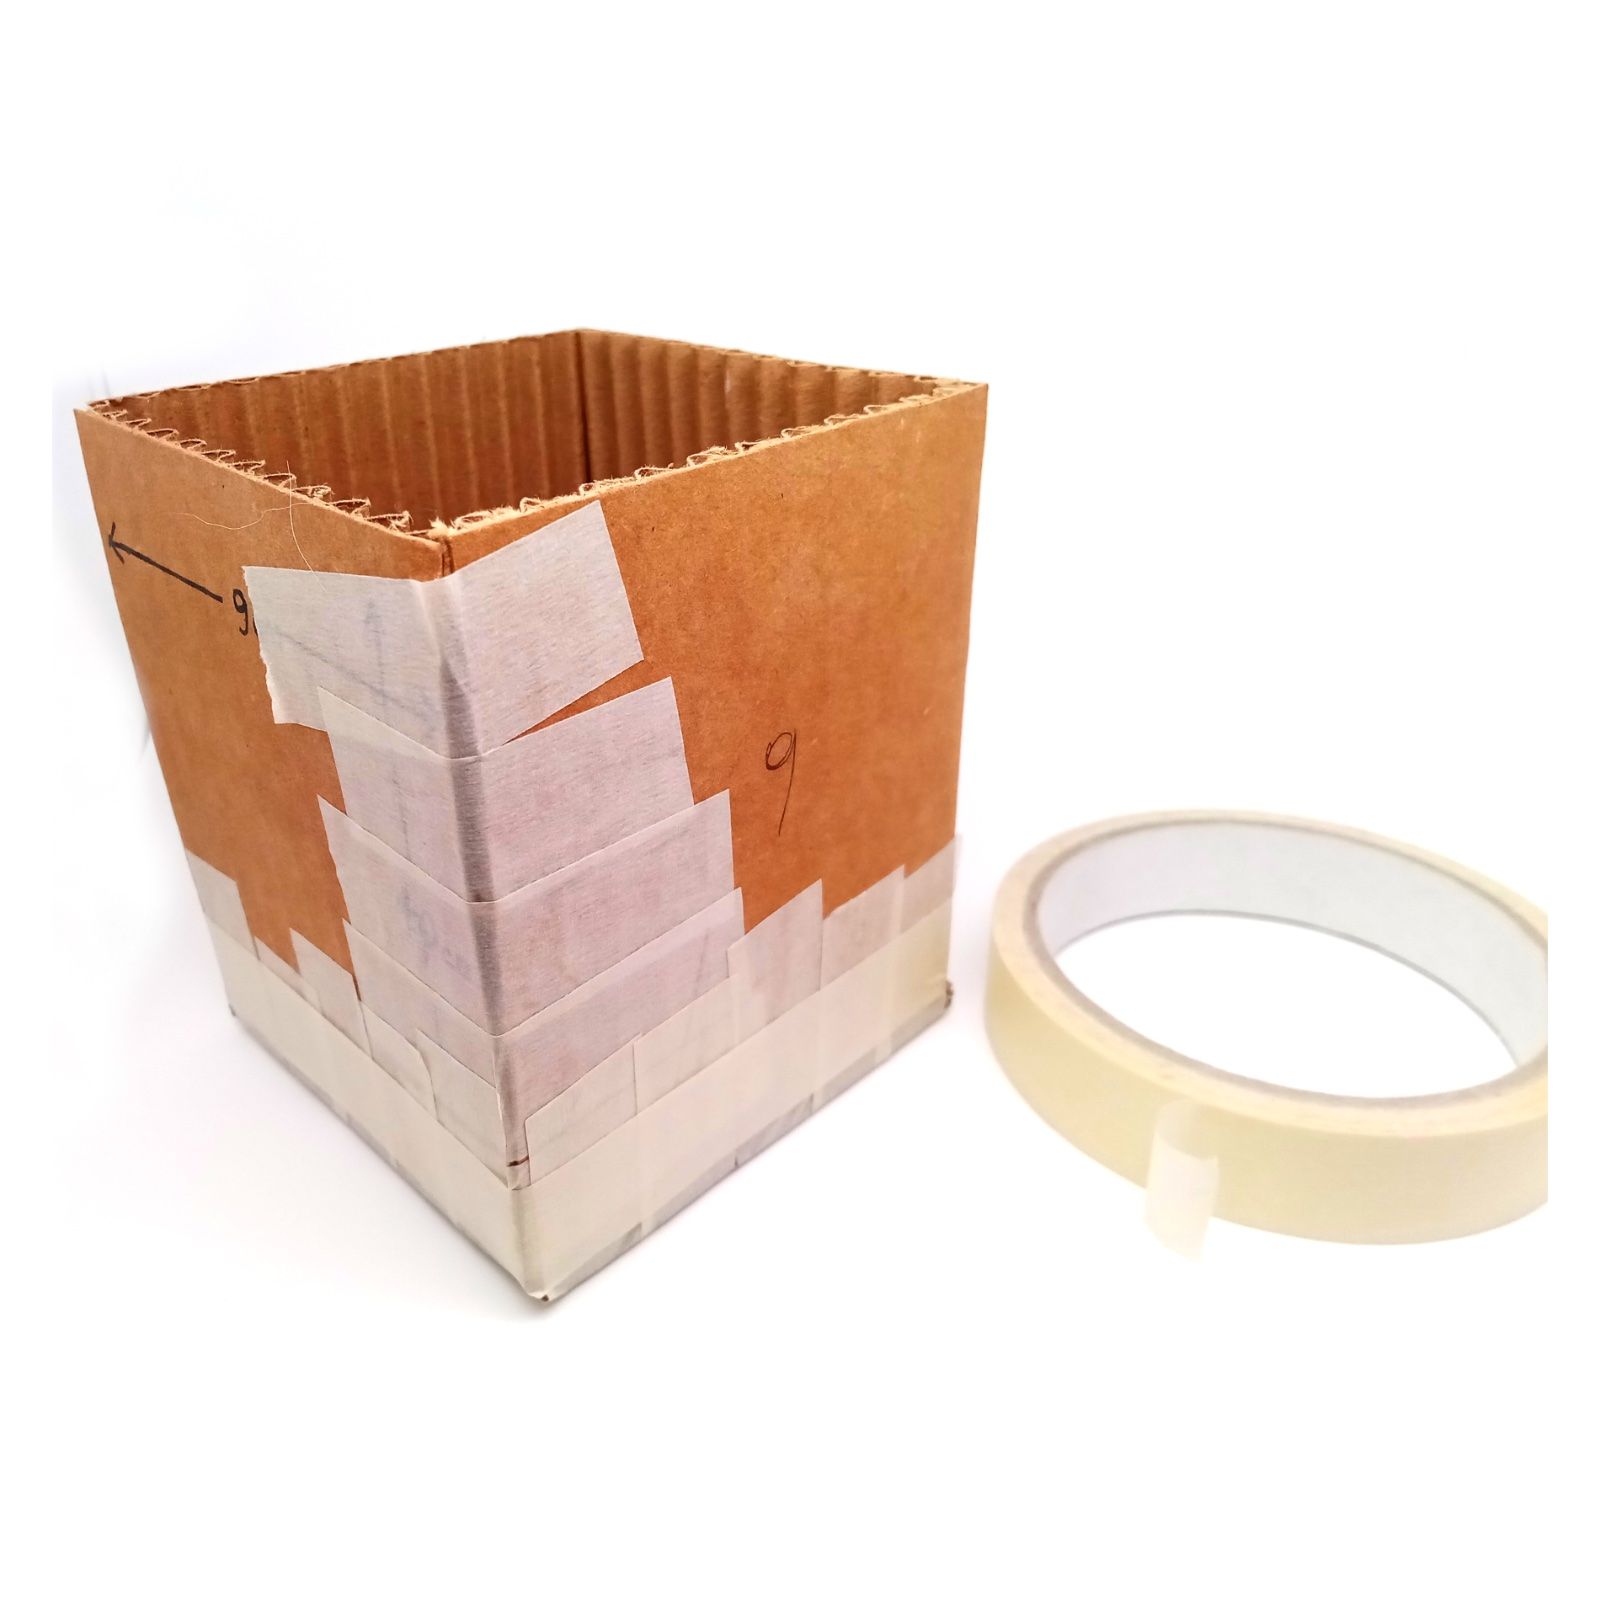
Trace on the cardboard the size of the sides of the pot and the height: in this case, we have traced the 4 sides at 9 cm and the height at 10 cm. On a stiff cardboard, prepare the bottom of the pot, a square measuring 9 x 9 cm. Cut the strip of corrugated cardboard, the bottom, and make thin incisions on the three sides that will help us fold the body of the pot.
Step 2
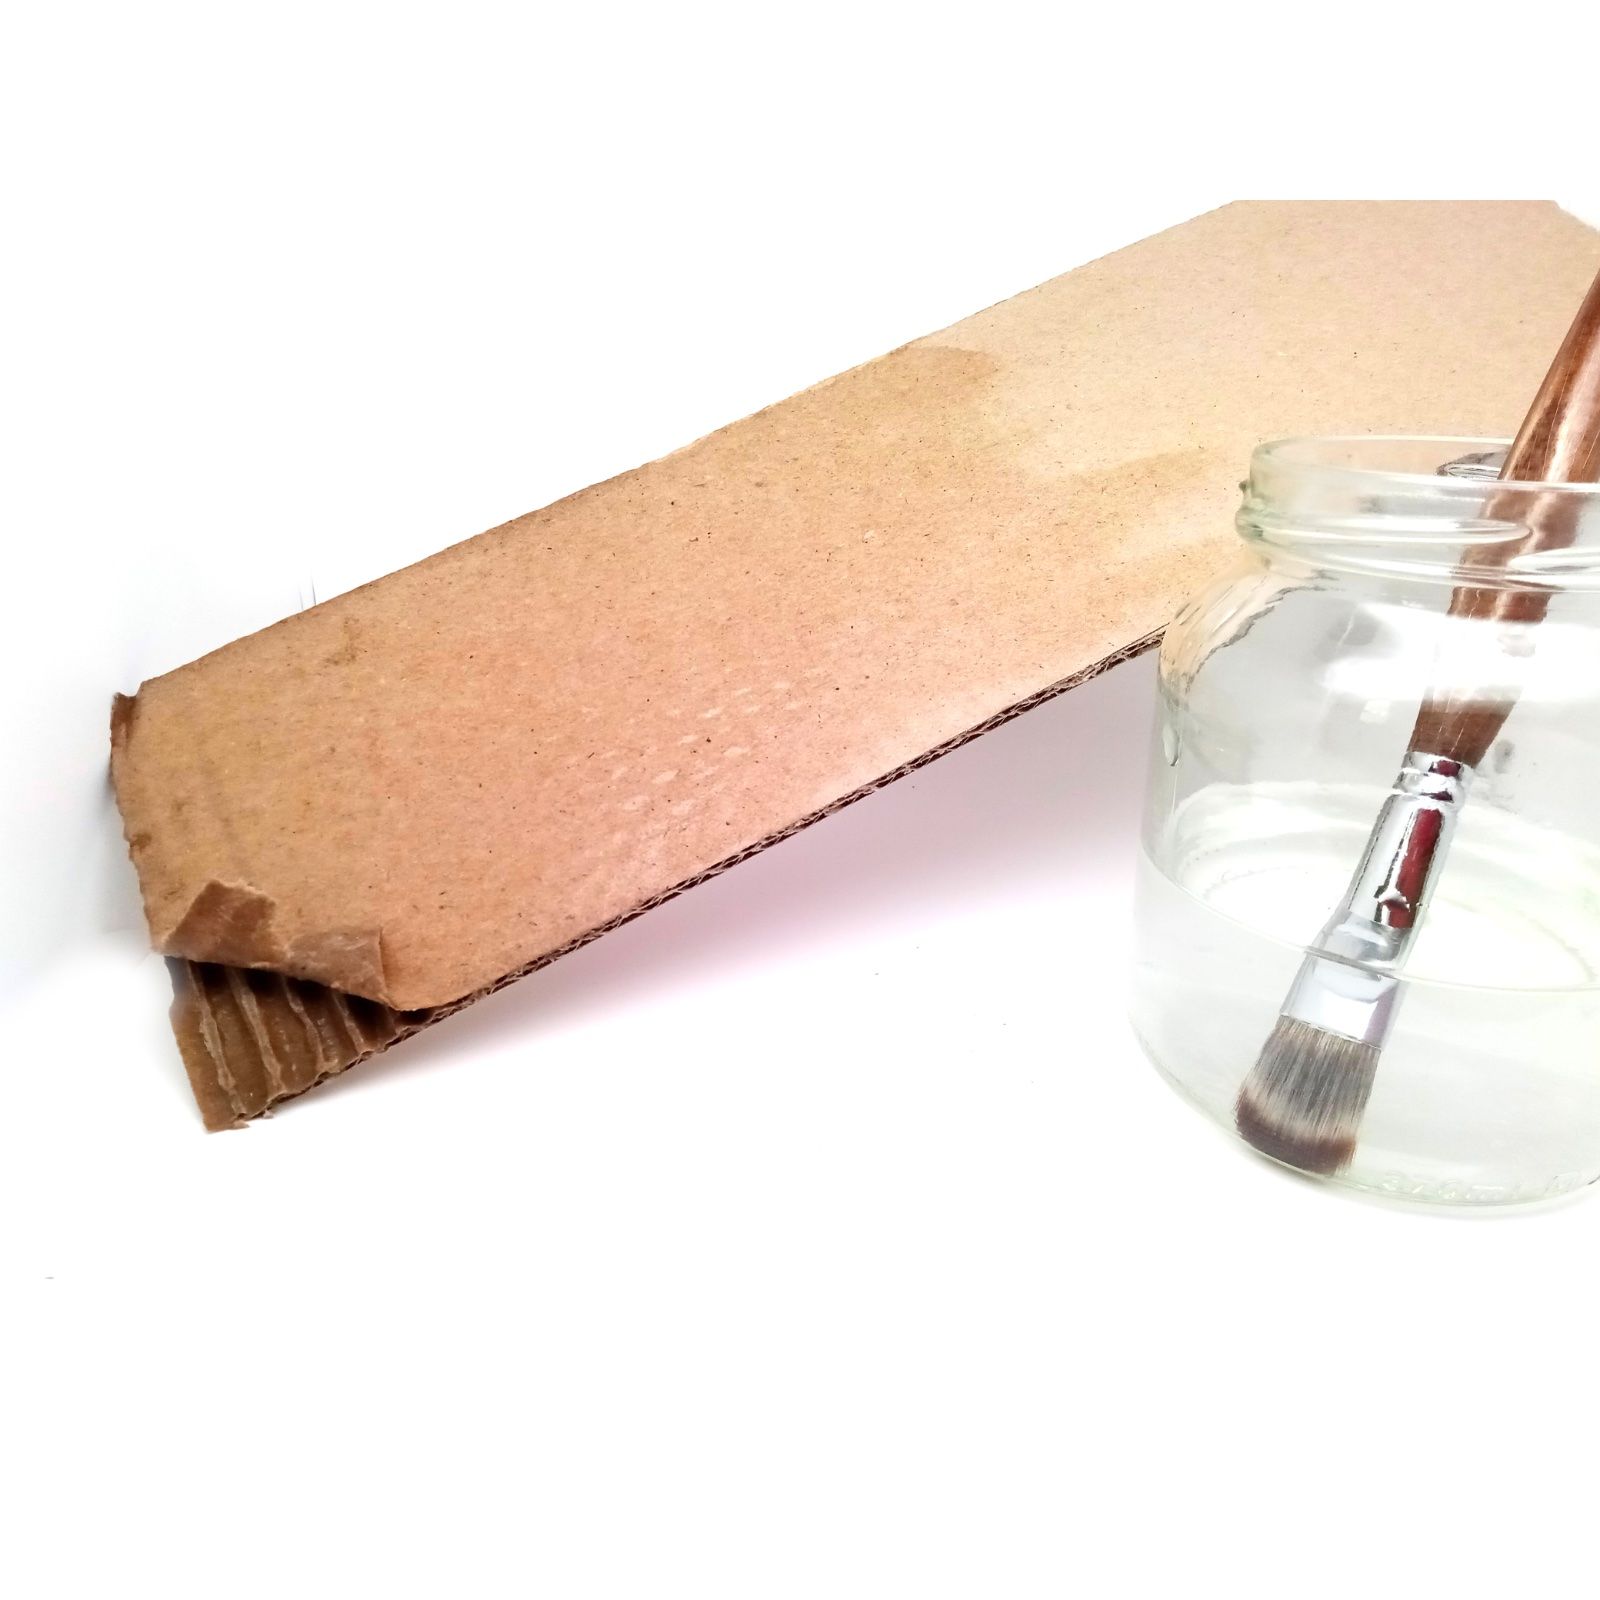
With the brush, moisten the paper with water on the side opposite to where we made the incisions and gently remove one layer of paper, thus exposing the inner corrugated part.
Step 3
Assemble the pot with the paper tape by securing the two open sides and the bottom.
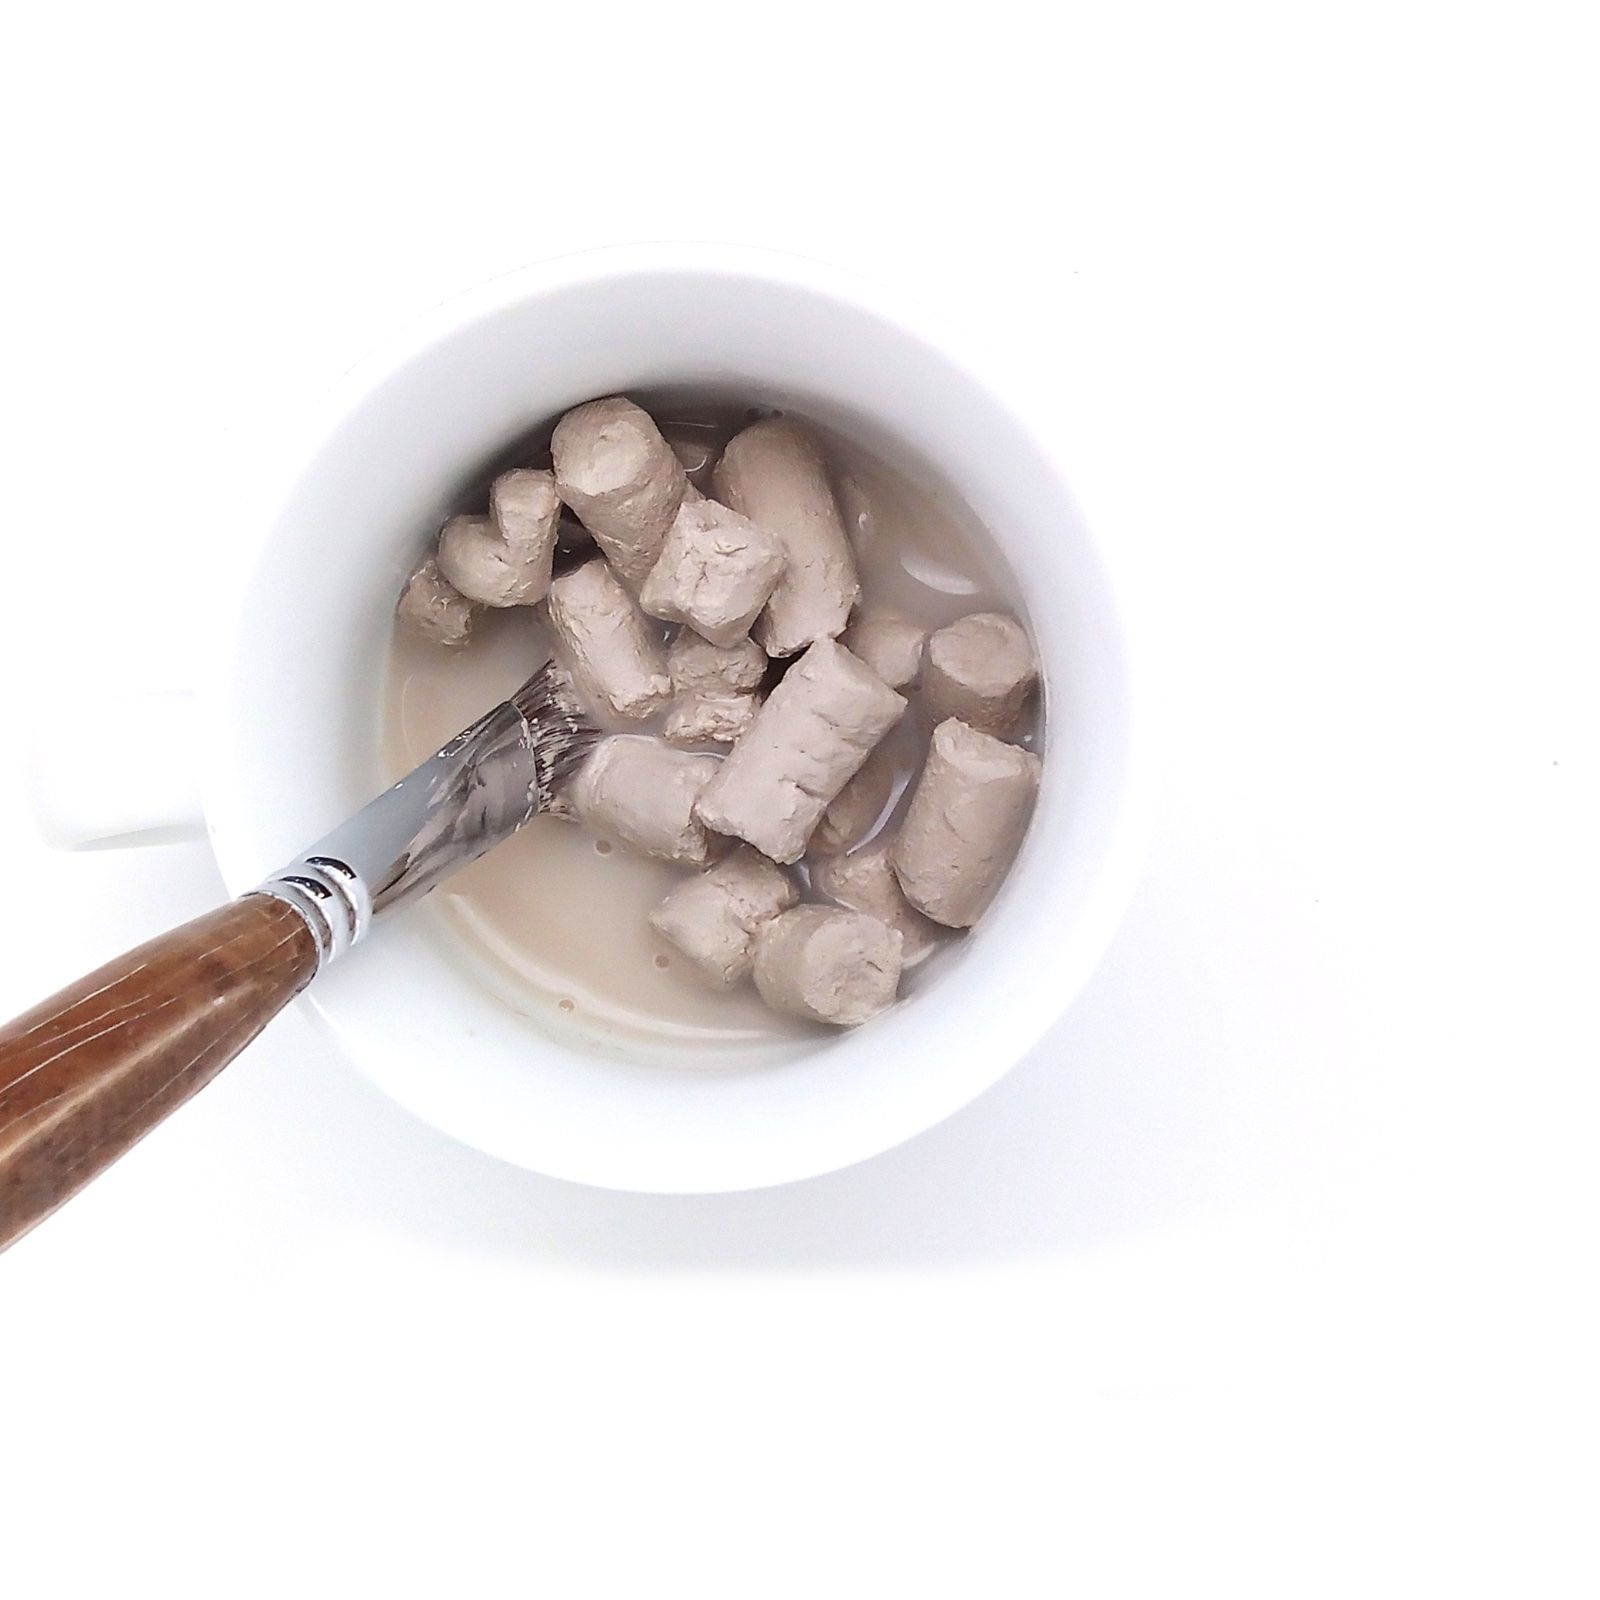
Step 4
Prepare some slip [a mixture of water and clay] by dissolving some granules of white earthenware in water or using the 1 kg package until you obtain a creamy consistency.
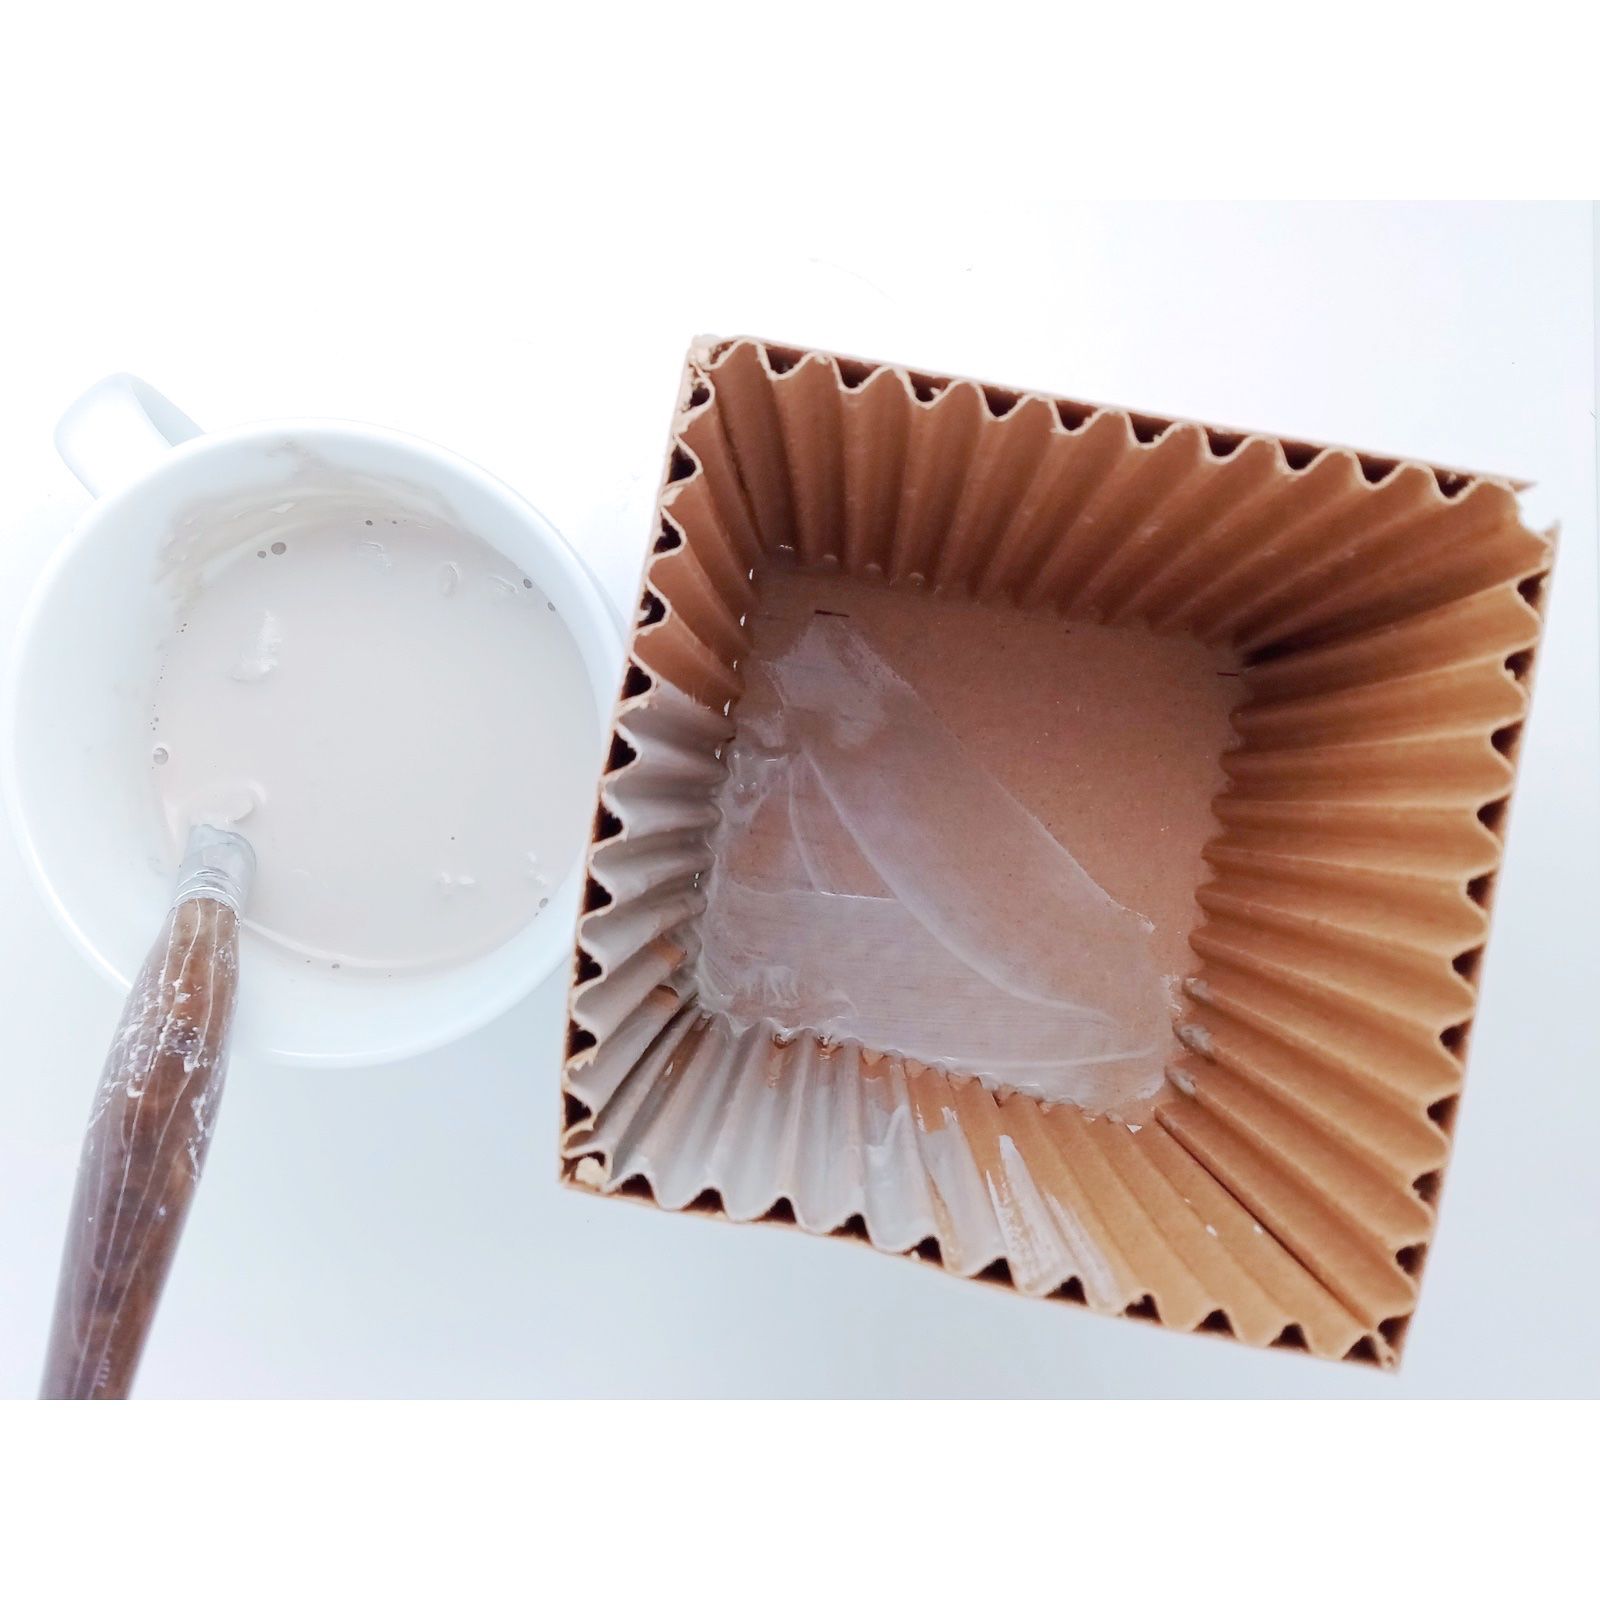
Step 5
Start brushing the inside of the mould with the slip, being careful to reach all the corners well.
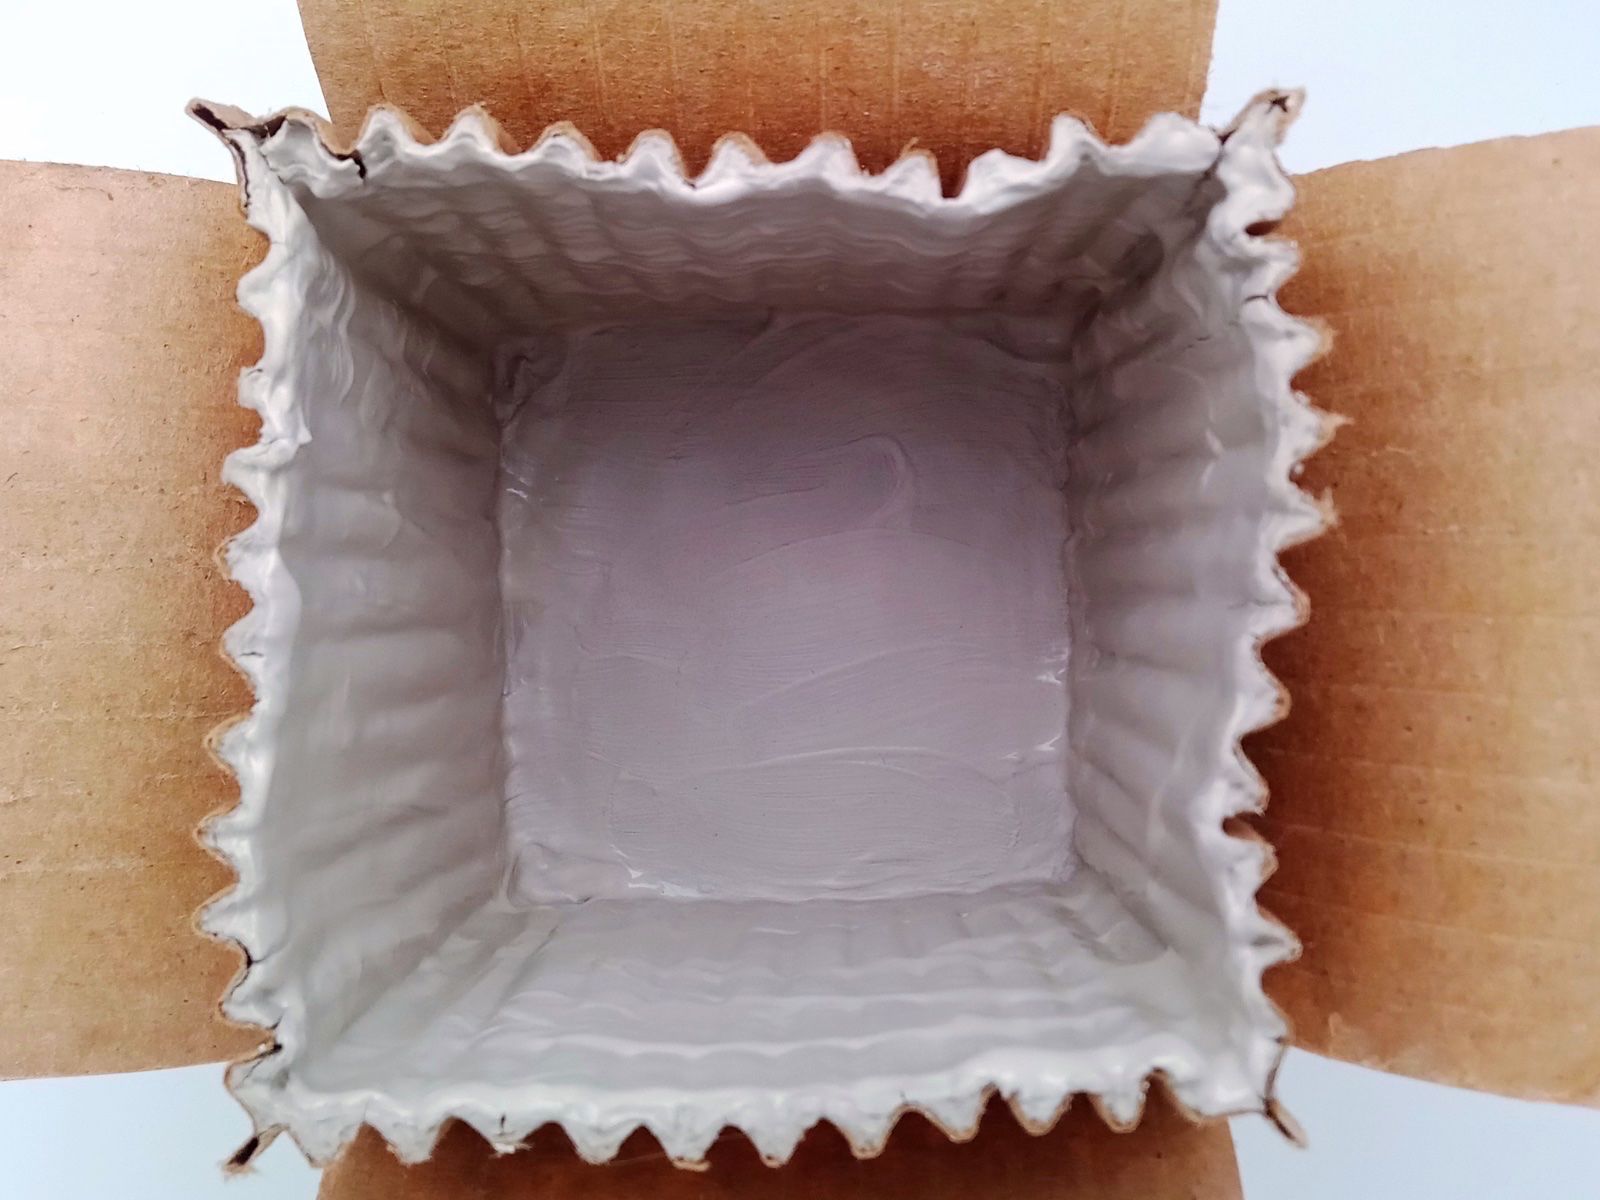
Step 6
Let it dry well between each layer of slip and continue brushing until you reach a thickness of about 5 mm.
Step 7
When the piece is dry enough not to deform when moved, remove the tape and the cardboard, perhaps helping by brushing a bit of water on the outside.
Step 8
With the high-density sponge slightly moistened, refine the pot; if necessary, fix any cracks that may have formed during drying or the removal of the cardboard using the brush with the slip.
Step 9
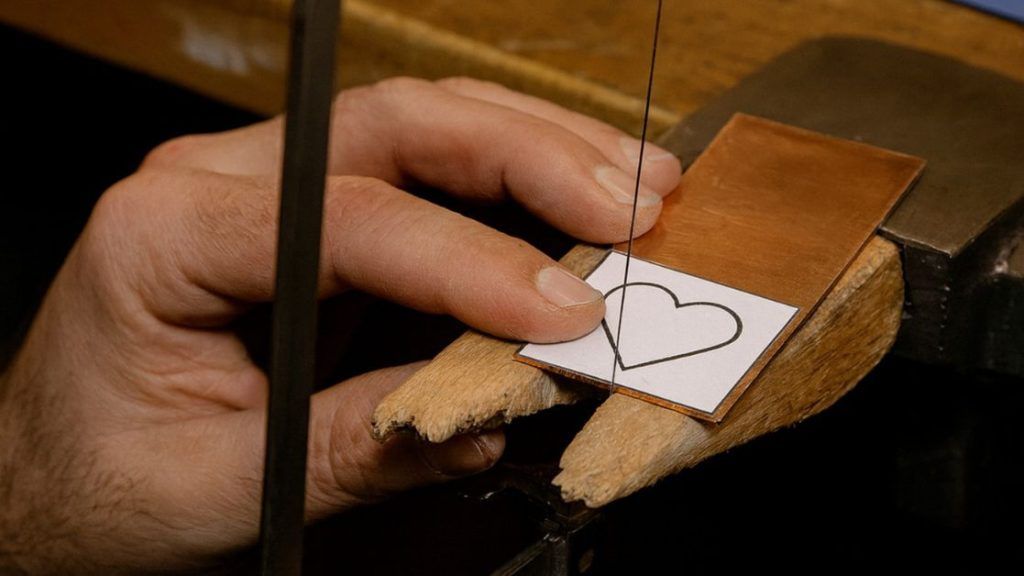
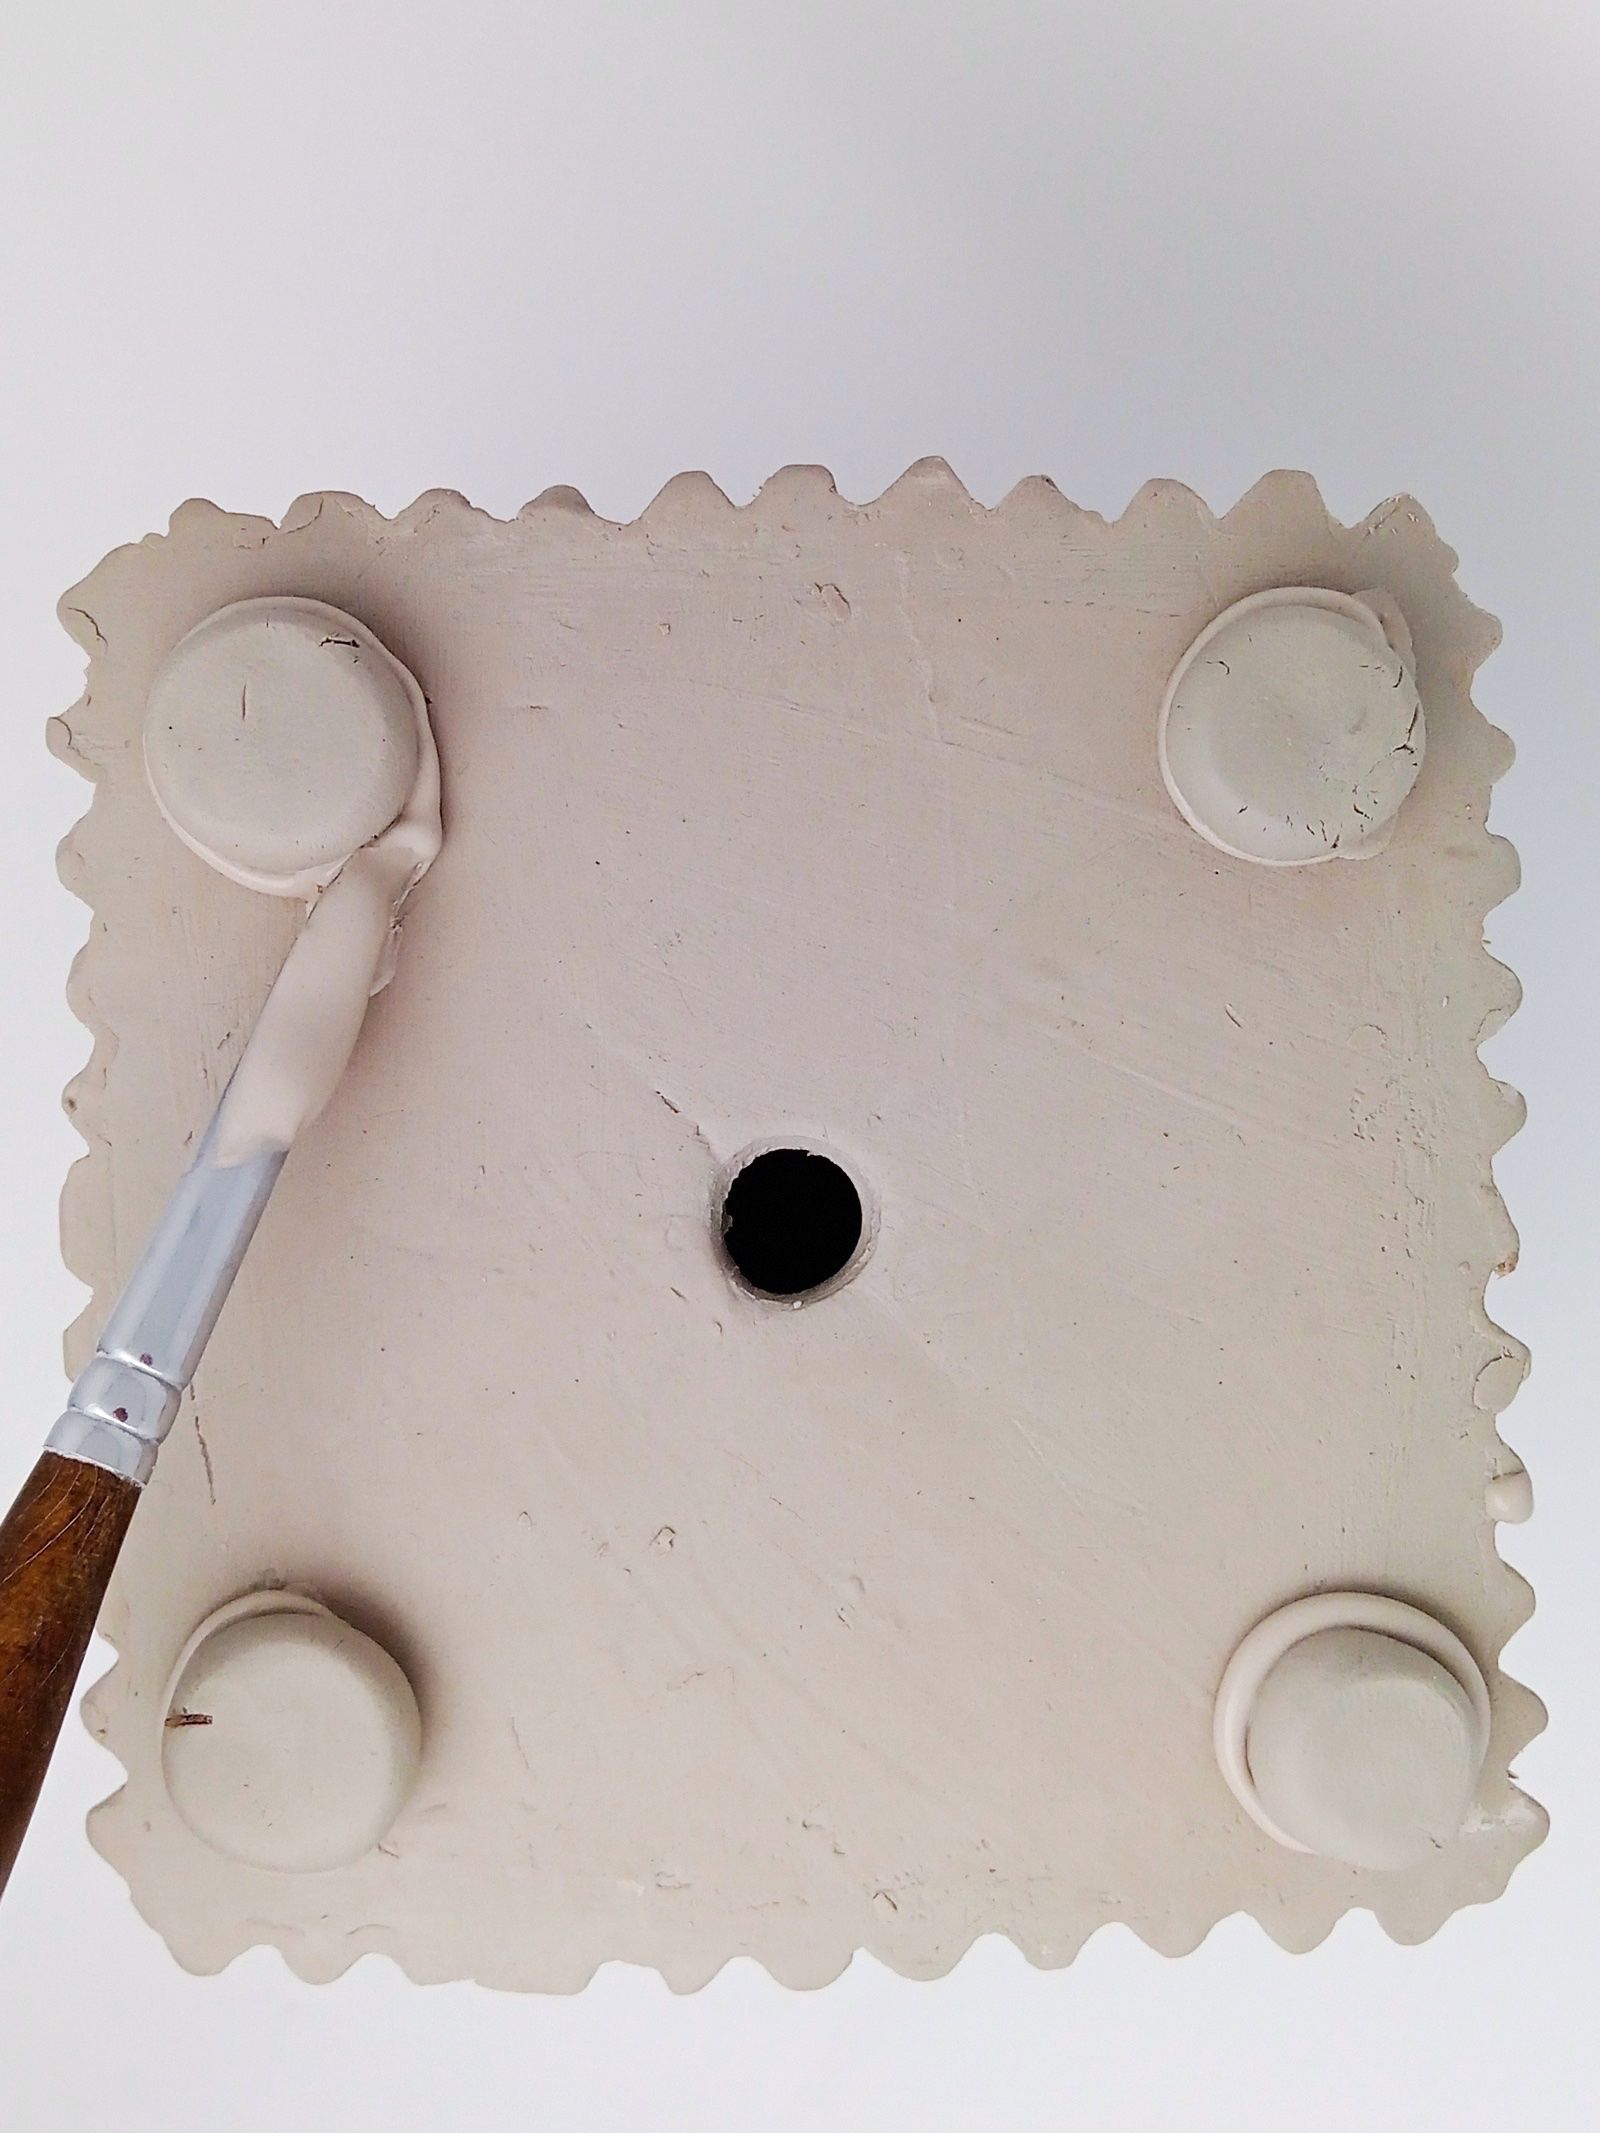
On the bottom of the pot, with the help of the ruler, find the centre by tracing the diagonals and there remove a circle of clay that will be the drainage hole. You can also make several small holes with a skewer. The important thing is that there is a way for water to escape from the bottom of the pot to avoid stagnation.

Step 10
About 1 cm from the edge, on the bottom of the pot, create ripples by scratching the surface (see in the photo) and prepare four balls of clay about 1 cm in diameter.
Step 11
Apply some slip on the four corners where you created the ripples and place the balls on top.
Step 12
Press the balls well by flattening them with a finger and use a brush to remove the excess slip.
Step 13
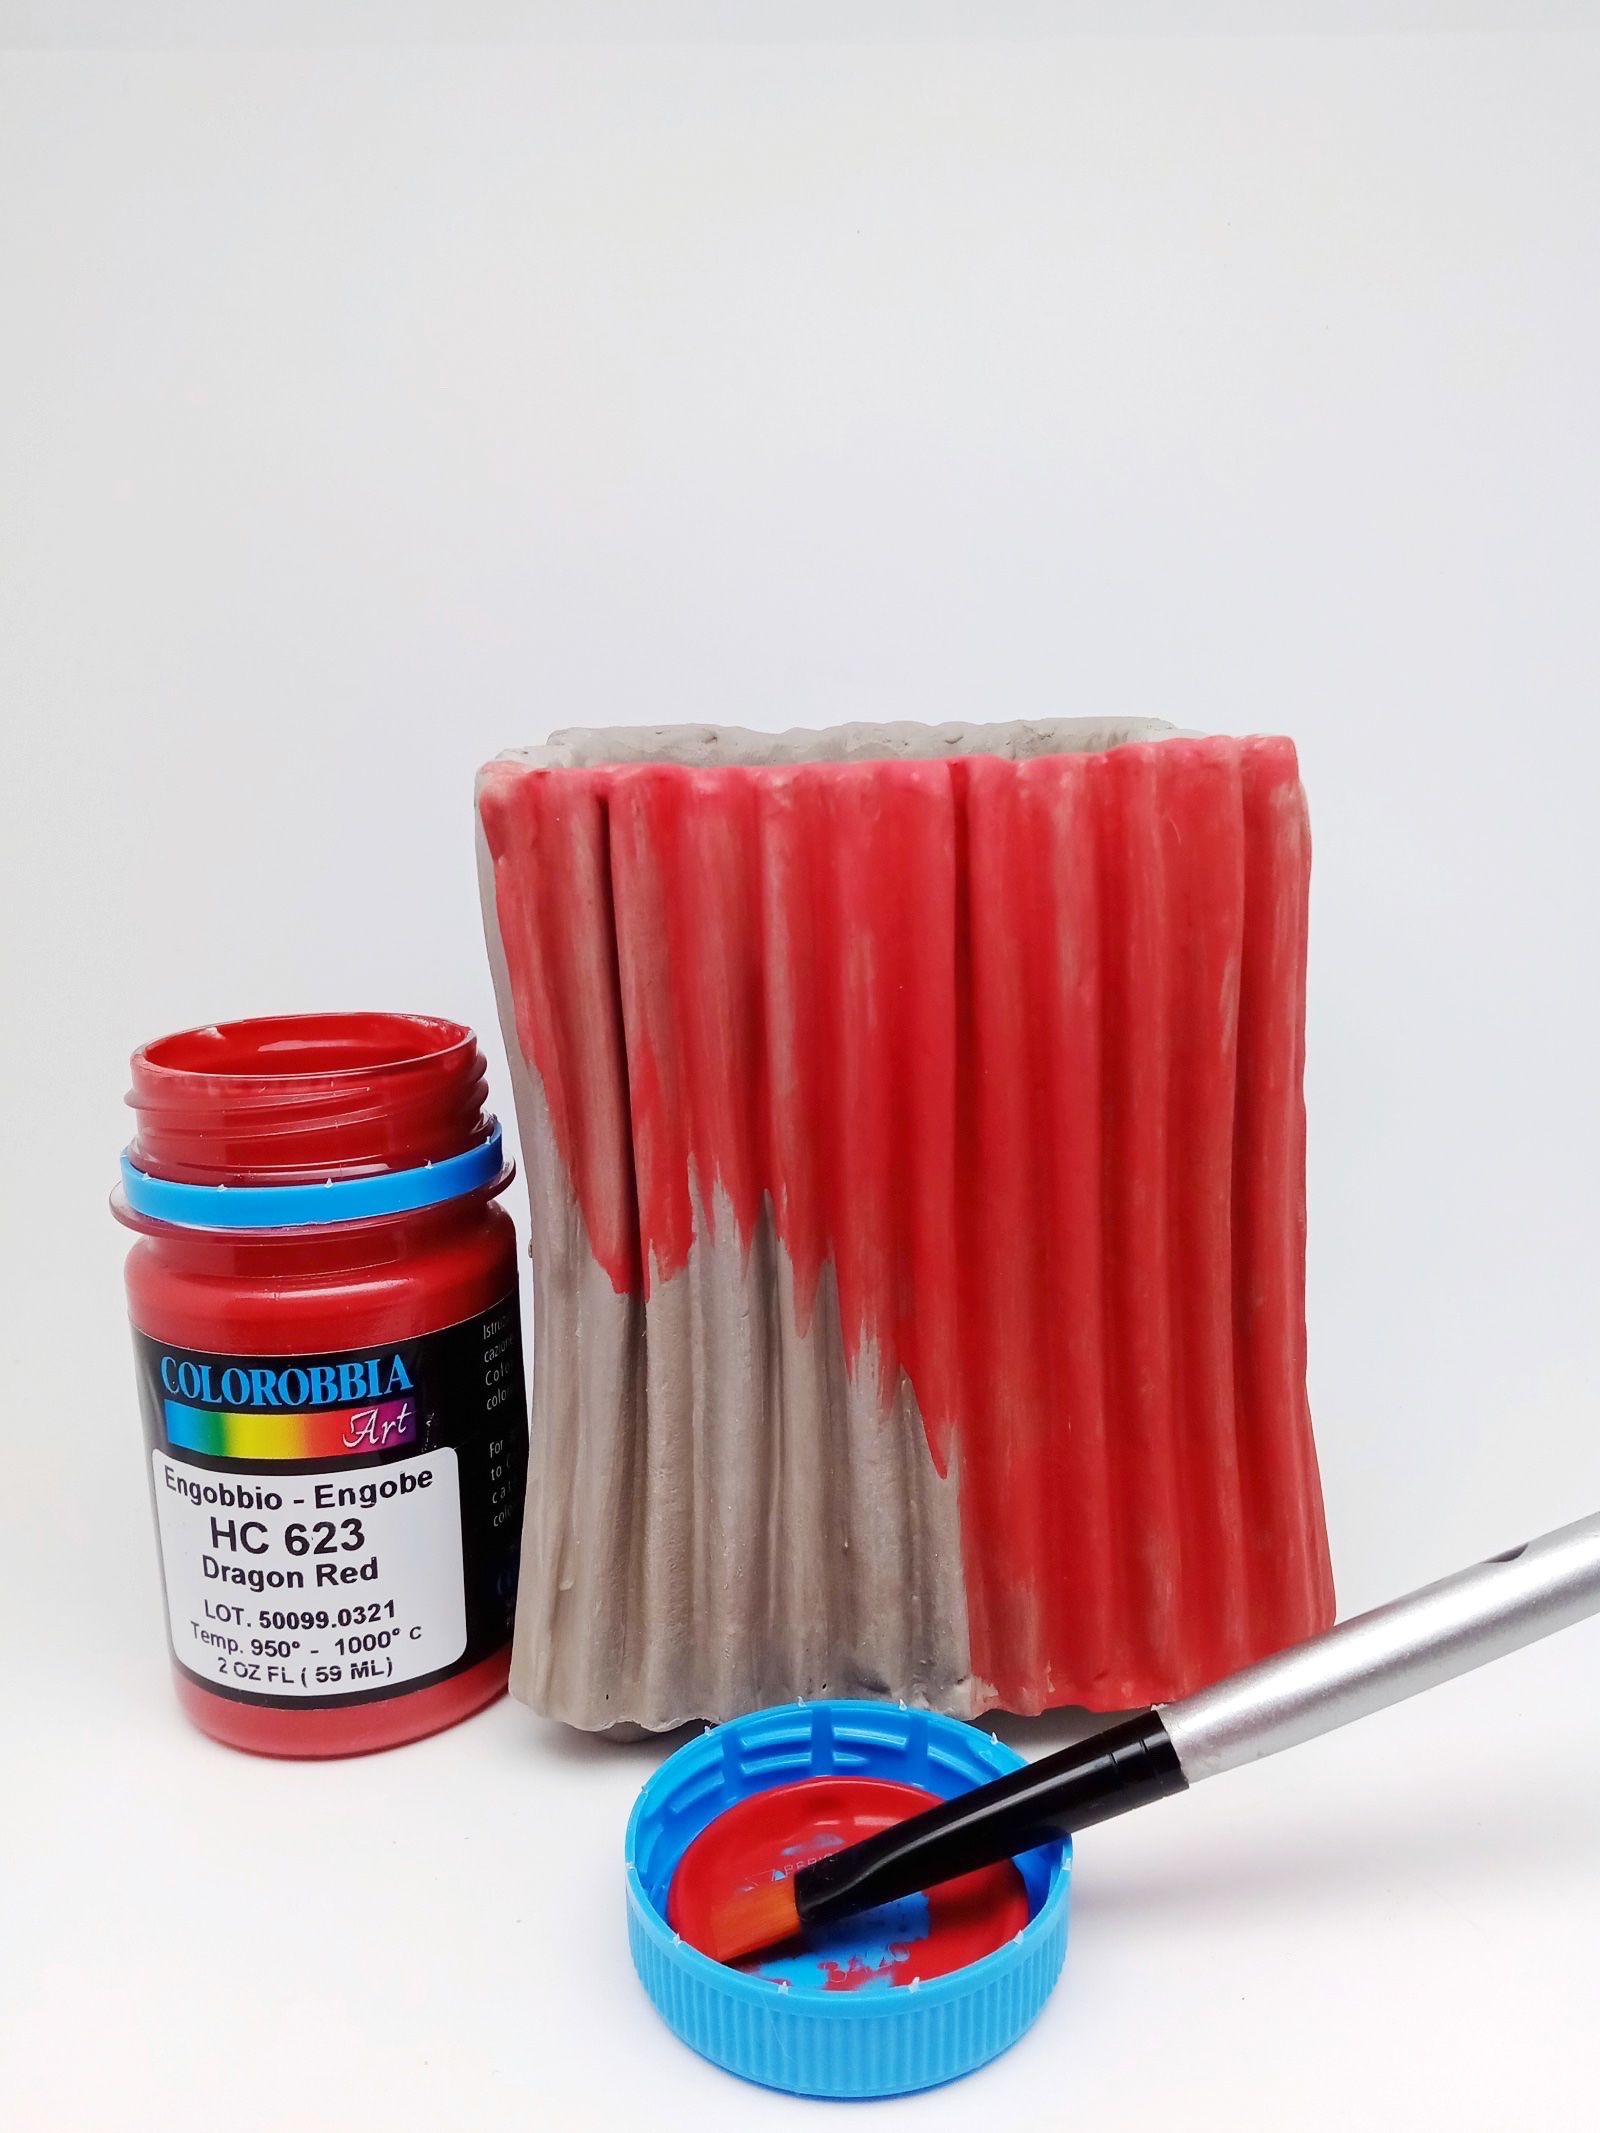
Before the piece is completely dry, apply a coat of engobe in a colour that will create the base for the glaze we will use in the second firing.
FIRST FIRING (BISQUE)
When the piece is completely dry, perform the first firing in the ceramic kiln: generally, this is a firing where the temperature rises slowly (about 100° per hour) up to 1000°, maintaining 1000° for 15 minutes and then allowing the kiln to cool down.
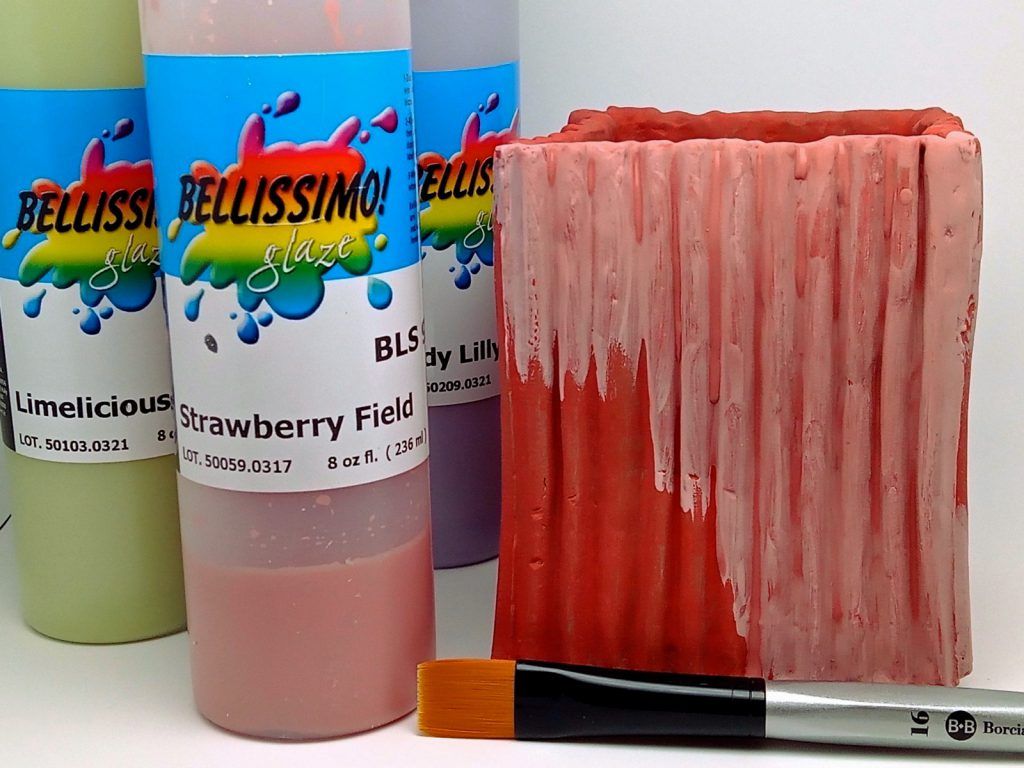
The piece you extract, called bisque, is now ready to be glazed. Apply two or three coats of Bellissimo Glaze and proceed to the second firing.
SECOND FIRING (GLAZING)
The second firing will be carried out based on the type of glaze that will be used. For this project, we used ready-to-use liquid glazes (lead-free) with which we usually perform a cycle similar to that of bisque but remaining about 30° lower in the final temperature, so 970°. Each artisan, depending on the characteristics of their kiln, may use different times and temperatures.
To create the saucer, use the same technique calculating how much space you want between the pot and the saucer: generally, a square 2 cm larger than the pot is more than sufficient.
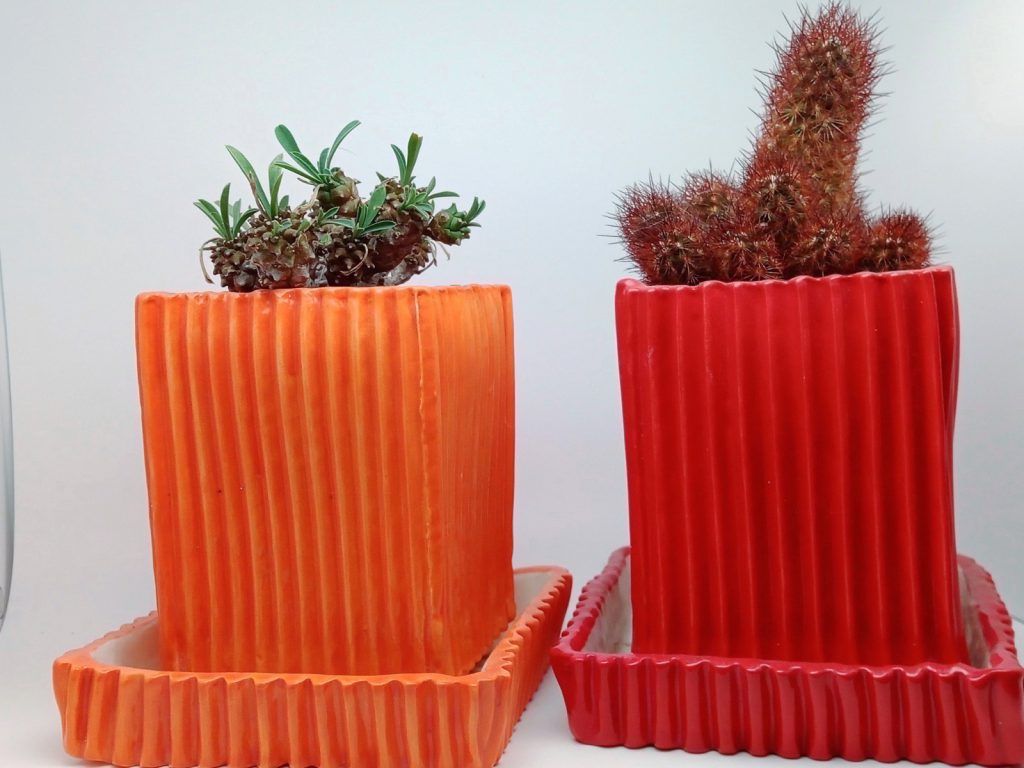
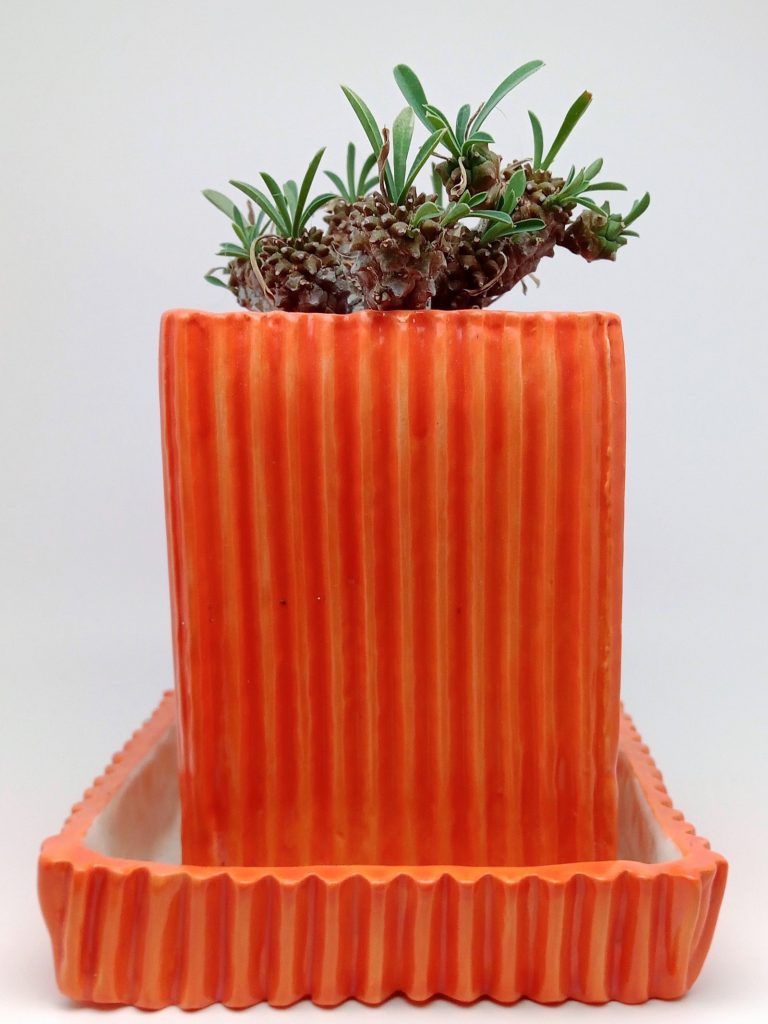
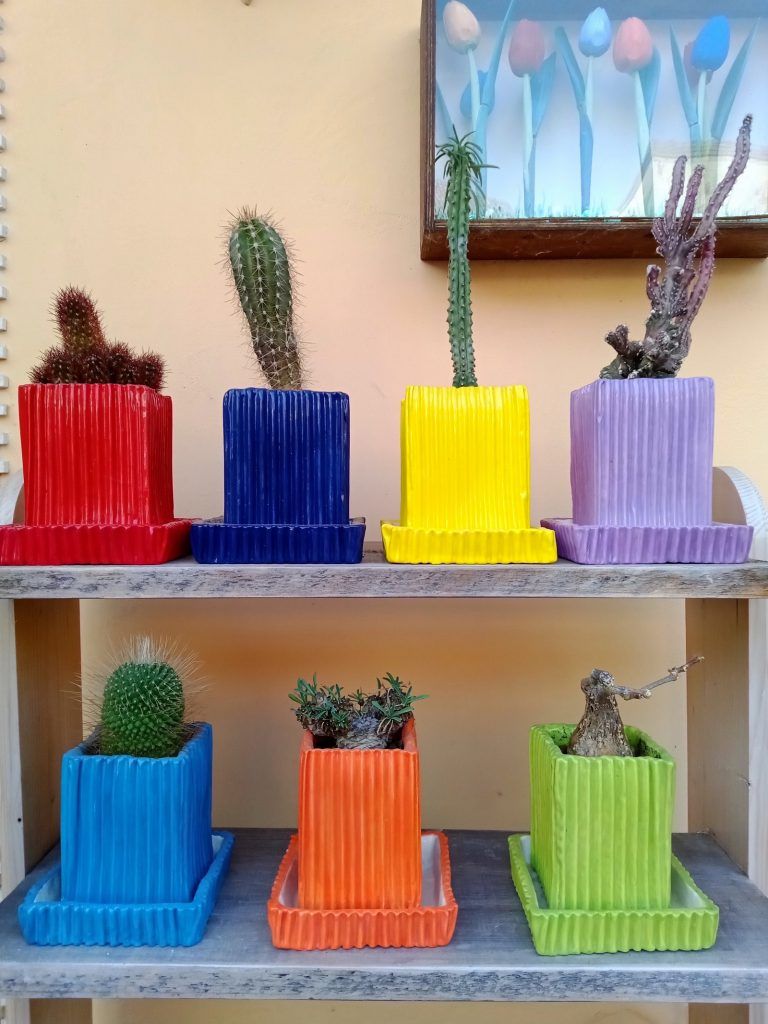
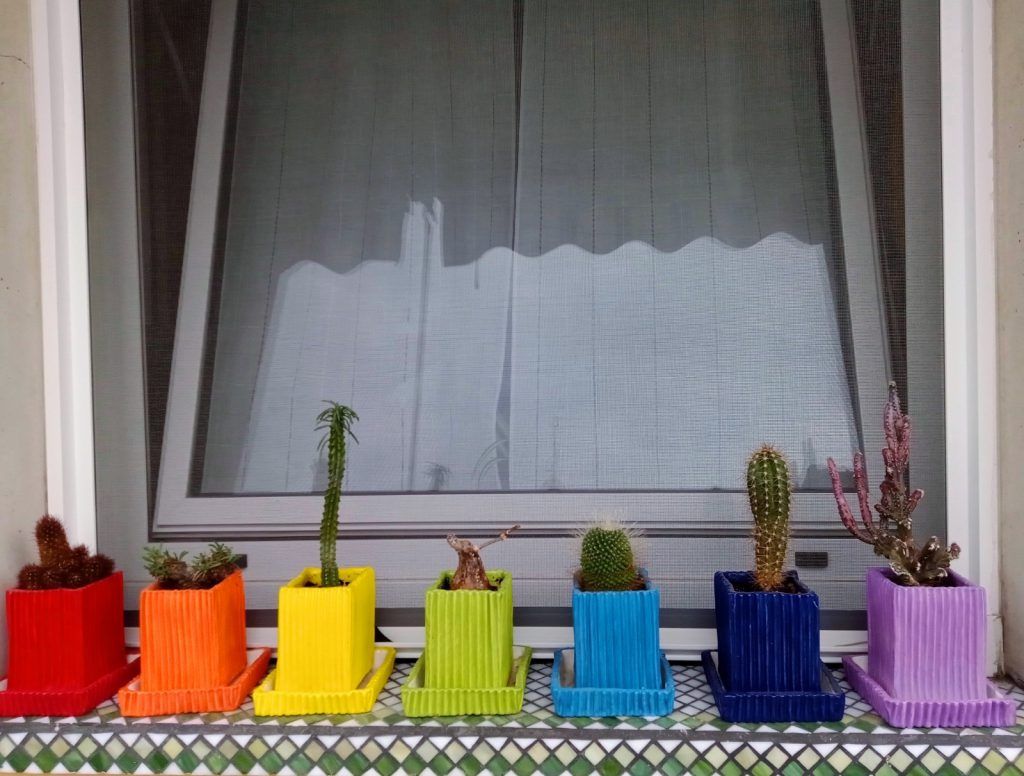
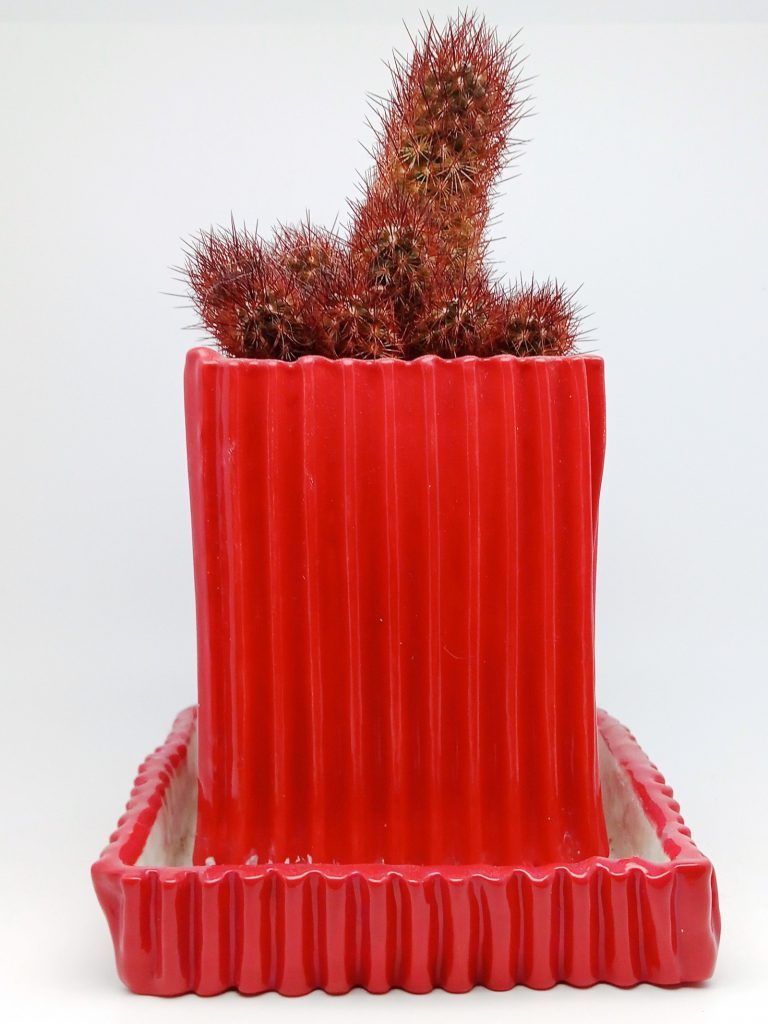
Here are some images of the final result!