 Italiano
 English
 Français
 Español
 Deutsch

Every day we throw away jars and packaging from our daily lives, without paying much attention to their appearance. Have you ever noticed that a simple 500 ml yoghurt pot has the same shape as a teacup?
In this short tutorial, we will see how to make plaster moulds from everyday objects, salvaged before ending up in the bin. We have chosen plastic cups and bowls. Check your fridge or pantry: follow us step by step and create your own little table set!
What you need to make a plaster mould
- various objects you want to reproduce with plaster
- 1 block of clay
- slip
- moulding plaster
- mixing bowl and spatula
- an old brush
- finishing tools: ribs, sponge and sandpaper
- 1 sheet of foam rubber
- engobes of your choice
- crystalline or glazes
The procedure
Step 1
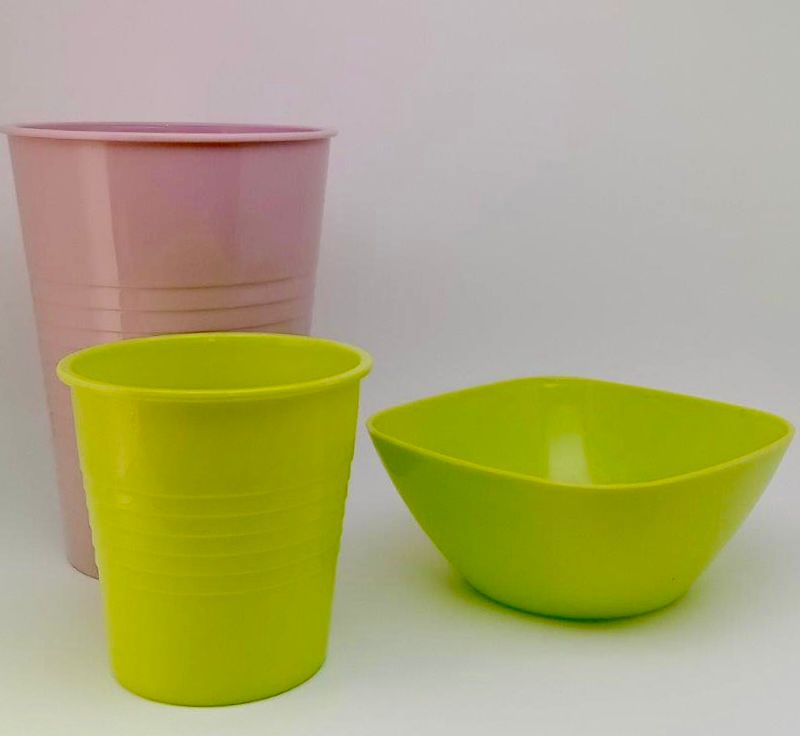
Choose an object that you want to reproduce with plaster. For this tutorial, we have chosen plastic bowls and cups for our moulds.
Step 2
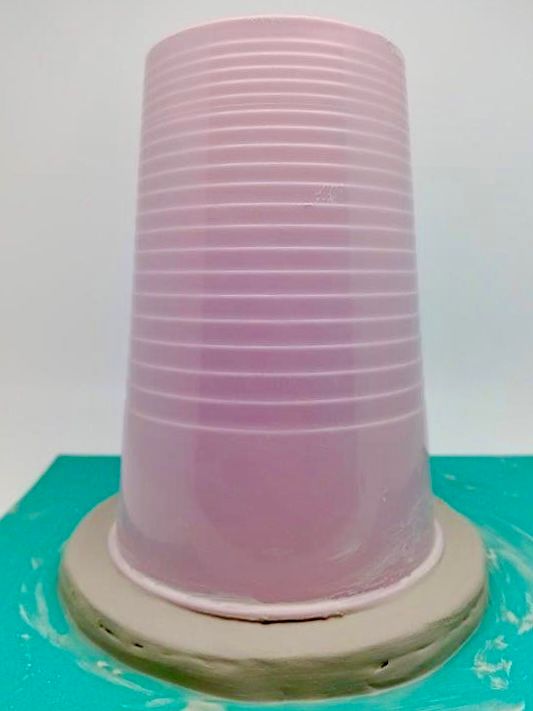
Around the object you want to reproduce, create a clay base about 6 mm thick with a margin of about 1 cm. Place the base on a sheet of foam rubber. Position the bowl or cup on the clay base with the "open" side facing up, so with the base facing upwards.
Step 3
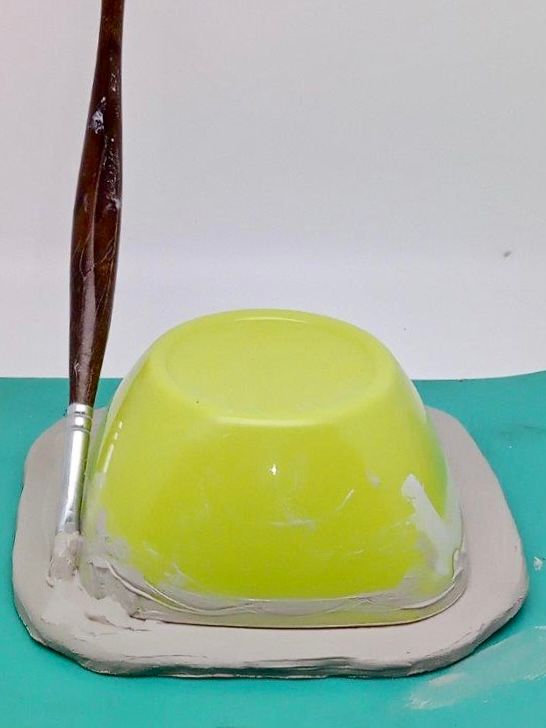
Firmly attach the object to the clay base using a brush and a bit of slip.
Step 4
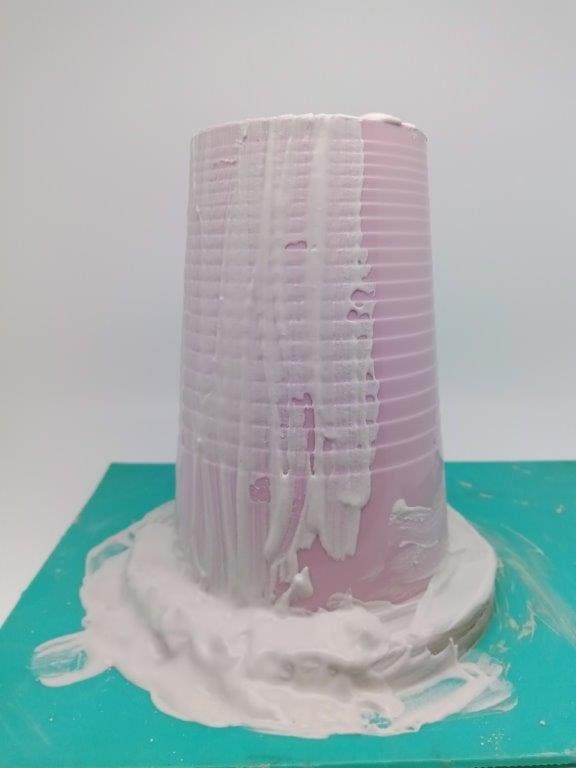
Prepare the moulding plaster for pouring. The consistency should be nice and soft, so that you can easily spread it with the brush over the object to be reproduced. This more fluid layer, which we can call the "shirt", allows you to cover all the details of the object better.
Step 5
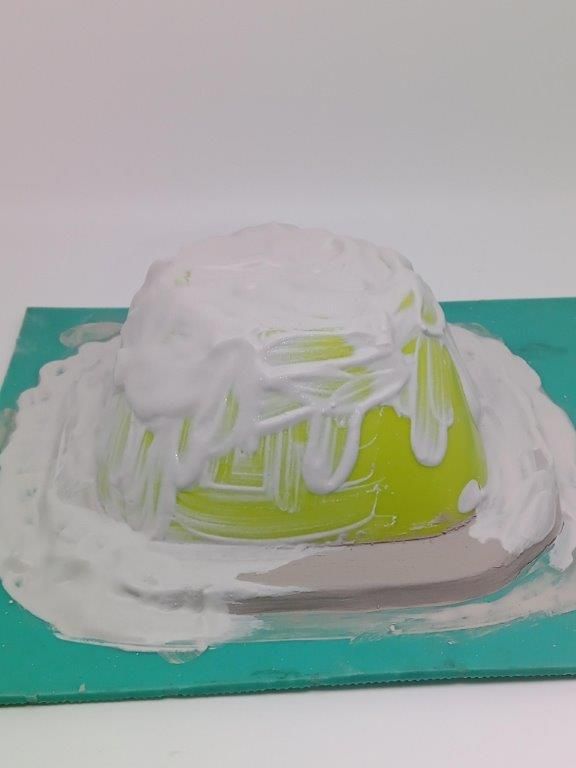
Brush this light layer of plaster over the entire object, including the clay base. Also add a margin of plaster about 1 cm thick on the outside of the base.
Step 6
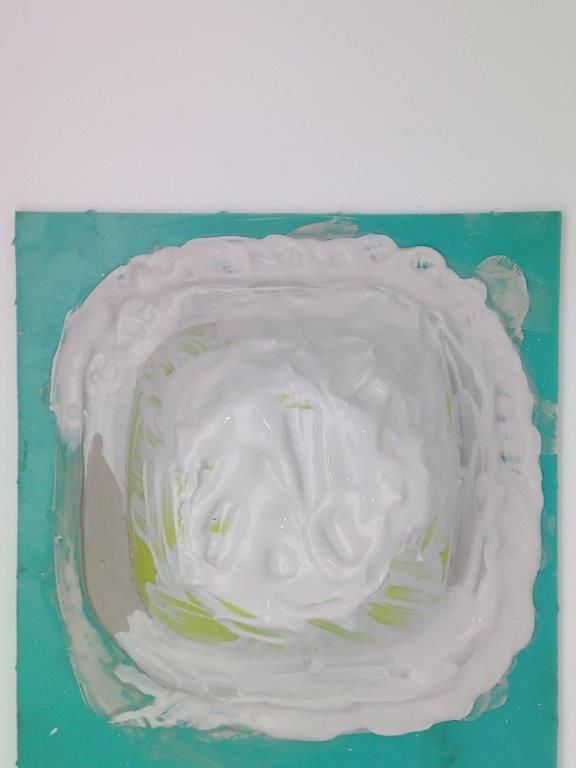
Once this first layer has hardened, you can proceed with the body of the mould. In a mixing bowl, prepare some fairly thick plaster, and with a spatula cover the entire object creating a thickness of at least 2 cm.
Step 7
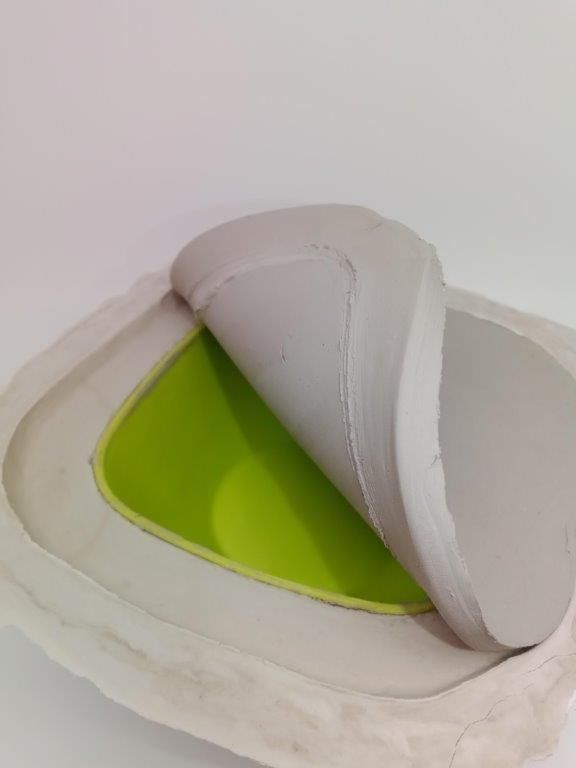
Once the plaster has hardened, you can turn the mould upside down and remove the clay base.
Step 8
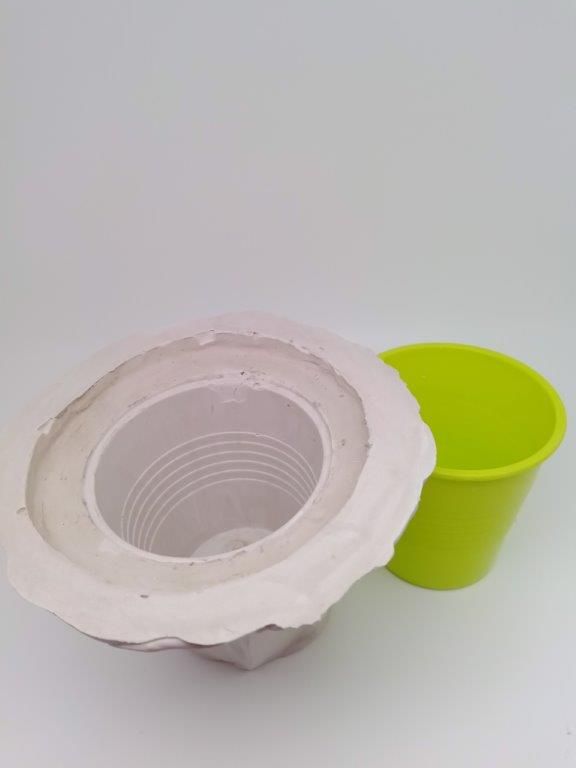
Gently remove the original piece from the mould. You will have obtained a negative with which to reproduce many pieces for your table set. Let the mould dry very well before you start using it.
Step 9
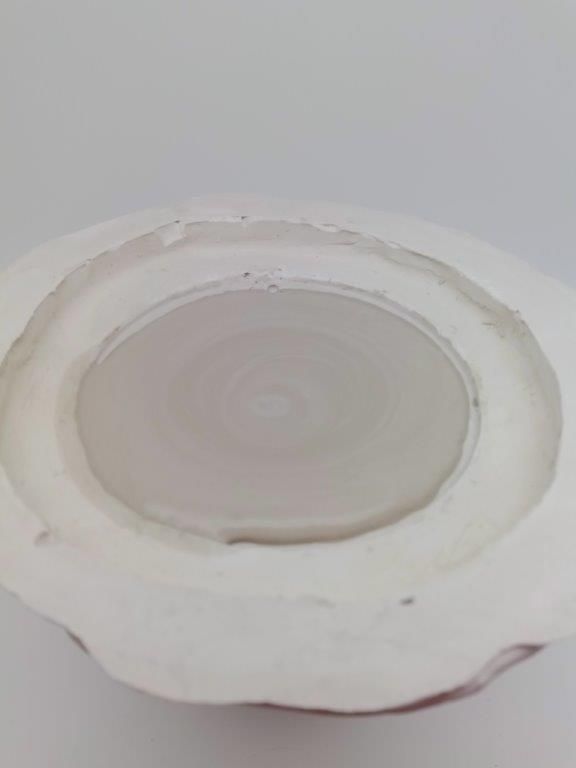
When the mould is completely dry, you can proceed with the pouring of the slip. Fill the mould to the brim; after a few minutes, check and top up with more slip.
Step 10
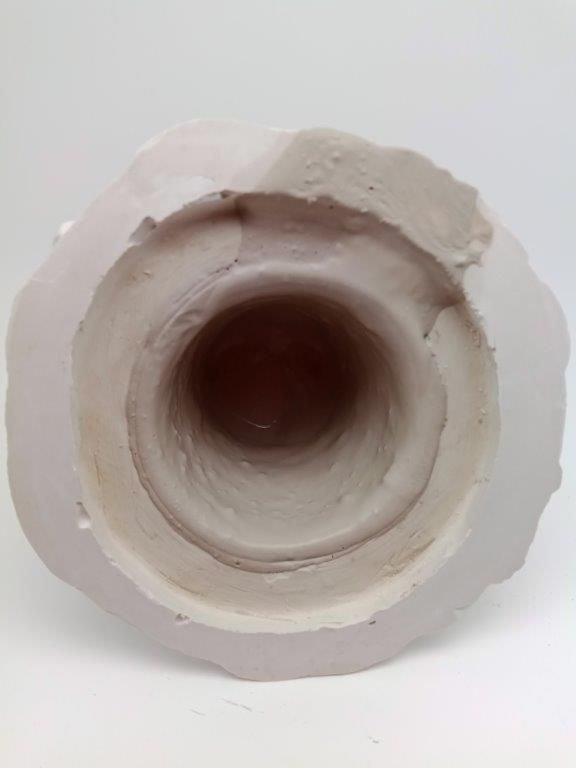
The plaster mould will start to absorb the slip, causing it to dry from the outside in. When a small edge of about 5/6 mm thickness has formed, turn the mould upside down and let all the excess slip drain out.
Step 11
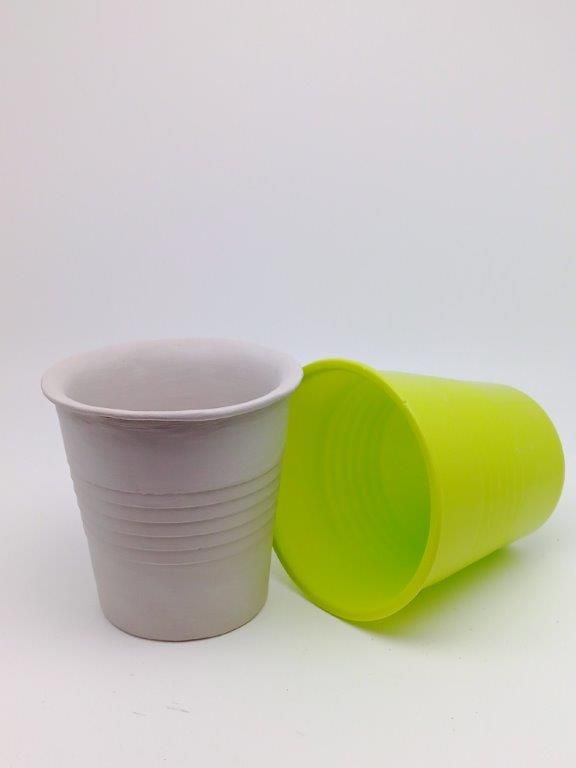
Let the plaster dry the slip well. When the slip piece slightly detaches from the edge, you can turn the mould upside down while protecting the exit of the object with your hand.
Step 12
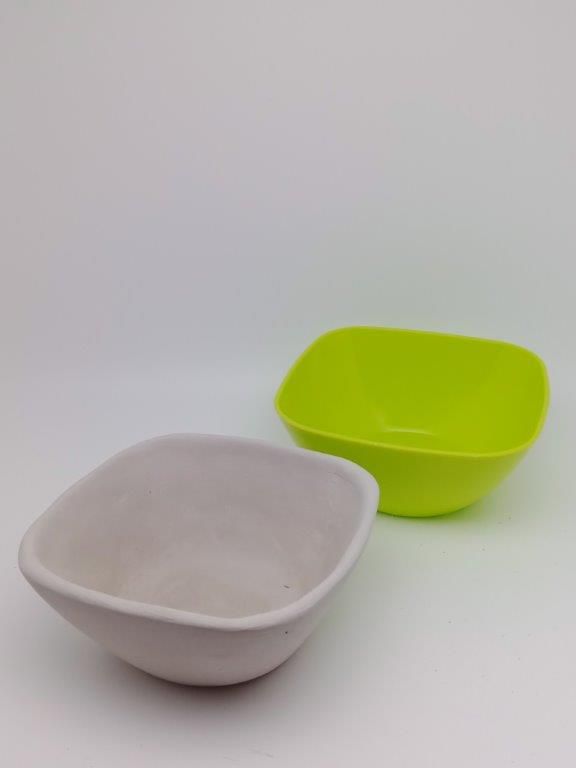
Once you have removed the clay piece from the plaster mould, you can finish it with spatulas, ribs, and high-density sponges until you achieve the desired appearance.
Step 13
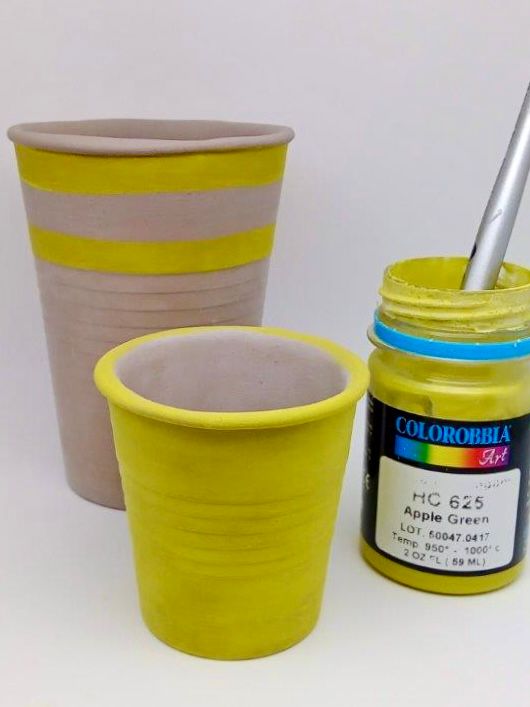
When the piece is not yet completely dry, decorate it with the engobes.
Step 14
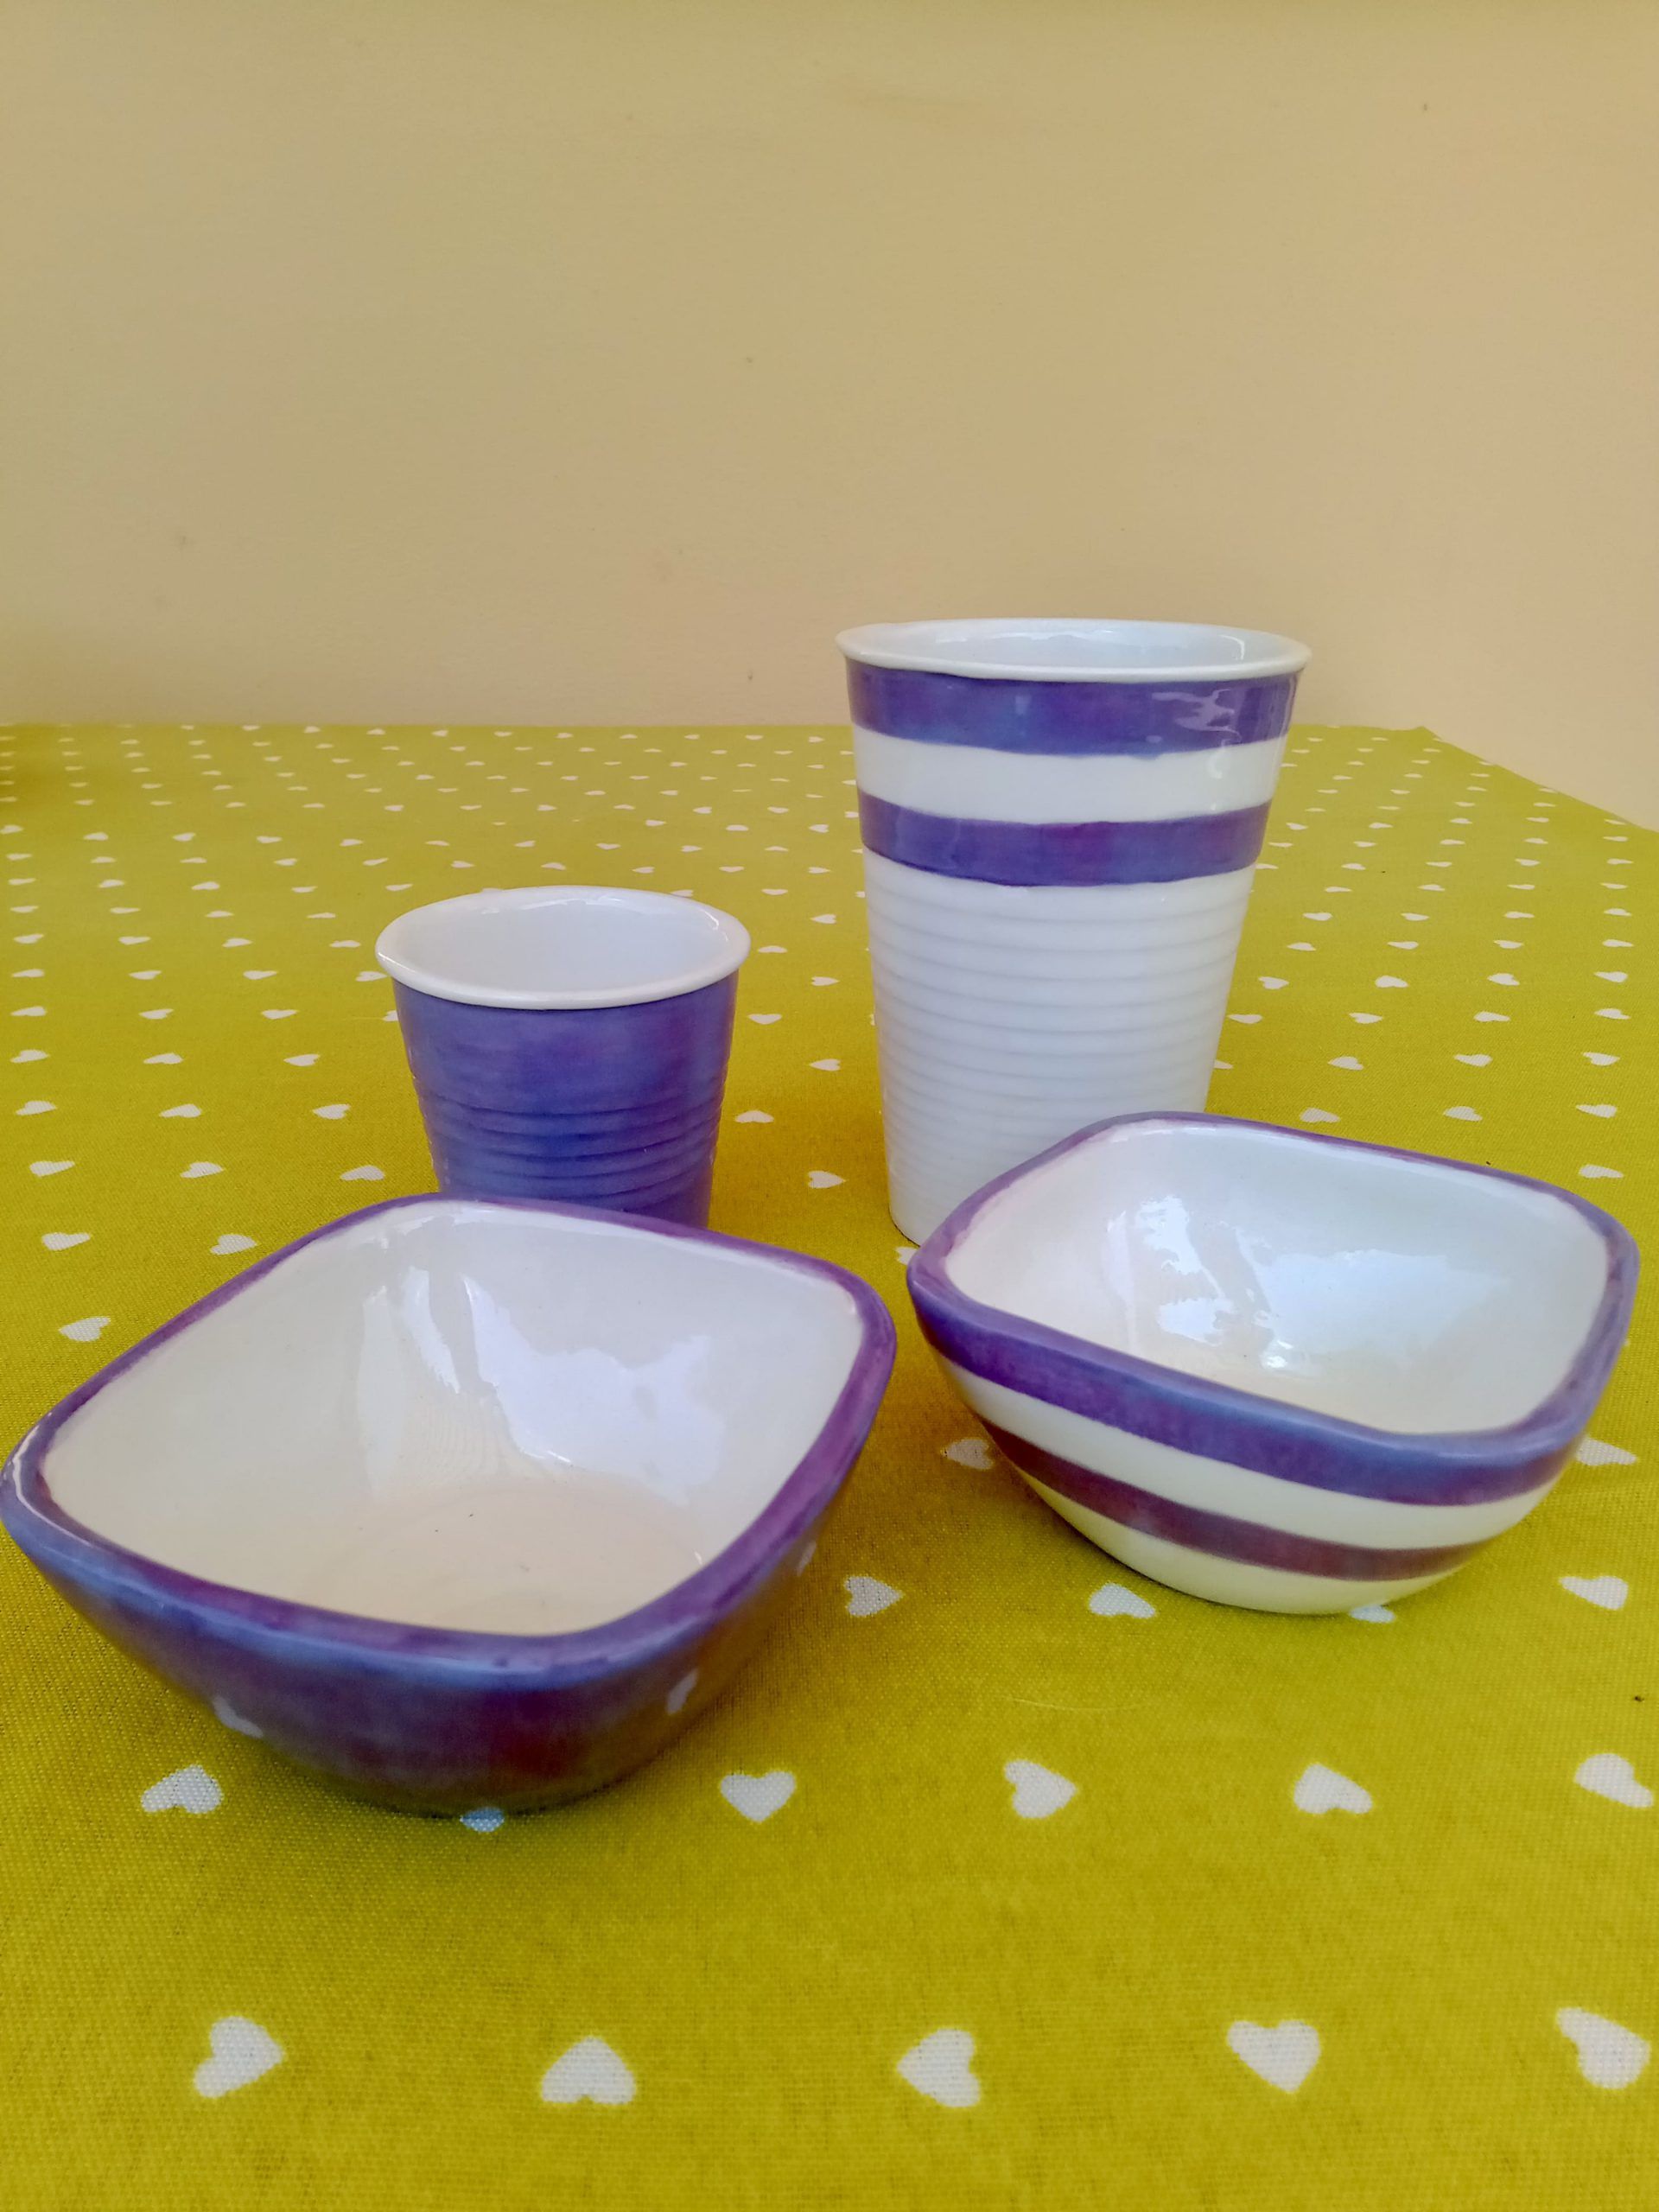
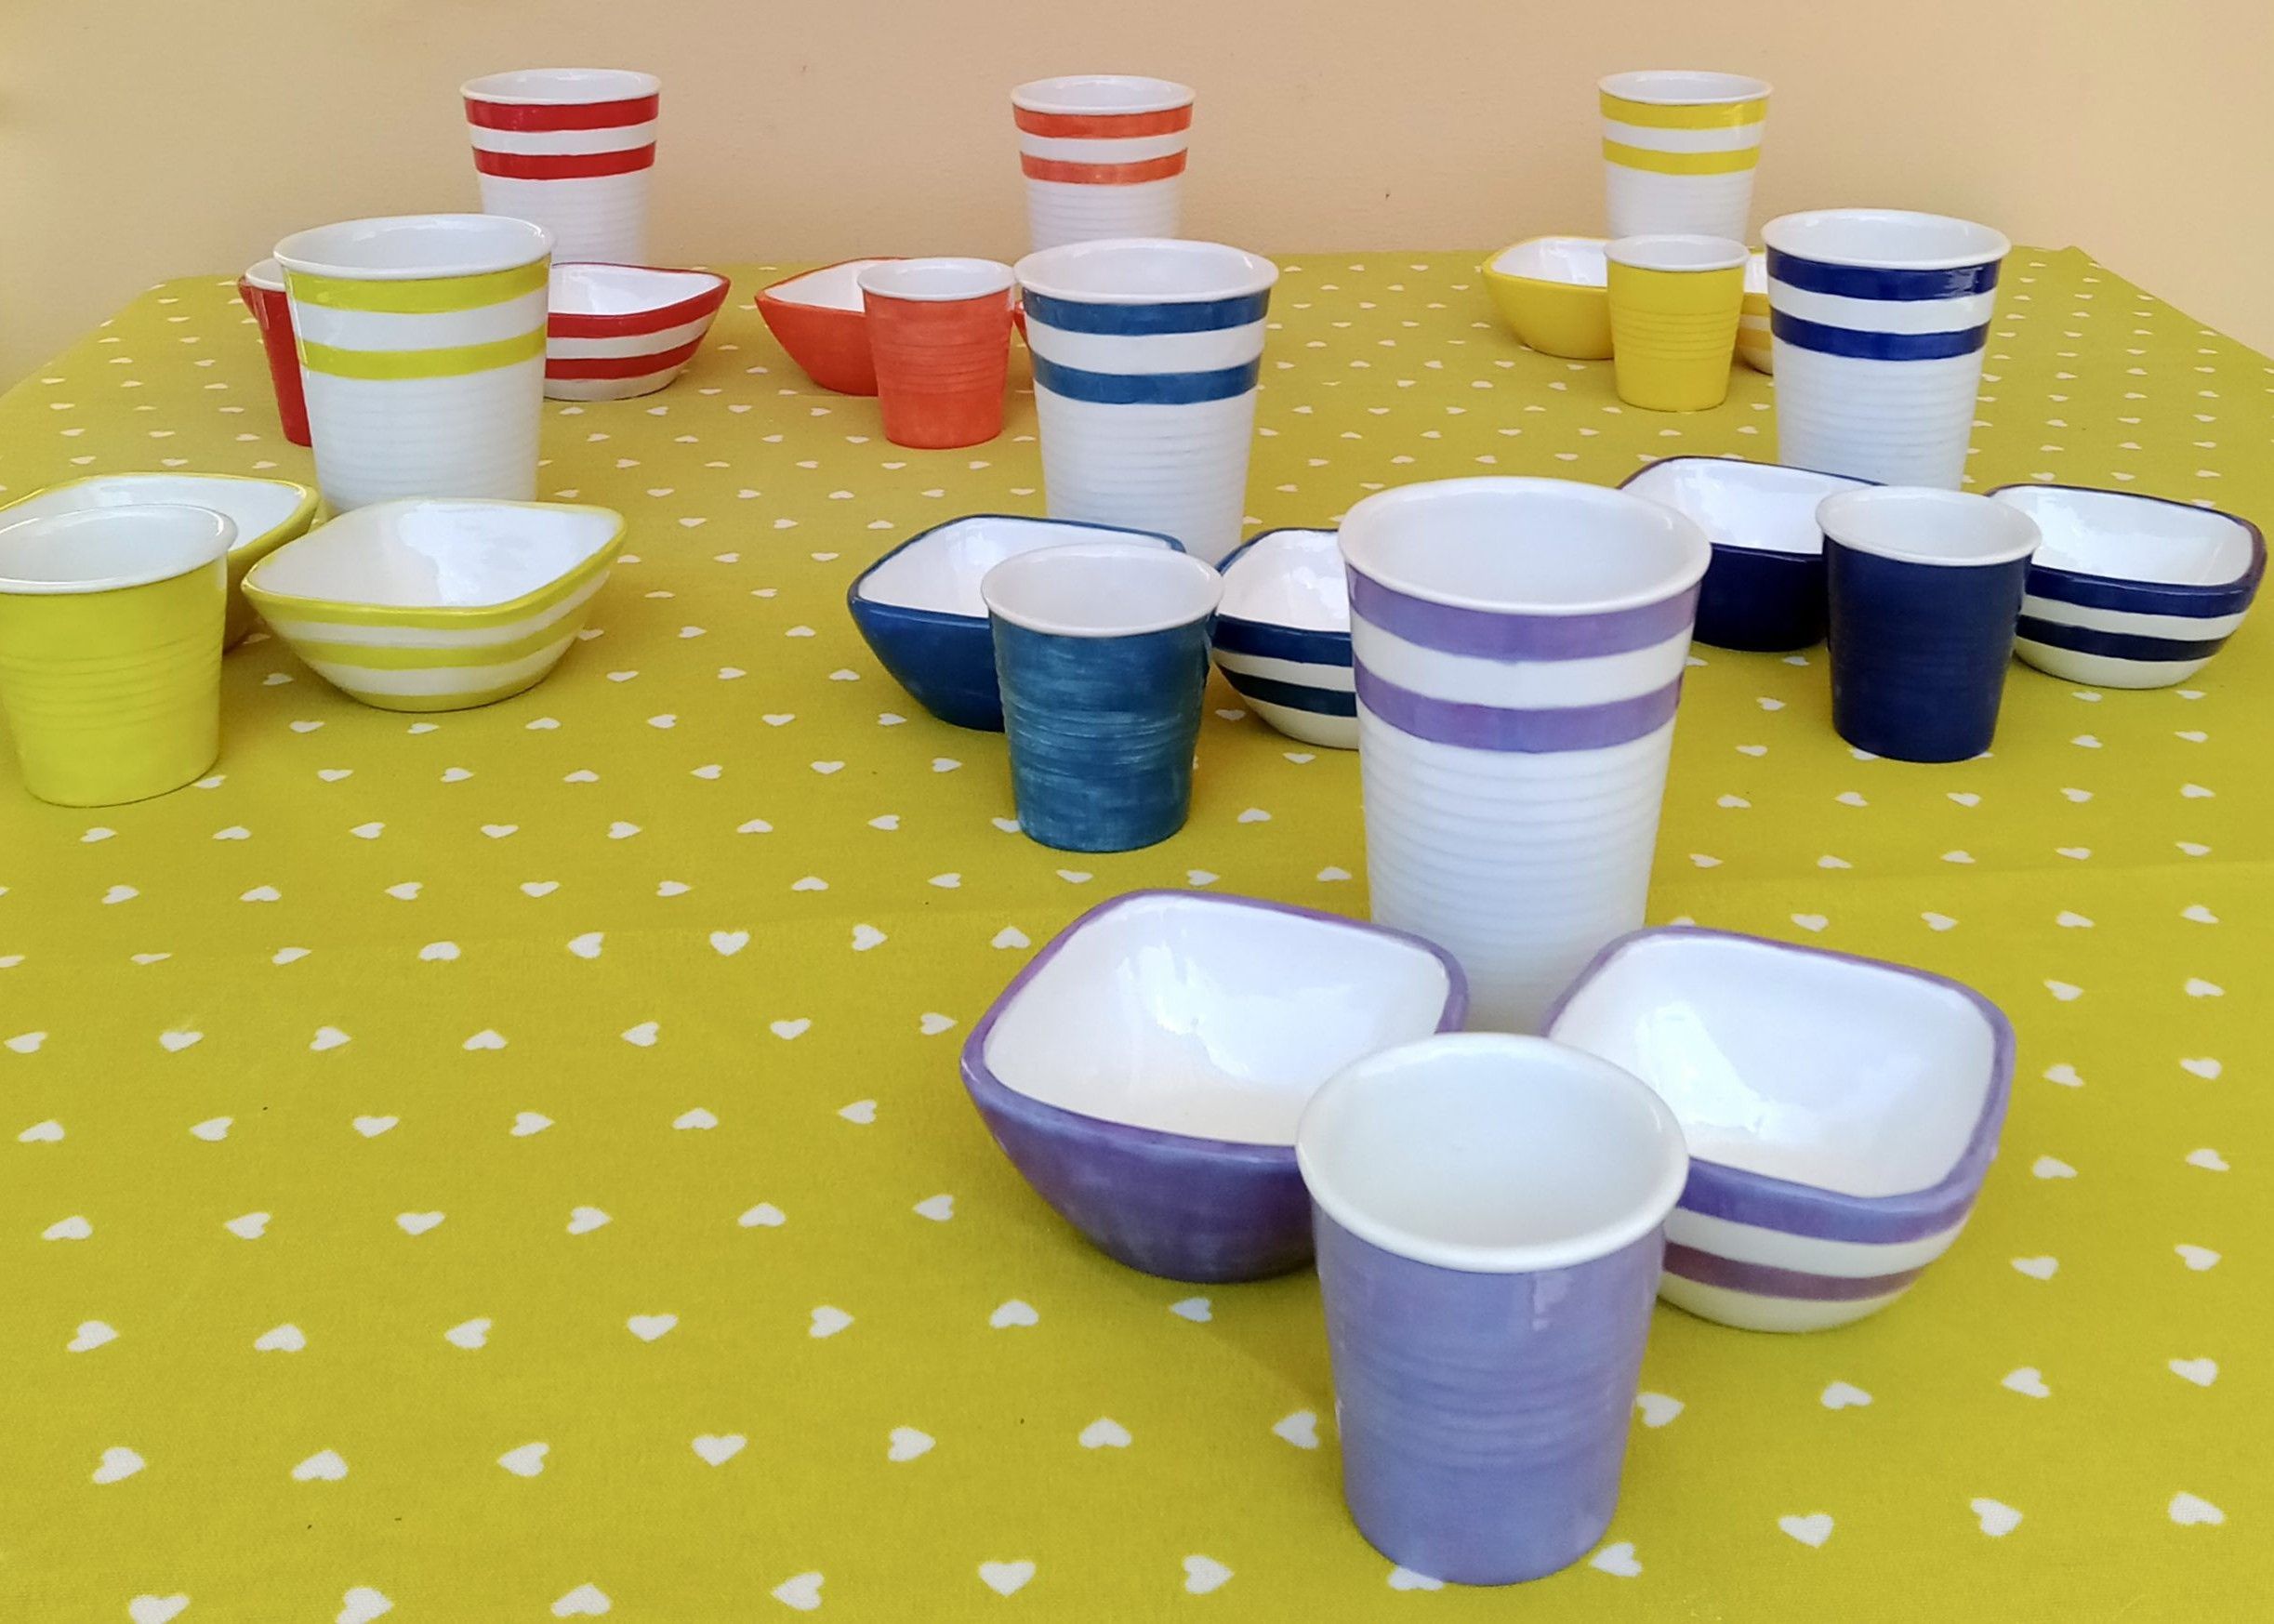
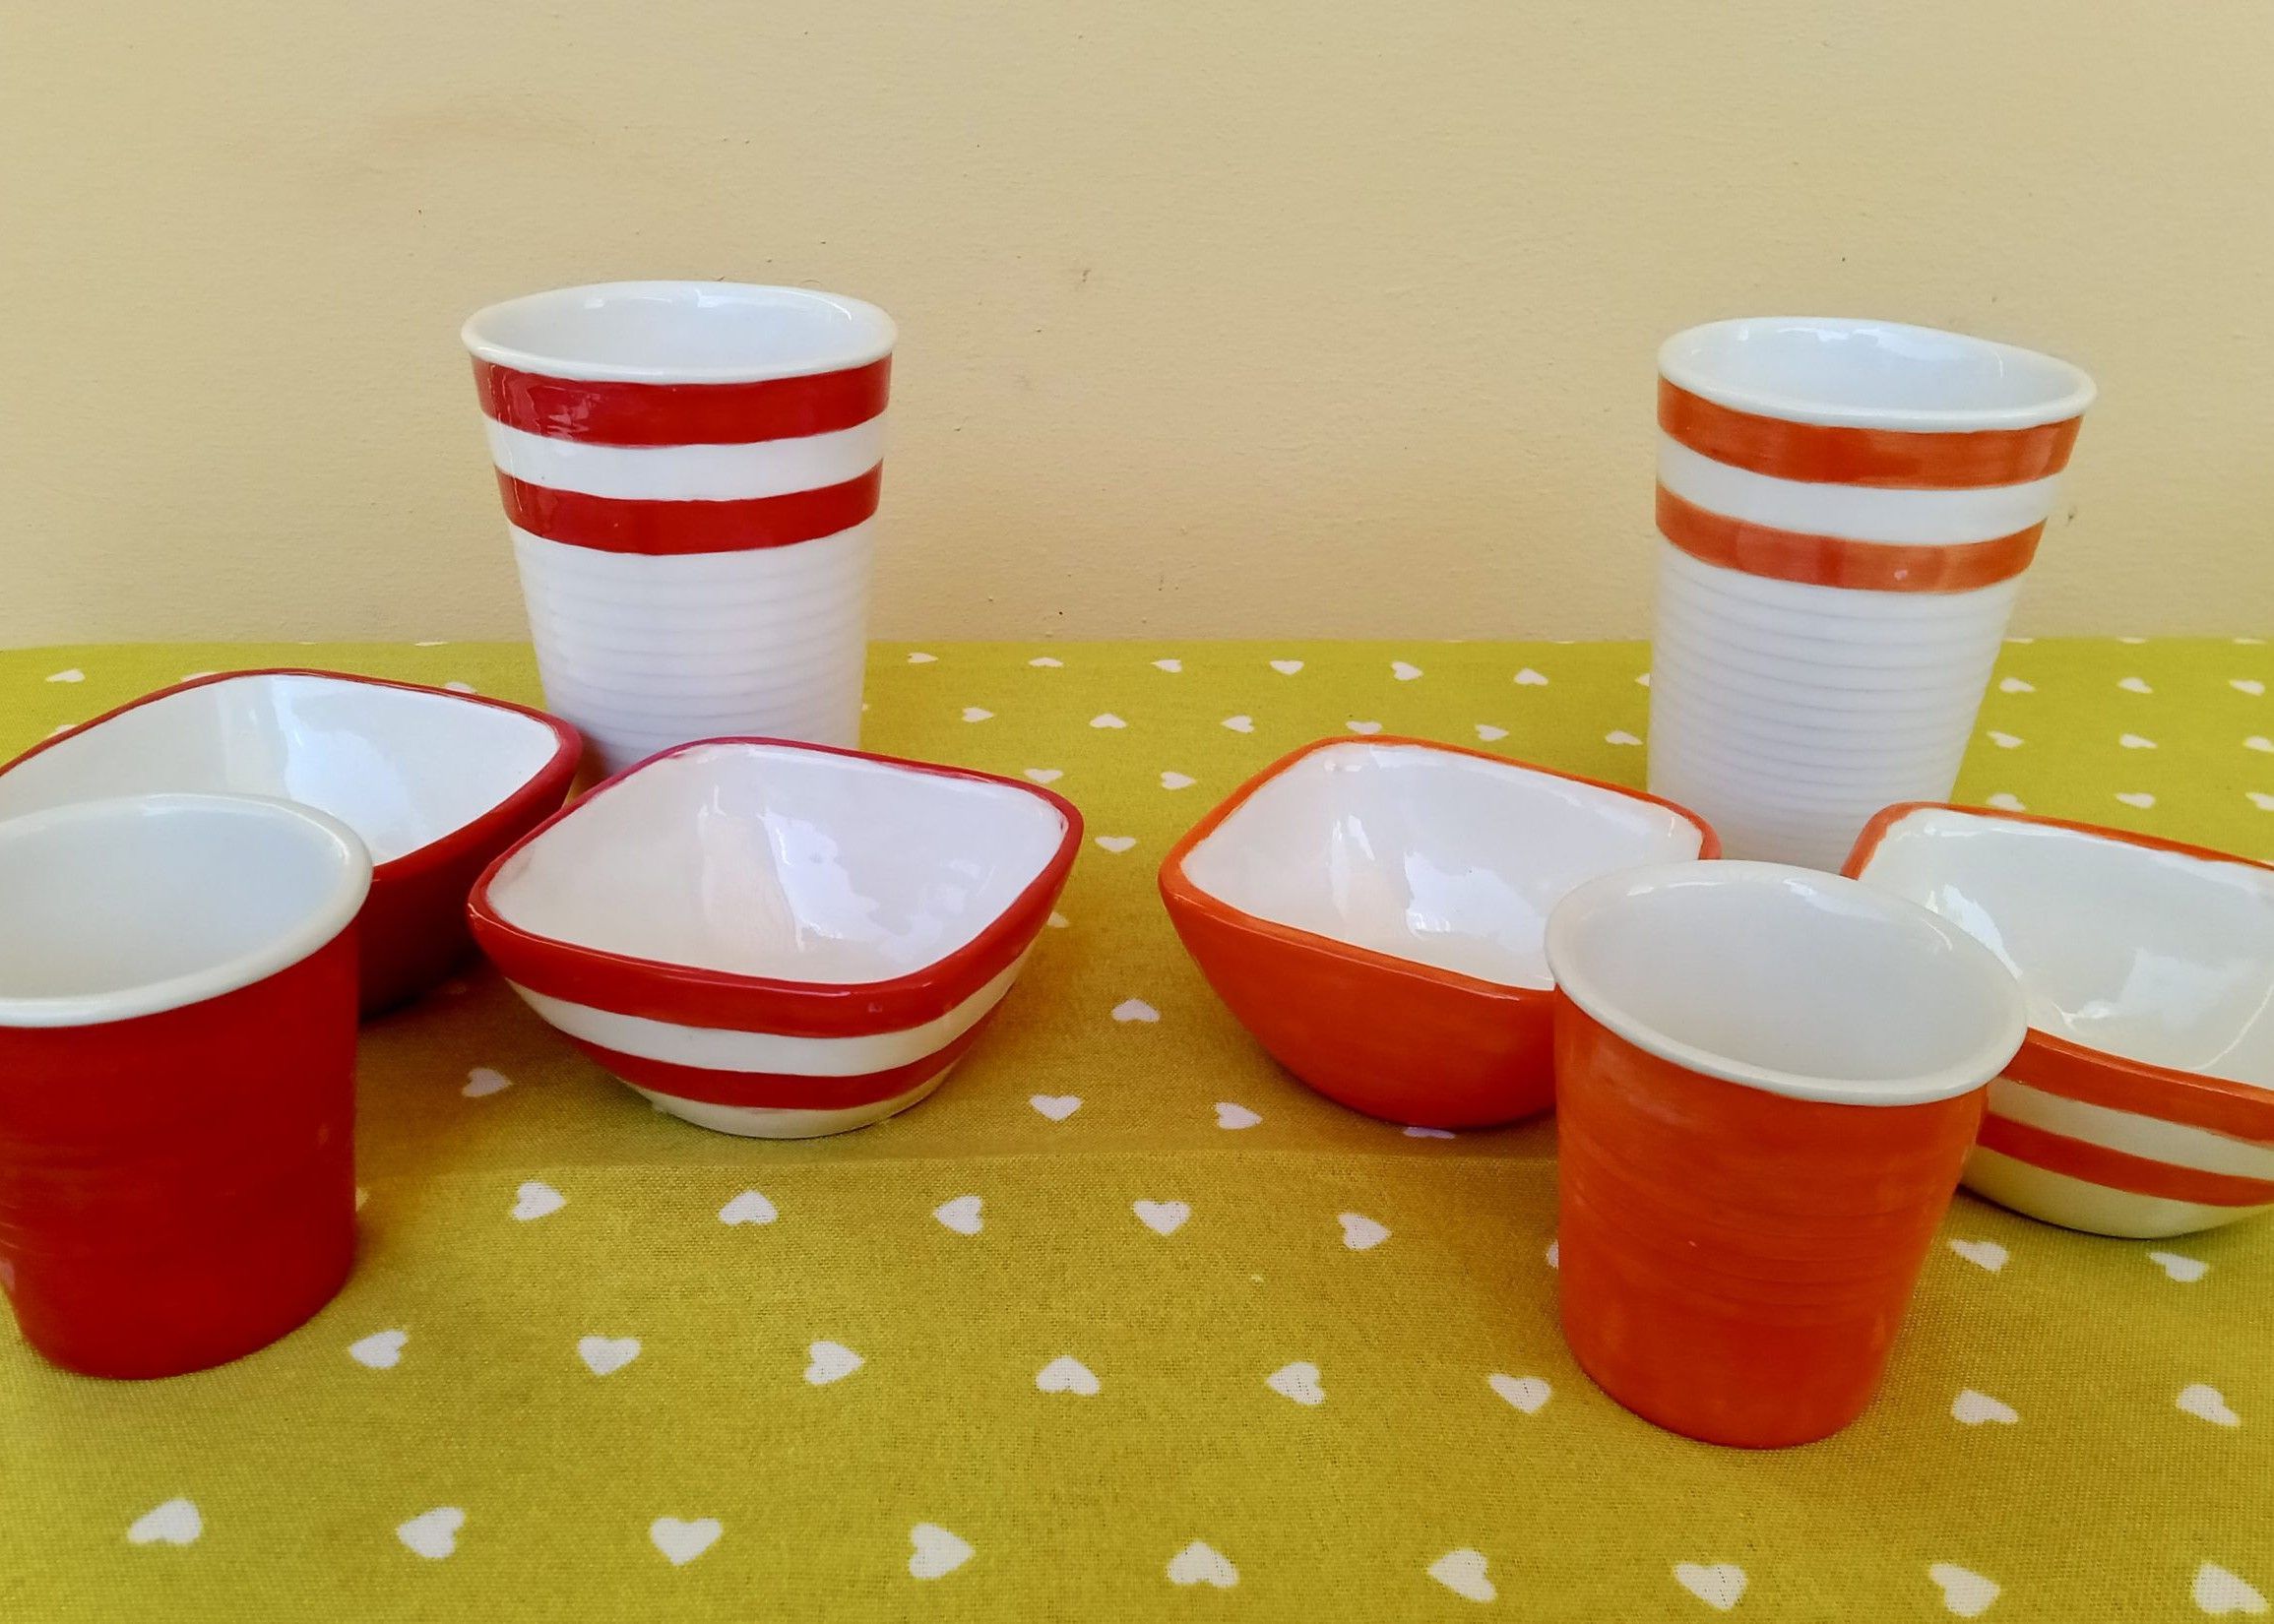
Once everything is dry, you can proceed with the first firing. Then apply glazes and crystalline glazes to best decorate your pieces, and proceed with the second firing. Here is our table set created from salvaged objects!
This will be your result: a colourful set for your table, made from objects that usually end up in our bin. Get to work too: you only need a few materials and a pinch of creativity!