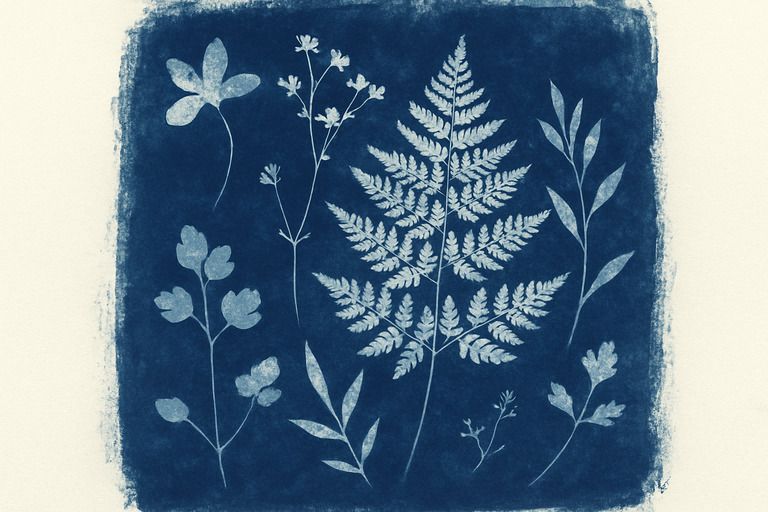
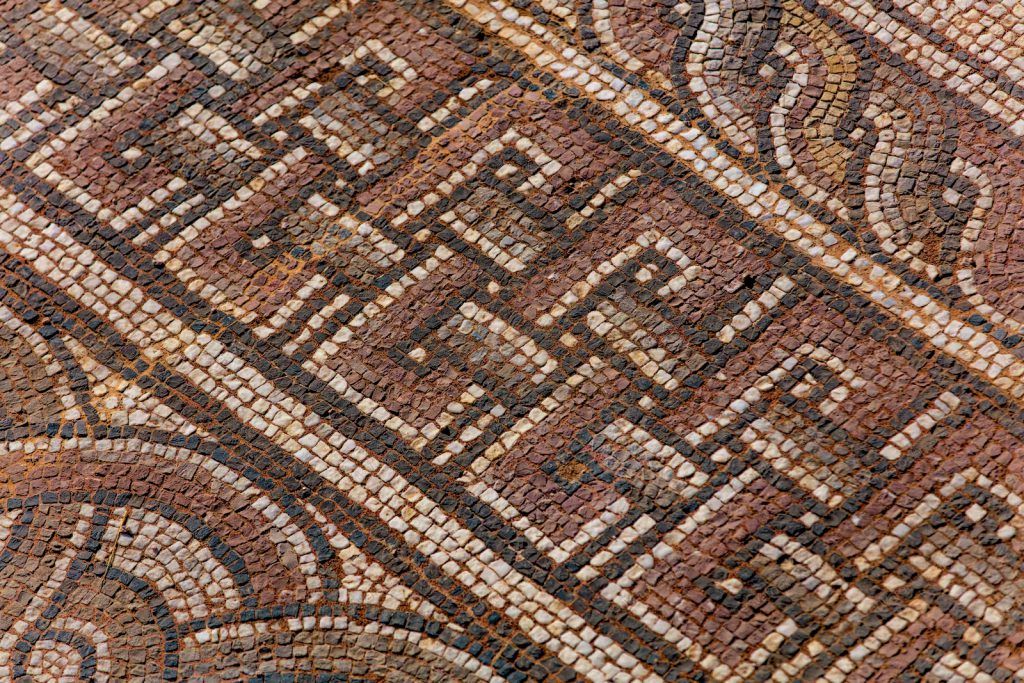
Mosaic is one of the most well-known decoration techniques in the world. Its origins are ancient, and the splendour of the works created with this technique still accompanies us today. But mosaic is not “just” about the masterpieces of Pompeii or Byzantine gold. Today, the mosaic technique is used daily to create art objects, home decorations, and flooring, to name just a few examples.
Creating a mosaic can be very simple and extremely satisfying, even for beginners, and this guide is designed specifically for those who have decided to start!
We will explore together what a mosaic is, what materials and tools are needed to create it, and what the main techniques to use are.
What is a mosaic?
A mosaic is a design or pattern made by placing together pieces of different colours and sizes, which are fixed to the support with glue and/or adhesive mortar. The pieces, also called tesserae, can be made from various materials depending on the project, but the main and most common ones are generally ceramic, stone, glass paste, and glazes.
Depending on the techniques and tesserae used, the mosaic will present a more or less regular design, and the gaps between the tesserae may be more or less visible. We will discuss this shortly!
A mosaic can be designed for outdoor or indoor use and can be created on a smooth support (table, wall, door, plate) or on curved surfaces, for example, to cover a vase, a bottle, or another object.
The important thing, as always, is to choose the right materials and techniques based on the type of project.
The tesserae of the mosaic
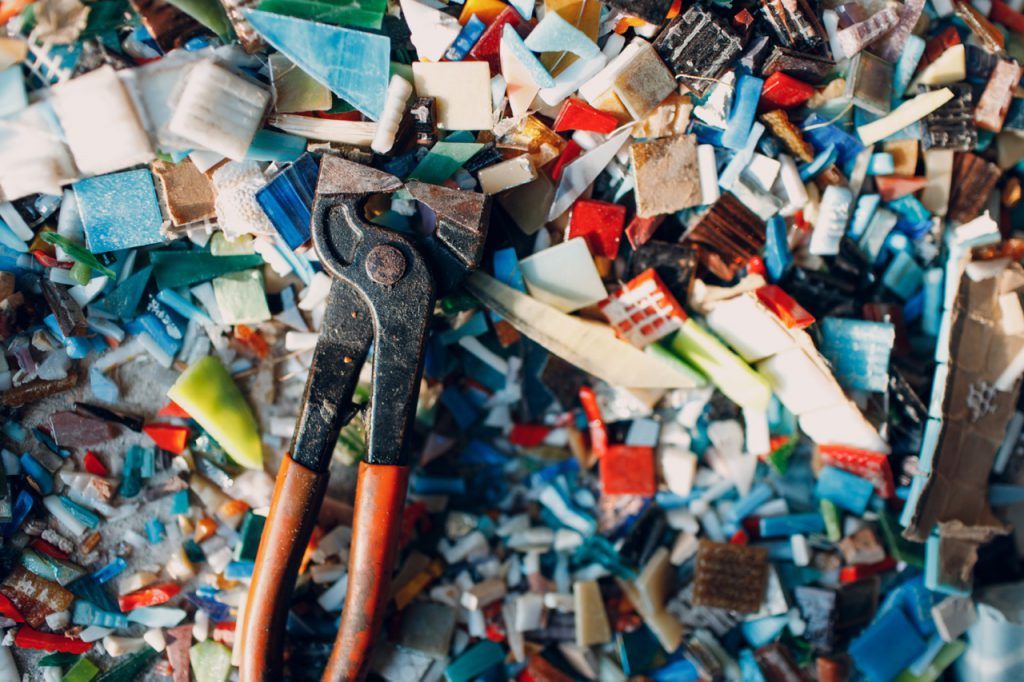
As mentioned at the beginning, the most commonly used materials are ceramic, glazed glass, marble, or stone, but you can also create mosaics using pebbles, shells, plastic, or other materials. The important thing is that they are small in size - or that they can be cut - and that they can be glued to the support. The choice depends only on your needs and taste.
Of course, it is possible to create mosaics using different materials: the combination of opaque and shiny materials, of regular and irregular surfaces, more or less reflective, allows for the creation of always different aesthetic effects. As always, creativity is key!
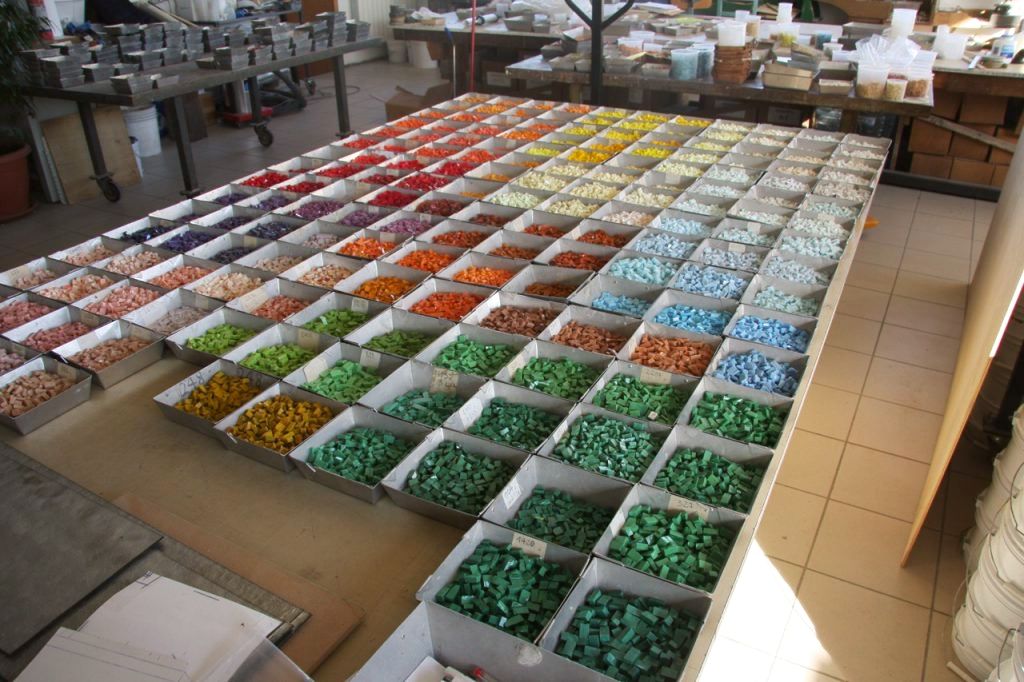
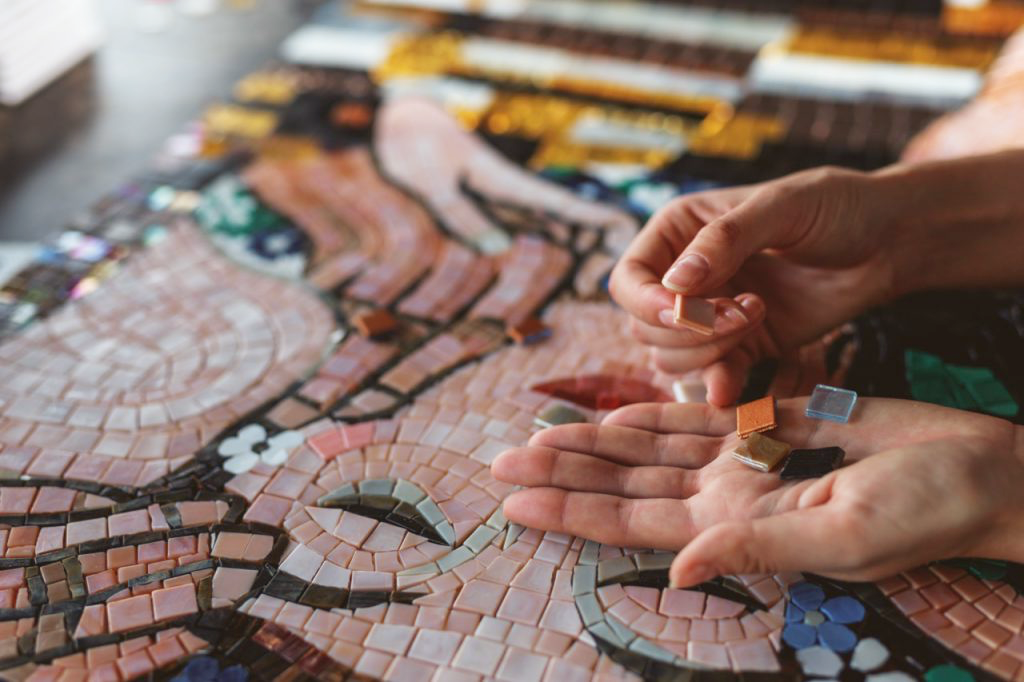
How to obtain the tesserae? You can purchase ceramic tiles, marble, or sheets of glazed glass, but you can also use materials you already have at home and cut them to create the tesserae. Obviously, there are also commercially available packs of pre-cut tesserae in various shapes and colours: they generally all have the same shape (square or rectangular) and size, and are ideal for experimenting with your first mosaics or for creating geometric patterns with clean and regular lines.
For those who want to challenge themselves with traditional tesserae of various shapes and sizes, tools will be needed to cut them.
Cutting the tesserae
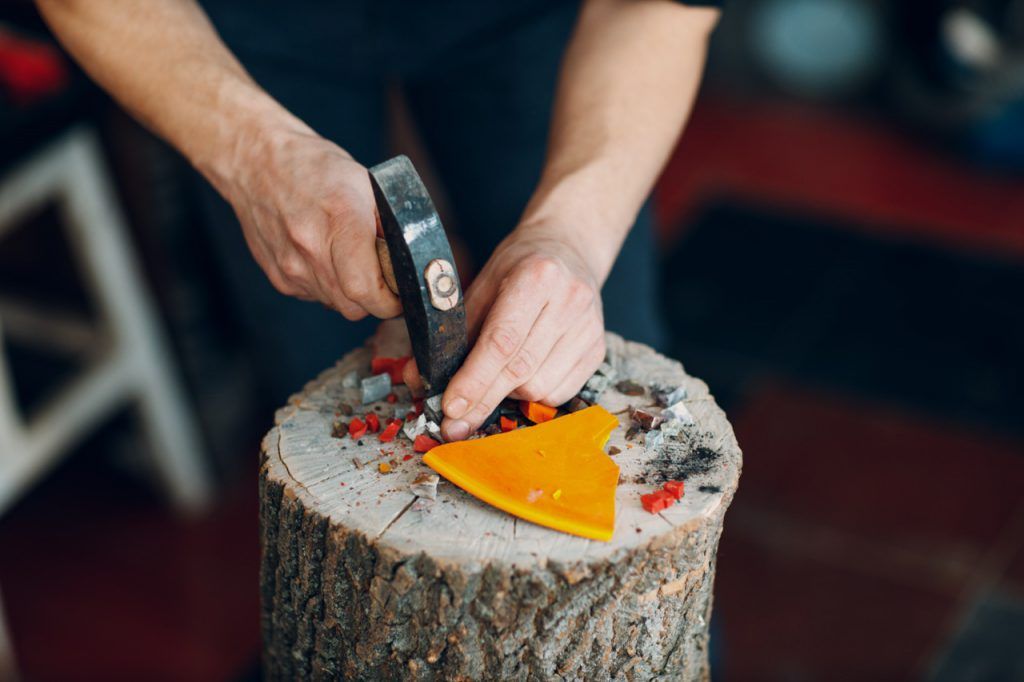
The traditional technique for cutting tesserae involves using a wooden block or a steel base on which a cutting tool is fixed, namely a wedge of iron or steel with a chisel end. The tessera is placed on the cutting tool and struck with a hammer, a tool that can have sharp tips of two types, in carbide (cemented carbide) or steel, suitable for cutting glassy and non-glassy materials, such as marble or stone.
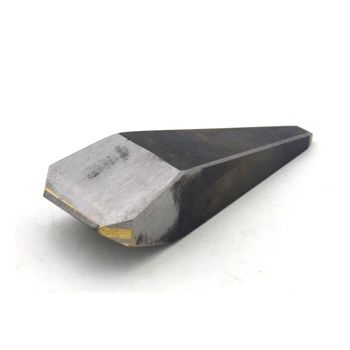
Mosaic cutting wedge
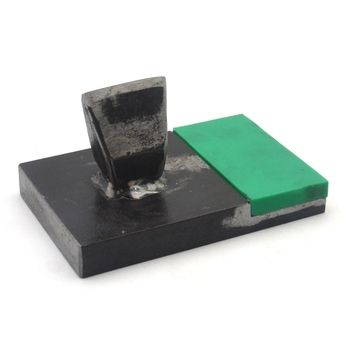
Base with wedge for cutting mosaic
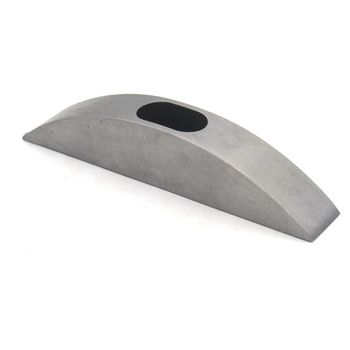
Hammer for cutting mosaic
For beginners, however, it may be sufficient to provide at least two types of pliers.
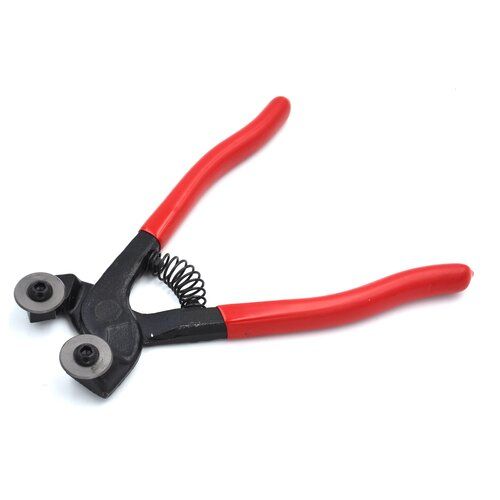
The two-wheel cutting pliers: are specific for glassy materials. The sharp blade of the wheels allows for precise cutting of even small pieces, without shattering them and creating splinters. The glass cutter can also be used for ceramics, especially if you are looking for precise cuts and regular edges.
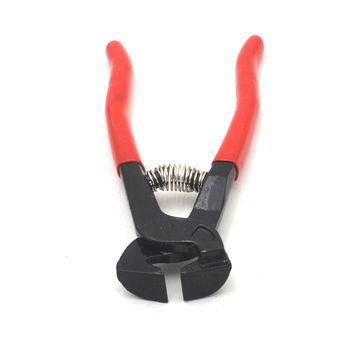
The straight jaw cutting pliers, on the other hand, allow you to cut – or rather, break – other non-glassy materials, such as ceramics and glazed ceramics.
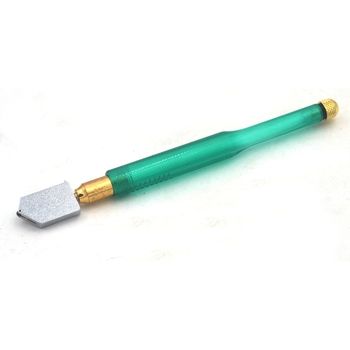
A glass cutter will be useful for working with large pieces of glass or glaze and reducing them to fragments that you can work with the pliers. Firmly run the cutter along a straight line on the glass, and then use pliers to break the sheet along the incision....
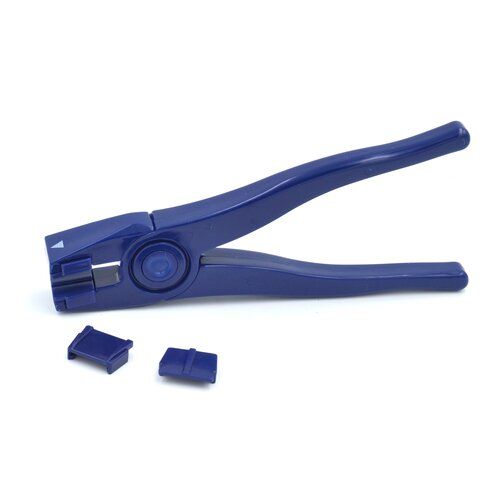
…use a breaking pliers to snap the sheet along the incision.
Adhesives and mortars
To fix the tesserae to the support, an adhesive material is needed: either glue or adhesive mortar for tiles.

Standard vinyl glue is excellent for flat and horizontal projects. Its advantage is that it does not dry immediately, allowing you, if necessary, to reposition the tesserae or adjust the design. Once hardened, however, it provides a fairly stable hold.
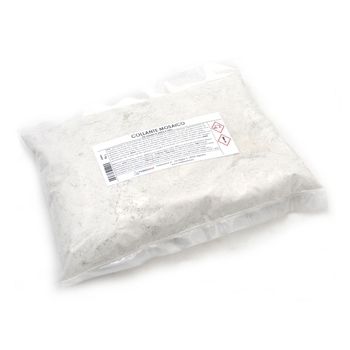
An alternative to liquid glue is the use of powder mosaic adhesive. Unlike liquid glue, which is applied to each individual tile, the powder adhesive, once mixed with water, is spread over the entire support, creating a thick layer of paste in which to fix the tesserae. This method is ideal for free-style projects, but the disadvantage is that it is more difficult to move or rearrange the position of the tesserae.
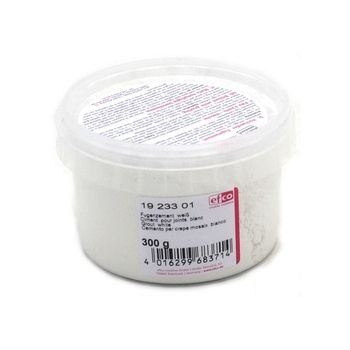
Even if you use liquid glue, once the design is complete, you will still need to apply a layer of mortar over the mosaic to fill the gaps and joints. This will give solidity to the project while creating the typical “mosaic effect”.

In this regard, remember that the colour of the mortar affects the aesthetics of the final result. A white mortar will highlight the individual tiles and emphasise the colours. A neutral or light grey mortar, on the other hand, allows the overall design to emerge rather than the individual pieces. Black or very dark mortar almost overshadows the design itself, creating a very different aesthetic effect. Dark mortar can also stain the tesserae, so it is wise to use it with caution!
The surface of the mosaic: which support to choose?
As we have already mentioned, it is possible to create a mosaic on practically any surface, provided that:
- it is rigid. You cannot create a mosaic on a flexible or foldable surface, as you risk breaking the mosaic.
- it is sturdy enough to support the weight of the tesserae, especially if it is a vertical mosaic.
A wooden board or a ceramic tile, for example, are excellent supports to start with your first experiments!
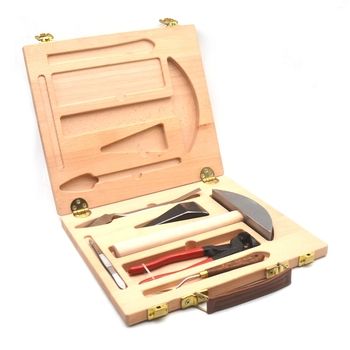
Protective gear and other accessories
Before diving into the techniques and practice of mosaic, let’s remember some useful accessories to have on hand, starting with protective gear.
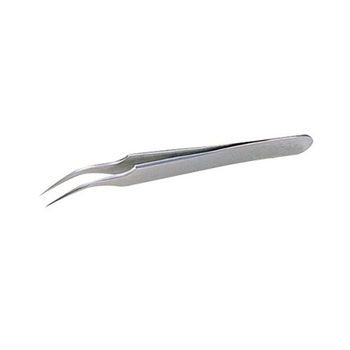
Curved tip tweezers
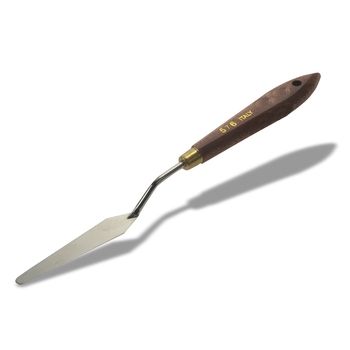
Steel spatula
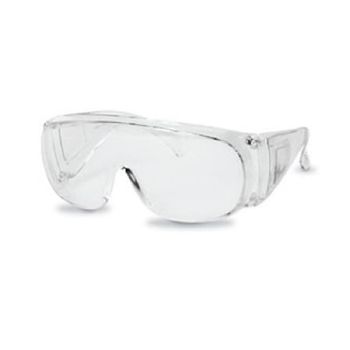
Plastic safety glasses
Safety glasses are essential, especially during the cutting phase of the tesserae. The same goes for gloves, especially when using mortar, which can dry and irritate the skin.
Tweezers, a spatula, and a brush for applying glue complete the assortment.
The design
Whether it’s a simple geometric pattern or a complex subject, the design is essential to guide you in applying the tesserae. The design should be created to the actual dimensions of the mosaic you want to create and applied to the support. Depending on the complexity of your project and the type of support to use, you will have different options.
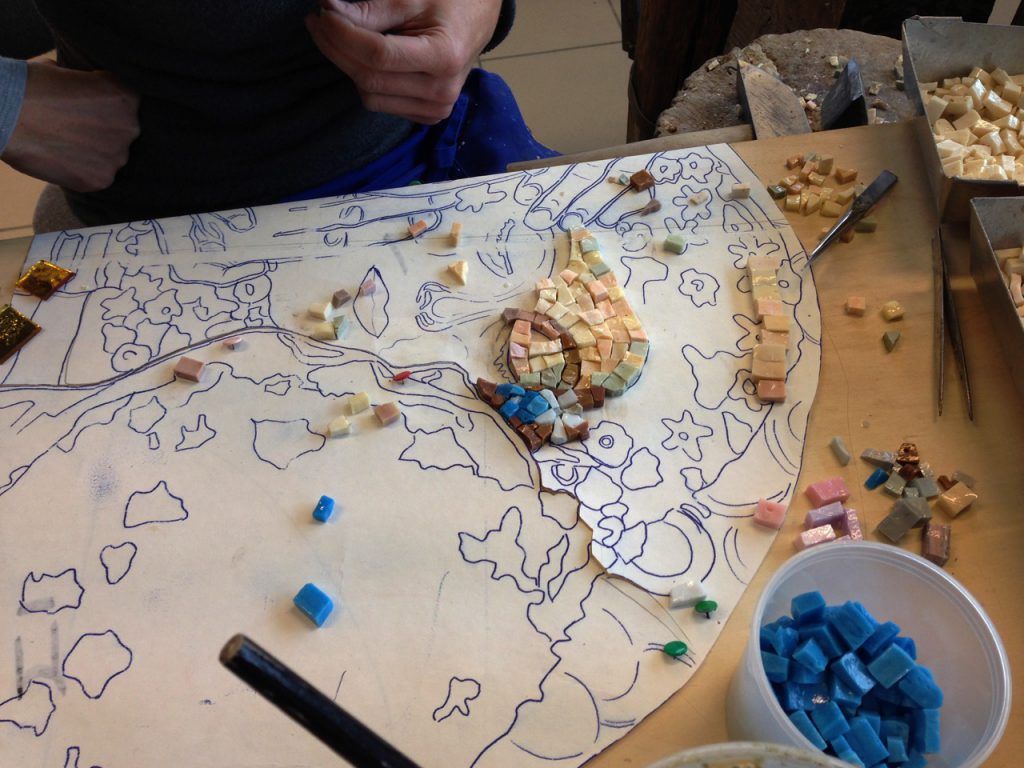
You can draw directly on the support – for example, if you are working on a wooden board or the back of a tile – or trace it from the original using transfer paper. If you are a beginner, you can choose to use one of the many mosaic templates available for download online.
The design for a mosaic is not limited to outlining the lines of the subject or pattern, but must also indicate the flows, that is, the guidelines that indicate the direction of the tesserae and their arrangement. If you use tesserae of equal sizes and shapes, you will probably have a fairly regular structure, with very narrow and barely visible gaps. As you vary the size and shape of the tesserae, the visibility of the gaps will increase, as will the overall dynamics of the design.
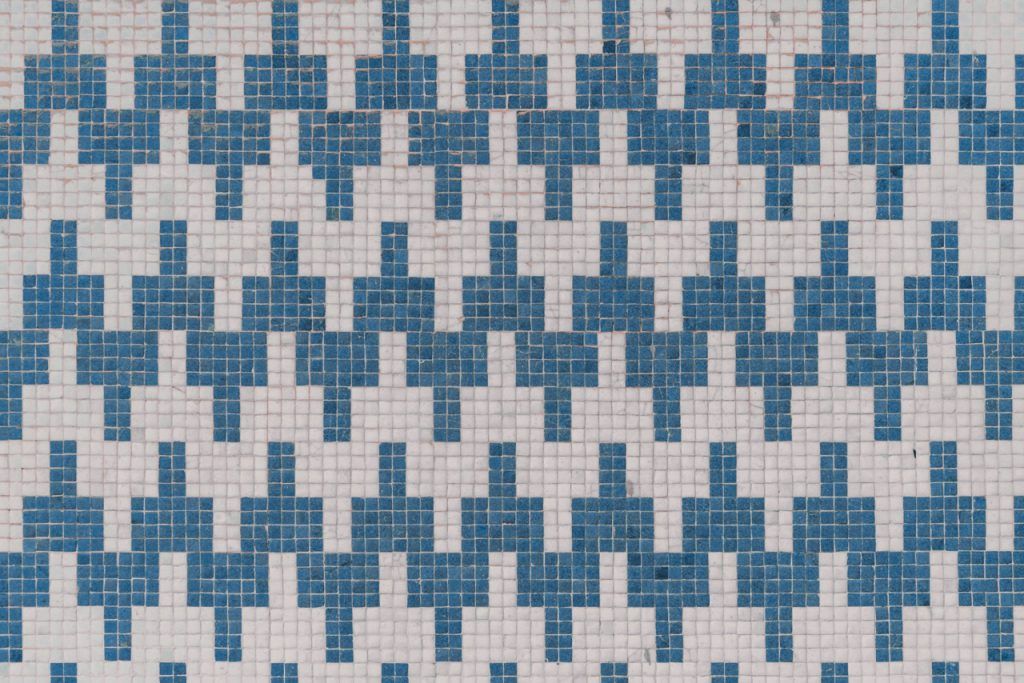
A piece of advice that applies to any type of technique is never to arrange the tesserae in a grid, but to ensure that the edges of the tesserae are always slightly staggered relative to each other. Unless a regular grid is exactly the result you are looking for (think, for example, of the mosaic decorations in many home bathrooms).
Application of the tesserae
We have reached the moment of the actual creation of the mosaic: the application of the tesserae. There are various techniques that have been codified throughout the history of this art and that lead to different aesthetic and stylistic results. But it is important to remember that there are no fixed and unchangeable rules to follow to the letter. The ones we present aim to show you different possible paths to choose from and, why not, also to personalise according to your style.

In the “Roman” technique, mainly used for flooring work, the figures of the design have outlines, sometimes with a different flow compared to the filling. The backgrounds and fillings usually have a striped flow.
The tesserae are generally square-shaped and the gaps are always present, although not necessarily very evident.
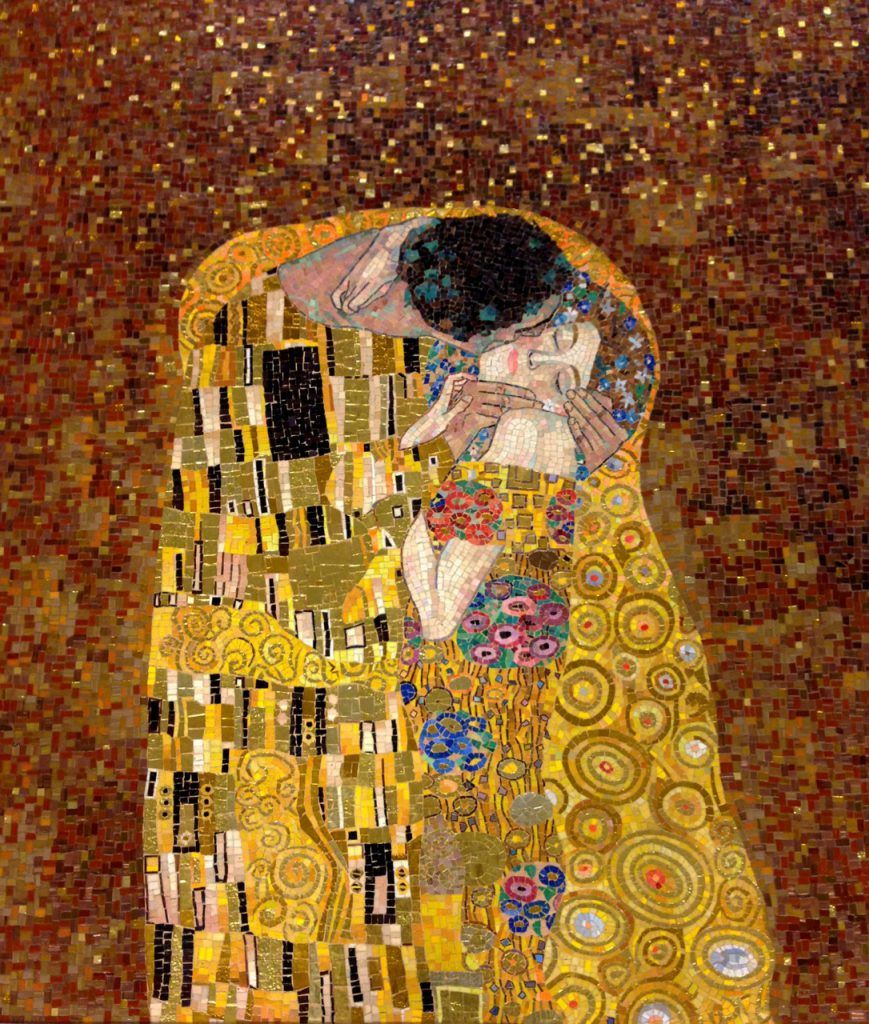
The Byzantine technique, which was mainly used for wall works, involves the use of tesserae of different shapes and sizes, with prominent gaps.
The so-called classical-traditional technique (reverse on paper) involves very precise flows, using tesserae of extremely regular shapes and practically invisible gaps.
If the goal is not to create an image but a motif or pattern, there are still various options. The tesserae can still follow a flow but can rotate on their axis, creating greater dynamism. Textures can be created by repeating patterns at regular intervals, and so on.
Unless you want to achieve an extremely regular geometric pattern or motif, the general advice is to avoid overly regular grids and to vary the sizes and orientations of the tesserae, trying to intersperse very large tesserae with very small fragments.
Different and combinable materials, different techniques, styles, sizes, supports, and destinations: the world of mosaic is so vast and complex that it risks intimidating those approaching it for the first time. Especially if the mind races to the great and beautiful works that have entered the history of art.
But as we hope to have shown you in this guide, the creative possibilities are infinite and, above all, accessible at every level. The important thing is to start!
And if you have questions or would like to delve into any of these aspects, our experts are available to help you take your first steps into the world of mosaic.
Nova Mosaici is a company based in Bollate (MI) with over 60 years of history in the creation of artistic mosaics and stained glass. The works of Nova Mosaici can be found both inside and outside architectural and urban spaces, both in Italy and abroad.