 Italiano
 English
 Français
 Español
 Deutsch

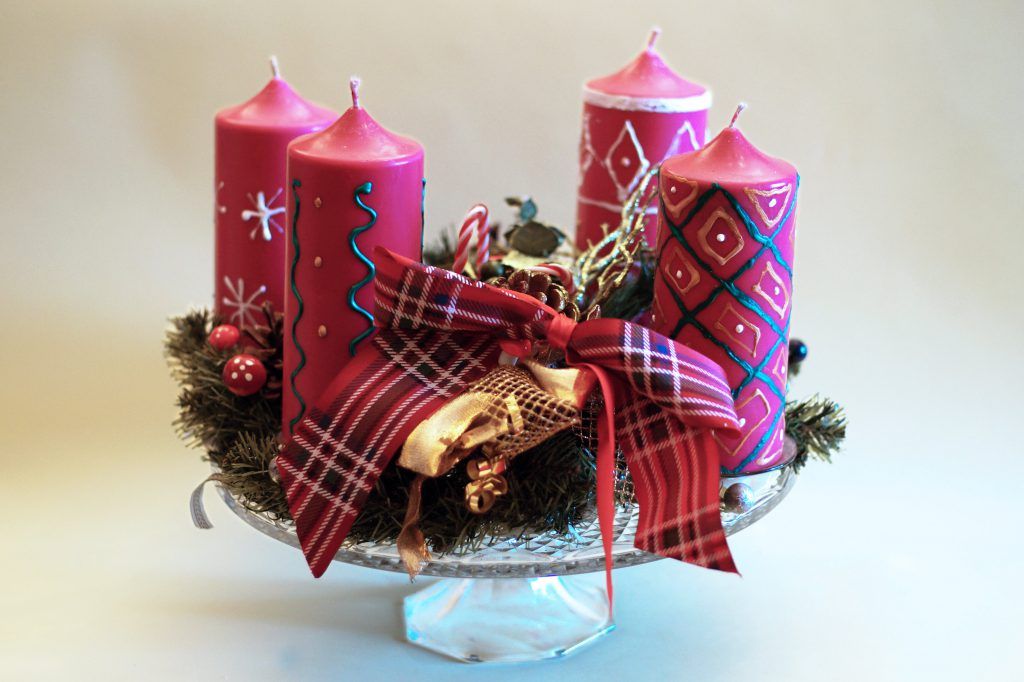
The most magical time of the year is approaching, capable of captivating us with its colourful lights, decorations, and gifts. There is nothing better than getting to work for the arrival of Christmas: whether they are to be given as gifts, used as decorations for your home, or for a candlelit dinner, the Advent candles made by your hands are perfect for these occasions.
If you are looking for a more comprehensive guide to making candles at home, you can check out MAKING CANDLES AT HOME PART 1: TYPES OF CANDLES AND WAX TYPES, or our guide to creating CHRISTMAS CANDLES WITH PALM WAX or even the guide on HOW TO MAKE CANDLES WITH SOY WAX
What you need to create your Advent candles
- natural wax for moulds (in this tutorial you will find soy wax, the Ecosoya Pillar Blend, but you can also use palm wax, or whichever you prefer for your candles)
- 1 cylindrical mould
- 1 wick specific for natural waxes
- 1 red candle dye
- the Candle Decopaint, that is the liquid wax for raised decoration
- paper tape
- wooden sticks
- bowl and pot for melting the wax in a water bath
- fragrant aromas
The procedure
Step 1
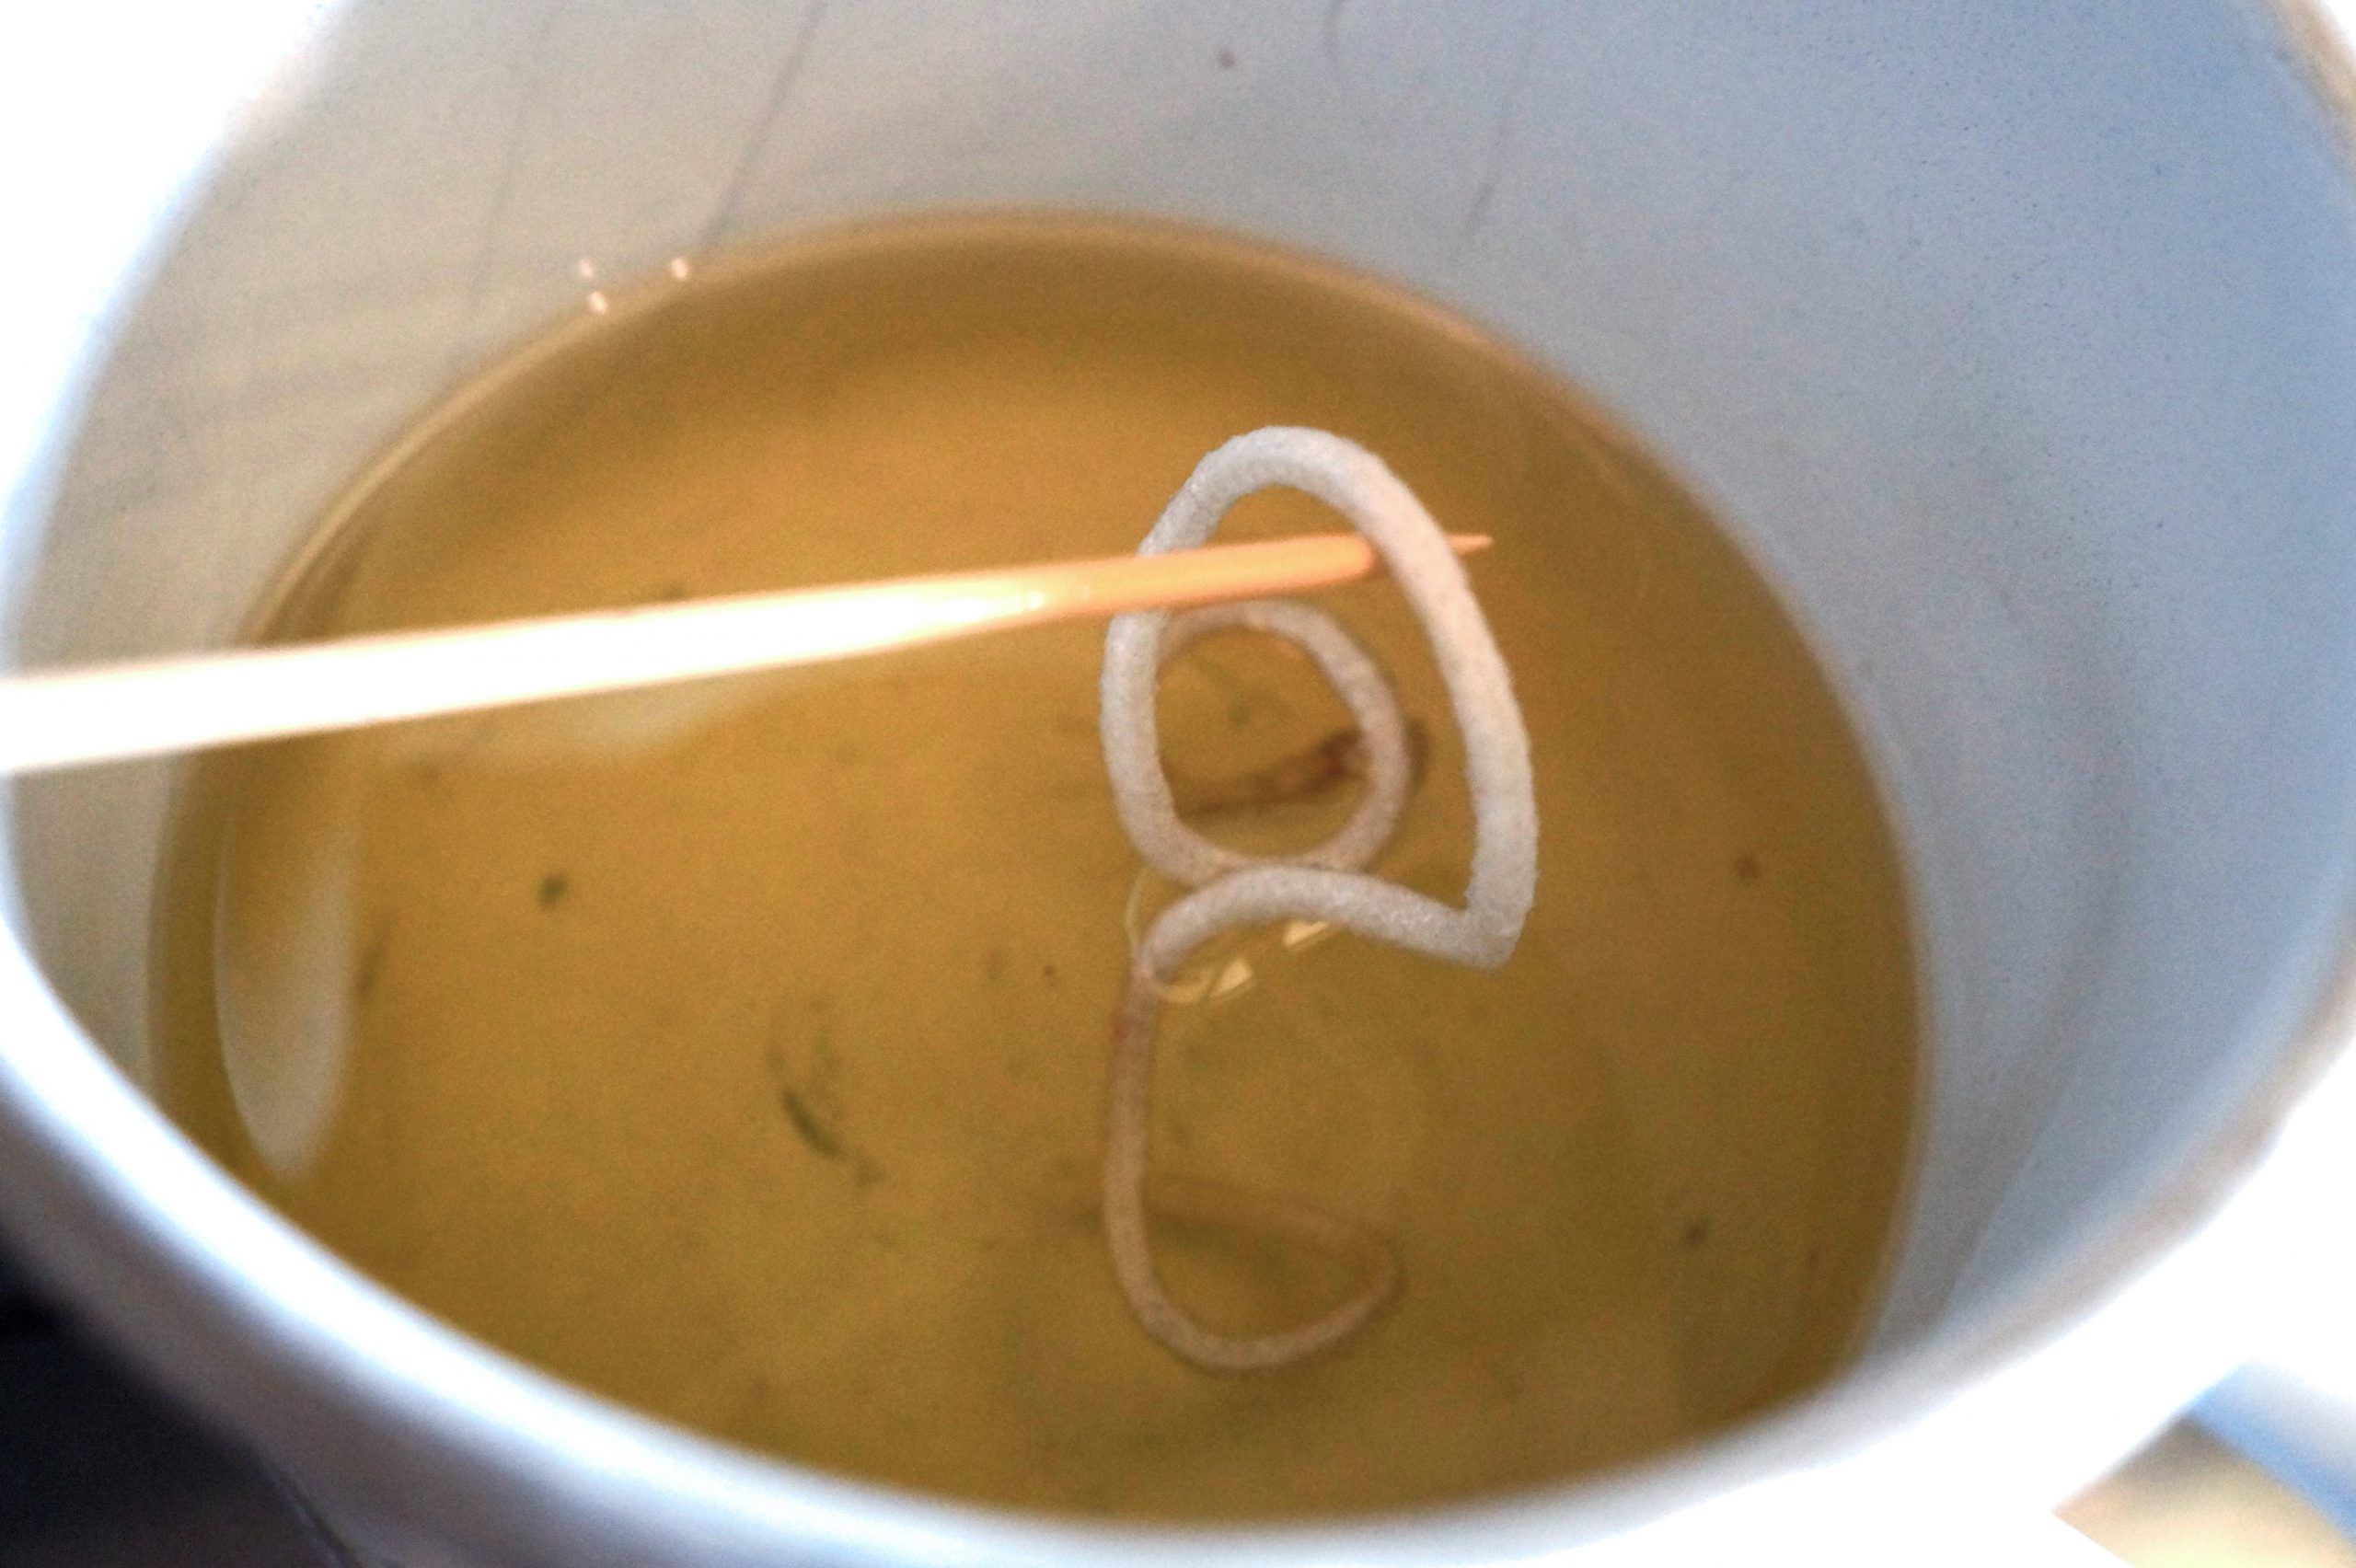
First, melt the wax in a water bath, paying attention to the melting temperatures indicated on the packaging.* Once melted, soak the wick to be able to wax it.
Step 2
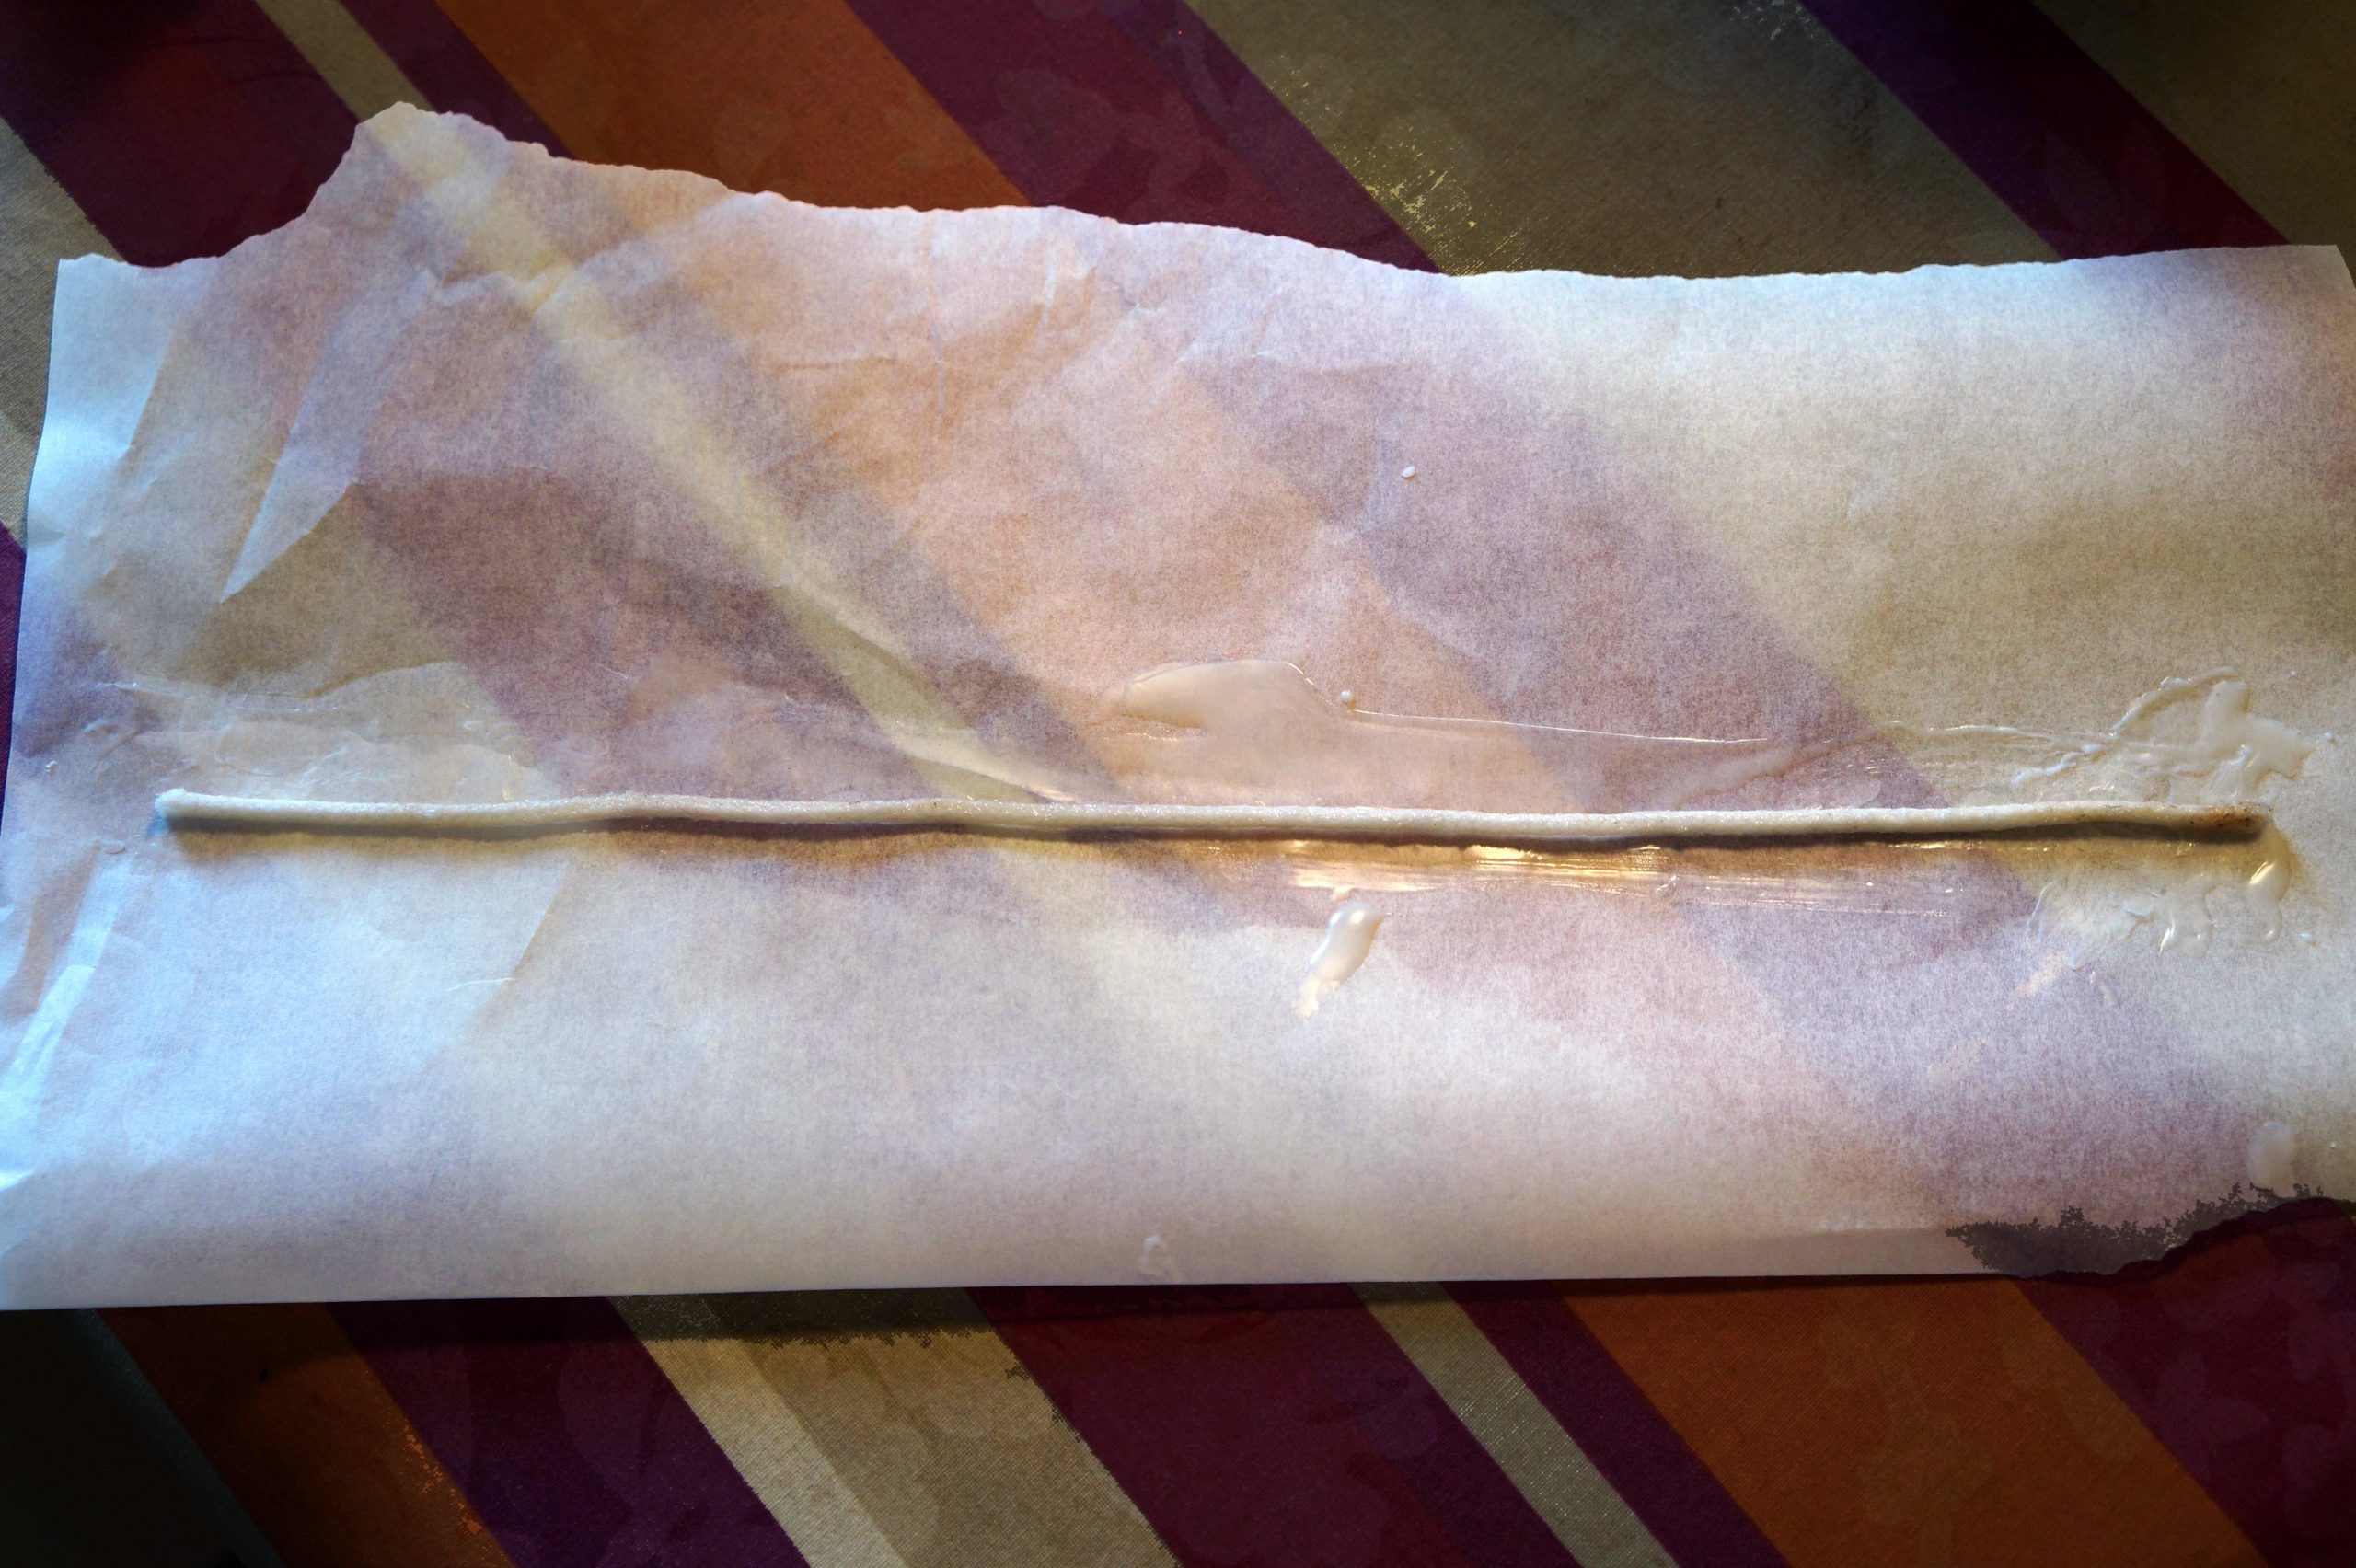
Let it dry on a piece of baking paper: it will take a few minutes.
Step 3
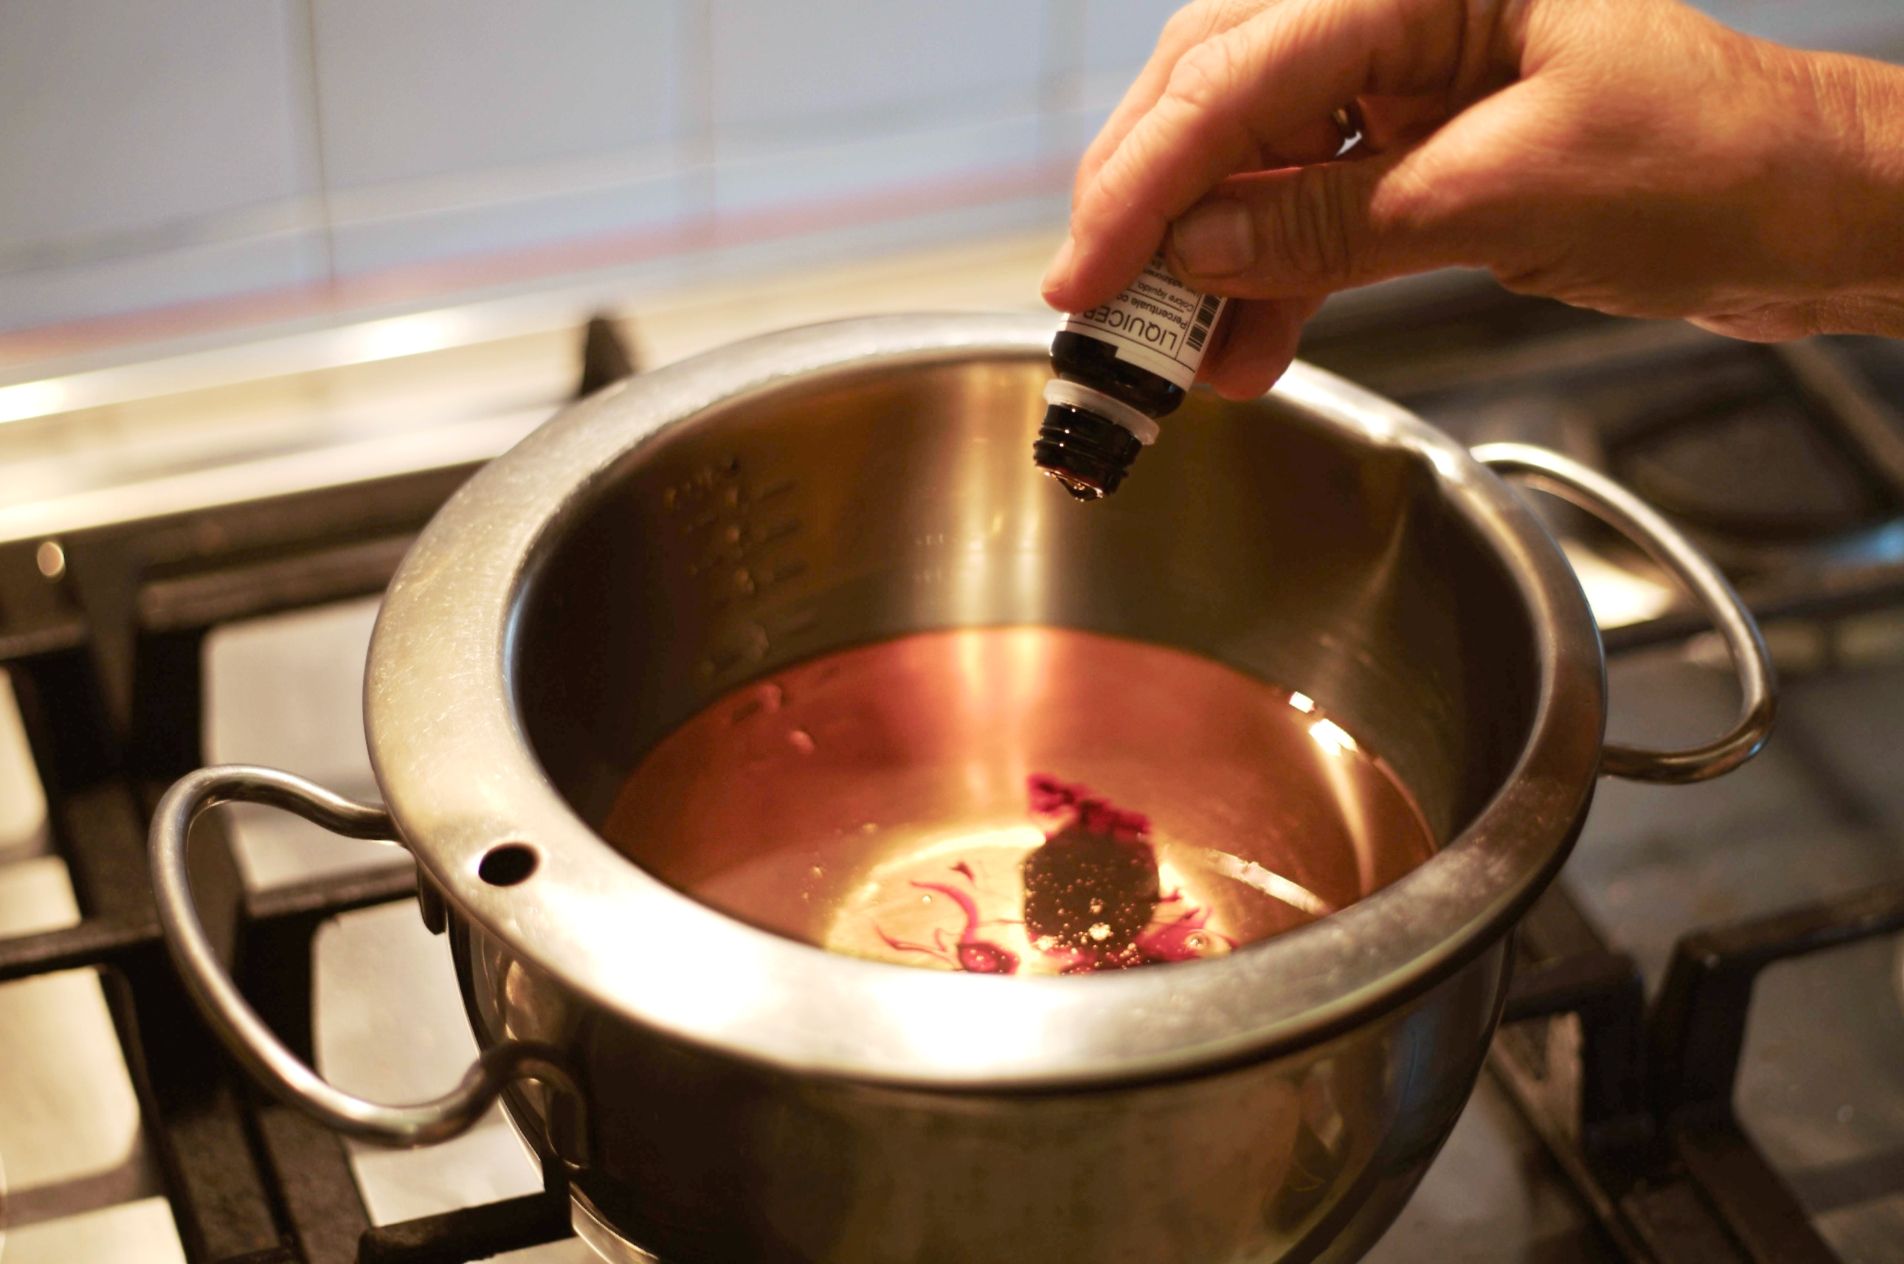
You can proceed to colour the wax. I chose red, but you can let your creativity run wild. Be careful to follow all the instructions for adding the dye to the wax; you will find them on the product label. If you want to colour the wick as well, reverse the steps: once the wax is melted, add the dye immediately and then soak the wick.
Step 4
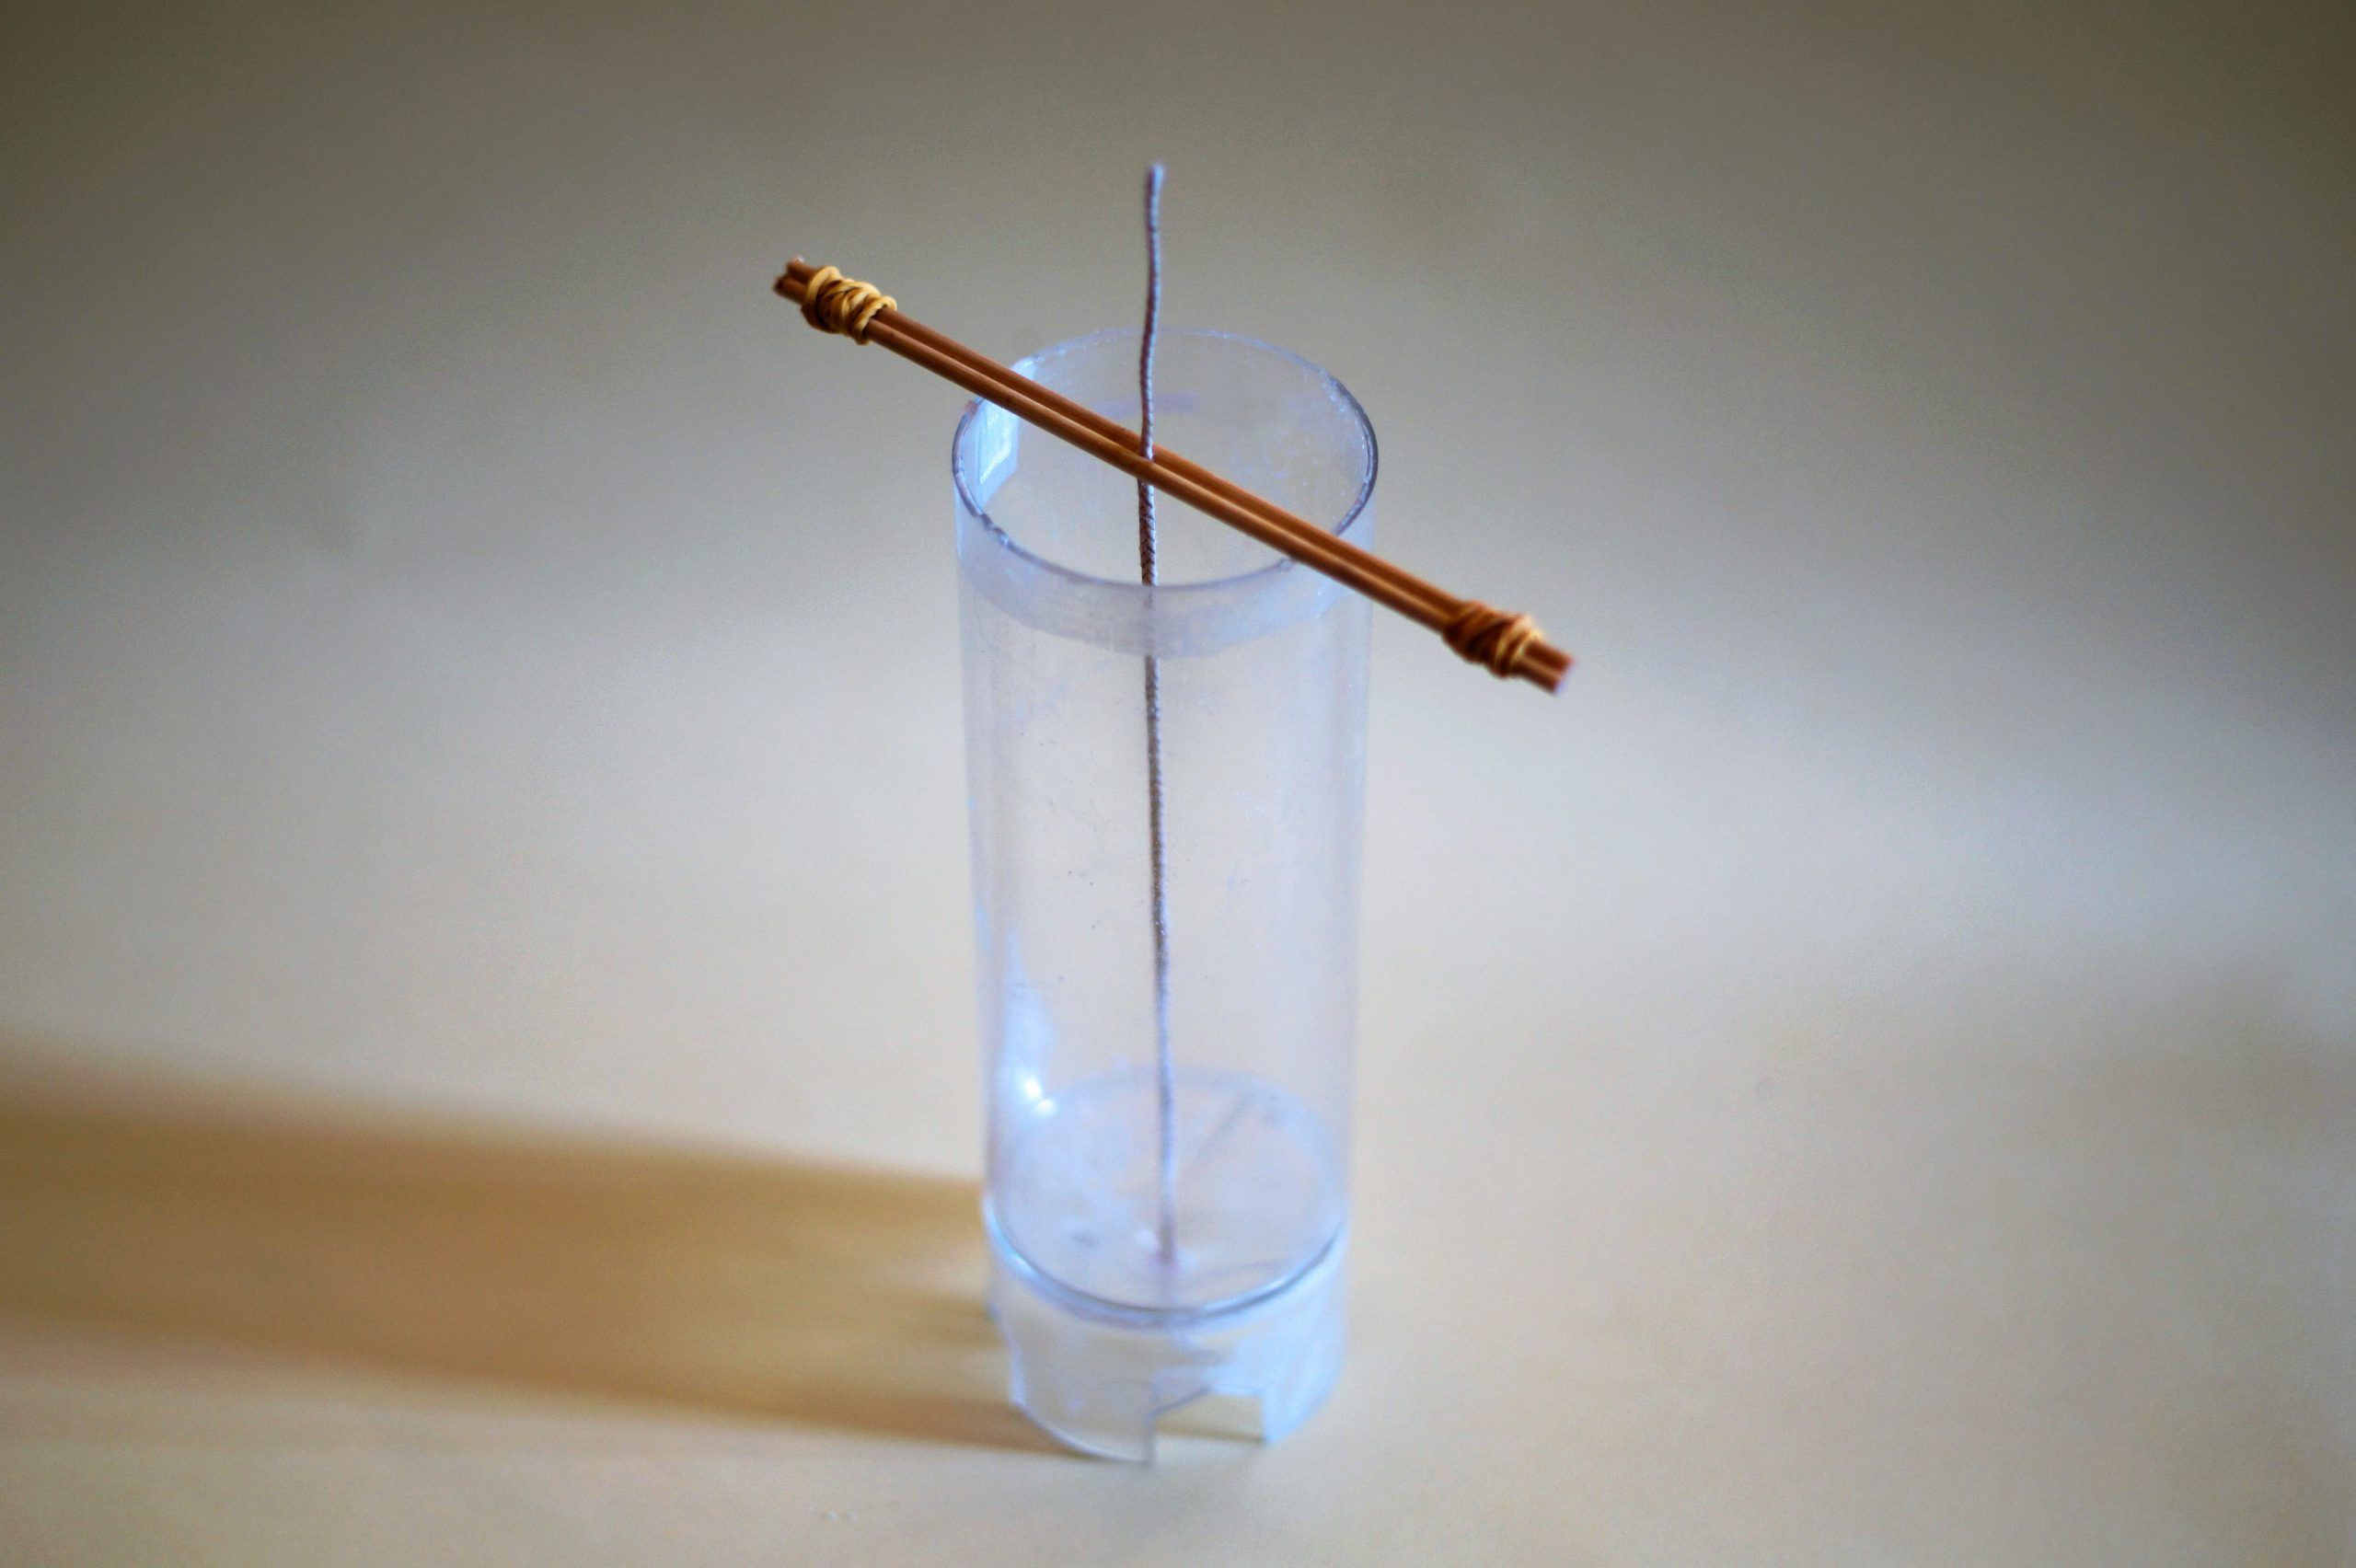
Now prepare the mould for pouring the wax. Use the two wooden sticks to support the wick. Don't forget to secure it to the bottom of the mould with a piece of tape, so that it stays in place during the pouring.
Step 5
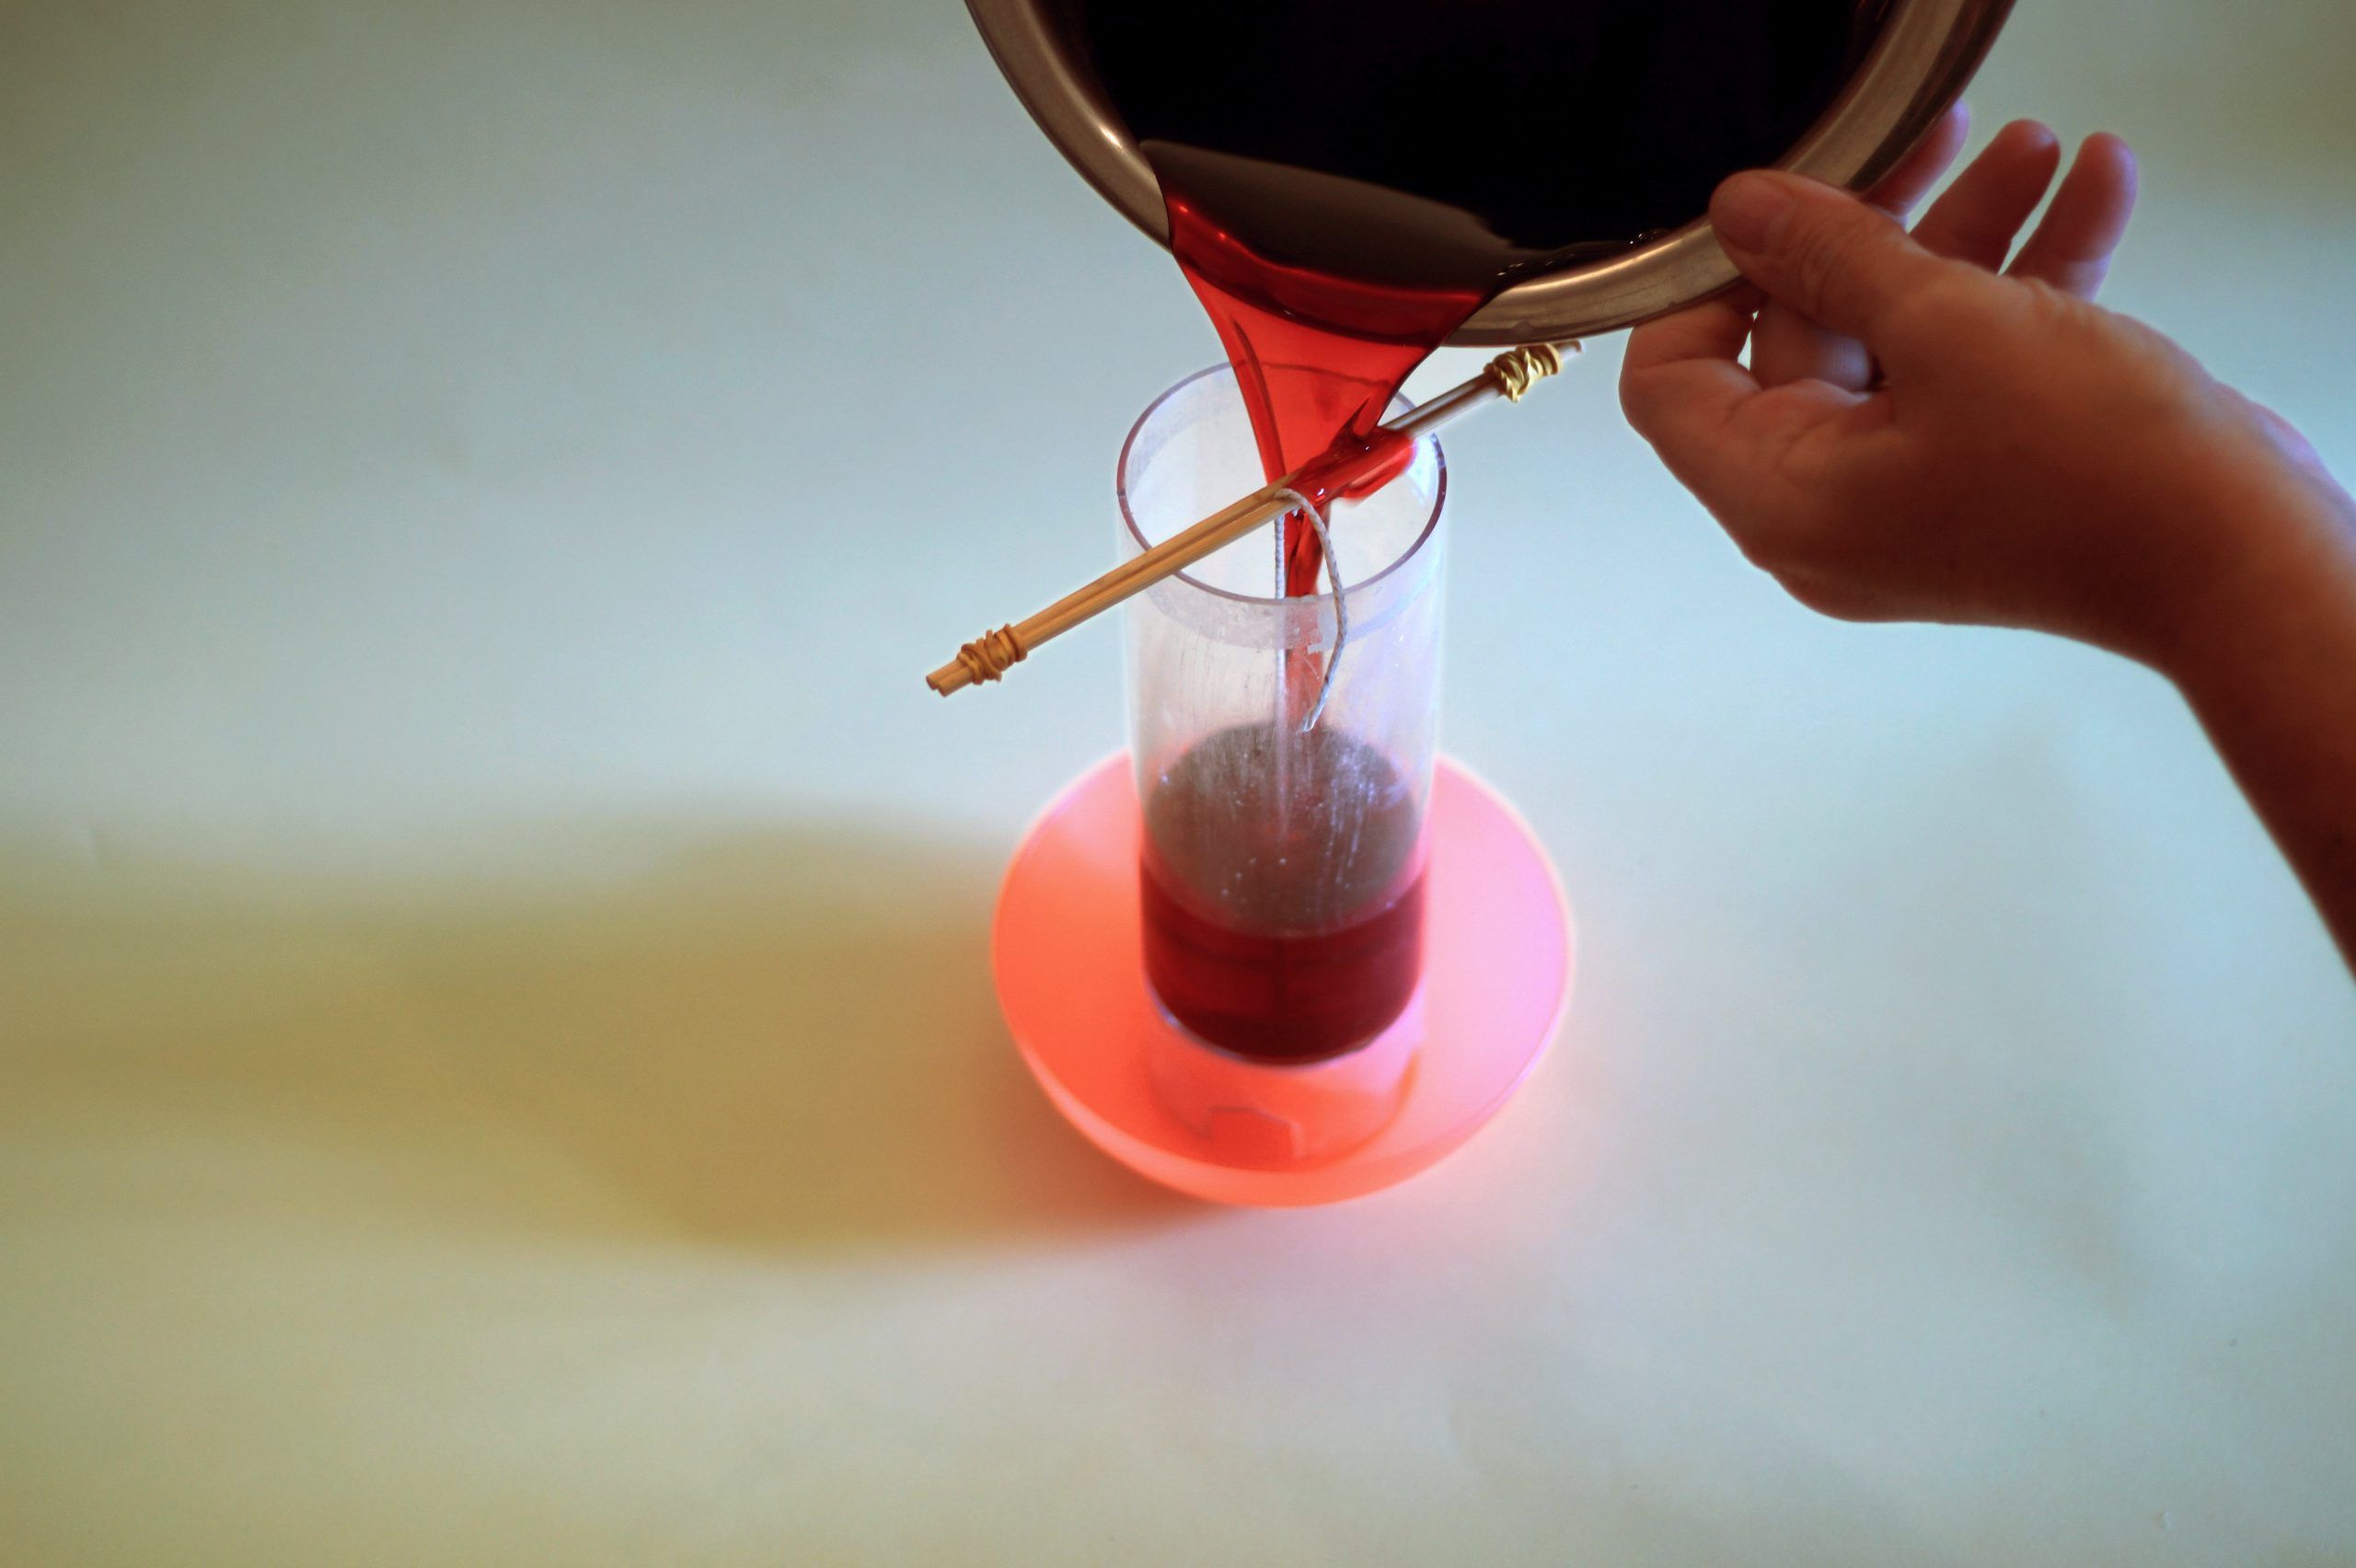
Mix the colour well into the melted wax: it’s time to pour it into your mould!
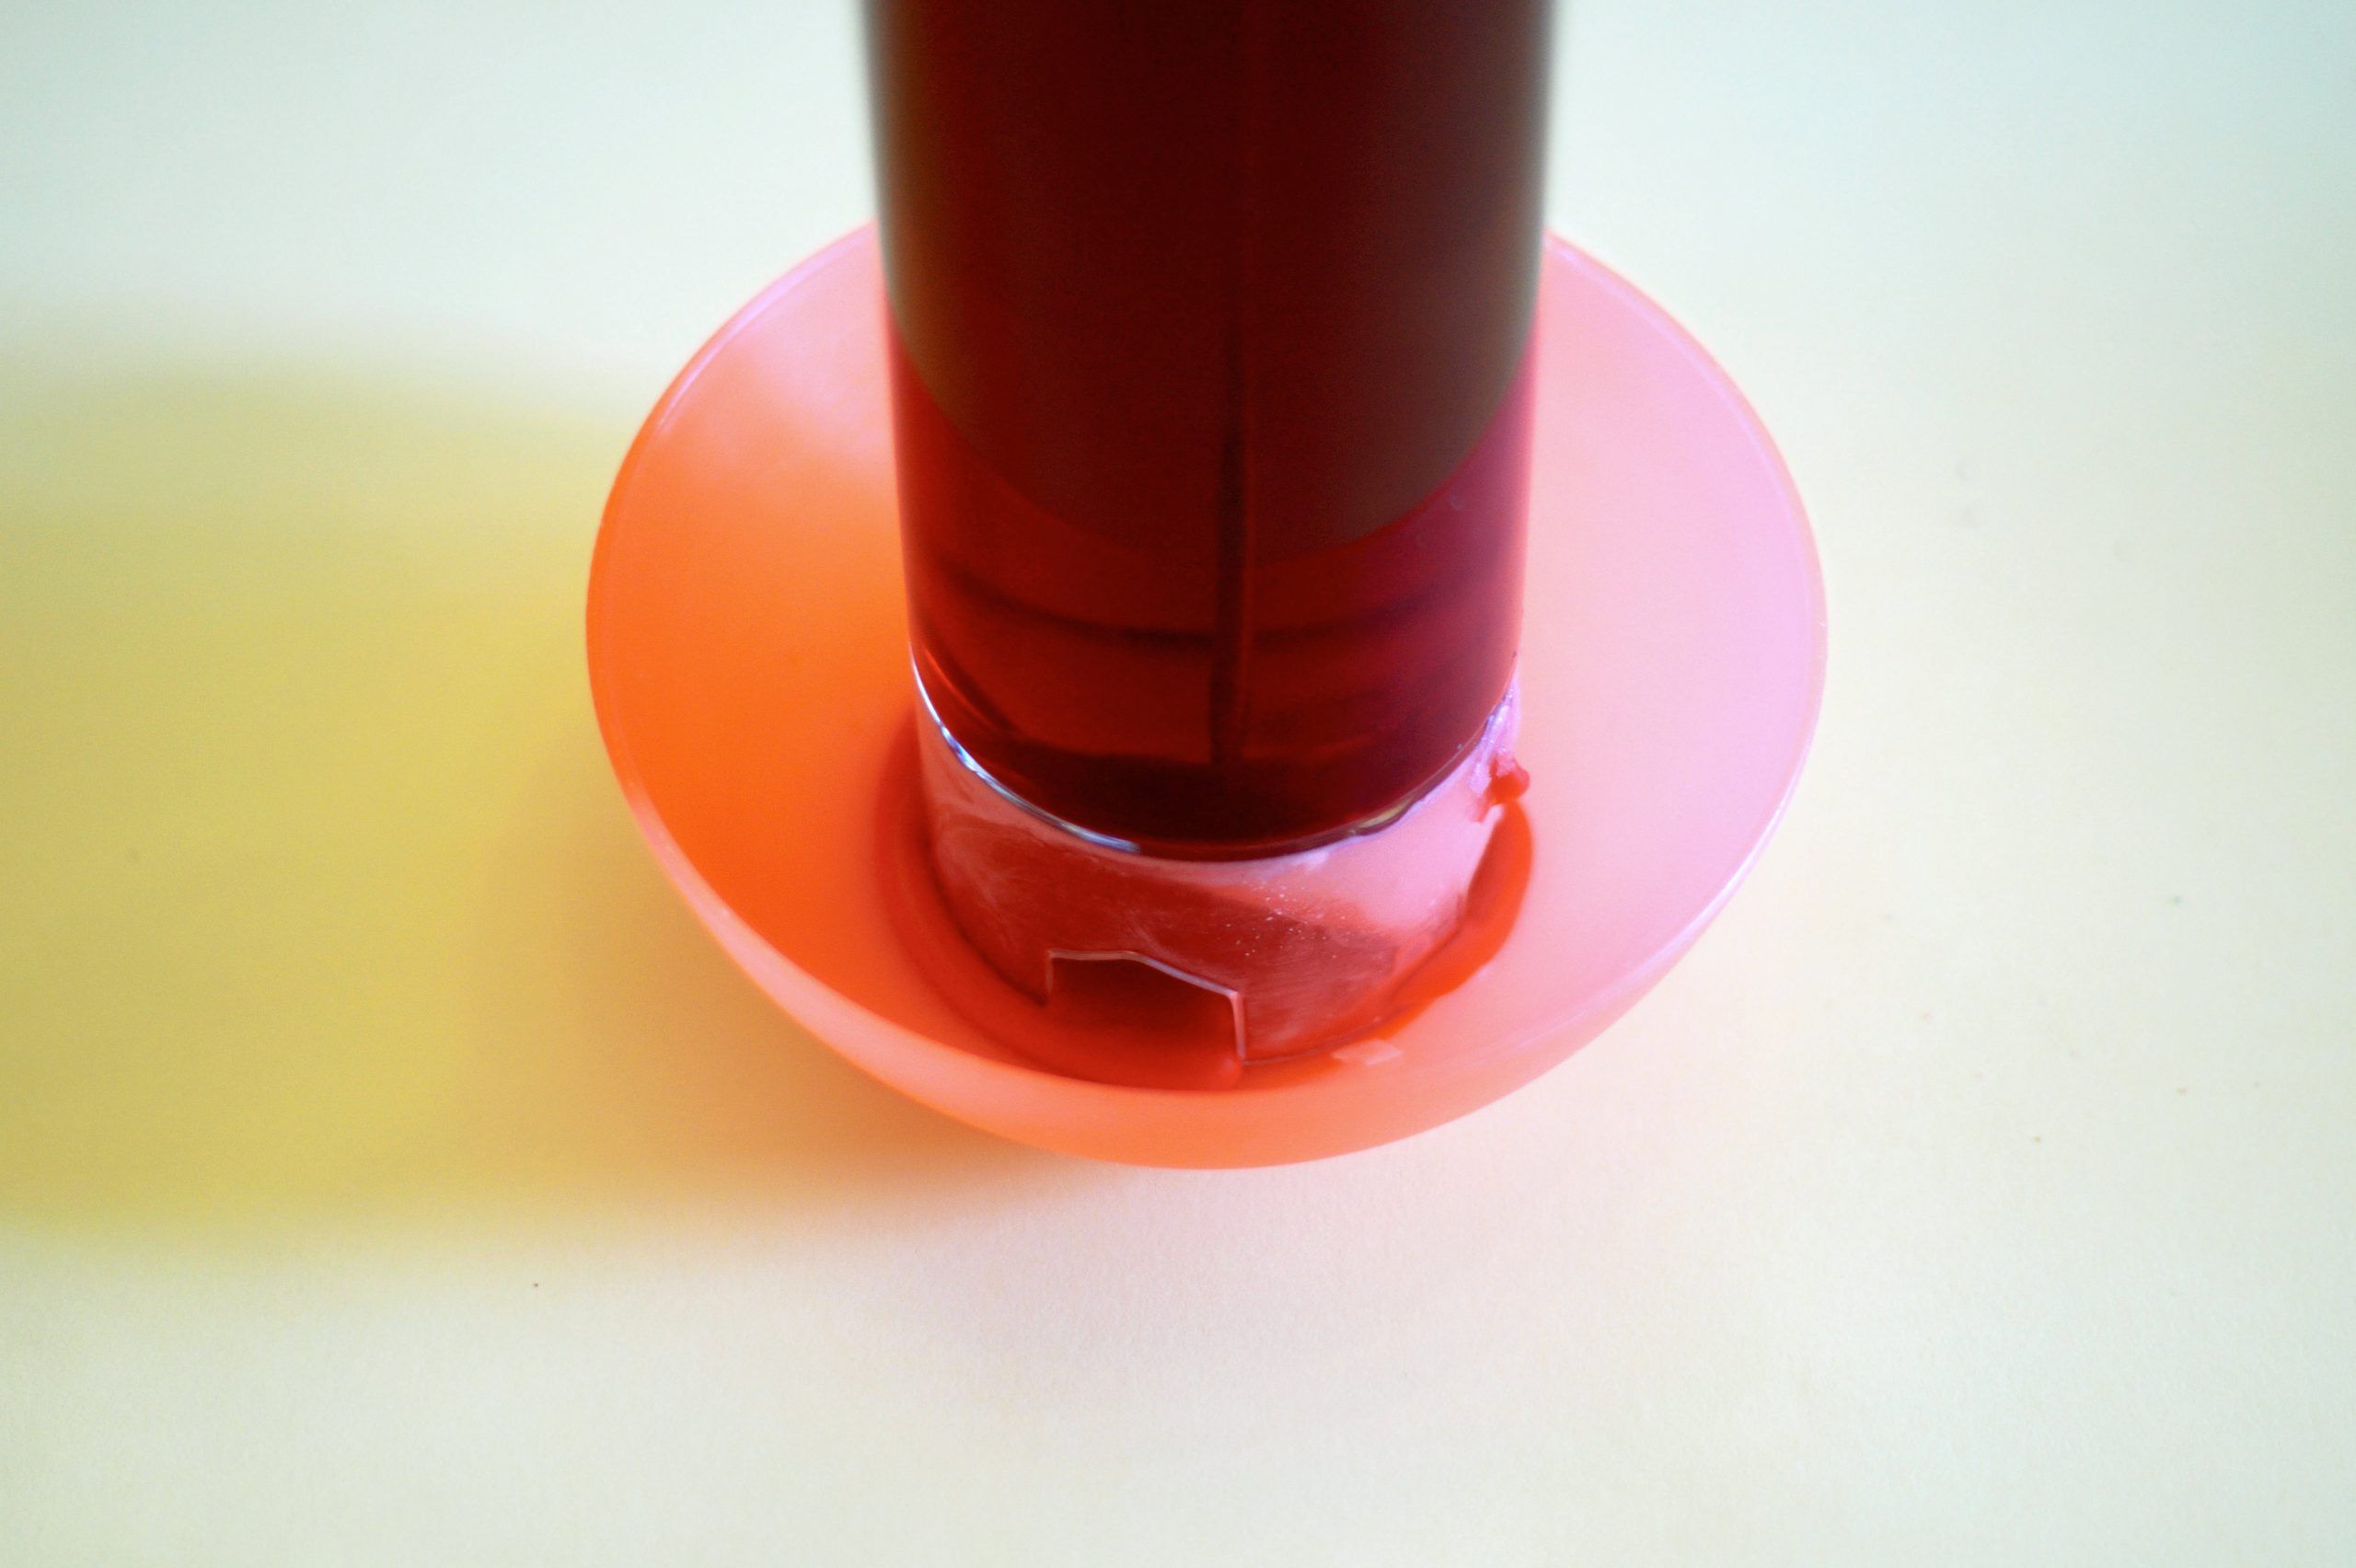
A tip
To avoid the hassle of cleaning up wax that might spill outside the mould during pouring, place a small bowl under the mould, as shown in the image.
Step 6
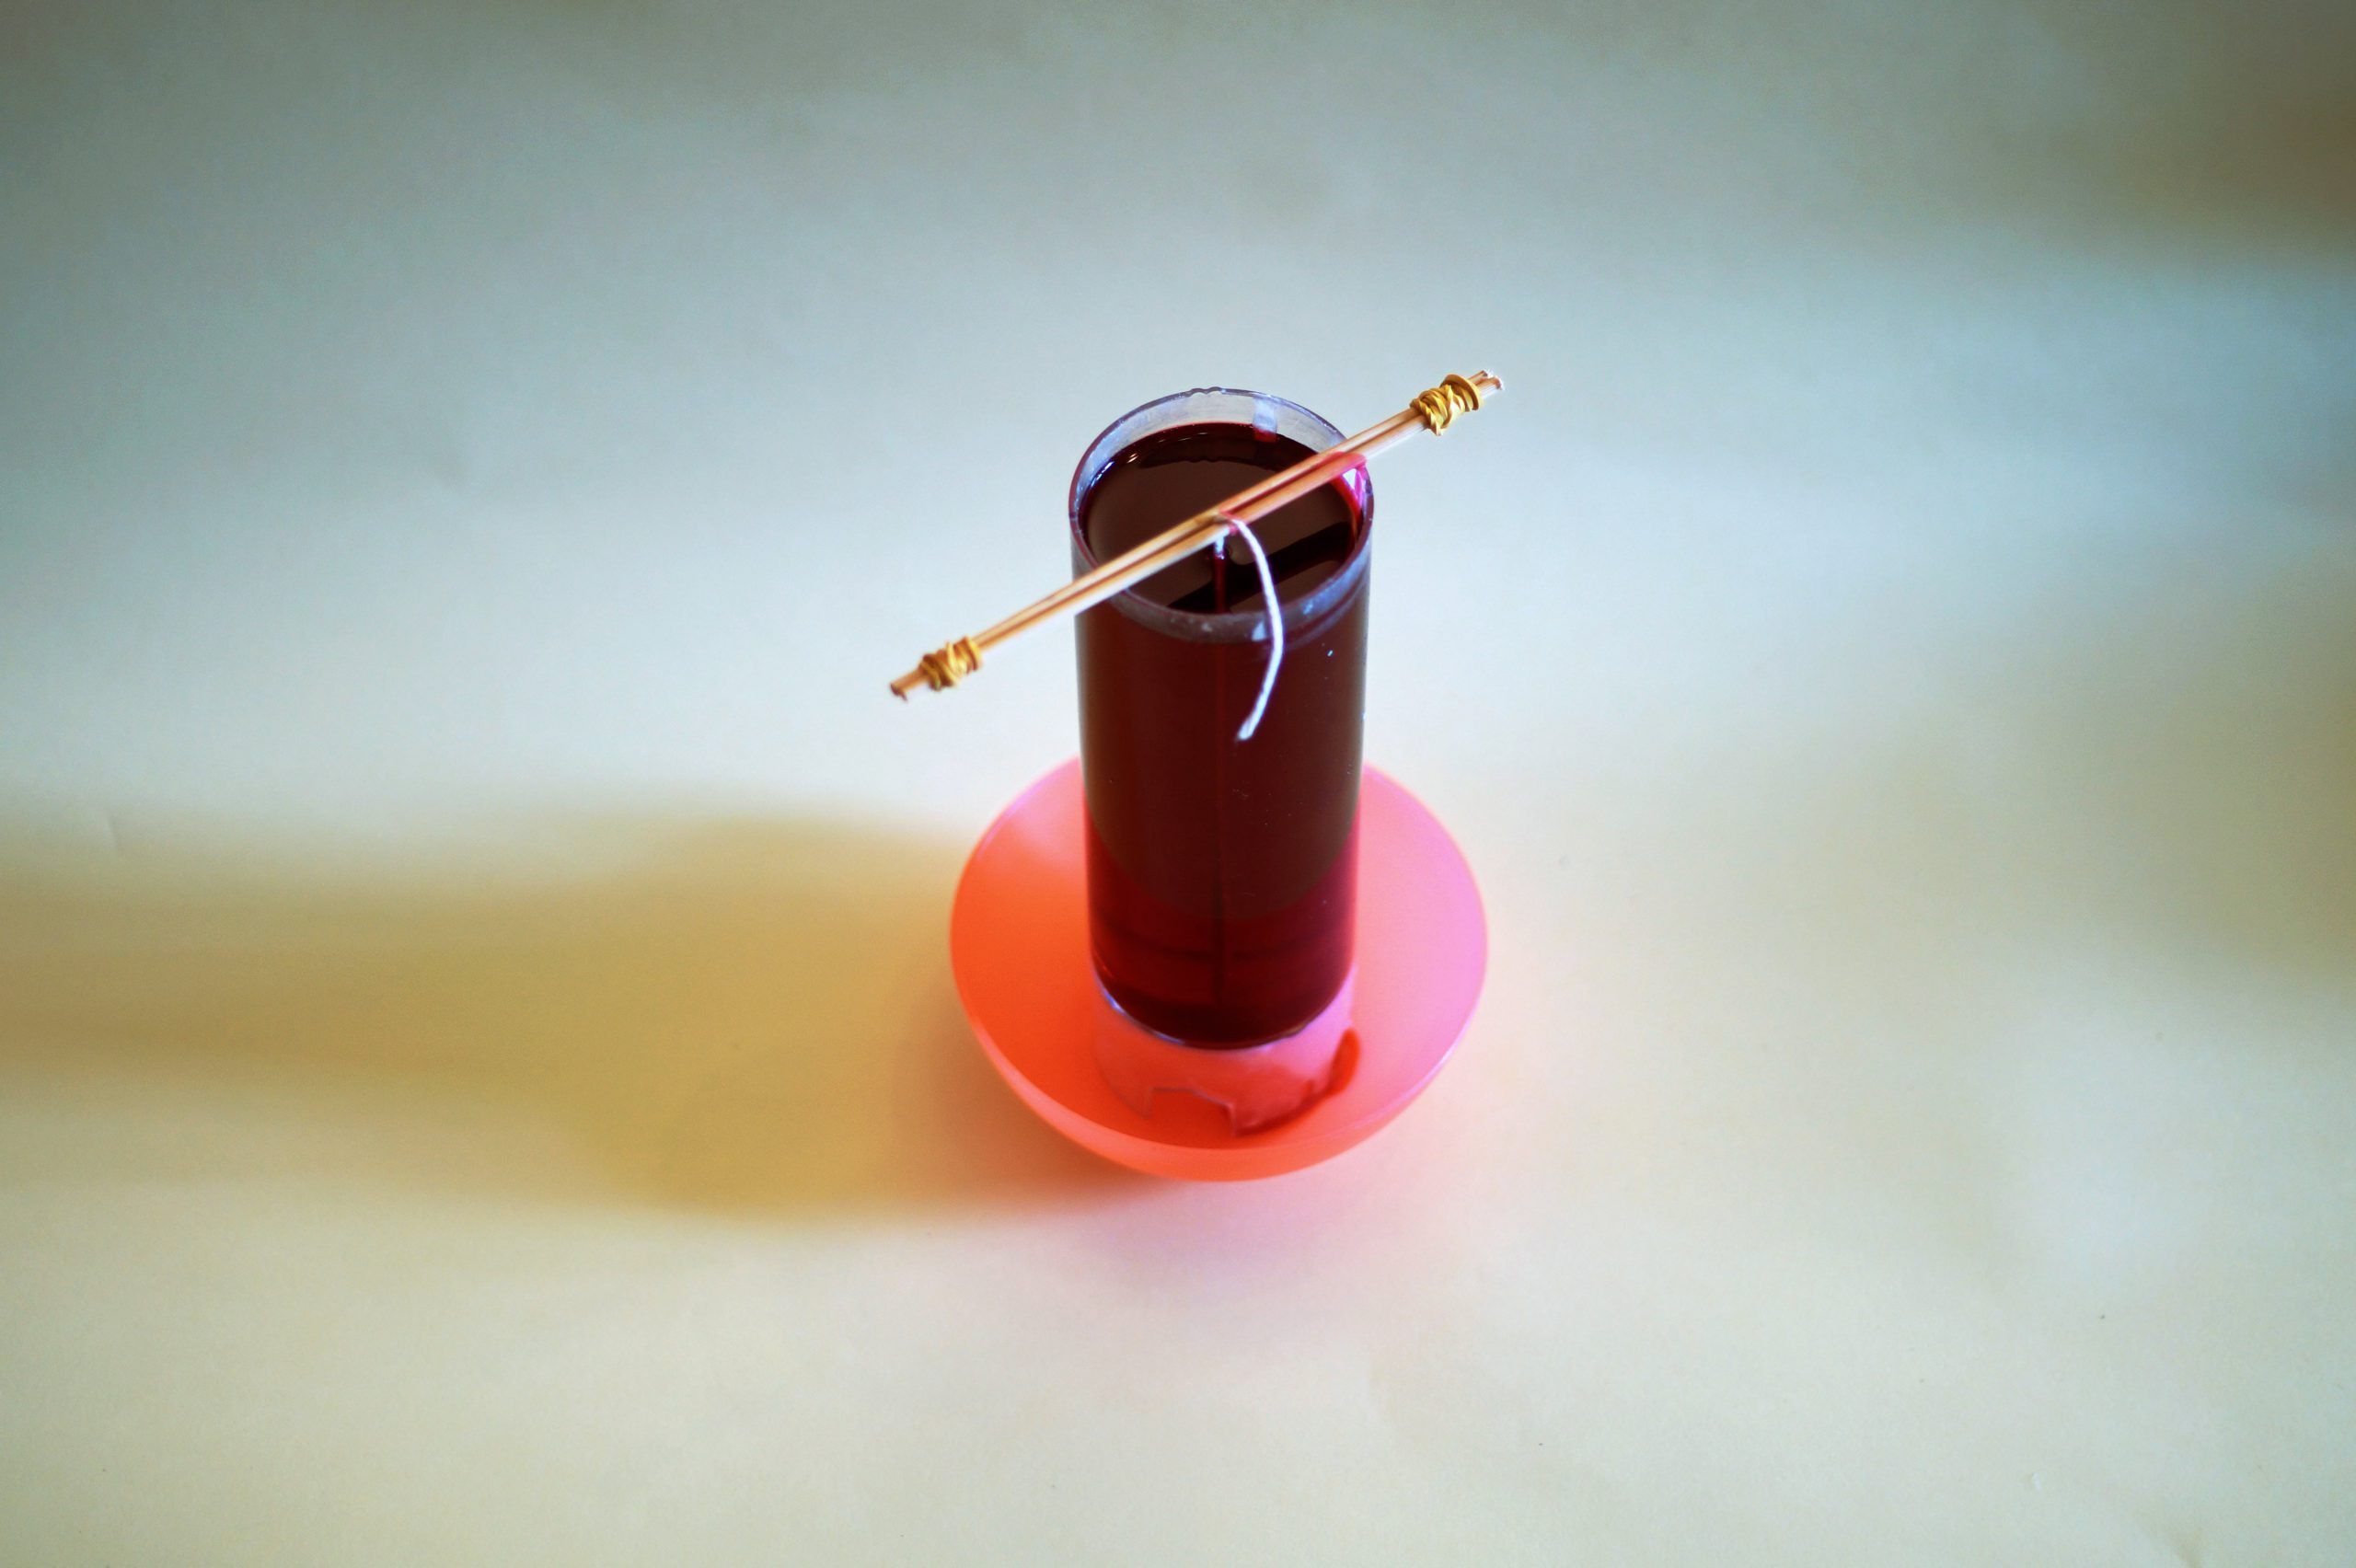
Here is your freshly poured wax in the mould. But how can you prevent the infamous "holes" from forming inside the candle during the cooling phase?
Step 7

To bypass the problem of "holes" in the candle, which do not make it as uniform and perfect as you would like, I have a small tip for you.
After about an hour from pouring, the candle begins its cooling phase: the outer edges become solid, while the centre remains liquid. If the thickness of the edges is firm, proceed to gradually empty the liquid centre. Pour the wax again a little at a time, allowing each filling to cool.
Step 8
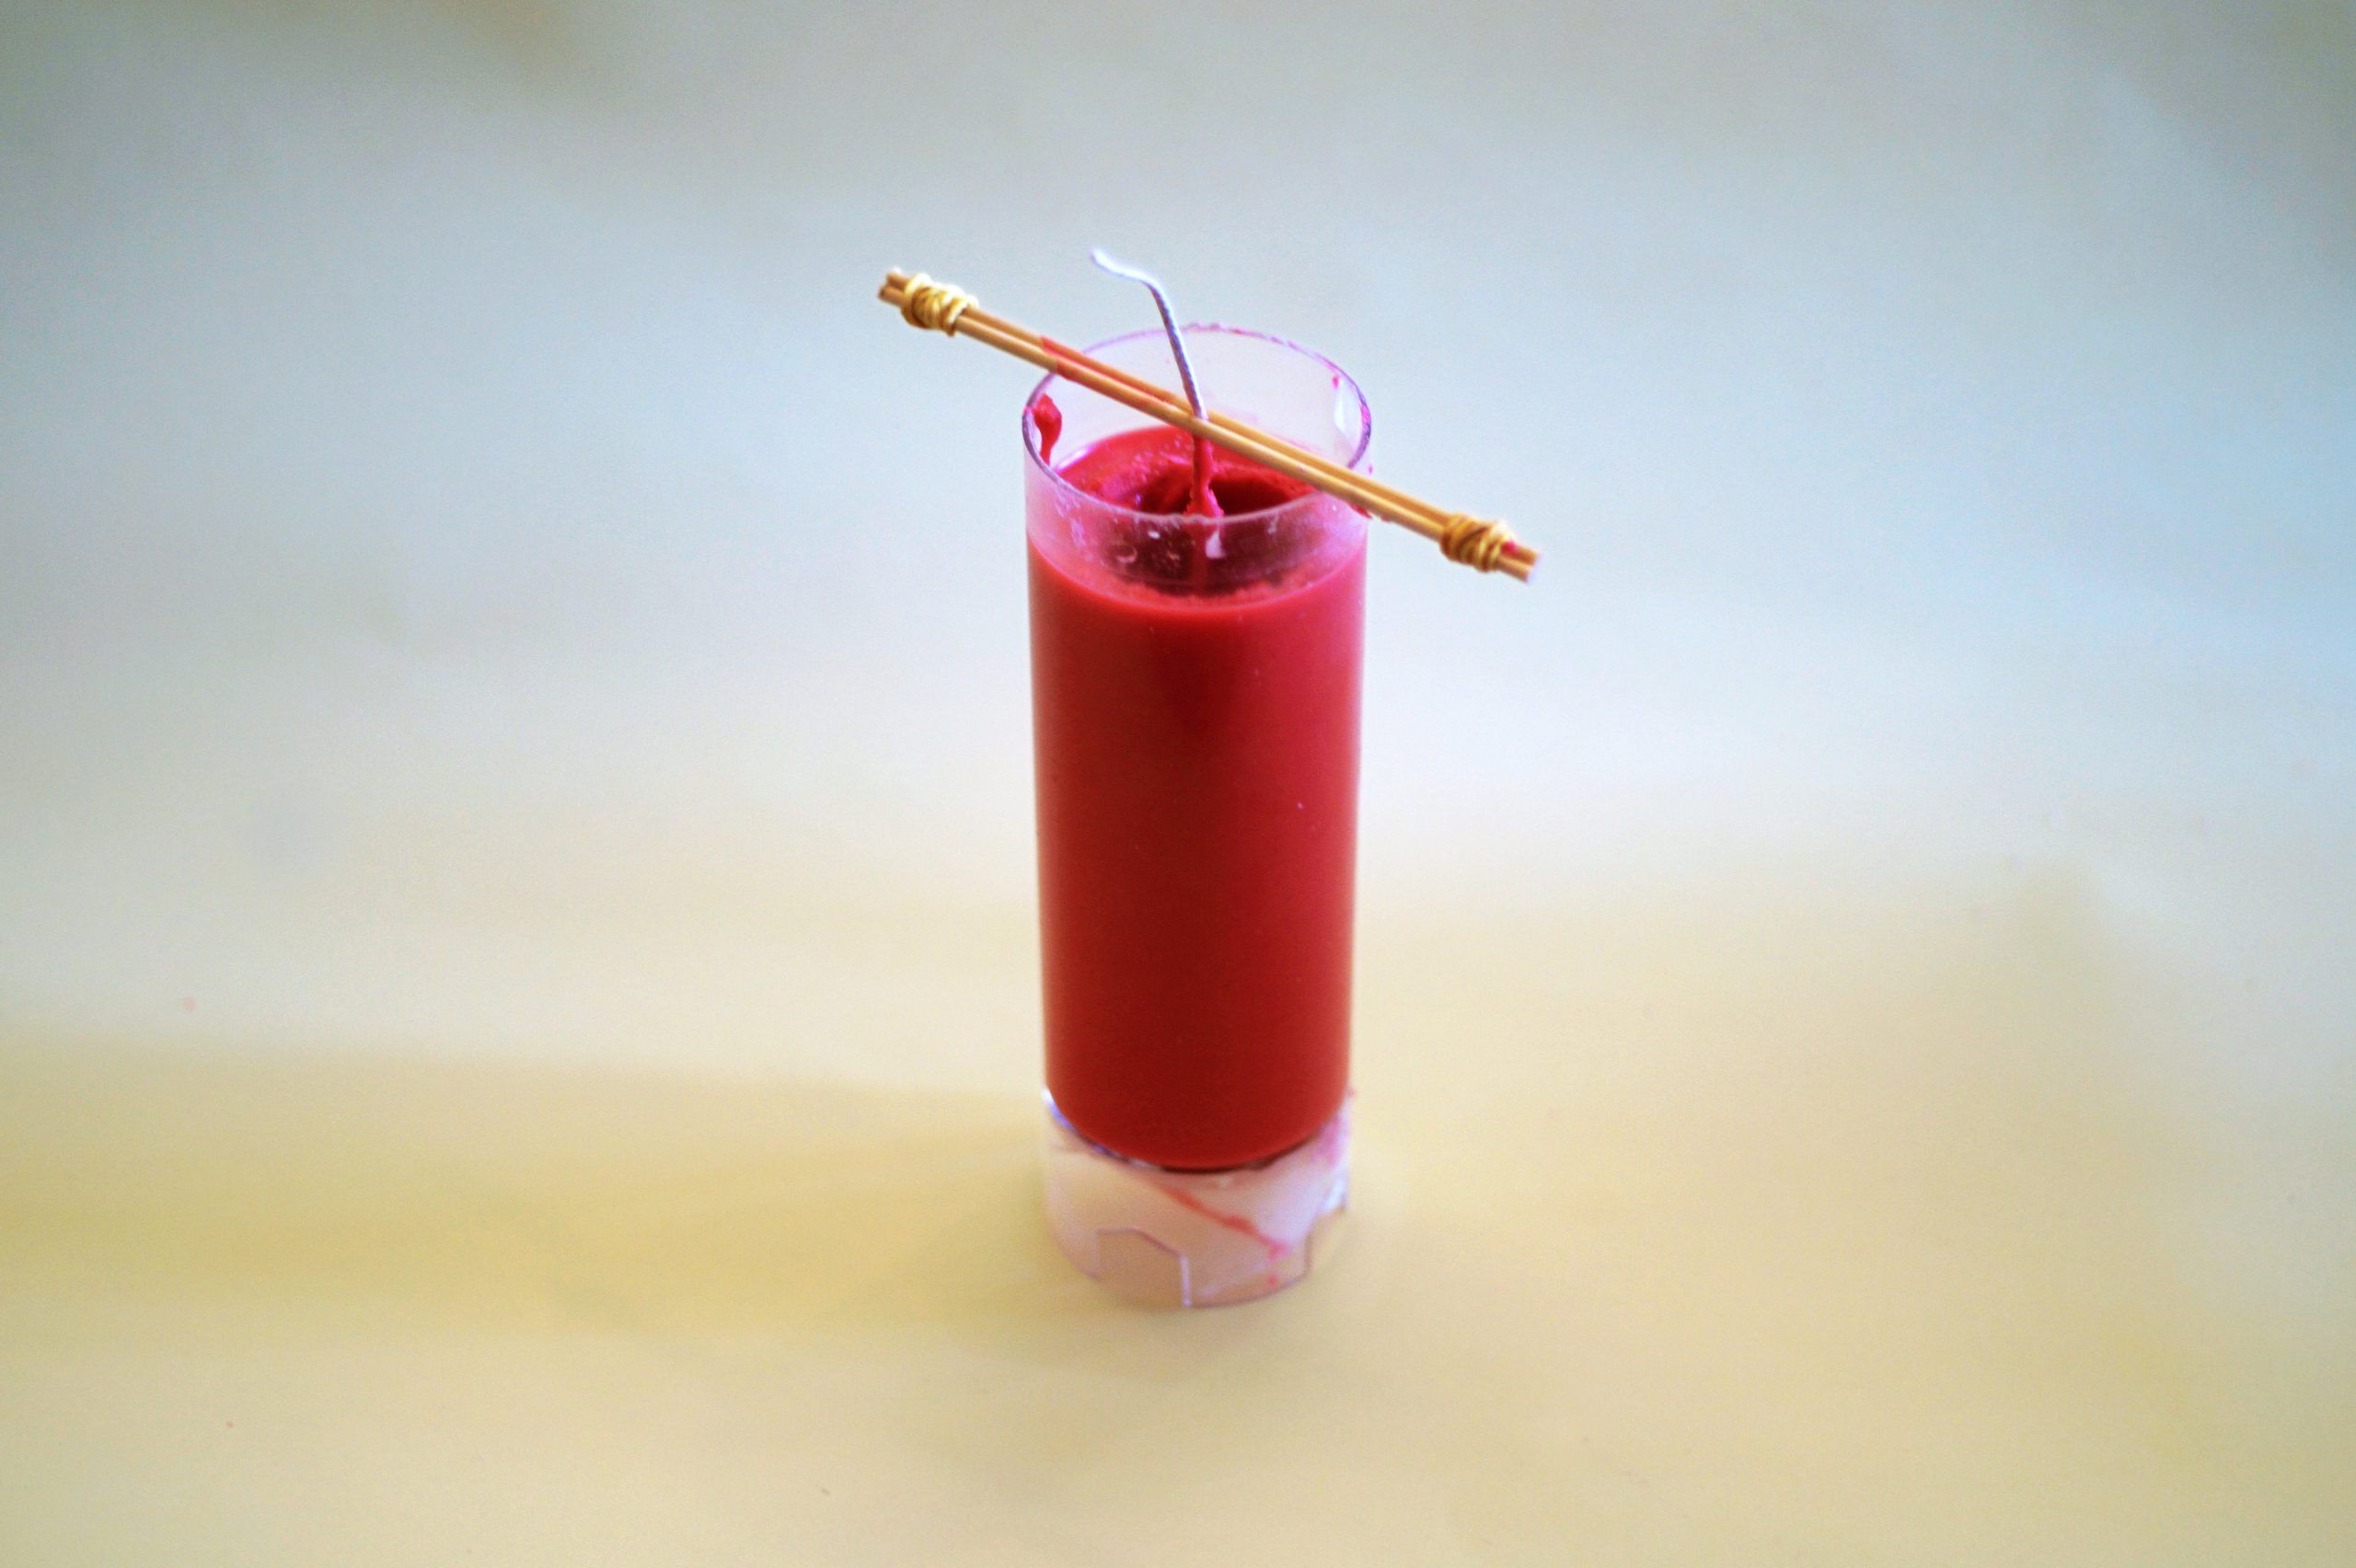
By proceeding slowly and in small steps, this is a simple and professional way to create perfect candles, with a uniform exterior and without the somewhat "patched" effect that can occasionally occur during pouring into the mould.
Step 9
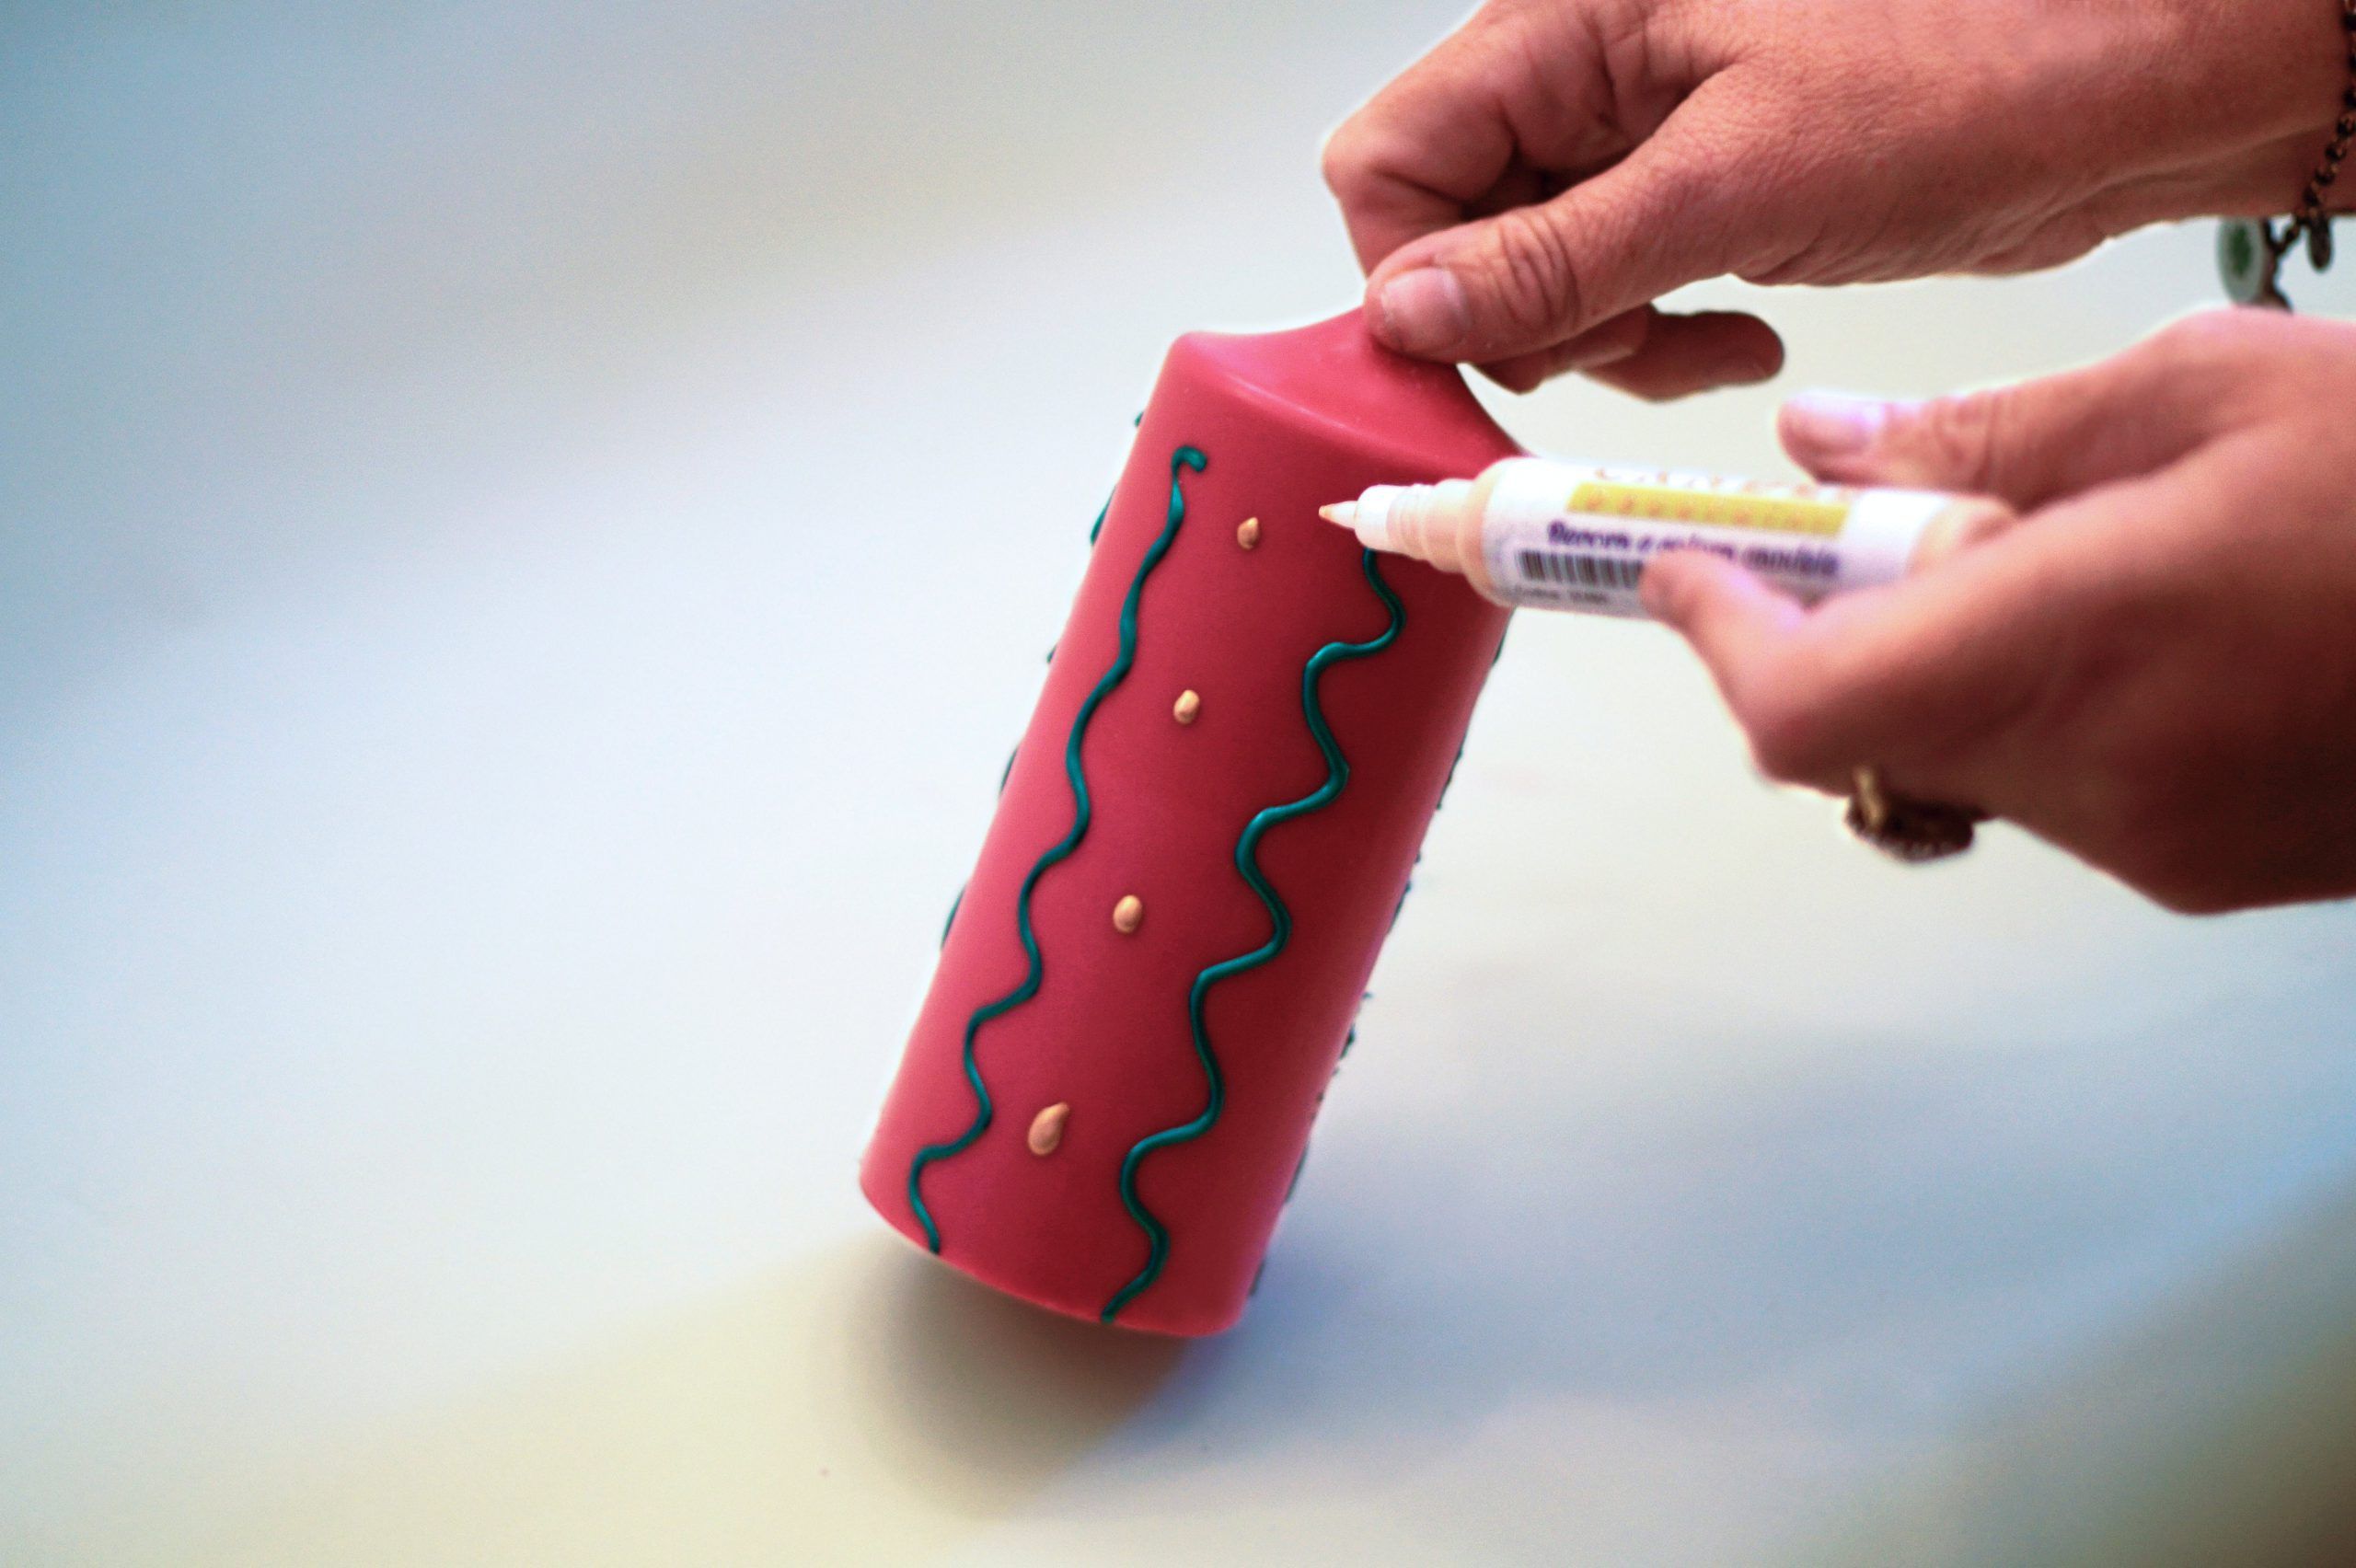
Now you can unleash your imagination! The Candle Decopaint are fantastic markers for wax: easy to use, they dry quickly and the colours are intense and vibrant.
Your Advent candles are ready! Made with natural waxes and with a simple and quick process, they will beautify your centrepiece for the Christmas Eve dinner or create a magical atmosphere for these special days.