 Italiano
 English
 Français
 Español
 Deutsch

The linocut is a printing technique that resembles woodcut. The two techniques are similar in many aspects: in a sense, linocut is an evolution of woodcut.
It is indeed a technique that involves carving a pattern/design onto a linoleum plate, inking the plate, and using it as a “stamp” to transfer the design onto a support of paper, cardboard, canvas, or other suitable materials. The difference from woodcut essentially lies in the material used for the carving: linoleum instead of wood.
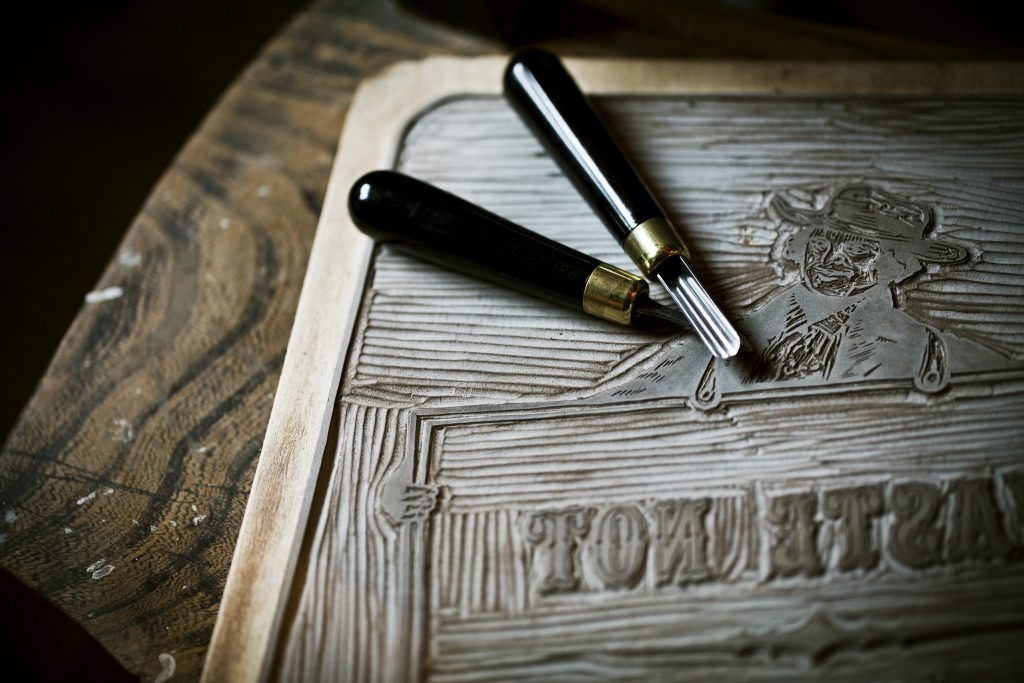
Linoleum is a compound made from plant-based raw materials, such as linseed oil, cork flour, jute, wood flour, and pine resin. Its use was long limited to furniture and flooring, but now it is easy to find sheets of linoleum specifically designed for creative and artistic work.
One of the main advantages of using linoleum instead of wood is its softness, which makes carving easier. It is also smooth and uniform, without knots or grain complicating the work.
Among printing techniques, linocut is not only creative and stimulating but also quite accessible for beginners and novices. It is an excellent way to take your first steps into the world of creative printing, with a relatively low financial investment. Let’s see what tools, materials, and techniques are needed to create linocut prints!
Materials and tools for linocut
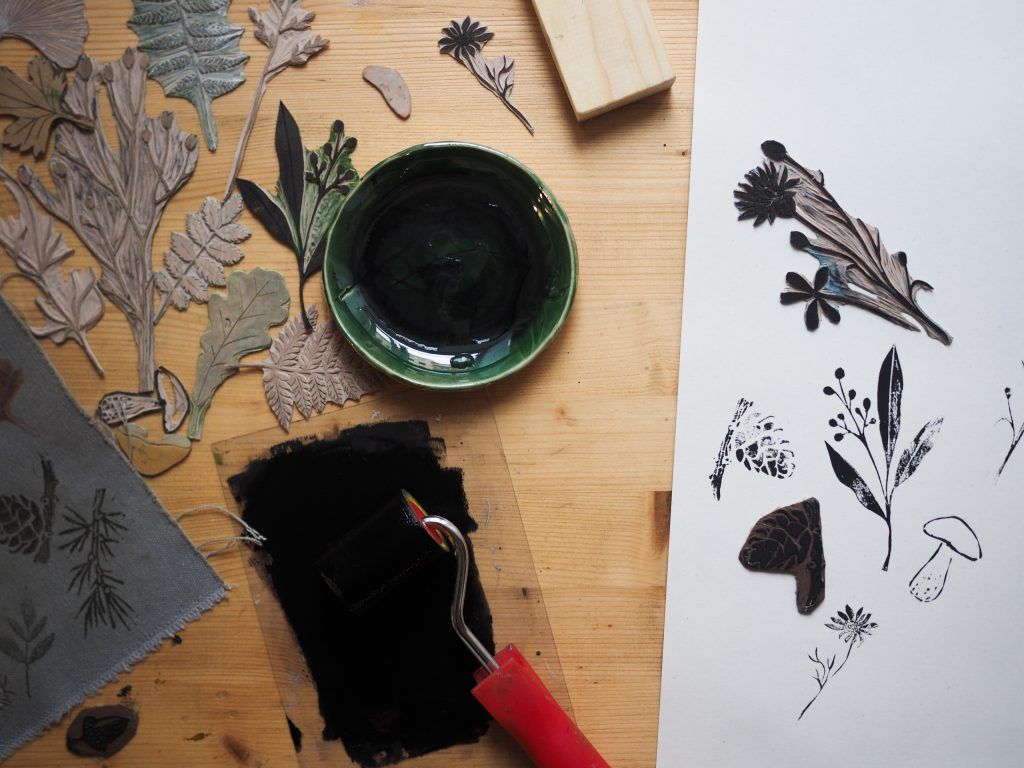
Creating a linocut requires a limited and fairly simple number of tools.
First, the linoleum plate: depending on the characteristics of your project, you will easily find sheets specifically created for linocut in the size and thickness you need.
You will also need a graphite pencil and a permanent marker to draw on the plate before carving.
The gouges are the essential tools for carving, and you can easily find handy sets with different types of gouges. Two are the most commonly used: the V-shaped gouge, ideal for creating defined grooves and working on details, and the U-shaped gouge, which will help you rough out and remove large areas of linoleum. Others can be used and experimented with to achieve particular effects. Another great solution for having a wide selection of gouges is to purchase a kit with interchangeable tips.
The ink for linocut printing is water-based and can be easily found on the market. Tempera or other colours for artistic use can also work.
You will also need a roller to spread the colour, essential for covering the plate quickly and evenly. The size of the roller depends on the size of the print you want to create.
Finally, the printing support. With linocut, you can print on paper, cardboard, fabric, canvas, etc., depending on the project you wish to create. If you are using paper, our advice is to use good quality paper with a rough texture.
If you are taking your first steps in linocut and do not want to commit to purchasing many different tools, the solution for you is our Linocut Set: with a minimal expense, you will have everything you need to create your first prints!
At this point, let’s move on to the phases and techniques for creating a linocut.
Creating the design
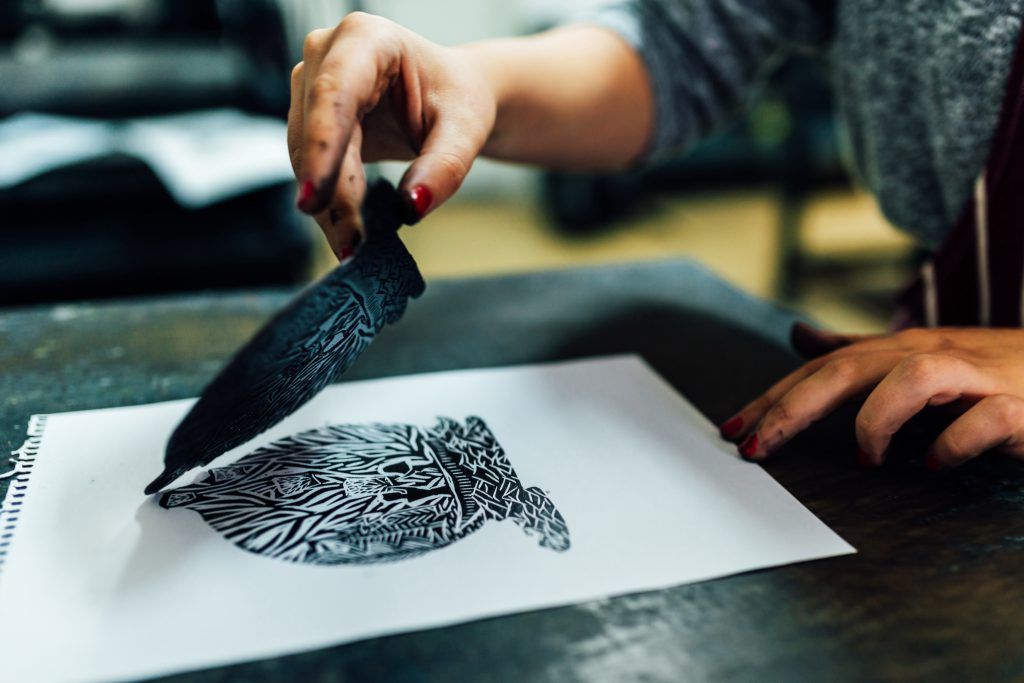
Choose your subject – a drawing or a pattern – and transfer it onto the plate. You can use the pencil freehand directly on the linoleum, or use transfer paper from existing models. If you are a beginner, we recommend using a simple model with uncomplicated lines.
An essential detail to always keep in mind is that, with linocut, the design is printed in reverse on the support. If you plan to include words or numbers, pay attention to the composition!
Once the drawing is complete, trace the lines again with a permanent marker to ensure all lines and details are clearly visible.
Carving the linoleum plate
From a carving technique perspective, you have two options:
- carve the lines of the design: in this case, the print will be in “negative.” The carved spaces are indeed those that will not be covered by ink. The result will be a block of colour with the carved lines in white (or the colour of the support used);
- carve the spaces between the lines: in this case, the inked part will be that of the design, which will be printed in colour against the background of the support.
Both are valid and effective: the choice depends on the result you wish to achieve!
To perform the carving, dig with the gouge firmly and decisively to create defined lines, but also carefully to avoid removing too much material. With the other hand, hold the plate steady, but make sure to always position it away from the gouge blade and its line of advance. To help you keep the plate steady, you can use a non-slip mat on your work surface or a wooden board with clamps, specifically designed for linoleum carving. If you need to create curved lines, try rotating the plate instead of the gouge!
Once the carving is finished, clean the plate thoroughly and, if necessary, refine edges or details.
Inking and printing
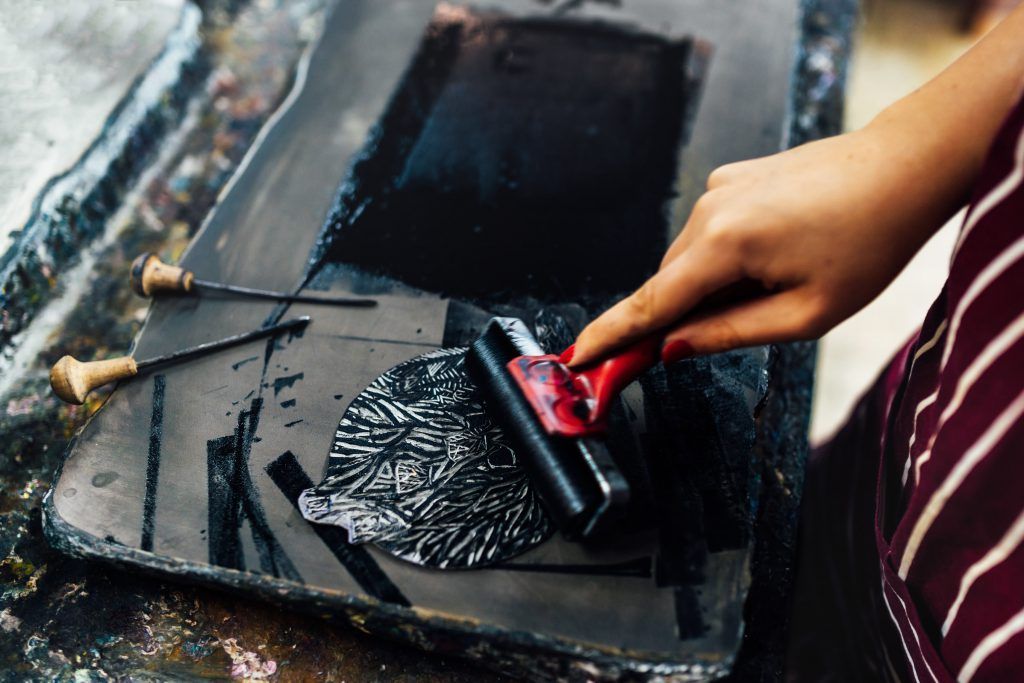
Prepare the colour and the roller, and obtain a smooth, flat surface (such as a glass plate) on which to spread the ink. Distribute it over the surface with the help of a spatula and roll the roller back and forth over the colour, going in all directions, until the excess has been eliminated and the ink on the surface is spread evenly and uniformly. At this point, roll the roller over the linoleum plate. Again, proceed several times regularly until you have applied the right amount of ink over the entire surface.
Without further ado, to prevent the ink from drying, it’s time to print!
You can do this in two ways: use the plate as a stamp, applying it firmly onto the printing support, or proceed in reverse and spread the support onto the plate. In both cases, it is essential to apply adequate pressure to ensure the complete and even transfer of the ink. For this purpose, you can use a manual etching press. You can find them available for various thicknesses and sizes based on your needs.
If you do not have a press, you can use "household" tools, such as a rolling pin, a bottle, or a spoon that you can pass over the entire surface of the printing support after laying it on the plate. Pay special attention to the edges and corners, and continue to apply pressure until the inking is complete. Your linocut print is ready!
Multi-colour linocut
Once you have become familiar with this type of technique, you can try to create prints in two or more colours. The steps are a bit more complicated because they require a lot of precision, but you can start with simple subjects to gain confidence before moving on to more elaborate projects.
One of the methods made famous by artists like Picasso, but relatively little used today, involves making progressive carvings on the same plate using different colours for printing on the same support each time. This technique is called "lost form" because once the printing is finished, it will no longer be possible to have the matrix corresponding to the previous stages.
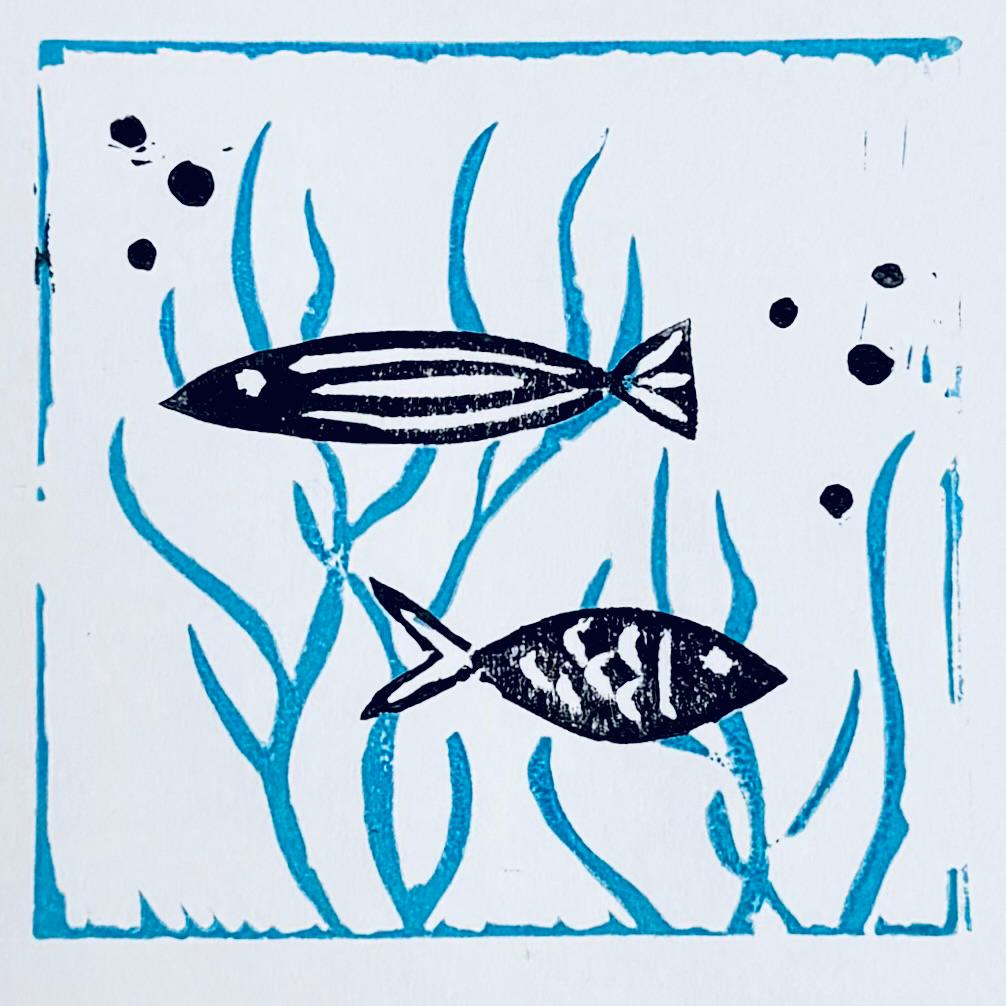
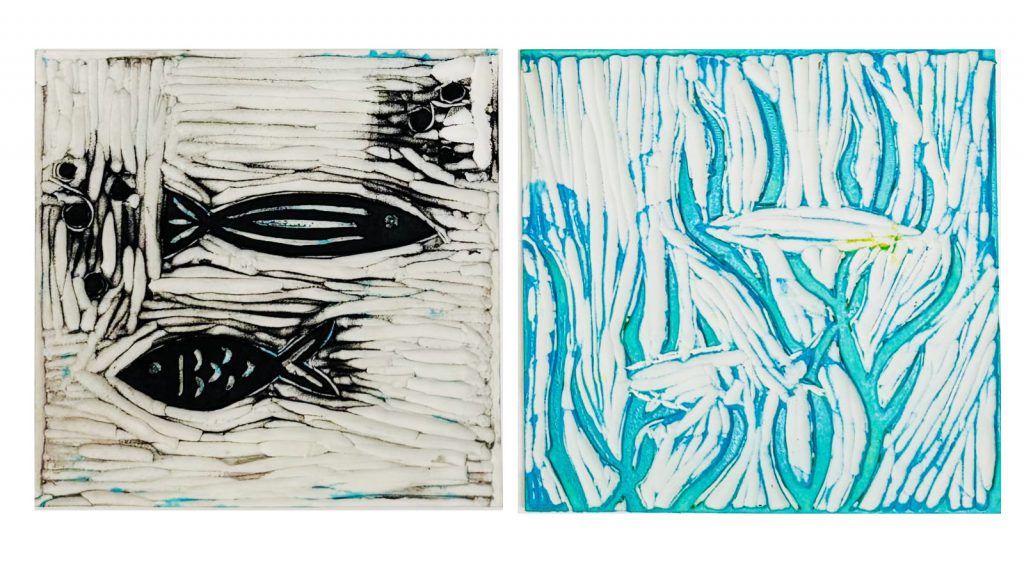
One of the most commonly used techniques, however, involves creating multiple plates of the same design, one for each colour. As in the example in the photo, to create the black fish and blue seaweed, two different plates were carved. It is very simple to do; just reproduce the same drawing on both and carve the parts you want to keep in one colour on one plate (e.g., the fish) and the other parts on the second plate (e.g., the seaweed), one excluding the other.
To conclude this guide: our friend and artist Colleen Corradi Branningam has created an excellent video tutorial for us, where you can see a real linocut take shape from the drawing to the final print. Enjoy watching!