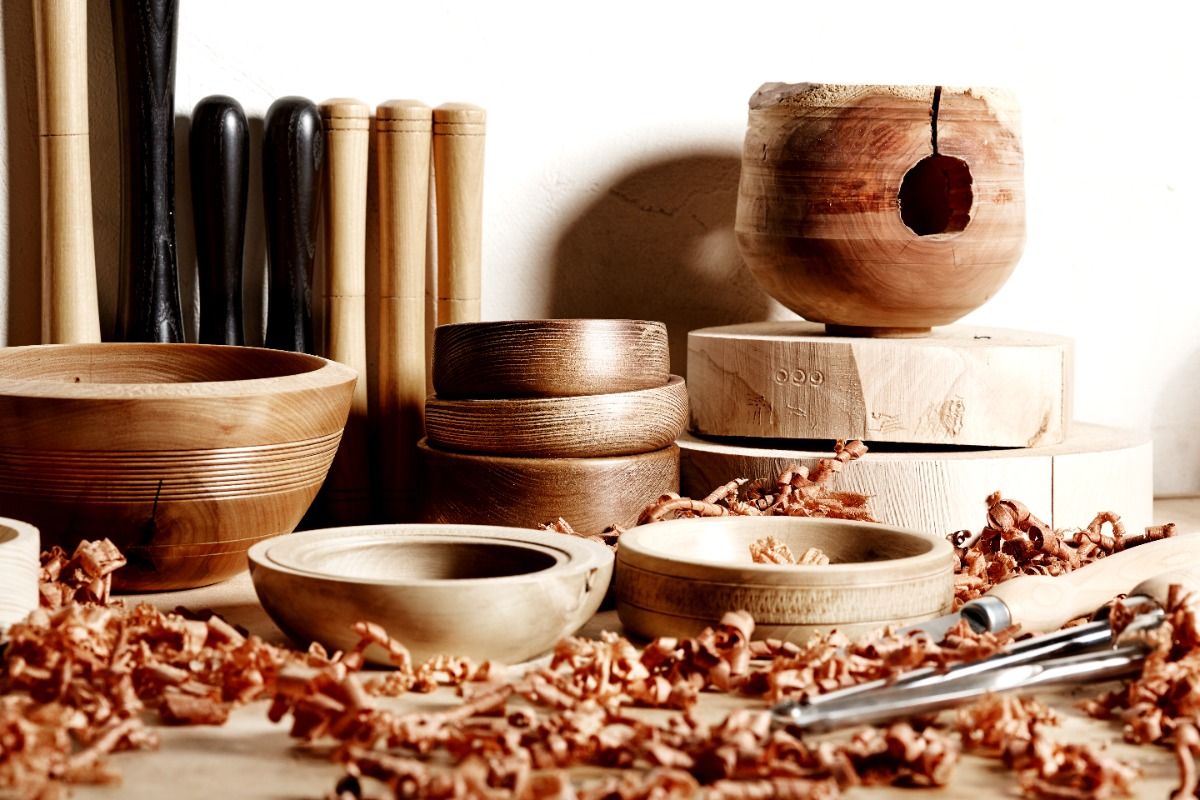
Turning is one of the main wood processing techniques and allows for the creation of a wide variety of items: decorative and furniture pieces, plates, utensils and crockery, as well as table and chair legs, handles, and other commonly used objects in furnishings.
If you think of the classic mountain house, and one of the typical chairs you might find inside, with legs that have a soft and tapered line… that is exactly the type of work achieved through turning!
Another typical item made using turning is the plate or bowl.
The items we mentioned are among the most classic examples of the two main types of lathe work: longitudinal turning, which is used to create long and tapered objects with a cylindrical base, and cross turning, which is used to create plates, bowls, and other similar objects.
In this brief introductory guide, we will look at both turning techniques and what the most suitable tools are for each. But let's proceed step by step and start from the beginning, that is, the lathe.
The lathe: structure and components
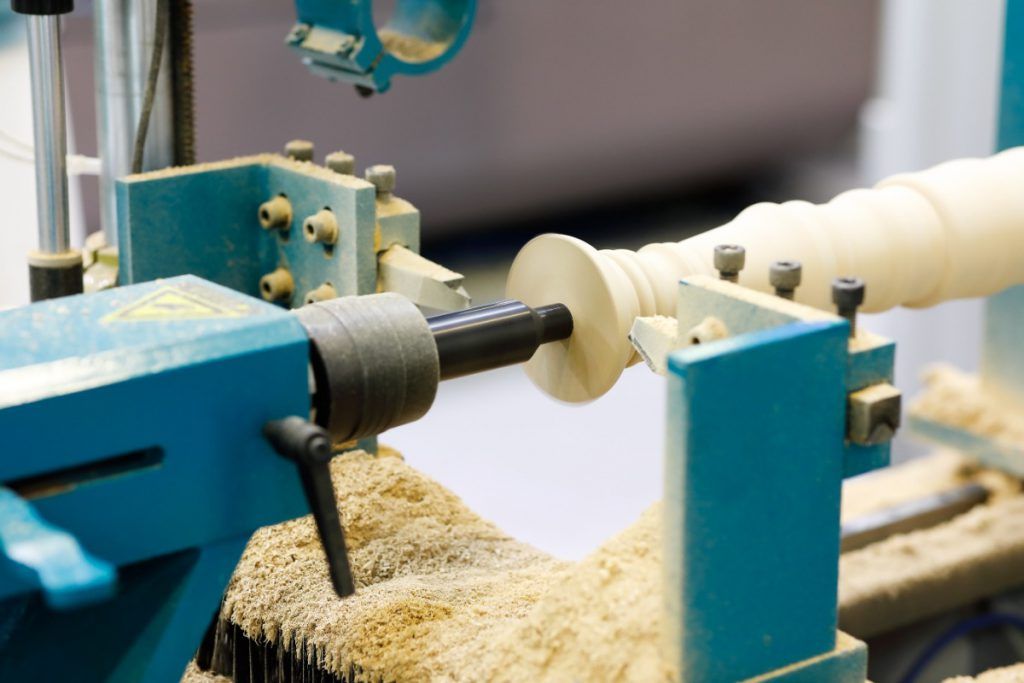
The principle of operation of the lathe is that of rotation: the piece of wood spins at a steady (and often adjustable) speed, allowing the artisan to make cuts and carvings on the surface, modifying and shaping it evenly.
What are the elements that make up a lathe?
- First of all, the bed, which is the structure with horizontal beams on which all elements are mounted. Depending on the model and size of the lathe, the bed will have either table supports or legs for floor support. In any case, it is important that it is always securely fixed to its base to avoid vibrations and movements.
- The true heart of the lathe is obviously the drive head, which provides the rotation. It is equipped with a motor and a gearbox to adjust the speed, depending on the stage of processing. Normally, one starts with a moderate speed for roughing, then increases it when moving on to shaping and finishing stages.
- The chuck is a metal element whose job is to secure the wood to the rotating axis. The chuck is fixed to the drive head with a clamping device, and on the opposite side, it has a jaw to hold the wood securely.
- The tailstock is positioned opposite the drive head, on the other side of the bed, and mounts a live centre that supports the opposite end of the piece of wood. The tailstock keeps the wood steady and aligned without preventing it from rotating. The tailstock can slide along the bed, moving closer to or further away from the drive head, to accommodate the size of the piece of wood.
As we have seen, the sizes of a lathe can vary, as can the prices.
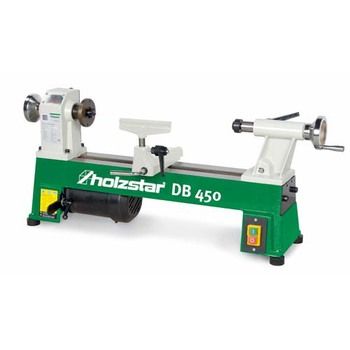
An example of a table lathe, equipped with a tailstock, rotating live centre, and tool rest, costs around 500 euros.

A large wood lathe, with an adjustable speed drive and a head that can be rotated for cross work or larger pieces of wood, exceeds 1000 euros in price.
Of course, the investment should be commensurate with the type of work you intend to do and will depend on your projects and the products you want to create in terms of size, type, style, etc. Remember that our experts are always available for a consultation and to guide you towards the best purchase!
Lathe work: longitudinal or cross?
Now let's quickly move on to the wood turning techniques. As you know, wood is a natural and living material, with characteristics that make it unique, including the presence of grain: the fibres of the wood that run along the trunk. When we have a cut piece of wood in hand, ready for turning, we have two options:
- position it along the grain, so that the fibres are parallel to the bed;
- fix it against the grain: in this case, the fibres are perpendicular to the bed.
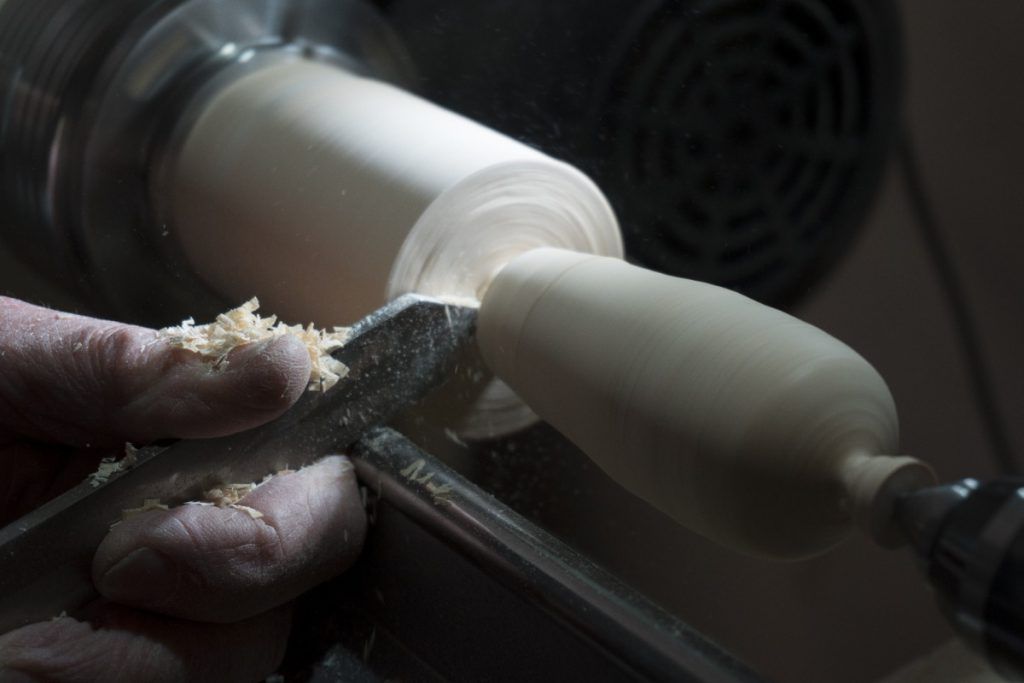
Longitudinal turning is generally done along the grain: the starting log, rectangular and elongated, is transformed into a cylinder through roughing and then worked to create table or chair legs, but also musical instruments like flutes, or the classic rolling pin for rolling dough!
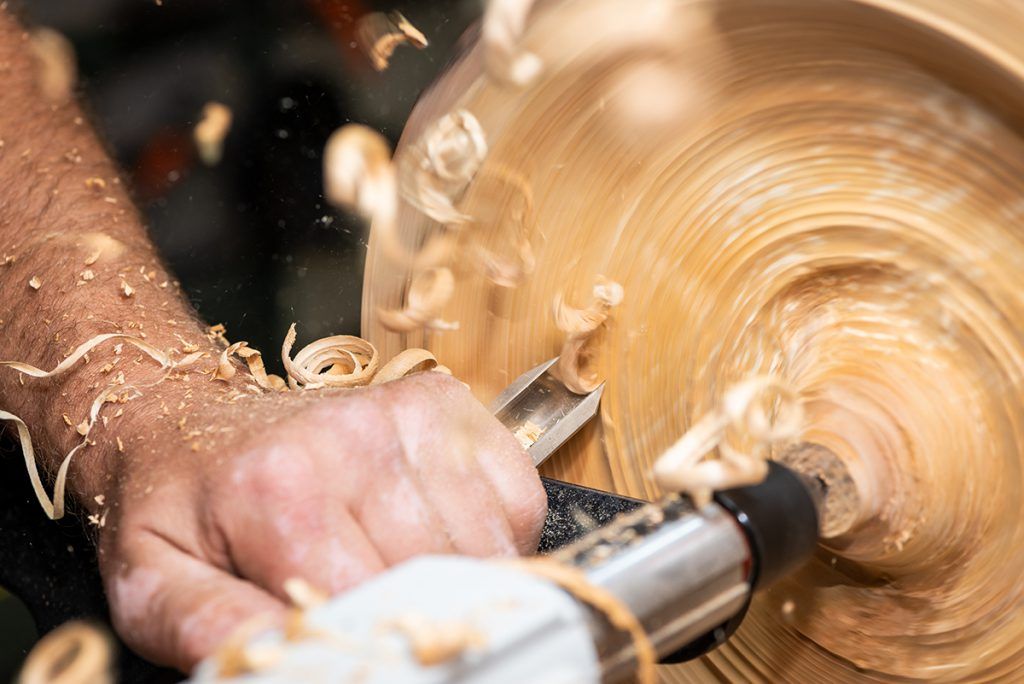
The cross turning technique, on the other hand, favours cross-grain turning, starting from shorter and chunkier blocks, such as a section of branch or trunk. In this case, once the wood is secured to the drive head, we will not use the tailstock to keep it in position. The goal of this work is indeed to hollow out, creating a concavity right on the side opposite the drive head. To do this, we need to be in a more frontal position relative to the surface to be hollowed out, and the tailstock would prevent us from reaching the points to work on. Therefore, the tool rest is moved closer and rotated to position it in front of the surface to be carved, as shown in the image.
Tools for wood turning
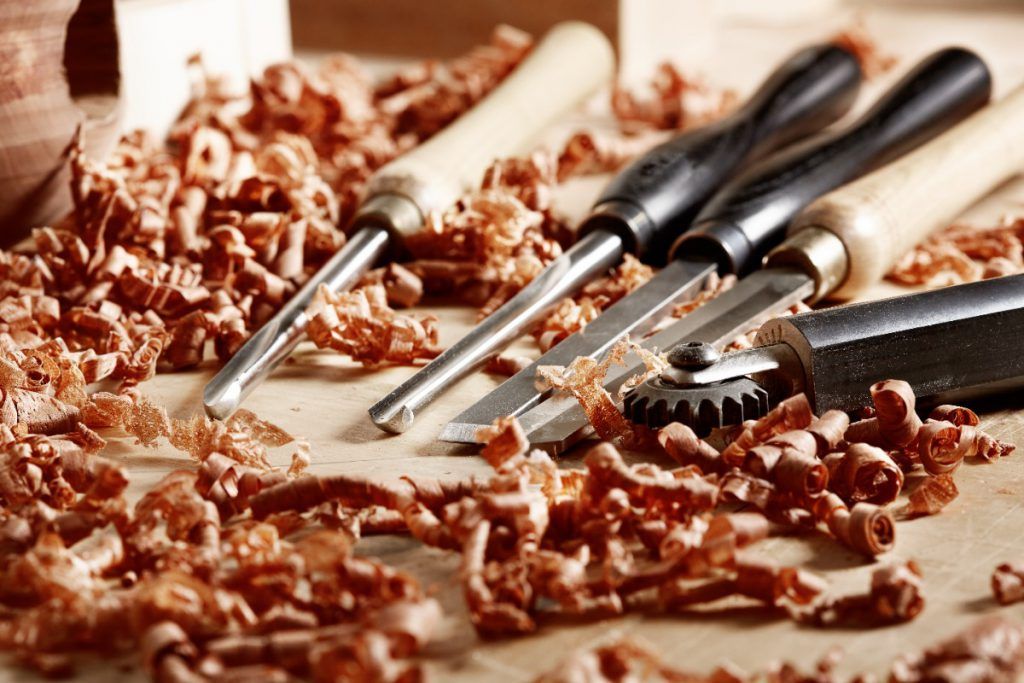
Finally, let's look at the basic tools for wood turning. As you will see, some of them are specific for longitudinal or cross turning, while others are common to both techniques.
A basic turning tool set, among the many available from Hobbyland, will allow you to confidently approach any type of lathe work.
Let's get to know the tools one by one:
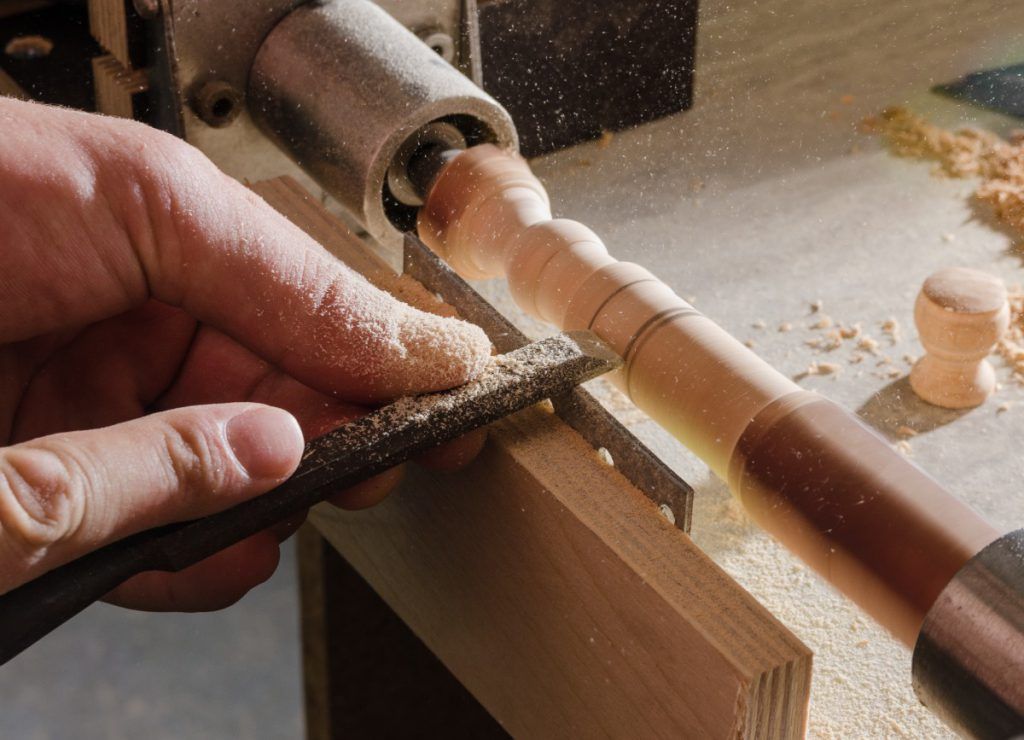
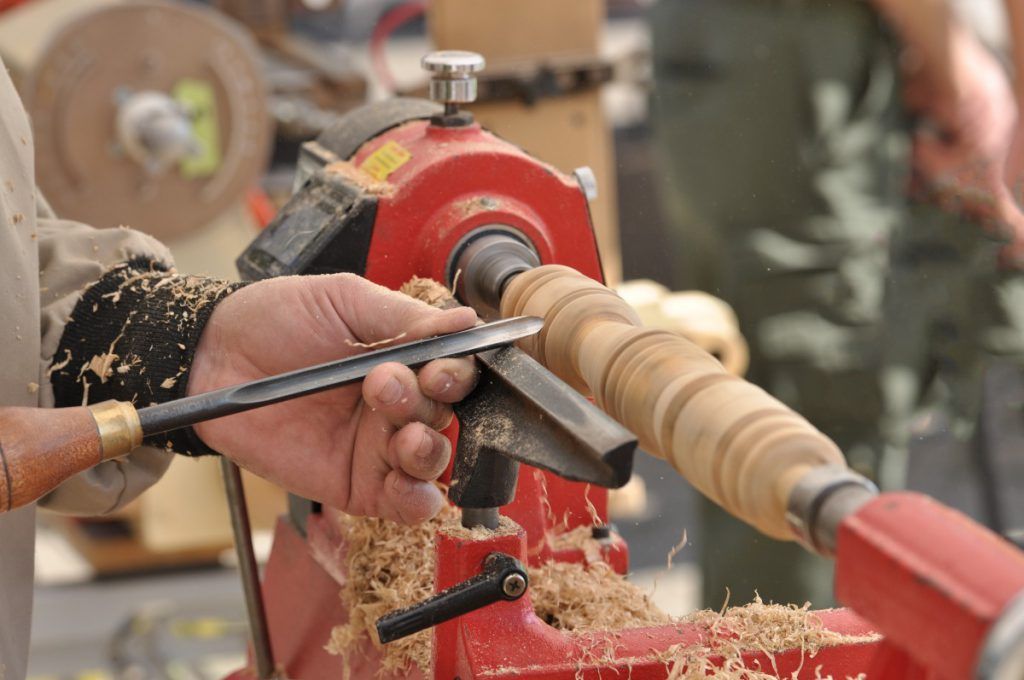
The roughing gouge is the basic tool for longitudinal turning and is designed, as the name suggests, to help us remove excess wood and give the log the cylindrical shape of the desired diameter. This gouge has a very deep U-shaped section, specifically to remove as much wood as possible. It should be held firmly against the wood at an angle of about 70/80 degrees and moved slowly from one end to the other of the wood, using the tool rest as support (which can obviously be moved and slid along the wood if the piece to be worked on is too long).
The skew chisel is useful for finishing surfaces and making them smooth after roughing, but also for creating carvings and decorations in both longitudinal and cross turning.
The bowl gouge, which in English is called “bowl gauge”, is dedicated to cross turning. It has a tubular body with a U-shaped section that is a bit narrower than the roughing gouge, but its purpose is the same: to remove most of the wood and create the concavity of our bowl or plate. When hollowing with this gouge, one must always move from the outside towards the centre: from the edges of the bowl to its deepest point. Conversely, if we are working on the concave part of the plate, the movement should be from the centre outwards.
The profiling gouge is used to make more precise work. This tool is also used for longitudinal turning. Once the roughing is finished, it is useful to mark with a pencil the points on the cylinder where we want to insert carvings and concavities, before proceeding with the work.
The parting tool is a tool whose body can have various shapes: rectangular section with a cut in the centre, diamond section, also with a cut in the centre, or knife section, with the cut shifted to one side. Its purpose, in any case, is always the same: to cut. It can therefore be used to divide the piece we are working on in two, but also to make more or less deep cuts in the wood, which will then be smoothed and shaped to create decorations along the surface with the skew chisel or other tools.
Here we are at the end of this introductory guide to wood lathes. We hope to have provided you with useful information and practical guidance to embark on the fascinating journey of turning and create beautiful objects with your own hands. But if you have any doubts or wish to explore some aspects of wood turning, from tools to equipment to basic techniques, we are always at your disposal!