The metal clay is versatile, fascinating, and stimulating. It appears as clay, but in reality, its composition combines tiny pieces of metal and non-toxic organic binding materials. Just like clay, metal clay can be shaped, cut, rolled, and used to create sculptures, objects, and jewellery. During firing, the binders burn away, leaving only the metal, which can then be polished, finished, and further worked until the final result: a piece made of pure precious metal.
Metal clay was born in Japan in the 1990s and has since conquered the world of artistic craftsmanship and jewellery for the quality of its results, its versatility, and ease of use: metal clay can indeed be easily worked using tools commonly found in the kitchen or toolbox and, in some cases – as we will see – can be fired at home without the need for specific equipment or kilns.
Art Clay is undoubtedly the most famous among the metal clay products available on the market, with a wide range of items made from silver, bronze, brass, and gold. Another manufacturer of metal clay is Prometheus, which particularly offers numerous variants of metal clay in brass and bronze. In the first part of this guide, we will explore the main products from the Art Clay and Prometheus lines, along with their characteristics and usage tips.
Metal clay in Silver
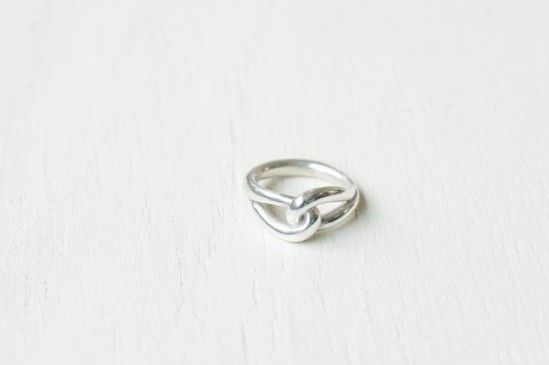
The silver version is certainly the most well-known and appreciated among metal clays, allowing for the creation of products in pure silver (99%) or sterling silver (92.5%). You can find many variants of silver metal clay on the market, from base clay to paste, to paper.
Art Clay Silver – New Formula
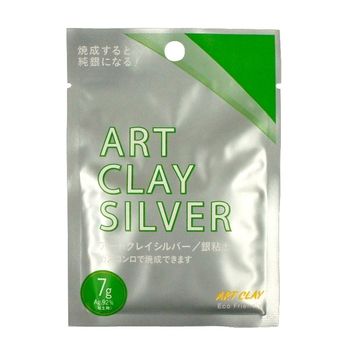
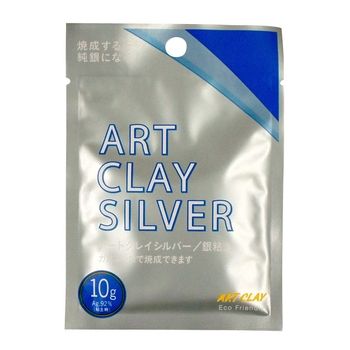
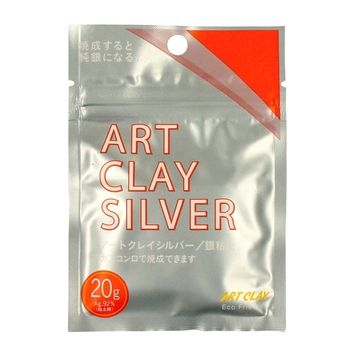
The new formulation of Art Clay Silver, available in 7, 10, 20, and 50-gram versions, combines three characteristics that make it by far the favourite and most used: ease of shaping, long drying times, and the ability to be fired at low temperatures.
The paste is soft and velvety, non-sticky, and can be rehydrated multiple times during processing or after a long period of storage. It dries much more slowly than regular clay, so the working time you can dedicate to creating objects and jewellery is greater; once dried, the clay is easy to carve and engrave, allowing you to complete your work with finishes and details. However, remember that Art Silver Clay must be perfectly dry before firing, so it is always best to leave sculptures to rest in a dry place for at least 24 hours, depending on their size.
Once dry, an object made from Art Silver Clay can be fired at low temperatures (650°), which means it can contain stone settings and other materials that would not withstand high temperatures. For firing, you can use a ceramic kiln, but also a gas torch or even a domestic stove. For more details on firing methods, we invite you to read the second part of this guide.
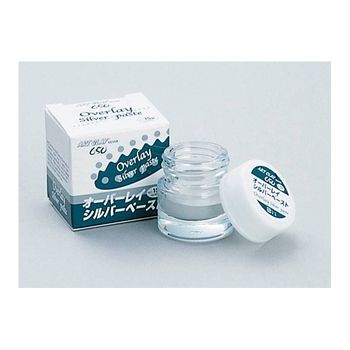
Art Clay Silver – Cream
This is the paste version of the new Art Clay formula we just saw. Ideal for bonding together pieces of paste, whether dry or soft, and is particularly useful for repair and finishing tasks such as filling cracks, correcting mistakes, and soldering broken pieces. It can also be used to create textured surfaces or to make realistic silver replicas of objects like leaves, paper, or other flammable materials by covering them with a thick layer before firing.
This formula combines the characteristics of the “classic” cream with those of the Oil, another product from the Art Clay line, but without the strong odour and difficulty of working that the Oil presented. Another possible use of the cream is to bond silver findings to already fired Art Clay pieces or to join two or more already fired pieces to create more complex and larger objects.
This paste is very dense, and to help you in its use, you can add a few drops of water and mix slowly to slightly dilute the compound.
Art Clay - Syringe
The Art Clay in syringe, available in 10 g and 5 g formats, is a softer version of the clay but denser than the paste, designed for precision decorations. Thanks to the syringe applicator, it allows for creating lines, dots, and designs with a high level of detail.
When used on materials that burn during firing, for example, you can create lace-like or filigree decorations. For its precision application, it is also very useful for fillings and small repairs. For Art Clay Syringe 10 g, nozzles of various sizes are available, from the smallest for delicate decorations to medium sizes for thicker inserts or for creating settings.
Art Clay Silver Overlay Paste
The “liquid” version of the New Formula appears as a watery paste and has been specifically designed for use on glazed porcelain, ceramics, or glass. The layer of Overlay Paste, applied to the original material before firing, will bond to the surface in a durable and resistant manner. The firing temperatures for this product range from 650° to 800°, as we also explain in the second part of this guide.
Art Clay Silver Paper
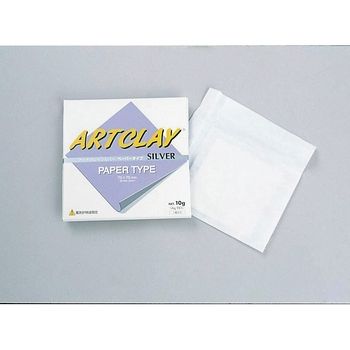
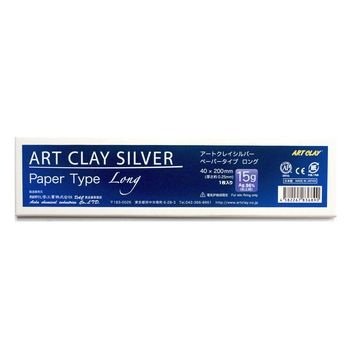
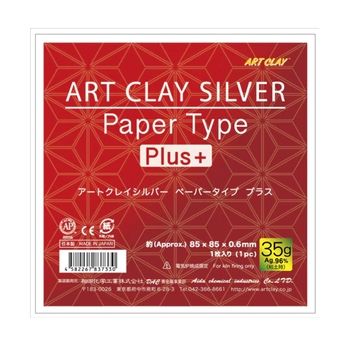
Available in 10 g, Long 15 g, and Paper Plus 35 g versions, it is a novelty and a significant change in material, consistency, and use compared to clay. Completely dry, thin, and flexible, it can be used like a real sheet of paper: rolled, folded like origami, cut, layered, die-cut, etc.
It is possible to apply paper shapes to already sculpted clay pieces that are not yet dried, using Art Clay Paste to bond the different elements. Remember that the shrinkage percentage during firing of the paper is different from that of the clay and is specifically slightly higher (about 9-10% compared to the 8/9% of the clay), so if you plan to join paper and clay, keep this factor in mind.
It does not need to dry and should be fired exclusively in a kiln.
Metal clay in Gold
Art Clay Gold Cream K22 1.5 g
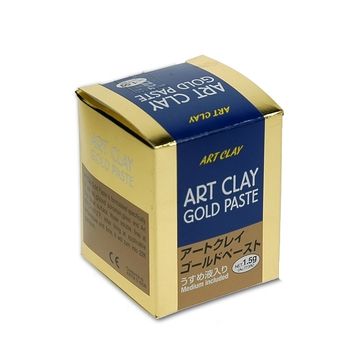
The gold version of Art Clay comes in a viscous liquid form. The cream contains 77.5% of 25K gold, which becomes 22K gold after firing. The cream is applied to already fired Art Clay Silver pieces to create textures or add gold details. Along with the Gold cream, a solvent is provided for applications on porcelain, ceramics, and glass.
Metal clay in Bronze
Art Clay Bronze 50 g
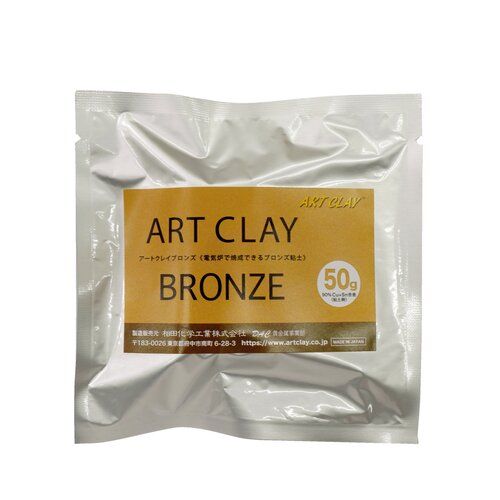
Art Clay Bronze is the metallic paste from the Art Clay brand that allows you to create a piece in bronze (90% copper - 10% tin). Like the other clays, this paste contains water and therefore tends to dry quickly in the air. It should be kept sealed when not in use.
The piece must be completely dried once the shaping is finished before proceeding with filing and finishing. For drying, you can use household tools like a hairdryer (10/15 minutes), a heating plate, or an electric oven for about 10 minutes at 150 degrees. Alternatively, you can leave the object to air dry for at least 24 hours.
As we will see in the second part of this guide, Art Clay Bronze must be fired in an electric oven inside a steel container and immersed in activated charcoal. Once firing is complete, the piece will have an oxidised surface, which can be removed with grinders or using a pickling solution, and then finish with polishing brushes and pastes.
One precaution not to forget: the tools you use for bronze must never be used for silver. The materials could indeed contaminate each other and create problems during firing.
BronzClay
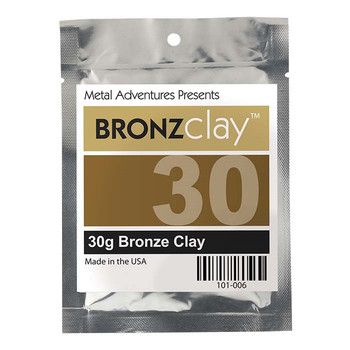
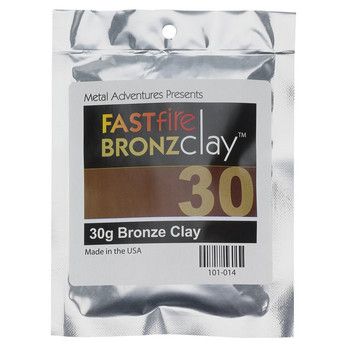
This new paste represents an alternative to Art Clay and is available in 30, 100, and 200-gram versions. Malleable and easy to work with, it allows for creating bronze objects with a composition of (11% tin and 89% copper). Its shrinkage level during firing is significant (17-20%) and should be considered during processing.
The BronzClay Fastfire version (30, 100, and 200 grams) stands out for drastically reduced firing times: in fact, it only takes 2 hours or less, depending on the type and size of the piece to be fired or the type of oven. The composition of Fastfire is 10% tin and 90% copper, with a firing shrinkage of about 5-10%.
Prometheus Bronze Clay
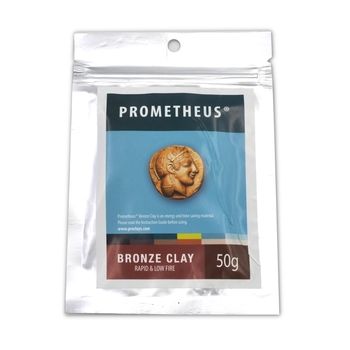
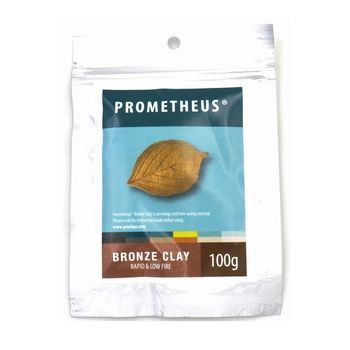
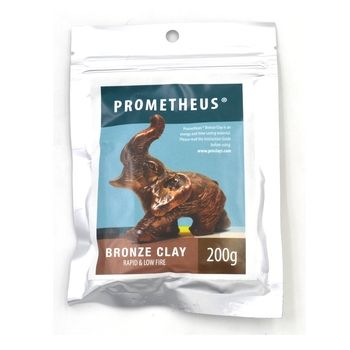
Prometheus is another widely used and appreciated line of metal clay by artists, jewellers, and metal craftsmen. Prometheus Bronze Clay is a nickel-free bronze paste that can be shaped, sculpted, or used in moulds. With the addition of water, it takes on a creamy consistency that can be used with a brush. As we will see in the guide to firing metal clay, Prometheus Bronze Clay can be fired both in a kiln and with a flame: after firing, it will have a shrinkage of about 6-10%.
There is also a version in syringe, ideal for creating filigree details or particularly intricate work.
Prometheus offers a line of bronzes that allow for achieving colours similar to other metals during firing:
- Greenish Yellow Bronze - 8-carat gold
- Light Yellow Bronze - pale gold
- Sterling White Bronze - 925 silver
- Sunny Bronze - 9-carat gold
- White Bronze - 925 silver.
All are available in 50, 100, and 200-gram formats and in syringe versions.
These versions of Bronze Clay have specific firing characteristics, so we recommend consulting our guide on firing metal clay.
Metal clay in Copper
The last type of metal clay we present is the one that allows for creating objects in copper. The clay of Copper clay is soft and easy to work with like the other types seen so far, but it needs to be softened before use with a brief massage while still wrapped in plastic. It dries very quickly, so the processing must be quite fast, and any unused paste should be immediately rested and stored, preferably vacuum-sealed, to increase its longevity.
Also in the case of copper, the precaution already mentioned for bronze applies; do not use the same tools that you use for Silver Clay or wash them thoroughly after each use to avoid contamination that can ruin the silver.
The Copper Clay products you can find at Hobbyland are Art Clay Copper 50 g, COPPRCLAY 30, 100, and 200 g, and Prometheus Copper Clay 50, 100, and 200 grams, also available in syringe version.
For copper metal clay, we also invite you to consult our guide to discover its specific characteristics and firing methods.
How to use metal clay
Since it is effectively a clay, many of the tips and precautions, as well as the tools to be used, will be familiar to anyone with experience in sculpture and modelling.
The first thing to keep in mind is that the clay, being water-based, dries more or less quickly depending on the conditions of the working environment or usage. Therefore, choose a workspace that is not too dry and without direct heat sources on the clay. Use a work surface made of acrylic, glass, Teflon, or other non-absorbent surfaces. If you do not use all the clay, store the rest in the packaging promptly, and if you need to pause work for a short period, wrap the clay in a damp cloth or plastic wrap.

A good support for keeping the clay moist and workable is the hydrating container, which is also very useful for restoring dried blocks. Place the block of clay at the bottom of the jar and insert the ventilated undercap, ensuring that there is no contact with the block. Slightly moisten the sponge and place it on top of the ventilated cap before closing the container. This way, the clay will maintain its consistency for a long time.
During processing, you can also keep a container with water on the work surface to periodically wet your fingers during work or help yourself with a brush in case the clay dries too much. Your hands should also be well hydrated to make the work easier and more enjoyable!
If, on the contrary, you have added too much water and the dough is too wet, wrap it in a cloth or absorbent paper to remove the excess, knead the clay, and set it aside until the next day, then repeat the operation if necessary.
Tools for working with metal clay
As we mentioned at the beginning of this guide, metal clay can be worked with tools and equipment that are commonly used for other sculptures or modelling:
- Plastic or acrylic rollers and plastic spacers for rolling the clay into even and regular layers
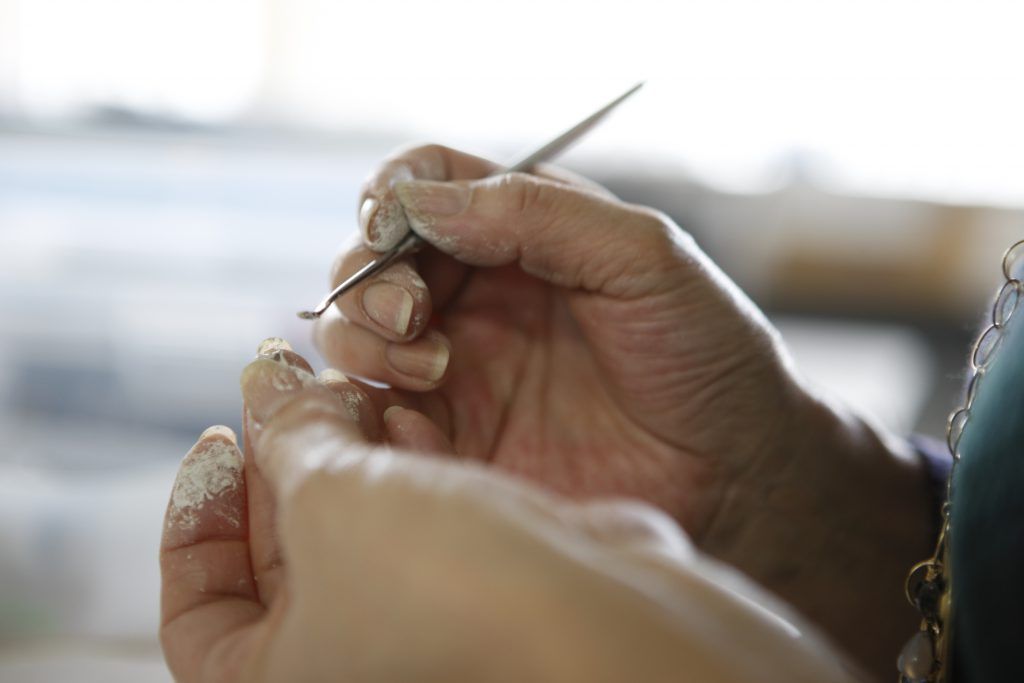
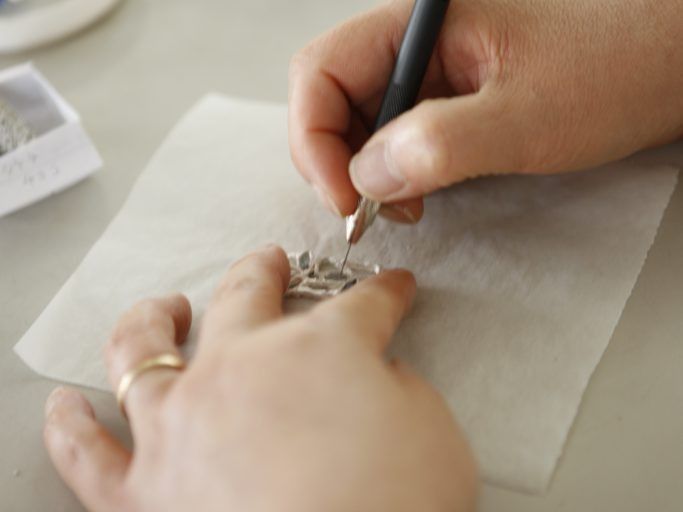
- Cutting and engraving tools such as scalpels, spatulas, and chisels
- Templates and cutters, moulds and textures, and other decorative tools
- Stones and beads to add decorations to your project
- Brushes for refining, smoothing, and correcting irregular edges or breaks
- Water, oil, or other non-stick solutions to prevent the clay from sticking to your hands or the work surface
- Sponges or abrasive sheets for finishing after drying
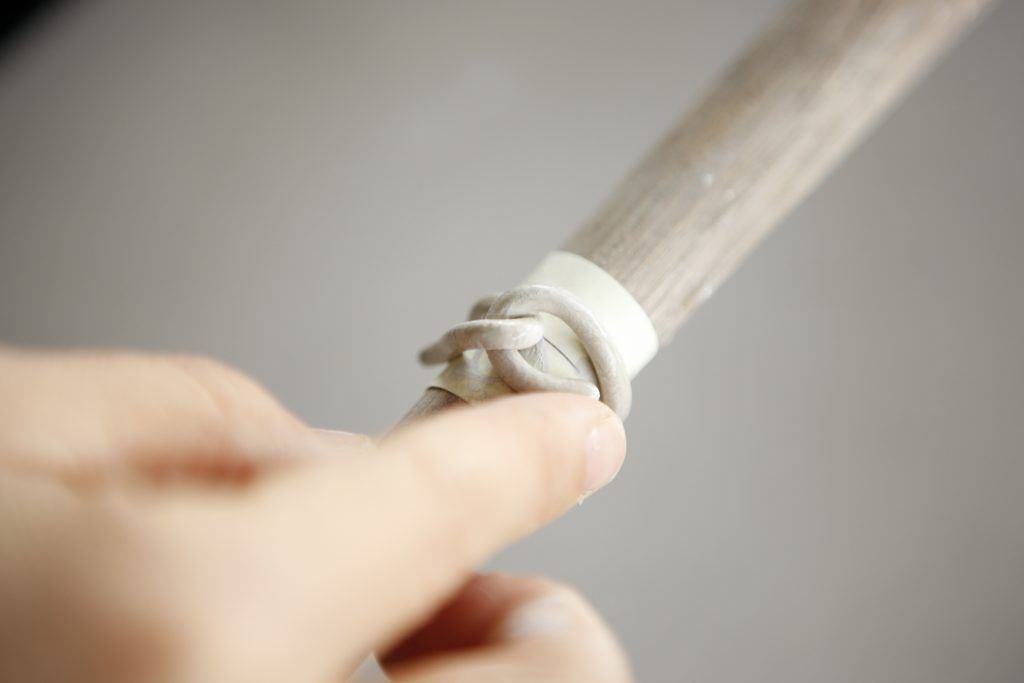
A great way to start is with one of the Art Clay modelling kits, which contains all the tools you need for working with metal clay.
Drying and finishing
Once the work is completed, drying is an essential phase before firing. The objects should rest for several hours, overnight, or up to 24 hours, depending on size and thickness. You can also use tools like food warmers, hairdryers, or a kitchen oven set to very low temperatures, but our advice is to be patient and let the drying occur naturally.
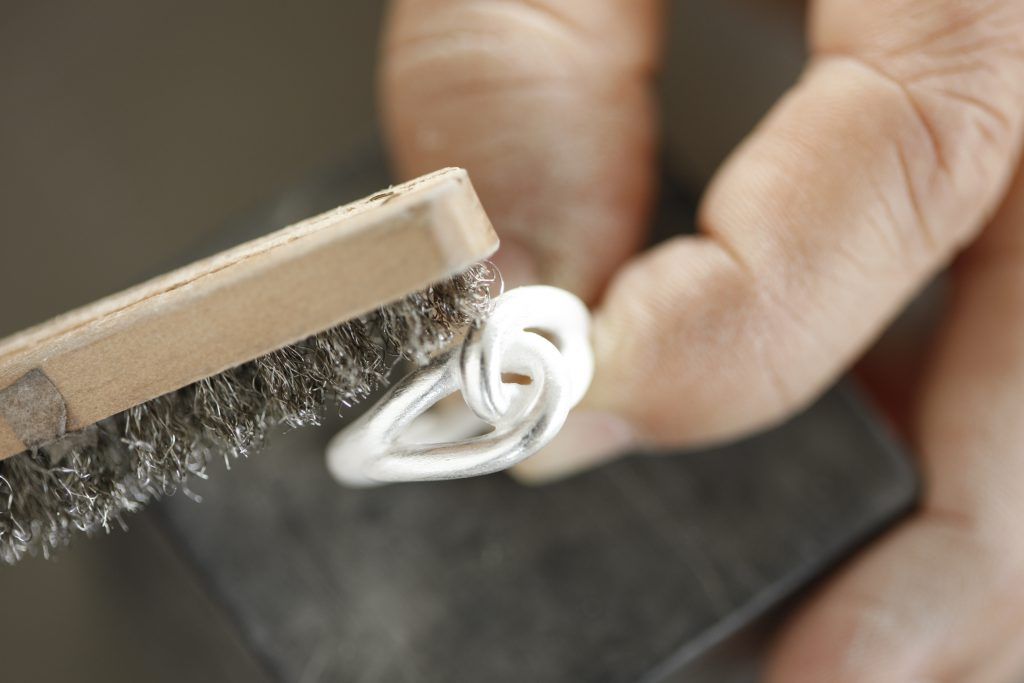
Overheating or forcing an object, especially if it is very thick, can lead to drying of only the outer surfaces, trapping moisture inside. If the heat is excessive, the binder may begin to burn before firing, causing damage and distortion. Once the object is perfectly dry, you can focus on finishing: when the clay is dry and hard, you can use abrasive sponges, files, and other tools to define details and eliminate imperfections before starting the firing and finally see your object emerge in pure metal.