 Italiano
 English
 Français
 Español
 Deutsch

There are many good reasons to make your own soap at home: it is a fun and relaxing activity, of course, but it also allows you to know the ingredients of what we use daily on our bodies and to choose healthy and natural ones.
In this article, we provide you with all the information you need to independently produce a good, healthy, visually appealing, and fragrant soap!
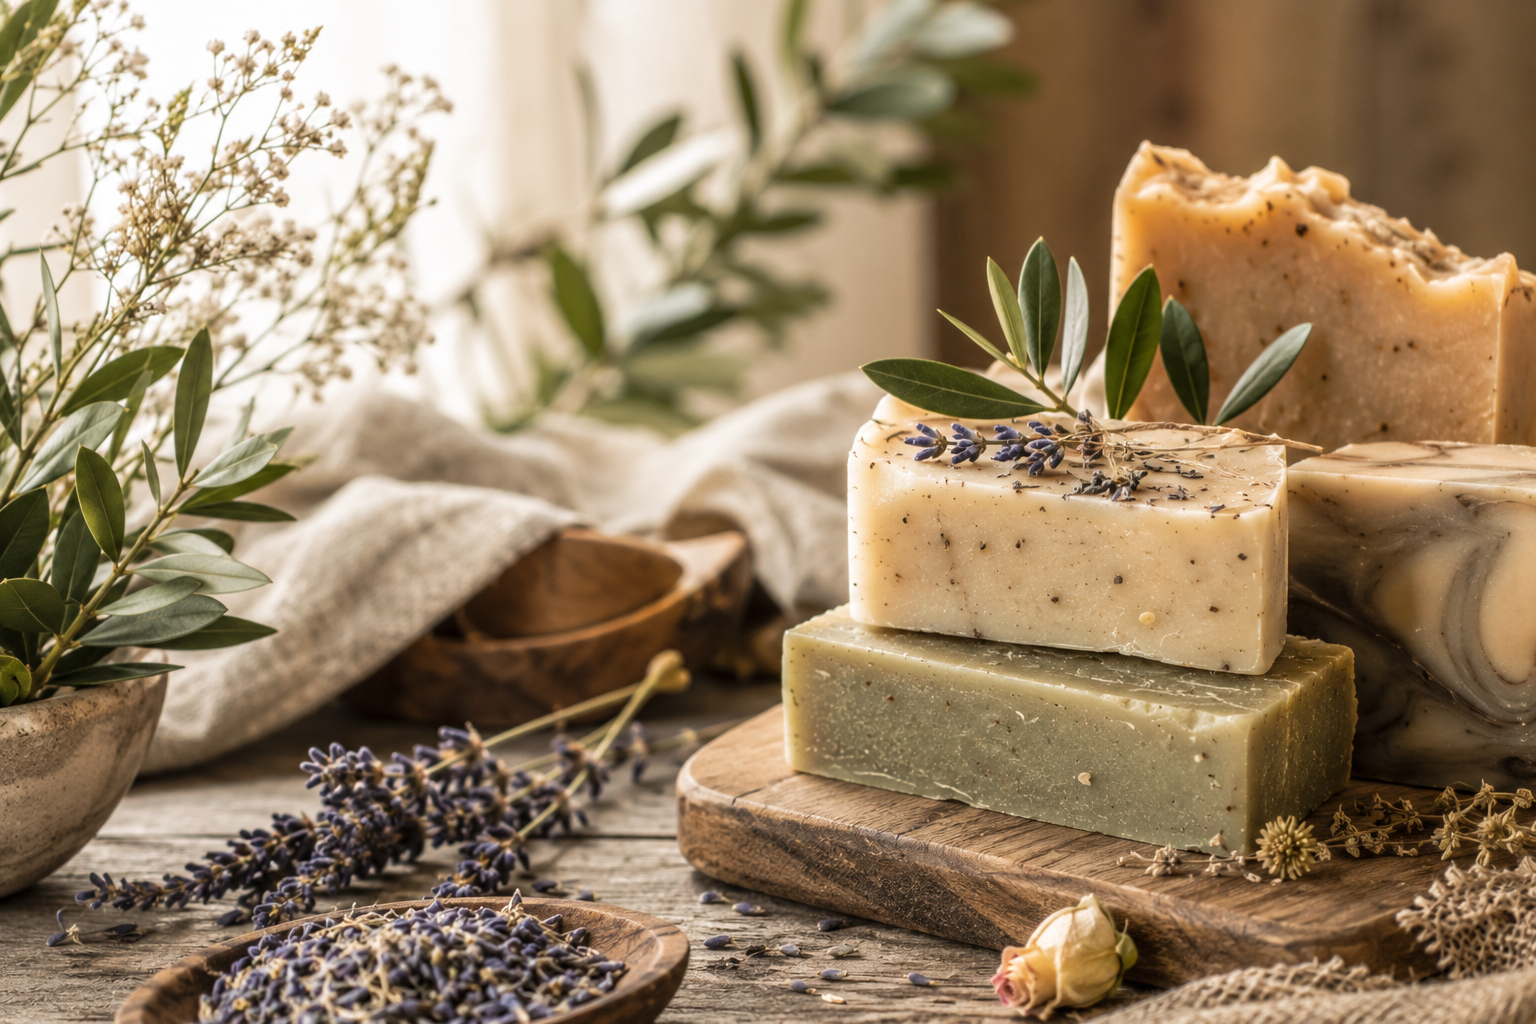
Traditional Soap and Today's Soap
In the past, soap was made using wood ash lye, an ingredient that is difficult to handle and quite dangerous. Today, thanks to commercial lye, or caustic soda, we can achieve better results more safely at home. The other two essential ingredients for making soap are: fat and water.
We can divide the operations into two main phases. The first, more operational, during which the three main ingredients are mixed together, thus starting the saponification process, and the mixture is transferred into the moulds. The second, called curing, during which the chemical reaction between the ingredients will continue to act and induce our soap until it reaches the desired consistency.
Making soap is simpler than you might think and can be a source of great satisfaction!
The Main Ingredients for Making Soap: Caustic Soda, Fat, and Water
Caustic Soda
It is an ingredient that can be dangerous if not handled with the appropriate precautions.
Here are some important things to know:
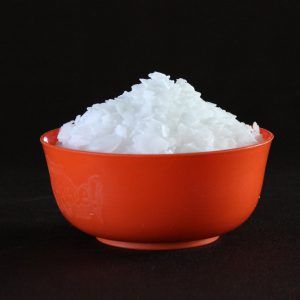
Caustic Soda Flakes
- Caustic soda can react with metals: it must not come into contact with zinc, iron, aluminium, or tin. Suitable containers are made of glass, steel, heat-resistant plastic, or enamelled pots.
- Caustic soda produces heat during the reaction with water: it is important to use cold water and a container that can withstand temperatures above 93°C.
- Soda is caustic, meaning corrosive, and is severely harmful if ingested: keep it away from children and animals. Remember that the only way caustic soda can cause harm is through contact, and its burns are not instantaneous but act within a few minutes. If you happen to come into contact with caustic soda, rinse your hands with vinegar and then rinse immediately with running water.
You might wonder if using such an aggressive ingredient as caustic soda will make your soap corrosive! Certainly not! During the process, caustic soda completely transforms into soap and glycerin! Your soap will be super safe!
Fat
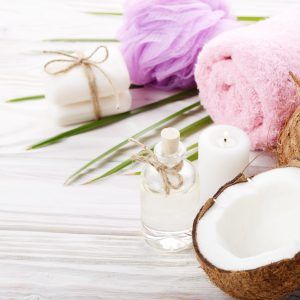
You can use practically any type of fat to make soap; liquid vegetable oils are often used: white coconut oil, for example, has excellent foaming properties, as does yellow coconut oil. We advise against certain fats like purified butter fat, cottonseed oil, or raw linseed oil because they have an unpleasant smell!
Other oils that can be used include: avocado oil, canola oil, corn oil, light sesame oil, olive oil, peanut oil, safflower oil, soybean oil, sunflower oil, sweet almond oil, walnut oil, and wheat germ oil.
Water
In certain areas of Italy, high concentrations of limestone and hydrated gypsum present in the soil are dissolved by rain and filter through the ground to the aquifer: this produces what is known as hard water, which in the soap-making process can create insoluble fats called films or soap scum.
If you live in areas with hard water, you probably know it because you have heard friends and neighbours talk about it (there are kits available to check the hardness of the water), for your soap production you can use distilled water or treat your water to remove calcium.
WHAT YOU NEED
To avoid reactions with caustic soda, do not use containers made of zinc, iron, aluminium, or tin. The safest are made of glass, enamel, stainless steel, and heat-resistant plastic. Also, pay attention to the thickness: if the container is too thick, it will retain heat longer and prolong the thickening time of the soap.
(available in various shapes) When we mix caustic soda with cold water, heat is generated; it is important to use cold water and a container that can withstand temperatures around 93°C.
To protect yourself during the handling of caustic soda
We prefer to use a rubber spatula to avoid scratching the surface of the steel bowl. Caustic soda does not affect rubber, but rubber tends to absorb the fragrances of essential oils, so your spatula for mixing soap should be designated solely for this purpose! We advise against using a wooden spoon because over time caustic soda weakens the fibres and it may end up breaking!
One for the water mixed with caustic soda and the other for the fat. Each thermometer should be able to measure from 32° to 120°C and must be made of glass or stainless steel to resist corrosion. Always measure the temperatures by immersing the thermometer so that it does not touch the bottom of the container, to avoid almost direct contact with the heat source. Some thermometers take 3 to 5 minutes to register the correct temperature, check the instructions.
Proper use of the scale is essential for the success of the soap! Recipes with vague quantities (cups, tablespoons, etc.) always lead to disappointing results. Since very small amounts of caustic soda are used to make soap, we suggest an electronic scale with a digital display and an accuracy of 2g.
Soap easily releases from any flexible mould as long as it is clean (dry and not greasy). Hobbyland has a wide range of moulds from the most classic shapes to the most original.
You will need it to measure the amount of water.
- A timer
Recipes always specify the time for mixing the soap, so you need a timer.
- A blender (optional)
Some recipes require the use of a kitchen blender instead of the spatula for mixing the soap. Most kitchen blenders are made of stainless steel, so they are unaffected by caustic soda. Soap splashes are quite common when blending, keep a damp cloth handy when working to clean up any splashes and always wear protective goggles.
- Oven gloves or pot holders
These are necessary to protect your hands from the heat that the mixtures transmit to the container.
- Steel measuring spoons
Some oily fragrances can melt certain types of plastic, so we recommend stainless steel measuring spoons that last long and are unaffected by colour powders or oily fragrances. Sets with measuring spoons up to 1/8 teaspoon are available on the market. Some recipes require 1/16 teaspoon of an ingredient.
How to Make Soap: The Steps
Step 1
Put the fat and optional ingredients in a suitable bowl, heat them to the temperature specified as the fat temperature in the recipe, and insert the thermometer (make sure it does not touch the bottom of the bowl to avoid skewing the reading). If the recipe does not specify otherwise, add the optional ingredients (such as herbs and grains). Maintain the mixture at the required temperature.
Step 2
Wear safety goggles and rubber gloves. Remember that if the caustic soda and water mixture or the fresh soap splashes onto your skin, there is plenty of time to rinse it off before it starts to burn.
Step 3
Dissolve the caustic soda in cold water and wait until it reaches the temperature specified under water and caustic soda. Use a heatproof container, such as a graduated Pyrex jug, to measure the specified amount of cold water (21/23°C). The temperature of the water is important; if it is warmer or boiling, it may bubble out of the container; if it is colder (below 16°C), the mixture will not reach the required temperatures for some recipes. While mixing the water with the rubber spatula, slowly add the caustic soda: you will see the water become cloudy and warm up. At this stage, it is advisable to avoid breathing in the fumes from the mixture. Insert the thermometer into the mixture and wait until it reaches the temperature specified in the recipe under water-caustic soda temperature.
Step 4
When both compounds reach the temperatures specified in the recipe, add the water and caustic soda mixture to the fat.
Step 5
Mix for the time indicated under thickening time in the recipe. The new mixture, which will initially be watery, will gradually become more opaque and thick. The thickening phase is necessary if you plan to add herbs or other powdered additives to the soap; if it is too fluid, once added to the mould, they will end up floating or sinking to the bottom.
Step 6
For recipes with a thickening time longer than 5 minutes, add the fragrance in the last 4/5 minutes of the total time. For recipes with a thickening time of less than 5 minutes, add the fragrances immediately after combining the two mixtures.
Step 7
Pour the soap into the moulds and scrape off the excess with a rubber spatula. If necessary, gently tap the mould to level the soap. Fill the moulds slightly above the edge; after 24 hours or when the soap has hardened, level it with a knife. Use the leftover soap to make "confetti" or "soap balls."
Step 8
Curing is the time that passes from when we pour the soap into the moulds to when we can use it. At the moment of removing the soap from the moulds, the transformation process is not yet complete, so wear rubber gloves and push it out by pressing on the back of the moulds, somewhat like when removing ice cubes from a tray. If this operation does not go smoothly, try leaving the mould in the freezer for a few hours.
Step 9
Curing is the time that passes from when we pour the soap into the moulds to when we can use it, and it lasts about three weeks. For some types of soap, a longer curing time is required. Note down: the date you made the soap, the expected curing day, and the name of the recipe. Place the soap on plastic or cardboard and put it in a spot where it can rest for the required time. Turn the bars a few times during curing to expose all sides to the air.
Step 10
The process is complete, and the soap is cured! A white powder may appear on the surface: this is soda ash (calcium carbonate) that forms from the reaction of caustic soda with the carbon dioxide present in the air. You can try to prevent it by covering the soap in the mould with cling film to avoid exposure to air, or you can simply wash it away by rubbing the soap between your hands under running water or with a damp cloth.
Fragrances
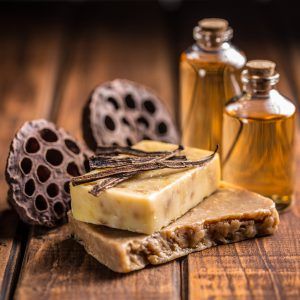
Adding oily fragrances can add a different touch to soap recipes, but it can compromise the success of the operation. Alcohol, for example, can cause irreversible separation of the ingredients: always check that the scented oil you intend to use is free of it.
Essential Oils
Essential oils are aromatic extracts chemically derived. Many of these oils have an acidic pH that can affect the chemical reaction of soda and fat; use a small amount: for example, 2 teaspoons for half a kilo of fat.
Natural Flavours
These are typically used to give colour, flavour, and scent to foods; they can be added to soaps, but often during processing, they lose their fragrance. It is better to use natural flavours in the form of essential oils, which are more stable: cloves, cinnamon, mint…
Other Fragrances
Be careful with potpourri oils or candle fragrances: if the label says "avoid contact with skin" or "this oil may ruin wood finishes," do not use it for your soap.
Strange Scents
During processing, strange aromas may rise from the mixing bowl; additives like milk or starch can indeed cause unpleasant smells that, however, in most cases, will disappear during curing. The true test of a soap's fragrance can only be done after 3 months; before then, the smell of your soap may not be the final one.
Clean Fragrances
The most stable oily fragrances for making soap, in our opinion, are: bergamot, rosewood, cumin, cedarwood oil, cinnamon, citronella, clove oil, orange blossom, patchouli, peppermint, allspice, rosemary, sandalwood, sassafras, spearmint, and thyme.
Additives
Additives are not essential for making soap but contribute to giving it particular characteristics. Here is a list of the main additives:
Starch
Starches are granules from cereals like oats, barley, or rice flakes. Starches are soothing for the skin, help give texture to the soap, and can shorten the thickening time. The most classic are granules from cereals like oats, barley, or rice flakes.
Earthy Products
Pumice, clay, kaolin, bentonite, and talc do not saponify and remain in their original form. They contribute to texture, make the soap more opaque, and thicken the mixture.
Wax
Adding wax to recipes shortens thickening times, reduces the formation of soda ash, and makes the soap firmer.
Resin (e.g., pine resin)
Resin hardens the soap and gives it a brown colour, reducing the thickening time.
Herbs
An optional ingredient. We recommend using them in powder form to avoid the finished soap being too abrasive. Herbs thicken the mixture and shorten the thickening time.
Fruits and Vegetables
Better dried and powdered, as fresh ones ripen and rot even inside the soap.
Colour
If we want to add a touch of colour to our soaps, we must consider two characteristics that soap colourants must have:
- stability: it must withstand the alkalinity of caustic soda so that the colour does not alter (even after curing)
- resistance: the soap must maintain the colour without fading and, above all, must not stain other surfaces. No matter what colour the soap is, the foam must be white. Coloured foams can stain hands.