Our article on lampworking and creating glass beads has been created with various types of artists in mind: from beginners approaching this discipline for the first time, to those who already have a fair amount of experience.
If your goal is to set up a proper workshop, with artistic and commercial objectives and a significant production forecast, then it is important to delve deeper into all aspects concerning the setup of a workspace that is functional, comfortable, and, above all, safe.
This is why in this second part of our guide to glass beads, we will focus on setting up the lampworking studio and, in particular, on how to choose, install, and use the right fuel for your work.
The ideal space for a workshop: setup and safety
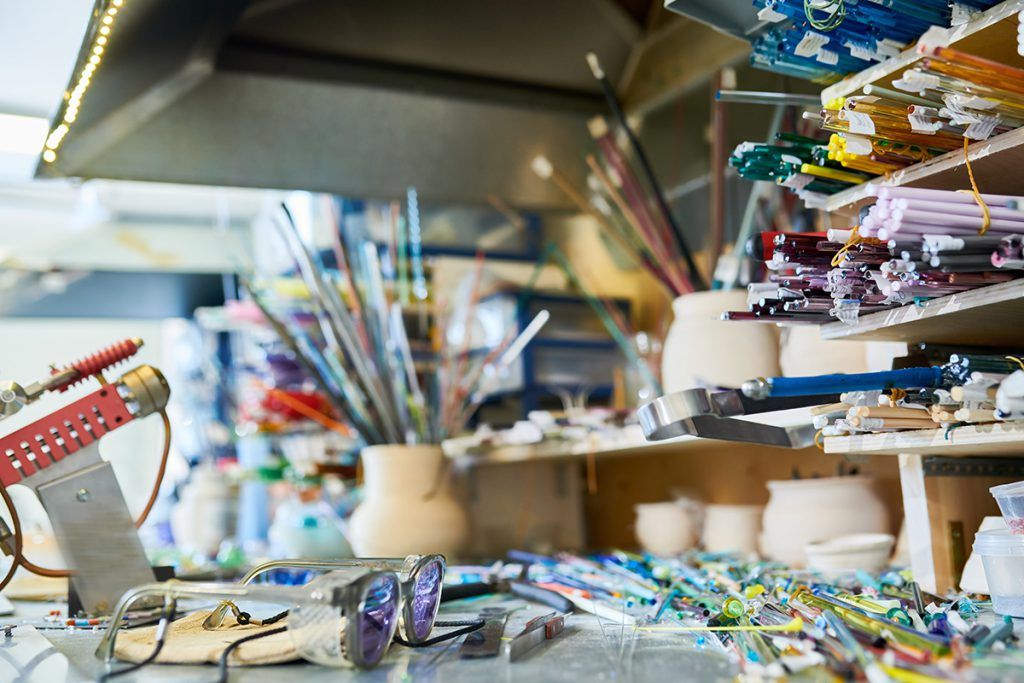
To set up your lampworking workshop, you will need space. Not a lot, but enough to accommodate a large work surface, with adequate containers and compartments to have tools and materials within reach.
Lighting is very important, so in addition to the natural light from any windows – which also become ideal for air exchange – consider the positioning of light sources to ensure you always have an optimal view. Adequate ventilation is essential for safety: a good fan will help prevent fumes, dust, and other elements generated by exposing glass to flame from stagnating. An important tip: position the fan so that the airflow is in the same direction as the flame, either behind or in front of you.
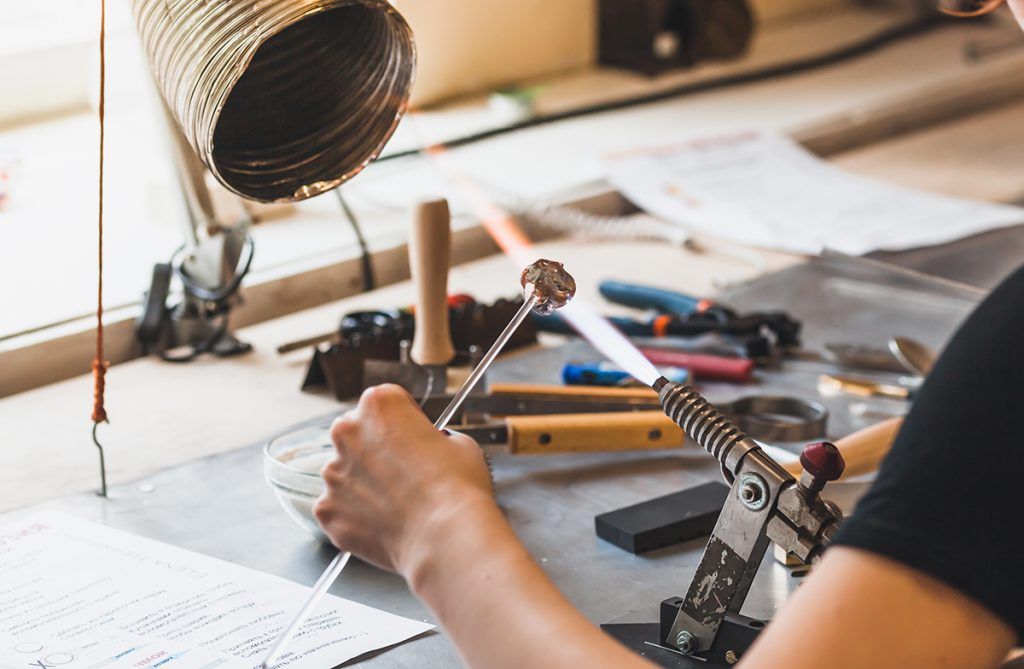
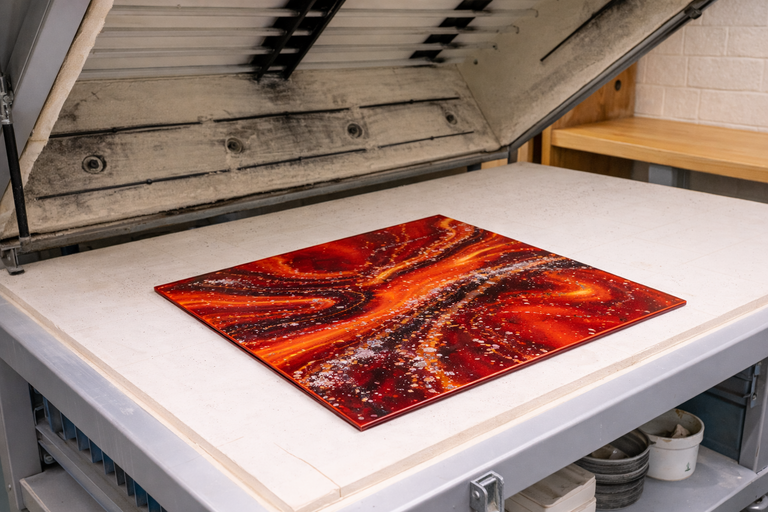
Keep in mind that during the process, incandescent glass fragments, dust, and other materials may fall to the ground. So, no wooden flooring or delicate carpets! For all the other tools and materials needed for a lampworking studio, we refer you to our essential guide to glass beads.
Even with all possible precautions, open flames and gas cylinders always pose a potential risk, so make sure to have a charged fire extinguisher always within reach.
Generating the flame: gas and oxygen, how to choose
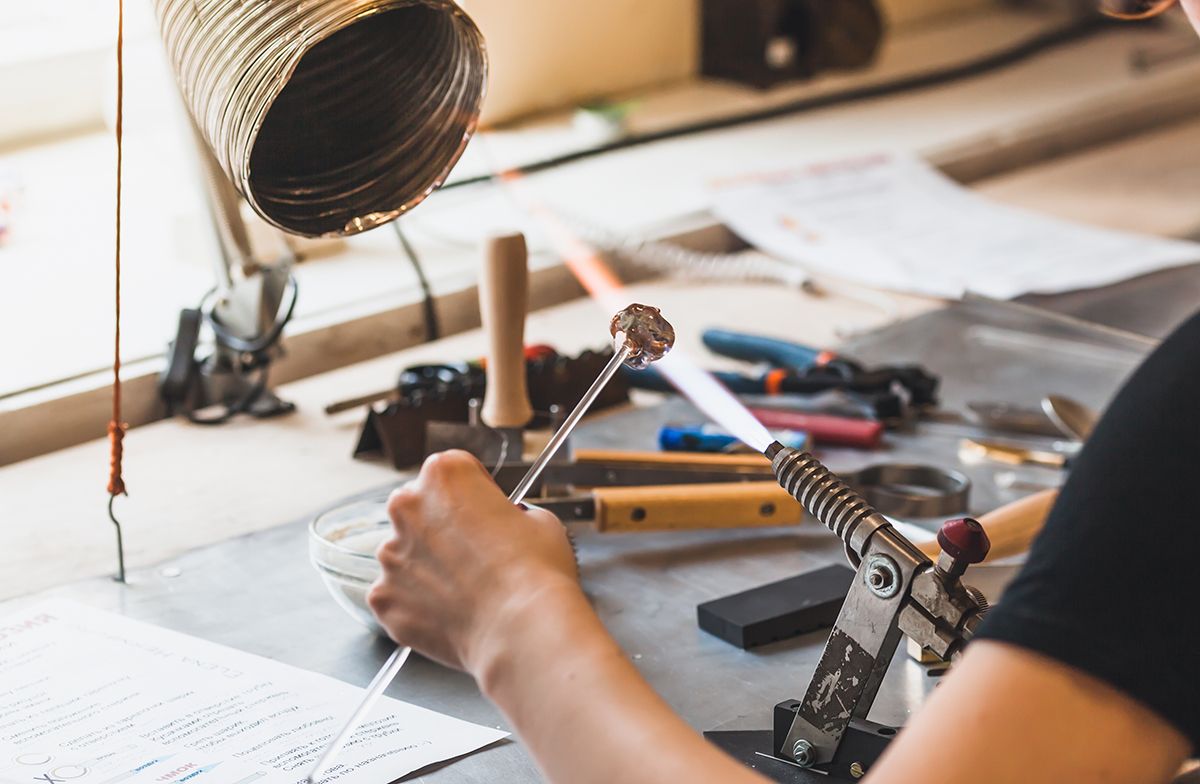
The principle behind lampworking is the open flame. But obviously, not just any flame will do: to melt glass at the right temperatures, without altering its colour or ruining its consistency, you will need to combine gas and oxygen, or use pre-made mixes specifically designed for this purpose.
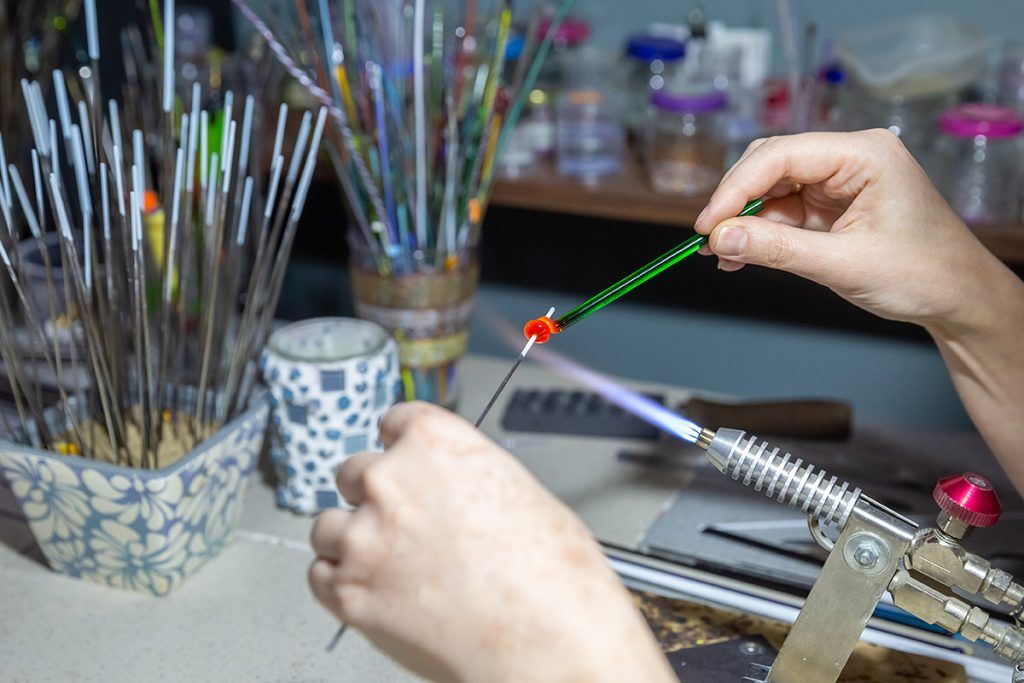
This is the case with MAPP gas, which contains a combination of gas and oxygen that allows for high-temperature flames that do not burn the glass, changing its colour.
Regarding supply, you have two choices, depending on the type of gas you intend to use:
- the use of gas and oxygen cylinders (or MAPP, which combines both), which you will need to purchase each time from an authorised local dealer
- the purchase of an oxygen concentrator, which generates oxygen autonomously and mechanically. For lampworking, your workshop will still need to be equipped with a natural gas or LPG connection, which will supply the torch for the flame along with the oxygen.
What is the best choice? As we often explain, the choice will largely depend on your intentions and expectations from a work and production perspective, as well as your budget.
MAPP gas for the first steps in lampworking

Our Glass Bead Kit represents perhaps the best combination for an entry-level: with a relatively low expense, it is possible to take the first steps in lampworking with the MAPP gas supply system.
The kit contains a cylinder, a torch, basic tools, and glass to create the first glass beads.
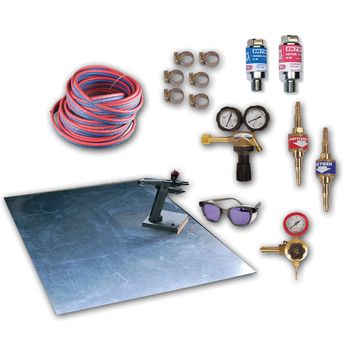
The Basic Lampworking Kit is instead equipped with a torch, reducers, valves, and hoses, as well as a stainless steel work surface to secure the torch and a pair of UV protective glasses. The purchase of oxygen and gas cylinders, as we specified earlier, must be done independently at the authorised dealer.
Oxygen concentrator for professional activity
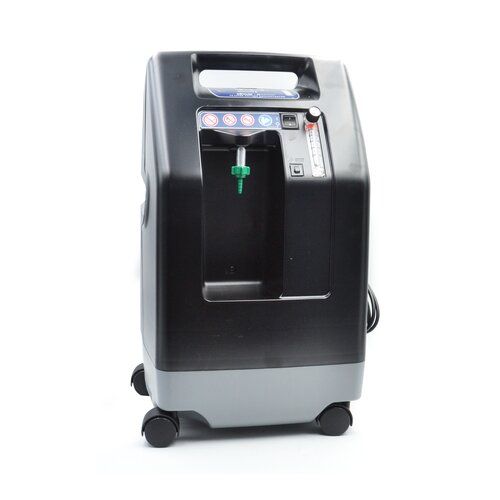
If your project has a broader perspective, then our advice is to invest in an oxygen concentrator: the initial expense is certainly higher, but the concentrator will allow you to no longer depend on purchasing cylinders and to have a constant supply for your work.
A machine like those available on the Hobbyland website, of high quality and state-of-the-art, is characterised by low electricity consumption and portability, ideal for those wishing to organise demonstrations outside the studio or participate in travelling markets. For those working with glass professionally, in short, the investment will certainly pay off in the long run.
If you want a complete kit that includes the concentrator, torch, and everything needed for the connection, you can consider purchasing the Deluxe lampworking kit.
Connections and torch setup
Whether you have chosen to use gas and oxygen cylinders, or an oxygen concentrator plus a domestic gas source, the time comes when the fuel needs to be connected to the torch to mix and generate the flame. Each of our torches is supplied with the necessary valves and reducers to make the connections safely, but our recommendation is that the assembly is always supervised by a qualified technician.
In this document, you will find detailed instructions for connecting the torch, both for a basic kit and for a deluxe kit with oxygen concentrator. And for any doubts, the staff at Hobbyland is always available to advise you and guide you in the best way.