The technique of wood scrolling is a craft that involves cutting and drilling wooden boards of varying thickness, typically around 3 or 4 mm, based on a design previously applied to the boards themselves. Once worked, the wooden pieces are sanded and finished with varnish, and they can also be assembled together to create more elaborate projects. With wood scrolling, you can create decorative or household items, sculptures, panels and furniture elements, games and puzzles, furniture accessories, and much more.
Scrolling can be done by hand with a bow saw, or with an electric scroll saw. The choice of tool depends on your level of experience, but also on the type of project you wish to create, in terms of size, complexity, and type of wood. Another factor to consider is the cost, as electric scroll saws are more expensive, take up more space (and therefore require an adequate workshop), and consume electricity. On the other hand, however, they represent a durable and effective investment, especially if you intend to dedicate yourself to wood scrolling in the long term.
The choice, as always, depends on your needs and desires, and this brief guide aims to provide you with the information and details you need to navigate the world of wood scrolling: from the tools to use, with the most suitable applications, to the procedures and techniques for creating beautiful pierced wooden objects!
The principles of wood scrolling
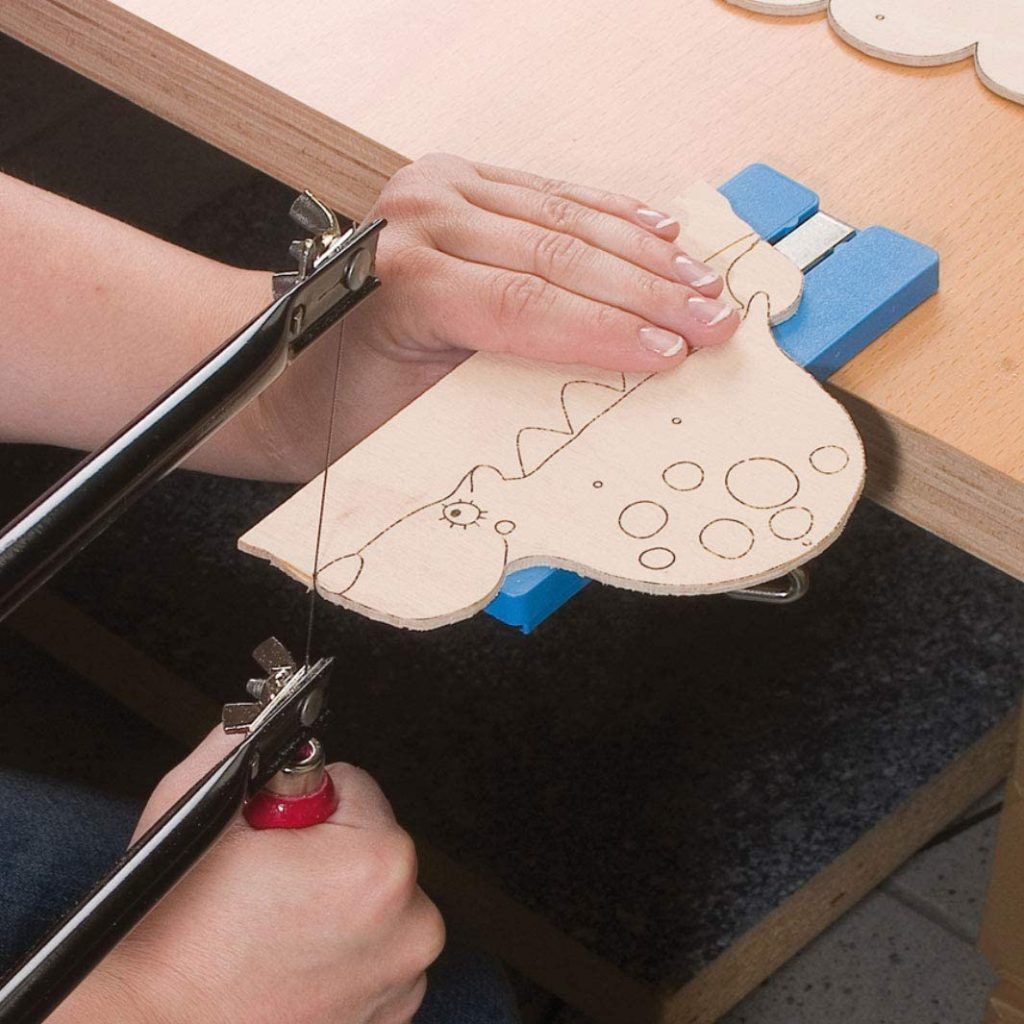
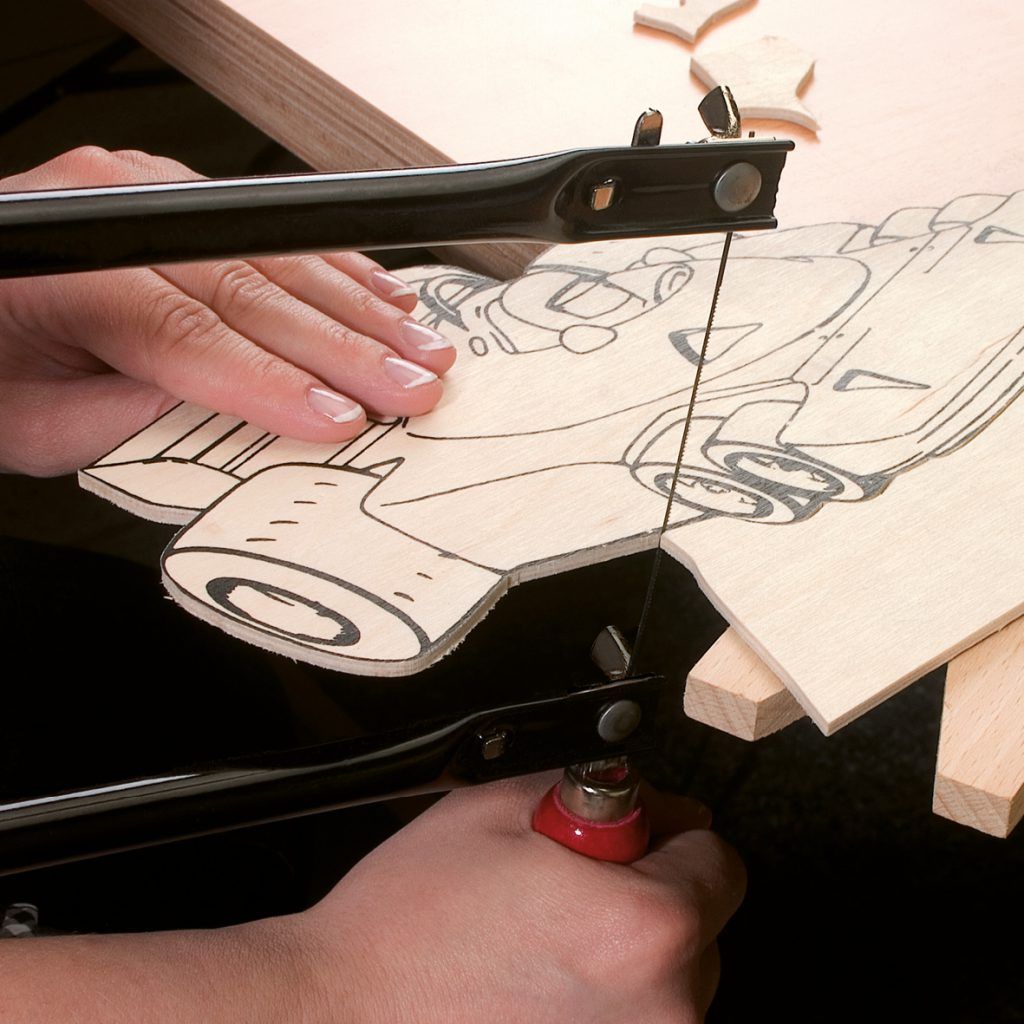
Regardless of the tool used (manual saw or electric saw), the scrolling method is always the same: the blade performs a continuous alternating vertical movement - going up and down - cutting the wooden board positioned horizontally on the work surface. The board to be scrolled is guided so that the blade cuts along the lines of the design (in the case of the manual saw, we will move the blade to follow the lines). If there are internal scrolls, the procedure is to make a small hole in the area to be cut out with a small drill, insert the blade inside, reattach the blade to the two arms of the saw, and proceed with the cut, removing the excess parts.
The manual saw
The saw for wood scrolling consists of a U-shaped structure (also called bow) to which the blade is fixed at the ends, and a handle or grip. The depth of the U determines the maximum size of the piece of wood you can carve, while the distance between the ends determines the maximum thickness of the board (usually between 30 and 40 mm). The blade, which for this type of saw is usually quite thin and has many teeth, is fixed at the ends with bolts or wing nuts and can be changed as needed.
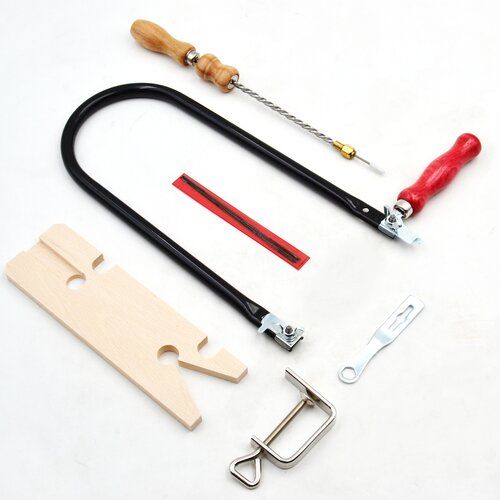
The bow saw, economically accessible and small in size, is probably an excellent tool for occasional use or for getting the hang of the principle of wood scrolling. A wood scrolling kit, complete with a selection of blades, a small drill, and plywood boards is ideal for taking your first steps with this technique.
If your work requires frequent use, with different types of materials and thicknesses and complex operations, the electric scroll saw is definitely the more forward-thinking choice.
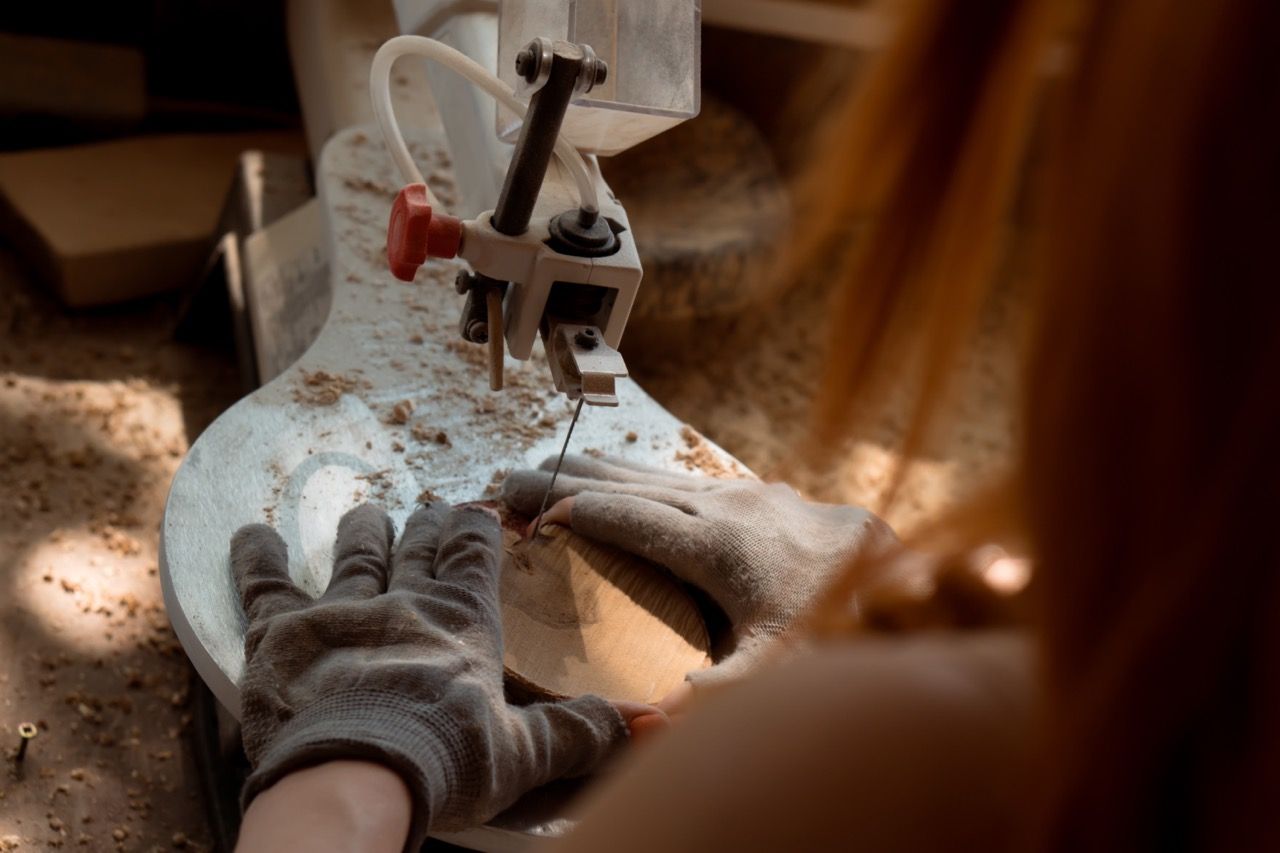
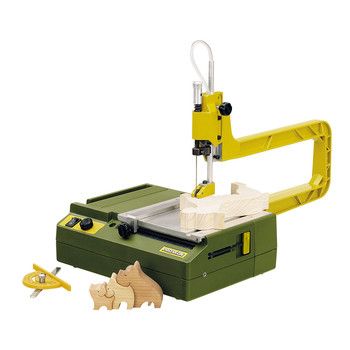
The electric scroll saw
The advantages of an electric saw are numerous: power, consistency, reliability, and the ability to work on different types of wood in various thicknesses. On the other hand, it is a tool that requires experience and skill, as well as a higher cost, not only for the tool itself but also for additional materials such as blades.
In the electric saw, the blade is fixed to two arms that move thanks to a small motor. The movement is therefore constant, faster, and capable of cutting thicker materials. The saw is equipped with a horizontal work surface that allows you to position the board and manoeuvre it comfortably around the blade. The structure to which the blade is fixed is called a "gooseneck" (and not a bow as in the manual saw), but its function is exactly the same: to hold the blade.
Many electric saws come with features or accessories that make them particularly functional, such as a speed regulator, the ability to tilt the work surface, a blower/vacuum to remove processing debris, a lamp to illuminate the work surface, etc.
The DS 230/e Proxxon scroll saw is low-cost and ideal for model making, toys, or fine mechanics. It cuts soft wood up to 40 mm and hardwood up to 10 mm.
The Dsh Proxxon 2-speed scroll saw has greater power and two speeds. Quiet and more powerful, it can cut wood up to 50 mm but also other materials such as plastics (up to 30 mm), plexiglass, expanded resins, rubber, cork, etc. It also features a bellows with an adjustable nozzle to keep the work surface free from shavings and sawdust.
The Ds460 Proxxon scroll saw is definitely a more professional tool. It has a reach (gooseneck width of 460 mm), greater stability, and the ability to absorb vibrations during work. It can cut wood up to 60 mm and other materials without problems. Like the previous saw, it has two speeds and a bellows, and it is also equipped with an adjustable work surface and is designed to accommodate blades with a cross pin.
Choosing the blade

Let's delve into the details of choosing blades for wood scrolling, focusing particularly on blades for the electric saw. Typically, a set of blades is provided with the saw at the time of purchase, but it is good to know the differences and characteristics of the various blades to choose the right one for your needs.
Generally, all blades are available in different tooth patterns and thicknesses. For soft and thin woods, or for very detailed work, a thin blade will be more suitable, and you will increase in thickness with harder woods, thicker boards, or longer, less intricate cuts.
Another factor that determines the functionality of a blade is the tooth pattern. Here are some of the most commonly used blades in wood scrolling.
Normal tooth pattern: the teeth of the blade follow one after another without gaps. Useful for thin cuts, for soft woods, and for delicate inlay work.
Spaced tooth pattern: the teeth are separated by uniform gaps. Suitable for fast cuts, it can be used on all types of wood.
Double tooth pattern: the blade has pairs of teeth in the space where normally there would be only one, with regular gaps separating them. Useful for hard woods, it allows for clean cuts on corners and edges, without too many burrs. The cut of these blades is not as aggressive as that of the spaced tooth pattern, and allows for greater control in work, especially for beginners or delicate operations.
Omnidirectional or spiral tooth pattern: the blade is sharp on all sides, useful for very tight radii without moving the piece being worked on.
Reverse tooth pattern: the blade has a series of 3 or 4 teeth oriented in one direction, while the next series is oriented in the opposite direction. With this blade, the cut occurs in both directions: the advantage is that the final finish is faster, and the cut is cleaner and sharper. The disadvantage is that it can cause burrs in the work.
Some blades come with cross pins for additional fastening to the arms of the saw. The obvious advantage of these blades is that they are more stable. The downside is that they can break more easily because, due to the pin, these blades are necessarily thicker. Additionally, if your project involves internal scrolls (i.e., not along the outer lines), you may have trouble passing this type of blade through the holes made within the areas to be cut, which often need to be very small.
Once the blade is attached to the bow or gooseneck, you can adjust the tension. There are no specific parameters for this operation, as each blade and each saw has different characteristics, and you will learn to adjust the tension with practice. A good indicator to assess whether the tension is correct is to observe the blade in action: if the blade appears as a single fixed line, the tension is right; if the line is not uniform, it means that the blade is vibrating too much, and is therefore too loose.
The phases of scrolling
It is time to begin the actual scrolling work. As we mentioned at the beginning, it is possible to use different types of wood of various thicknesses. However, to start getting familiar with wood scrolling, it may be helpful to begin with plywood or MDF (medium-density fibreboard), available in various sizes for every need.
Once you have selected the wood, sand it to ensure it is smooth and even, and then proceed to apply the design to the board, tracing it by hand, using one of the available scrolling designs, or simply placing an object (e.g., a leaf) on the wood and tracing its outline.
Make sure the board to be scrolled is properly positioned on the work surface and turn on the saw. With both hands, guide the board so that the moving blade follows the contours of the design. Start with the main lines, and then move or rotate it to continue on the other lines.
If the design has very sharp angles or very narrow sections, never start the cut from these points, but try to reach them by gradually removing the wood around. Do not rotate the board to follow a sharp angle: rather, follow the line to the vertex of the angle, and then move it to the other side and proceed again towards the vertex.
In the case of scrolls in internal spaces, you need to stop work, remove the blade from the saw, pass it through a small hole that you will have made in the centre of the area to be worked on, and then reattach it to the arms before starting again.
This video can help you understand how to proceed, both for the outer lines and for the internal spaces.
You can scroll more than one board together to obtain identical copies of the same shape. In this case, it is very important that the boards are securely fastened to each other, to ensure that they do not move during work. To secure them, you can use tape around the edges, double-sided tape between the boards, or nails driven into the internal spaces that you will later remove.
Finishing
Once the scrolling work is complete, you can proceed with the finishing, sanding and smoothing the wood to eliminate splinters and irregularities.
If you want to maintain the natural colour of the wood, the ideal finish is a clear gloss varnish, to give shine while also protecting the work. Otherwise, you can use one of the many varnishes available for wood finishing, and complete the work with a sealer.