 Italiano
 English
 Français
 Español
 Deutsch

In the first part of this guide, we saw how to prepare glaze and how to apply it on metal.
This time, we will discuss how to choose the kiln, proceed with firing, clean, and finish your jewellery.
1. The kiln for enamel work
For enamel work, electric kilns with a refractory chamber are mainly used. You can also do small jobs with the help of a torch or a gas soldering iron, both of which operate on gas. In this case, you need to be careful of ignition, combustion, and oxide residues on the glaze.
How to do it: place the object on a metal mesh so that it heats evenly from below until the glaze melts.
How to choose the electric kiln
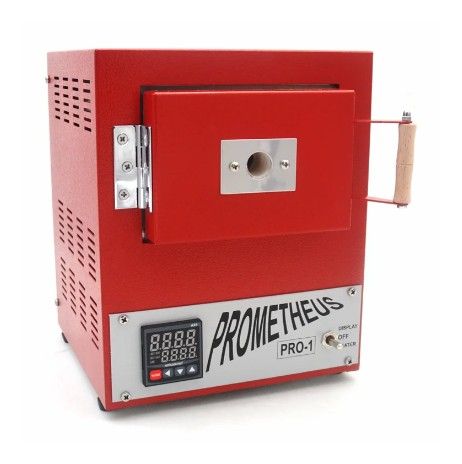
When choosing the kiln for glazing, keep one important thing in mind: the door must open easily with one hand, as the other hand will be occupied holding the pieces to insert and remove from the kiln. Until a few years ago, kilns did not have a temperature regulator, so the enameller relied on the “colour” seen in the firing chamber to determine the right moment to remove the pieces.
If you also prefer to maintain the “visual” tradition, you might consider purchasing a Prometheus PRO-1: it is the simplest one and has a hole that allows you to see inside and how your firing is progressing.
In our catalogue, there are also kilns equipped with more sophisticated temperature controllers, such as the Prometheus Pro1-PRG or the larger sister Prometheus Pro7-PRG, which allow for the creation and storage of more complex programmes.
All models also allow for the firing of materials such as Metal Clay, ceramics, or Glass.
Also, consider that you should insert and remove the objects to be glazed using the appropriate baking grids, preferably assisted by a spatula.
If you are preparing objects with counter-glaze, you will need to place them on special supports.
2. Temperature and duration of firing
The temperature and duration of firing depend on several factors:
- the thickness of the metal
- the size of the object to be glazed
- the overall mass of the objects contained in the kiln
- the thickness of the applied glaze layer
- the type and temperature of the kiln.
Before introducing the object, the kiln must reach a temperature between 850°C and 900°C, you will see that it turns light red inside.
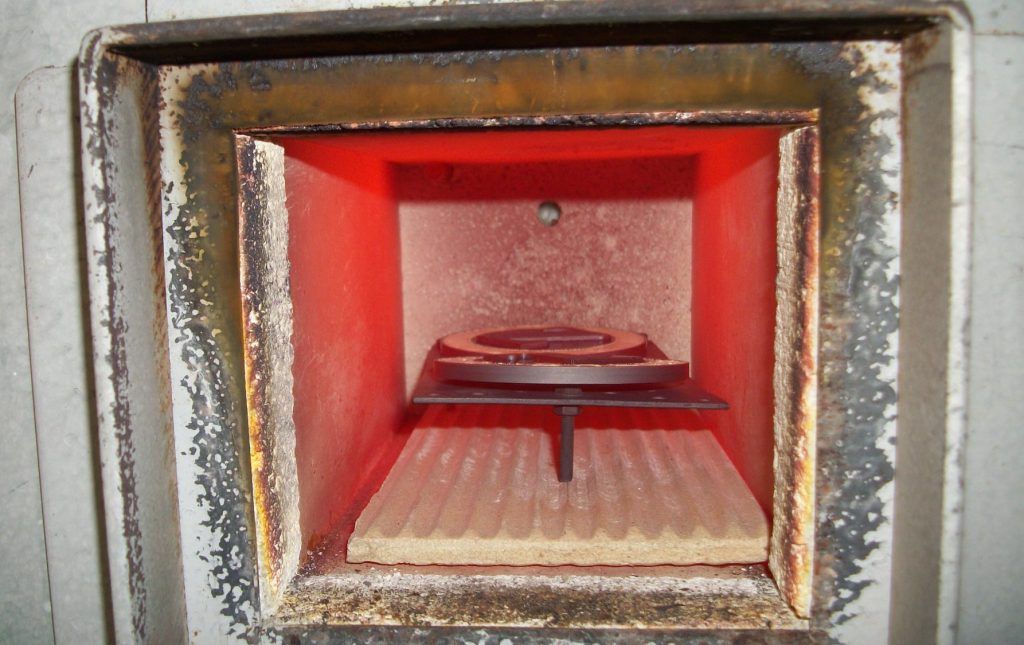
When you introduce the pieces into the kiln, be careful not to place the objects too close to the walls, as this risks uneven firing.
Check the firing process multiple times through the appropriate indicator, or by opening the kiln door. The glaze melts after about 1.5/3 minutes (for small objects), forming a glassy and smooth layer.
Remove the artefact, cool it, clean it, polish the metal parts not covered by the glaze, fix any imperfections, and polish again. If necessary, apply another coat of glaze where it is missing: if you apply a second coat, you must do a second firing in the kiln.
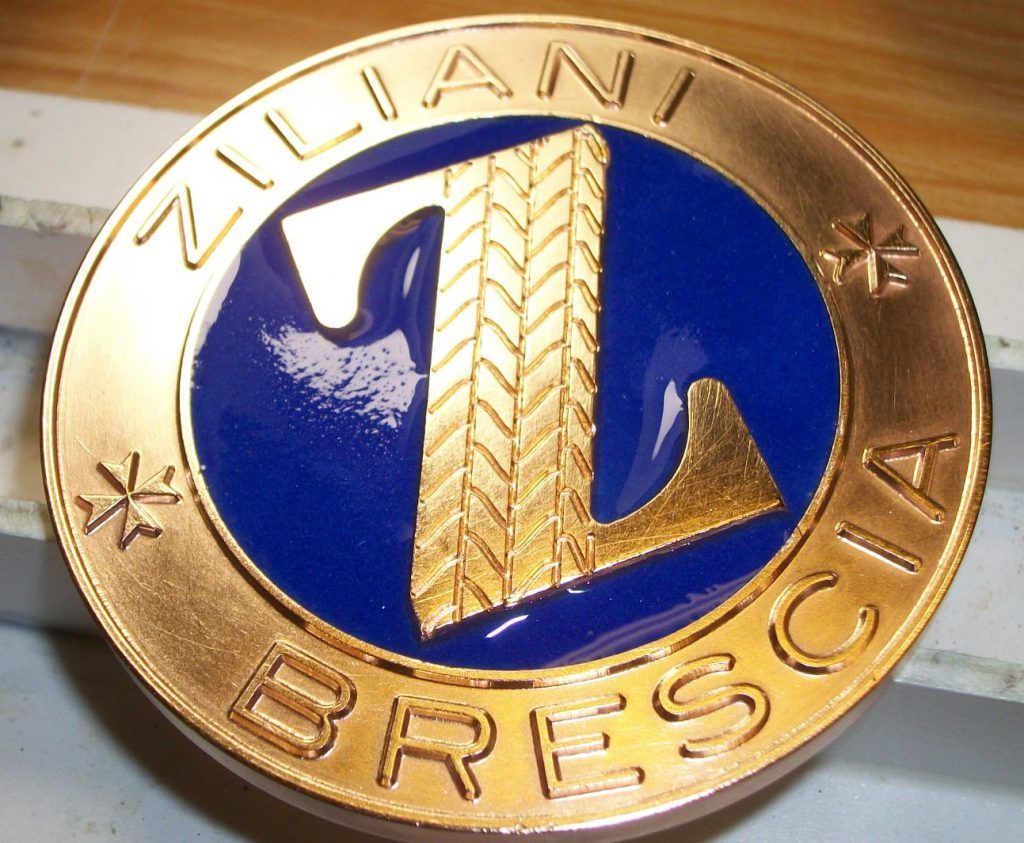
The first coat of glaze
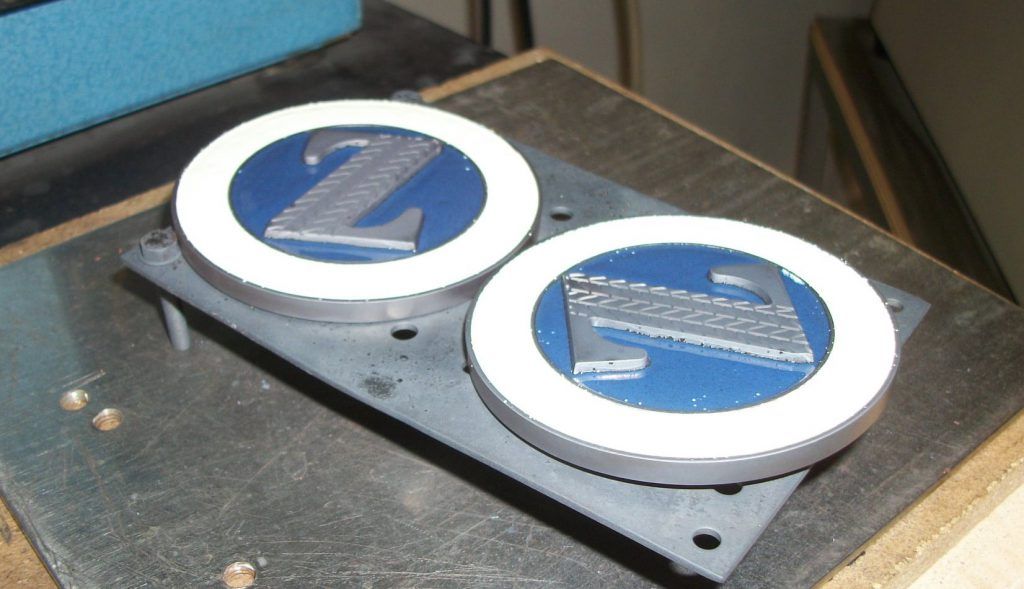
The second coat of glaze
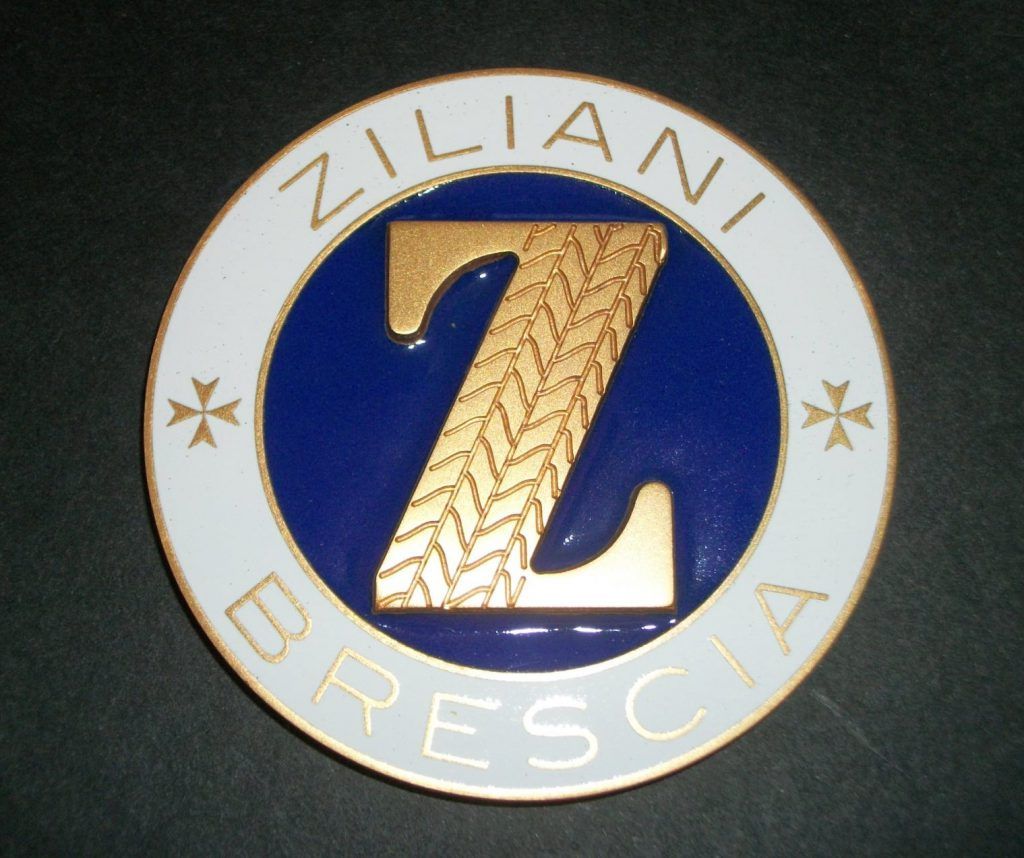
The finished medal
A quick firing at a high kiln temperature yields better results than a slow firing at insufficient temperature. If, upon removing the object, you notice that the glaze is not completely melted, put it back in the kiln until the surface of the glaze is completely smooth. After a few trials, you will easily establish the exact firing time.
Common problems after glazing
If air bubbles form on the surface of the glaze during firing, pop them with a needle tool. Be careful and file the edges of the burst bubble until you achieve a smooth surface. Then fill the opening with glaze and fire again.
When applying clear glaze on the surface of copper or tombac, even if the glaze is well melted, you may notice small red spots: in this case, further firing is necessary until the spots disappear.
3. Cleaning and final filing of metal parts
For the cleaning of metal parts such as edges or wires (as in the Cloisonné technique): after complete cooling, you need to deoxidise the object by briefly immersing it in a solution of sulphuric acid (9 parts water and 1 part technical grade 66 Bé sulphuric acid).
Then clean the object under running water with a bristle brush and subsequently with a "grater" or a fibreglass bristle brush (or in nylon, brass, steel).
The glazed surfaces during deoxidation, sometimes taking too long, become covered with a thin layer of oily film (rainbow): you can make them shiny again by cleaning them with a felt disc, very fine pumice powder, and plenty of water.
If you want to achieve a perfectly flat surface on small objects: after firing, smooth the glaze with an abrasive block and an abrasive carborundum file and then rinse it with pure water. Use a coarse file first and then a fine one. Then, carefully clean the surface with pure water to remove any small particles of carborundum dust. Finally, fire the object in the kiln.
In large companies, smoothing is done with rotating carborundum discs with plenty of water, and after perfectly brushing the object, it is fired.
Another method is to clean and polish the object on wooden discs covered with felt using very fine pumice powder and water. You can also use felt wheels mounted on a Dremel or Proxxon type drill or alternatively use a proper professional bench polisher. Recently, the normal irregularities of the glazed surface post-firing are highly appreciated in artistic production, so smoothing and polishing are often skipped.
... but this is already part of what you need to bring: your flair, your taste, your experience!
The photos in the post are kindly provided by CKI -Italy ARtCHIVIO ENAMEL MUSEUM (this is the Facebook page) and are by artists Mariano Fantucci, Salvatore Sinatra, and Marina Zanella.