Piercing is one of the basic techniques of handmade jewellery. The first works on gold and copper were done in Egypt to create jewellery and amulets, and since then, this technique has been part of all goldsmithing throughout history, from the Middle Ages to the Renaissance, up to the present day.
It allows you to cut out patterns, shapes, and decorations from a simple metal sheet, creating unique elements for pendants, earrings, rings, or bracelets.
In this guide/tutorial, we will accompany you from choosing the metal to finishing the piece.
Let's get started!
Choosing the metal
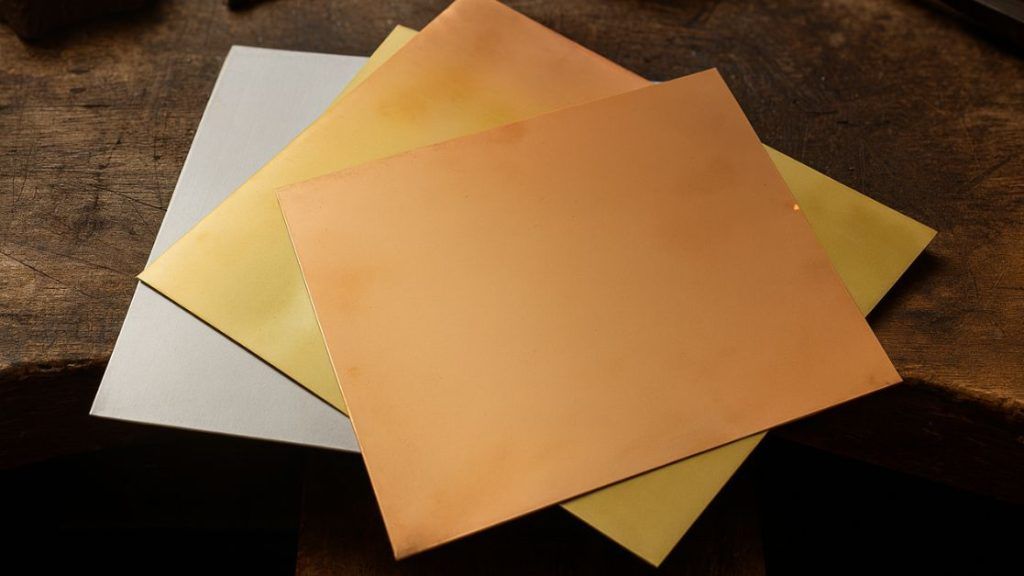
With the piercing technique, you can work with various soft metals, adapting the choice of blade to their thickness to cut them correctly. To start, we recommend choosing thin sheets that vary in thickness from 0.3 mm to 1 mm.
Here are the metals you can use:
- ALUMINIUM: the softest and lightest, very easy to pierce and suitable for beginners. It does not contain nickel.
- COPPER: soft, but slightly harder than aluminium. It does not contain nickel.
- BRASS: variable hardness, but generally harder than copper. Depending on the production, it may contain a small percentage of nickel.
- ALPACA (or silver-plated): the hardest of the group, similar to brass but less ductile. It contains nickel, and it is the presence of this element that gives alpaca its white-silver colour similar to silver.
Always prefer their annealed version, which is softer and more malleable.
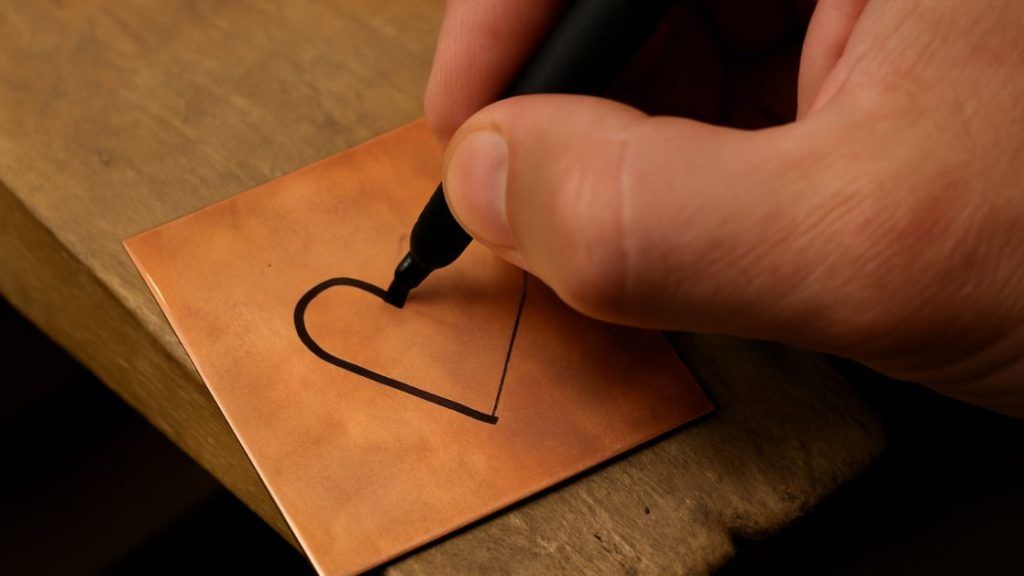
Design and transfer of the pattern onto the sheet
Once the sheet is chosen, you proceed to the design of the pattern to be pierced, which can be transferred onto the metal in 2 different ways:
1- You can draw directly with a fine permanent marker or with a pen with a metal tip.
2- Print the design on adhesive paper and apply it to the sheet.
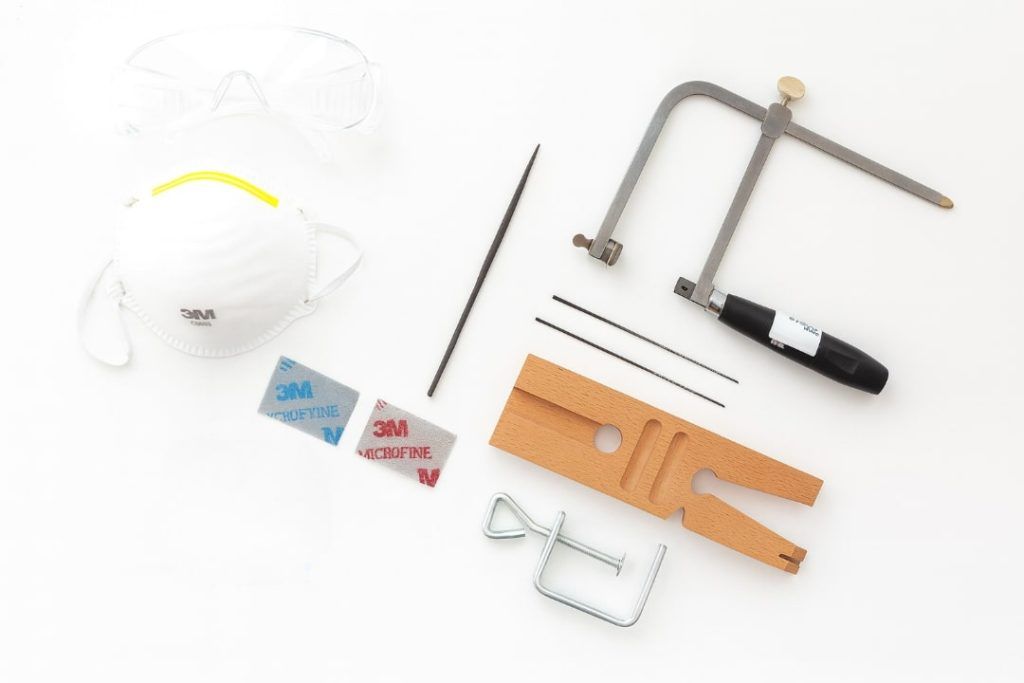
Preparing the workbench
To comfortably perform the piercing, you will need to prepare your workspace and have various tools at hand; here are some suggestions:
- Piercing board: helps facilitate cutting. Thanks to the V-groove, it allows you to easily insert into the sheet.
- Piercing saw frame for jewellers: this product comes in various sizes. Choose the one most useful for your project considering the distance between the blade and the arm.
- Metal piercing blades: to be mounted on the piercing saw frame. They come in different sizes, to be chosen based on the thickness of the sheet.
- Block of beeswax: used to wax the blade before entering the cut of the sheet. It makes the blade slide more smoothly.
- Safety glasses, mask, and apron
- Metal sheet of your choice
- Hand drill for drilling
- Files and Sandpapers
Extra tools:
- Electric drill + power supply and accessories: for drilling: Micro bits for polishing: 1 step Brass brushes, Brass discs, Brass cup brushes 2 step Felt wheels, Felt cylinder wheels, Cotton polishing discs
- Polishing pastes: Dialux Blue or Yellow
- Metal shears: useful for cutting excess
- Hammers for texturing
- Findings to assemble the jewellery
Prepare the tools
Secure the piercing board to your work surface.
Mount the blade on the frame. Unscrew the screws and insert the blade directing its tips downwards. After inserting it, re-screw to secure the blade. On the back of the frame, adjust the distance so that the blade is well tensioned and re-screw to lock it.
Transfer the design.
Wear safety glasses, mask, and apron.
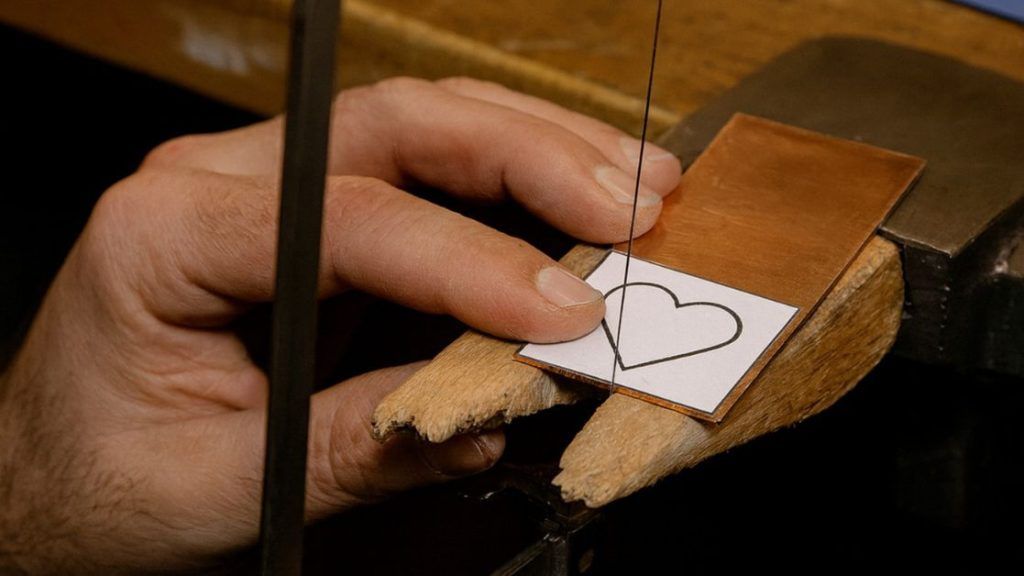
Start the piercing
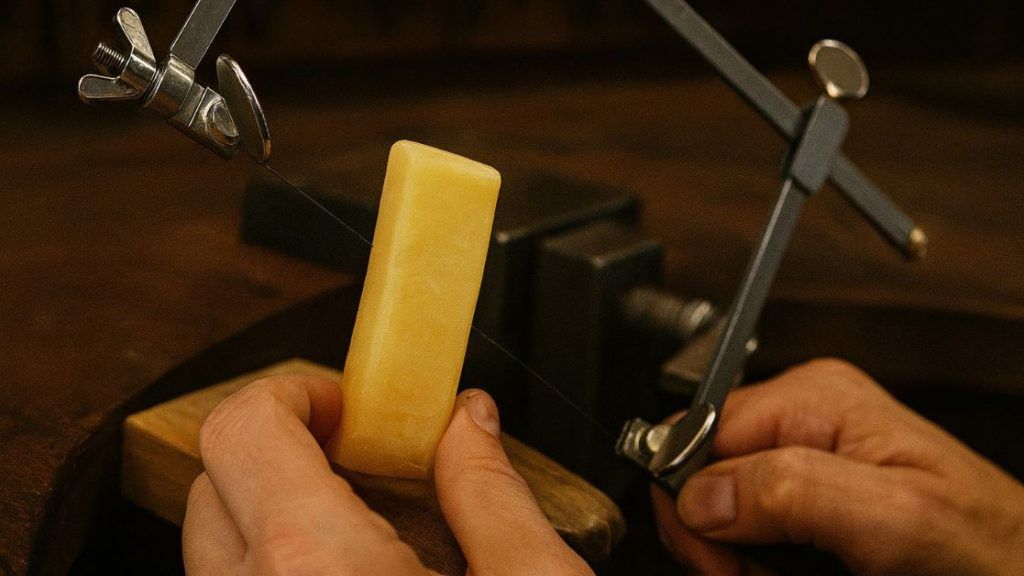
Slide the block of beeswax along the sides of the blade. This will help the blade slide better through the metal.
Roughly cut around the design to make precision cutting easier and not have too much material to manage. You can do this step either using shears or directly cutting with the piercing saw frame. Hold the frame vertically and proceed with up and down movements. Do not go too fast; make smooth and continuous movements without forcing.
If the blade breaks, do not panic; it is normal to waste a few blades during the first cuts to learn how to manage the movement and pressure well.
It’s time to move on to piercing the design in detail. We recommend starting from the side that seems easiest, and when you need to curve, change direction gradually by moving the piece, always moving the blade only up and down, without rotating it.
If you have a point with a very sharp angle, start from the opposite area and meet the one just cut.
Remember every now and then, when you feel that the blade is not sliding well, to pass it over the block of wax.
Do not worry at this stage if the cut does not seem precise and smooth; this aspect will be improved with the final filing.
To pierce an internal part of the design, you will first need to use a hand drill or electric drill to create a hole; we recommend resting on a scrap piece of wood for stability. In that hole, you will reinsert the blade, first disassembling it, and then remounting it on the frame.
Start with simple designs, and in no time, you will have your base to perfect.
Finishing the metal
For this work, you will need tools for roughing, finishing, and polishing.
Here are the details of what they are and their uses:
- Microfiles of various shapes for roughing and smoothing. The file has two functions; when moved upwards, it removes material, and when moved downwards, it finishes and smooths the surface.
- Sandpapers of different grits, used from 400 to 1200 grit. To be used in succession to achieve a smooth and shiny surface.
This process requires a bit of patience; the more perfect you want your jewellery to be, the more time you will need to dedicate to it, but there are also tools that can speed up the polishing process.
Using an electric drill, with which you can set the rotation speed of the tools, is certainly a good alternative to files and sandpapers.
And in combination with the polishing pastes, you will achieve mirror-like surfaces.
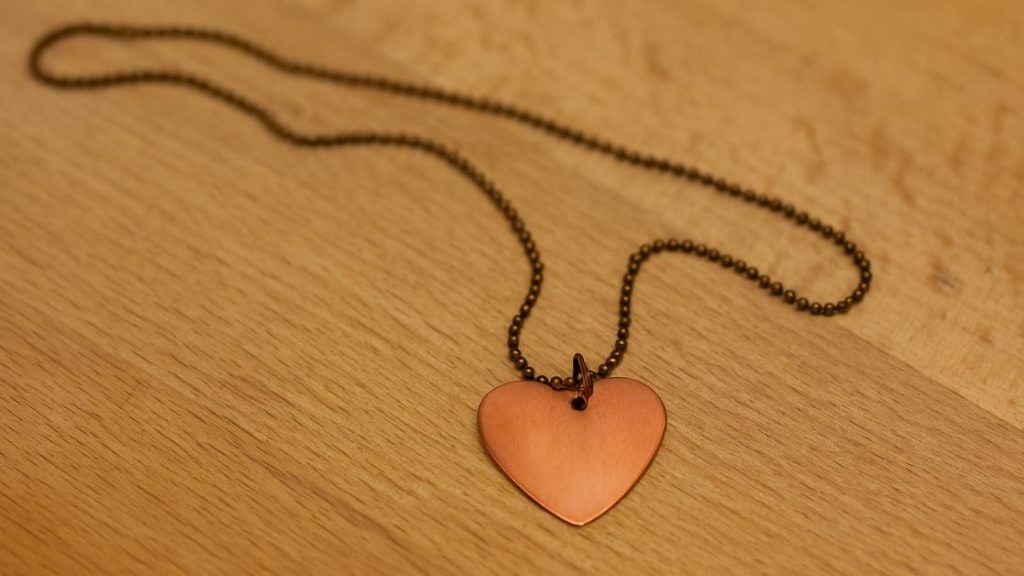
Maintenance and oxidation
This technique is easy to execute, and satisfactory results can be achieved from the first cuts, but one of the most painful aspects of using these metals is oxidation.
There is no way to permanently eliminate the formation of this patina because these alloys tend to form it naturally due to air and humidity.
However, you can temporarily halt the formation by using protective waxes on the surface.
Moreover, oxidised metal can always regain its shine after thorough cleaning.
Final tips
To create precise cuts of regular shapes, you can use a tool called a disc cutter.
You can find it in various shapes such as circles, hearts, or squares. By inserting the metal sheet and striking the punch with a hammer, you will easily and quickly obtain the precise chosen shape.
You can then enhance your jewellery by colouring their surface or some details with two-component cold enamels or with Efcolor powders.
The piercing technique is an excellent gateway to handmade jewellery: easy to learn, but rich in creative possibilities. With a bit of practice, you can create unique and personal jewellery starting from a simple metal sheet.