From intricate stained-glass windows to pendant jewelry and home furnishings, glass makes it possible to create artistic and decorative works of all shapes and sizes, offering an extraordinary degree of creative variety.

Perhaps you have been enchanted by those beautiful lampshades made of glass in different colors and shapes. Well, you can learn how to make one too! These lamps are made using the Tiffany technique, one of the most famous and sought-after techniques among glass lovers and enthusiasts of early-20th-century decorative styles. With the Tiffany technique, you can create a wide variety of artistic projects, and in this in-depth guide we aim to provide all the essential information to help you get started.
A little history: the Tiffany technique
Let’s start with the name: why is it called that? If you are thinking of the famous jeweler, you are not far from the truth. Louis Comfort Tiffany was his son and the creator of this technique, which joins pieces of glass of different sizes and shapes through soldering. The distinctive feature of this method is the use of thin copper foil, rather than lead, to wrap each glass piece. Once the composition is created (with techniques and tools that we will go on to discover) molten tin is used to solder the joints. The job is done. Does it sound simple? Perhaps, but it requires proper equipment as well as skill and practice in preparing, cutting, and soldering the glass.

What can I accomplish with the Tiffany technique?
Almost anything your imagination can conceive. You can start with small objects such as small boxes or squares, you can make frames and go as far as composing decorative stained glass windows of various sizes. In this article, we will review the basic steps, applicable to any type of project, as well as the tools required.
It always starts with preparing the pattern and choosing the materials, and then moves on to the practical steps of making it: cutting and grinding, taping, soldering and finishing.

Pattern creation, preparation, and template cutting.
You can choose your pattern from the hundreds available in print or online at specialized forums and sites. Find one that fits your style and level. Or, if you want, you can draw it yourself: the key requirement is that the pattern can be easily broken down into small, individual elements, and that these can be clearly indicated and recognizable in the pattern.
Once you have created the pattern, copy it onto a white card using carbon paper. Draw all the lines well and then number the pattern pieces on the copy as well. We also recommend including directional arrows in each shape, so that you always know where the piece fits in the design.
At this point you need to cut out all the elements of the design, which will become the outline for creating the glass pieces, also called templates. To do this, you have to use special three-blade scissors, specifically for Tiffany work, to create a thin separation space between the elements of the design, which will later be filled by the copper tape required for soldering.
Choosing the material for your Tiffany stained glass window
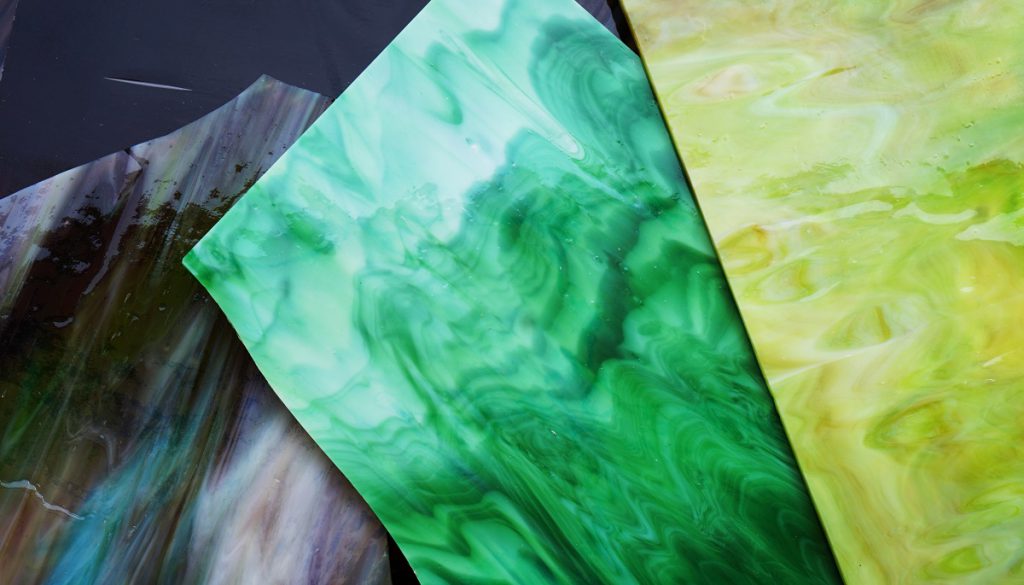
The range of glass available for this type of work is extremely wide: opaque, translucent, opalescent, iridescent, processed, textured, etc. What’s more, often the two sides of the same sheet have different effects and characteristics. Not to mention all the possible colorations!
As is often the case with any artwork, there is no right or wrong glass to begin with, because it depends on what you want to achieve. Glass with minor imperfections can be especially suitable for adding unique character to your work, for example. So can choosing to use glass with different characteristics. If you intend to use textured glass, keep in mind that you should always orient it in the same direction, to give an effect of continuity and regularity.
Our advice, however, is to choose all your glass together, already knowing what result you want to achieve. Check the glass carefully from different angles to ensure it is in good condition: if there are cracks or defects, it could break during the work. Also consider getting more glass than you have planned, just so you don’t risk running out of material in case of breakage.
And at this point, it’s time to get to work!
Cutting, breaking and grinding glass
The tools and precautions
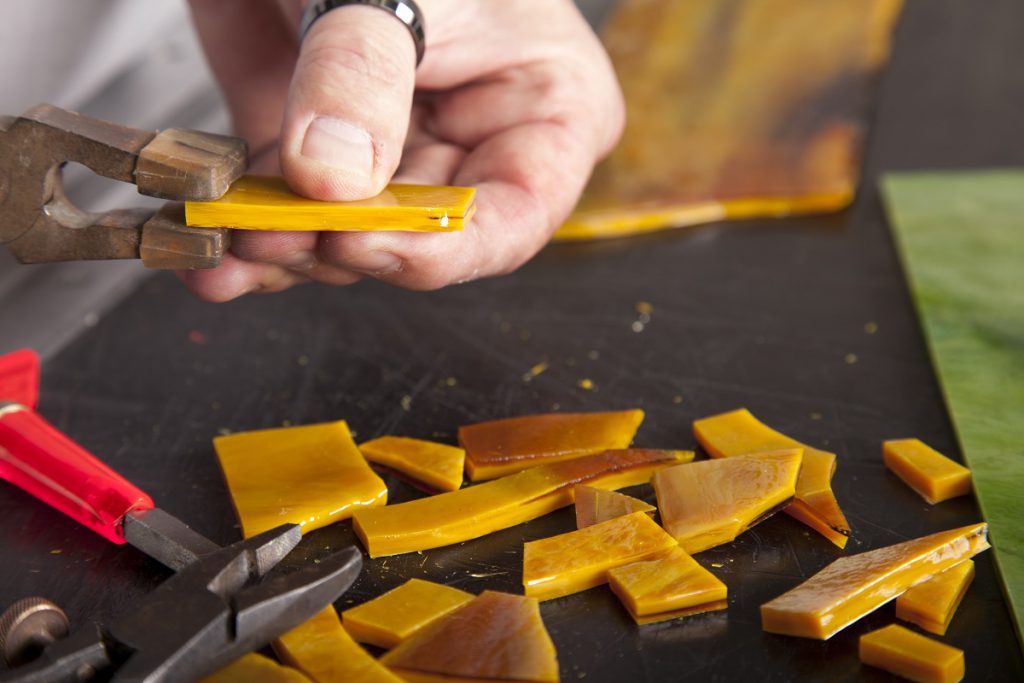
We have arrived at one of the most delicate stages of your work: cutting the glass and breaking it properly, then beveling and smoothing the edges, to get all the pieces that will make up your “puzzle.” Since this is a delicate operation, it requires specific tools as well as small precautions.
To create a Tiffany glass piece, you will need several specific tools.
What you need
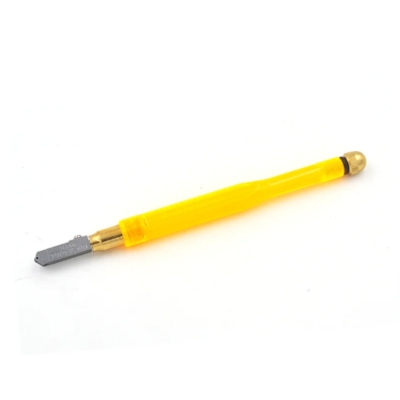
- a glass cutter, with which to cut grooves corresponding to the shapes you want to create. We recommend you get one with a built-in reservoir into which you will put the oil needed to lubricate the head.
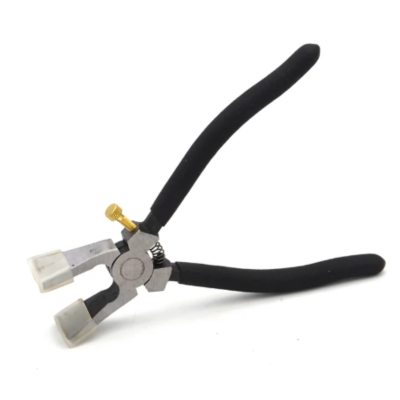
- a pair of cutoff pliers: their purpose is to allow you to separate the glass along the break line. It can be useful to have pliers of different sizes, to accomplish this task easily even with very small templates.
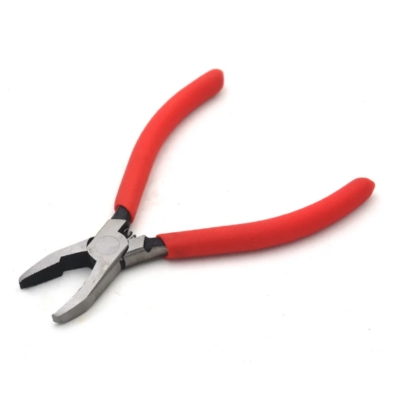
- a roughing pliers for trimming, with which you can work along the edges once you have separated the piece of glass.
- a grinder, used to smooth the edges of the glass pieces, so that the copper tape adheres perfectly to the surface. A pair of tweezers can be useful here as well, to help you grip the glass in the process.
- Finally, a presser, made of wood or plastic, that you will use to ensure a perfect adhesion of the copper to the glass.

And now, a quick reminder of precautions to take. First thing: safety glasses! For working with glass, these are really essential. Your hands also need to be protected from the risk of splinters, so in addition to using gloves, always keep tweezers handy in case you need to pull some out. Another good habit is to wash your hands often while working. Finally, a small brush will come in handy to keep your work surface clean of all glass debris at all times.
Ready to cut!
Choose which side of the sheet you want to use as the front and draw on the glass the shape to be cut, placing the card template you previously cut out and going over the edges with a marker. Keep in mind that the glass should always be cut on its smooth side. If, for aesthetic and style issues, you have decided to use the rough side, then, you will need to mirror the cut lines on the smooth side, and then cut from there.

Wipe the glass with a cloth to get a clean, dry surface. Make sure the head of the glass cutter is properly lubricated and hold it firmly, as if it were a pencil. Hold it perpendicular to the glass and start at the cutting line closest to you. Guide the glass cutter along the surface, following the line and using light but steady pressure, never stopping the movement or going back into the same groove-as this could cause the glass to break.

Once you have made the groove, you must break the glass following the line you have drawn. There are several methods, which we will see in a moment, but the main rule is that you must always break along one groove before creating the next. In the case of pronounced curves, which are impossible to break in one go, you will have to proceed by removing small pieces at a time, creating short lines parallel to the original groove, until you reach the result.
To break the glass with your hands, you must grip the sheet by holding your thumbs on the top side and your other fingers on the bottom, so that the groove is well centered between the knuckles of both hands. With a quick, firm movement of the wrists and even pressure of the thumbs, separate the two pieces of glass. The process of breaking with pliers is quite similar: with one hand hold the glass, again with thumb up and knuckles down, so that they are adjacent to the groove. With the other place the pliers on the opposite side, with the tip as parallel to the line as possible. With even pressure gently squeeze the pliers and separate the glass.
If the glass breaks unevenly, you can use the roughing tongs to finish the edges by peeling off the excess fragments.
At this point you can move on to grinding, to give the templates the exact shape, without irregularities: the end result should be smooth, even edges. In the first pass, use the grinding wheel to remove irregularities, then apply very light pressure. In the second step, apply more pressure to shape the lines: proceed in small steps, comparing your piece to the pattern each time, until you reach the desired shape.
Copper foiling
We have now reached the taping stage, in which you wrap the templates in thin copper sheets that will allow you to proceed with soldering. The choices you are faced with at this stage mainly concern the thickness of the tapes and their color, factors that affect the work and the final aesthetic effect.
Copper foil is generally available in widths ranging from 1 to 1.5 millimeters. The thinner one is also the easiest to bend and adhere to the glass, but it tears more easily and is therefore less suitable for beginners. In contrast, the 1.5 mm one requires more effort to wrap it but does not break-it is therefore more suitable if you are a novice.
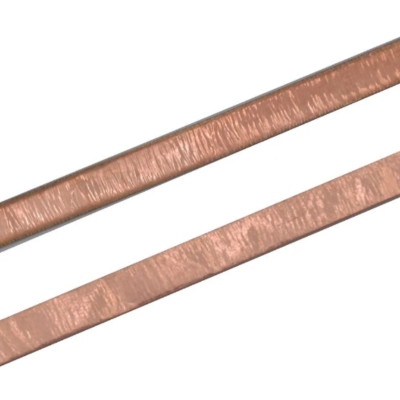
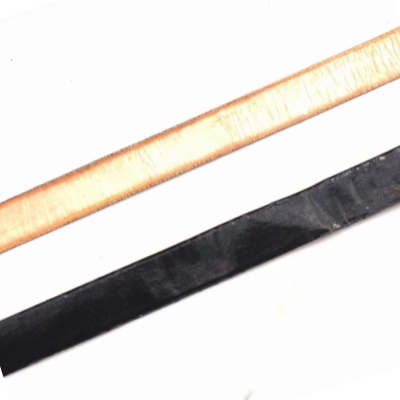
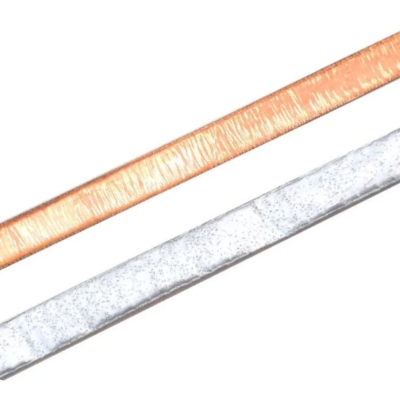
The back of the ribbons can be copper-colored as well as black or silver. Then there are some that are silver-colored on both sides. If you use dark or opalescent glass in your work, the color of the ribbon is less relevant because it will not show through the glass. Conversely, if you use clear glass you will have to take into consideration the color effect in relation to the rest of the composition. Another factor to consider is whether you intend to give your work a patina, which is generally black or copper: it will therefore be useful to use ribbons with the same coloring. If your intention is not to apply a patina and keep the solder silver-colored, we recommend that you choose silver tapes.
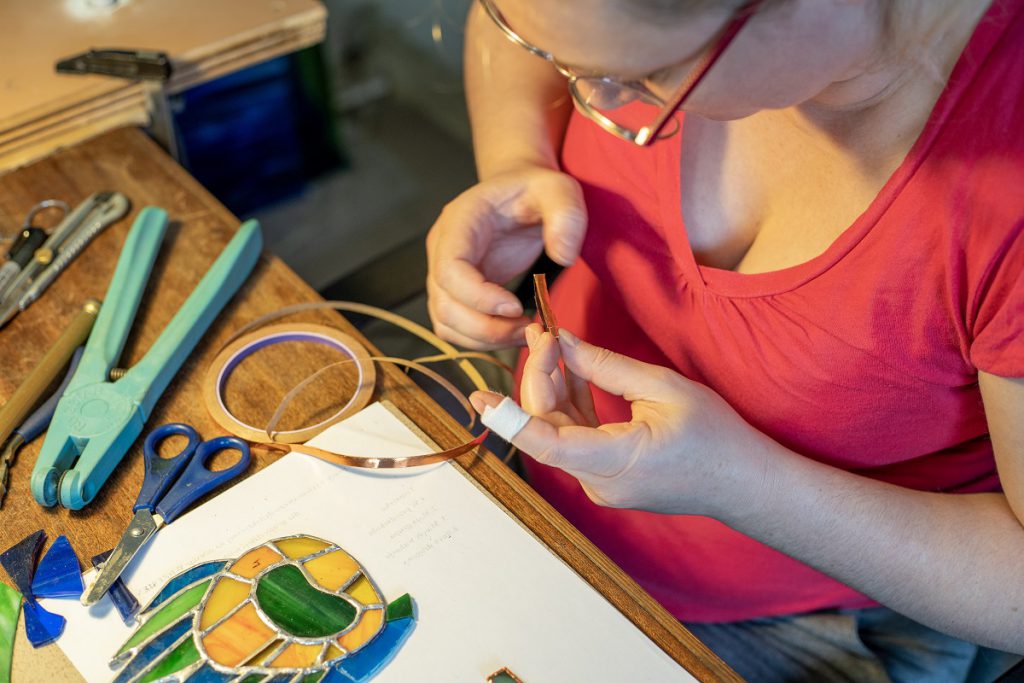
Let’s move on to some technical directions: before applying the tape, make sure the glass is clean, dry and perfectly smooth. Take the copper tape holding it between your thumb and forefinger and remove approximately a couple of inches of protective paper; then, holding the glass with your other hand, center it well and attach the sheet to the edge of the glass. Always start from the sides, not the corners, and always hold the paper below the glass to check the alignment from above. Remove the protective paper as you go and proceed with the copper application.
Once you are back where you started, overlap the sheet about half an inch and then cut it off. Help yourself with your fingers and then with the presser to make the copper adhere well to the glass, making sure there are no bare spots, but without rubbing too much against the sheet, as it may break.
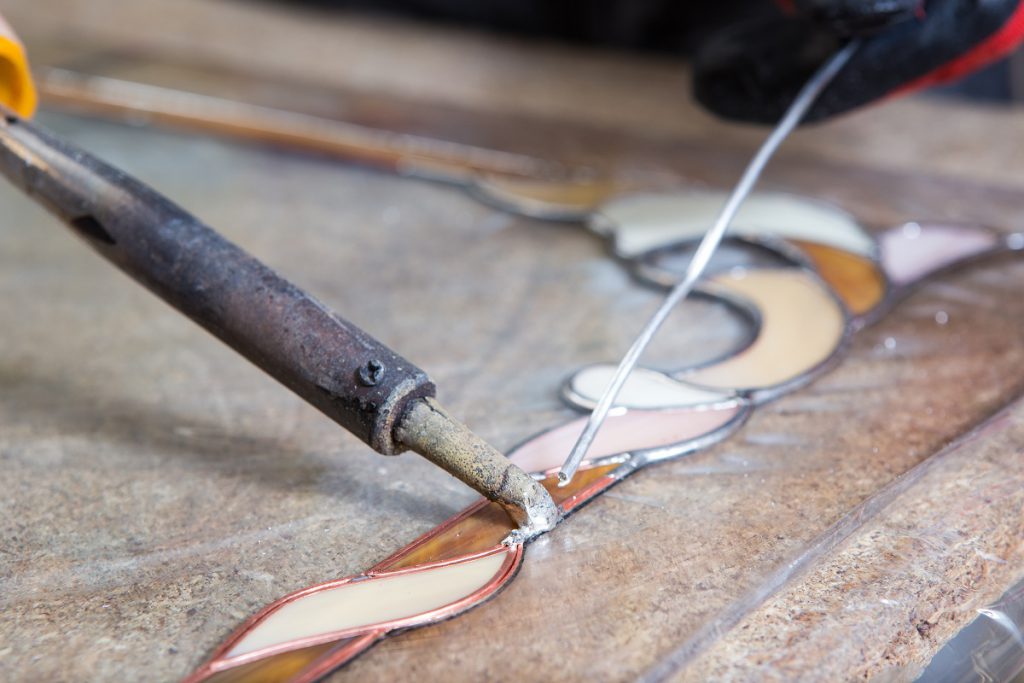
Soldering the Tiffany stained glass panel
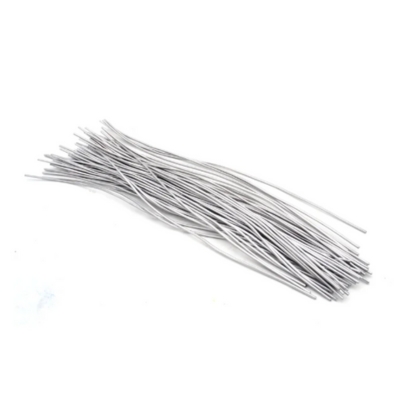
What will you need at this stage? Obviously, a soldering iron. But also an adequate amount of solder wire, which is the material used to bond the copper flaps together. Normally, a tin-lead alloy is used, with about 60 percent of the former. You will then need a sponge to periodically clean the tip and some flux, also called solder water, a chemical agent that allows the solder to adhere to the copper.
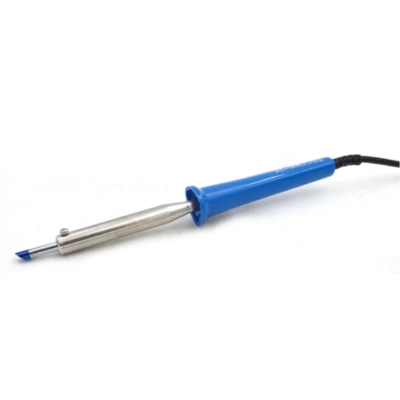
To choose a soldering iron, rely on certified specialists and manufacturers, and make sure it is a soldering iron specifically designed for glass. And we can’t say it enough: be very careful when using it, because it reaches very high temperatures and needs extreme caution!
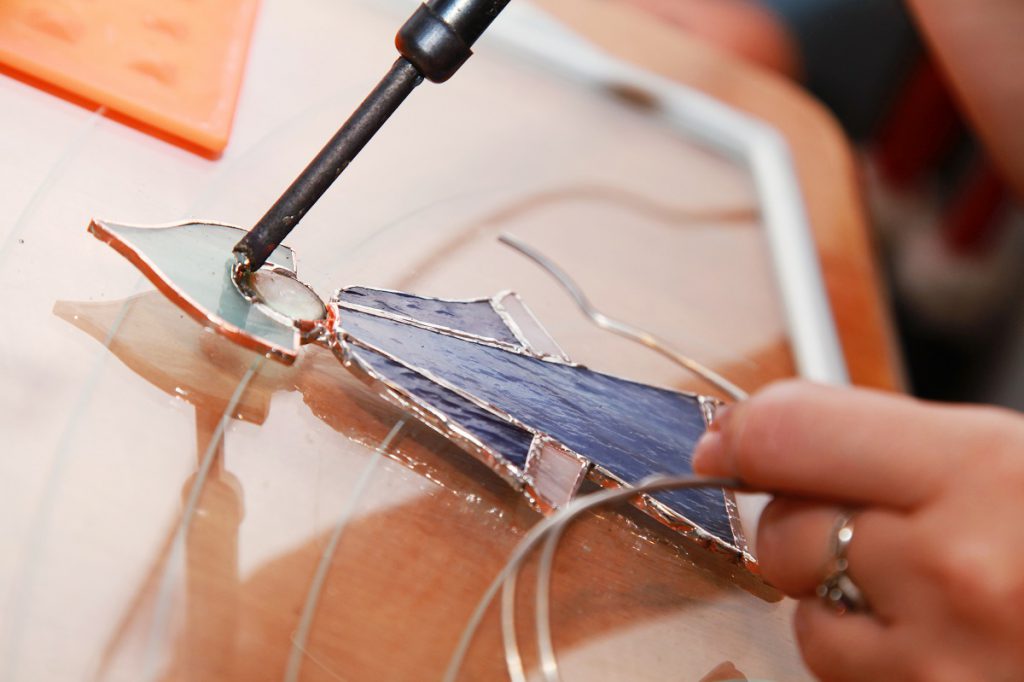
Now is the time to prepare your work surface for soldering: apply all the templates to the pattern and make sure they are firmly in place on a flat, heat-resistant surface. The first step will be to solder all the joint points, to ensure stability of the pattern.
Start by passing a thin layer of flux over these points, then, holding the soldering iron in one hand and the solder wire in the other, melt a small portion of metal with the tip and gently pass it over the copper: you will hear a slight sizzle and see the solder “boil”. Then proceed along the various lines, over which you will gradually pass the flux, accompanying the movement of the soldering iron with the tin, so as to always provide the right amount of metal.
Creating clean, even solder joints requires patience and practice, so don’t get demoralized if the result doesn’t immediately live up to expectations. If you are not satisfied with a weld, don’t keep going over it, but let it cool and then go back to it later, because the heat may break the glass.
Once you have completed the top side, you need to go over the other side. Turn the work over gently and repeat the process on the opposite side.
At this point, you can proceed with doming: the first pass of solder will tend to create fairly flat lines, while a good finish calls for the metal parts joining the templates to be slightly raised. To do this, you will need to add a little more tin to the solder so that it just slightly bulges, but being careful not to put too much, which would risk running down the edges.
When finished, wash the panel with warm water and mild soap or glass cleaner to remove all flux residue. Go over several times, insisting on the solder lines, until you have removed all the dirt.
Finishing your Tiffany glass creation
At this point you need to think about how you want to finish and customize your work. You can decide, for example, if you want the solder to remain silver-colored, or if you want to give it a burnished effect. In the latter case, you will have to apply a patina, which is a chemical agent that interacts with the weld and changes its color. Traditionally, Tiffany stained glass windows have a dark patina, but of course the choice is entirely personal!
To apply the patina, dry the panel thoroughly and then apply the solution to all welds precisely and evenly with the help of a patina brush-you will see the color change immediately. Thoroughly spread the patina over all the lines and let it dry. The last stage of processing is treatment with an antioxidant, which is used to clean the work more thoroughly and protect it, but also to give the welds a more intense and long-lasting shine.

As you may have guessed from this articulate overview,
creating glass art objects using the Tiffany technique is a demanding and complex process, requiring special tools and a lot of practice. However, the results can be truly extraordinary!
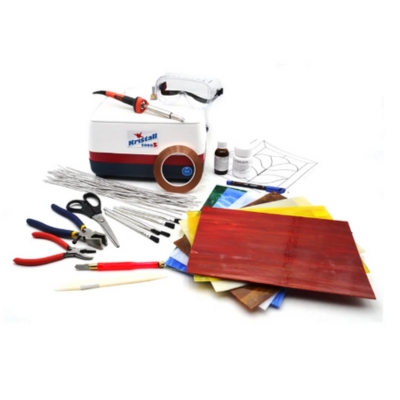
If this technique interests you, we recommend starting with small objects and very simple patterns, perhaps starting right with one of our Tiffany kits, which in addition to all the necessary tools also offers you very simple patterns, perfect for your first experiments!