If you’ve followed our articles on types of wax for various candles and on the equipment you need to make candles at home, we’re finally ready for the final step, the one that will give you the most satisfaction: let’s see together the process to create your beautiful candles!
First thing: carefully prepare your work area. Always keep in mind that pigment and dye stains, and even more so wax stains, are difficult to remove. The most commonly used environment for making candles is usually the kitchen: carefully cover all work surfaces. You can use newspaper sheets on the table or the surface you’ll be working on, but for the stove, use aluminum foil.
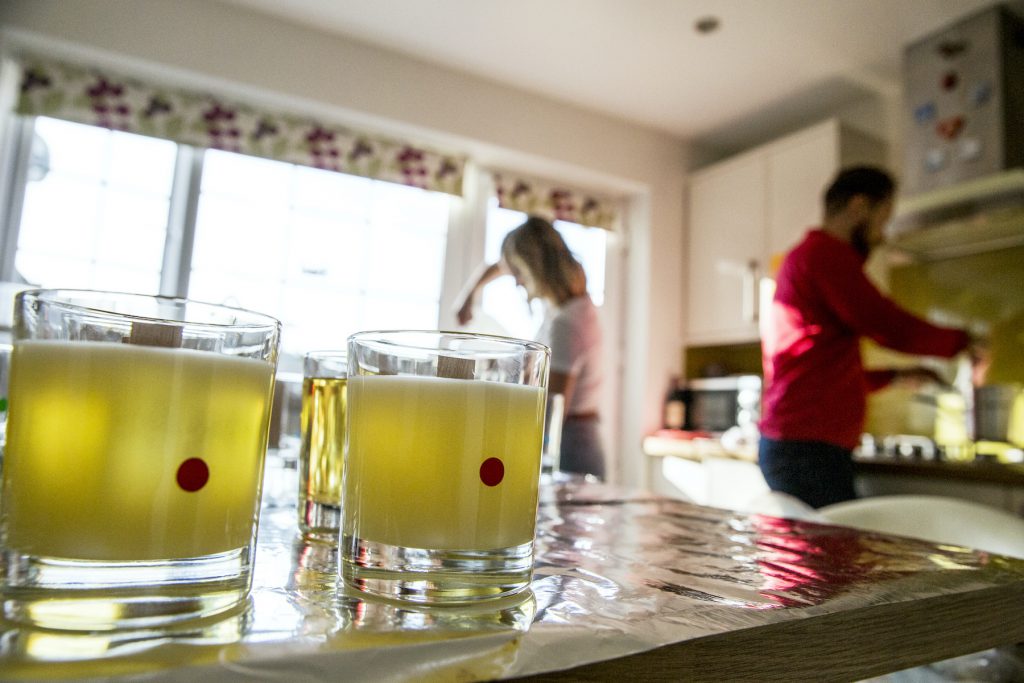
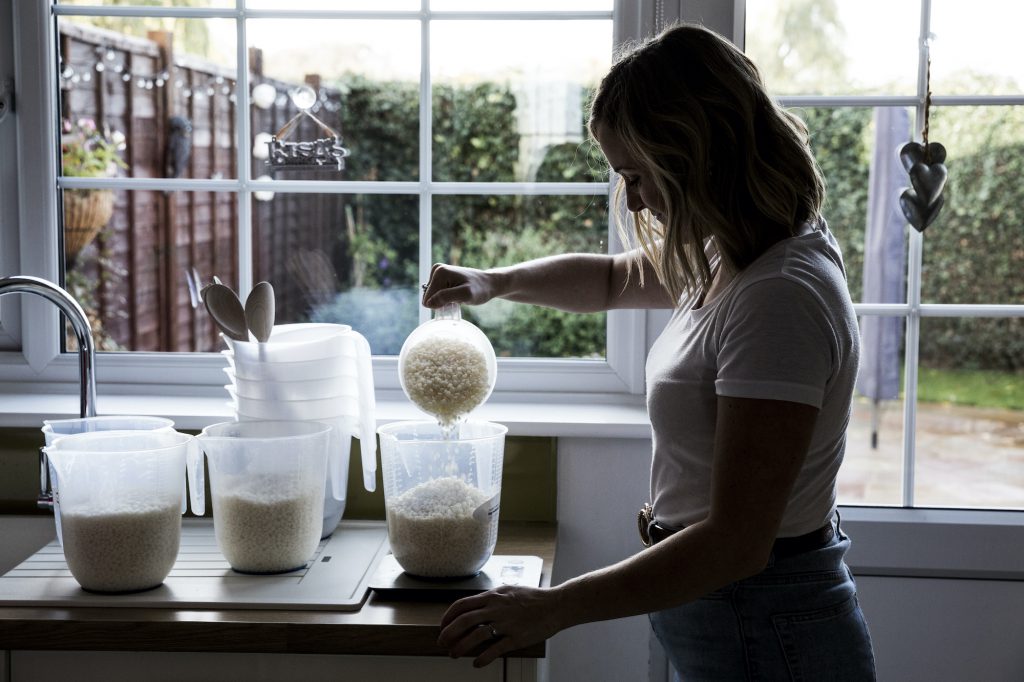
Keep everything you’ll need within reach: wax, containers to melt it, pigments, scents, wicks, scissors, pliers, molds, thermometer, etc. (if you need a refresher on the various tools, read this article).
All set? Let’s get started!
The guided process to create your candles at home
Here’s the step-by-step process to follow for the various types of candles. If you’re not sure which materials and tools to choose, take a step back and come back later, first read everything you need to know about the items part 1 and part 2.
Self-supporting candles
- First, position the wick. If you pre-wax it first, it will be easier: just dip it for a few moments in some melted wax and then lay it on parchment paper or aluminum, pulling it to keep it taut. Alternatively, you can use pre-cut and waxed wicks with a clip. Some molds also have a metal needle to keep the wick taut. If you don’t know which wick to use, here you can find a guide to choosing the right wick.
- Melt the wax and add the color.
- Finally, add the fragrances you’ve chosen.
You should add the scents according to weight percentages between 3 and 10% depending on the type of wax you use. For example, 6% of scent on 100 grams of wax will be 6 grams. As a general rule, you should add the candle scents at a temperature between 70 and 80°C. If you add it at higher temperatures, you might “burn” the fragrance, compromising its final aroma, while if you add it at lower temperatures, you risk a “sweating” of the scent that would compromise the proper burning of the candle.
Always check the flash point of the scent: in some cases, this might be at temperatures lower than 70°C. So how do you do it? You try: conduct tests to find the right compromise for the pouring temperature!
- Pour the melted wax into the mold and let it cool. Here you can find indications on the pouring temperature.
- As the wax cools, it shrinks, so you’ll see a dip form at the bottom of the mold.
Take a bit more melted wax and fill the dip that has formed. If you see excess wax, you can level it with a small knife. - Let it cool completely and remove the candle from the mold, using the part of the wick that sticks out. To make removal easier, you can place the mold in the fridge for a few minutes.
Dipped candles
- First, melt the wax. At what temperature?
For 60/40 beeswax candles: 70-73 °C.
With 100% pure beeswax: about 75°C.
With pure paraffin, a paraffin and stearin mix, or wax pearls: 70-73 °C.
- Dip the wick, kept very long, into the container of melted wax.
- Then lift it to let the wax set.
- Repeat the process as many times as needed until you reach the desired thickness.
- You’ll get long, narrow taper candles that, when the wax is still soft, you can also “twist” (giving them that typical spiral “corkscrew” effect)
Carved candles
The starting base, or core, is a white candle with the wick kept rather long. Prepare a separate container with cold water and a container for each colored layer.
- Dip it into the colored melted wax and immediately remove it to dip it into the container of cold water.
- Proceed like this for subsequent dips in various colors until you achieve the number of layers you desire.
- Use a well-sharpened fixed-blade knife to carve the candle to reveal the different colors. Or you can use the wax carving tools.
- The wax remains soft long enough: take advantage of it to curve and shape it according to your creativity.
Remember: if you do the final dip of your decorated or colored candles in pure paraffin: the necessary pouring temperature will be 90°C.

Candles in containers
For paraffins or palm and soy waxes, you can use metal, rigid plastic, terracotta, and other types of containers, while for gel wax you can only use transparent containers that can withstand at least 80°C.
- Position the wick well in the container, securing the clip at the bottom with a drop of wax (even better if you use the pre-waxed rigid wicks).
- Melt the wax. Here you find the guidelines for the correct pouring temperatures.
- Add color and scent and pour into the container.
- Proceed slowly, pour a little wax at a time and let it cool a bit to keep the wick in place.
- Finish the work by paying particular attention to the shrinkage of the wax as it cools.
- For gel wax, proceed in the same way, especially if you’ve placed objects in the container: it’s important that they are well fixed before you proceed with other layers.

How do I clean the tools and molds?
Your best ally for removing wax residues and stains is heat. If you heat the wax residue, it melts and you can easily remove it with kitchen paper. If residues remain in the mold, you can turn it upside down on a paper-covered rack and heat the outside with a hairdryer. The remaining wax will drip directly onto the paper. You can proceed in the same way with the pots or containers in which you melted the wax.
Important: do not reuse the pots you used for wax for cooking.
If you have a double boiler pot or a specific stove, clean them periodically, and frequently replace or add water to the double boiler. If you have an electric thermostatic stove, always remember to unplug it before cleaning.
We’ve guided you on this journey to discover the materials and equipment needed to make your candles, and we’ve gone through the step-by-step process together: now all that’s left is for you to unleash all your creativity and inspiration. And then try, try, try, until you’re satisfied with the result!
Happy crafting and most of all, have fun!