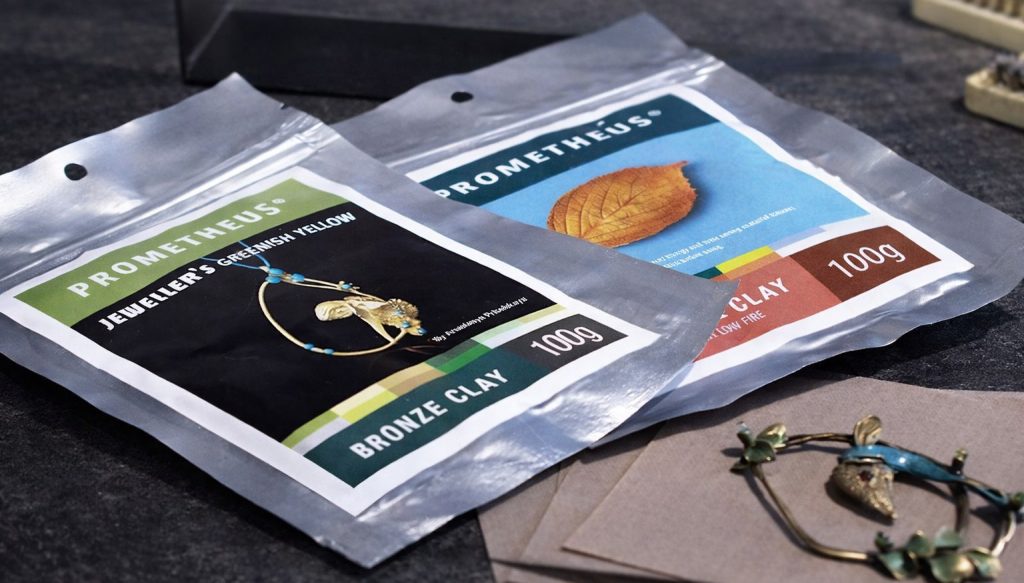
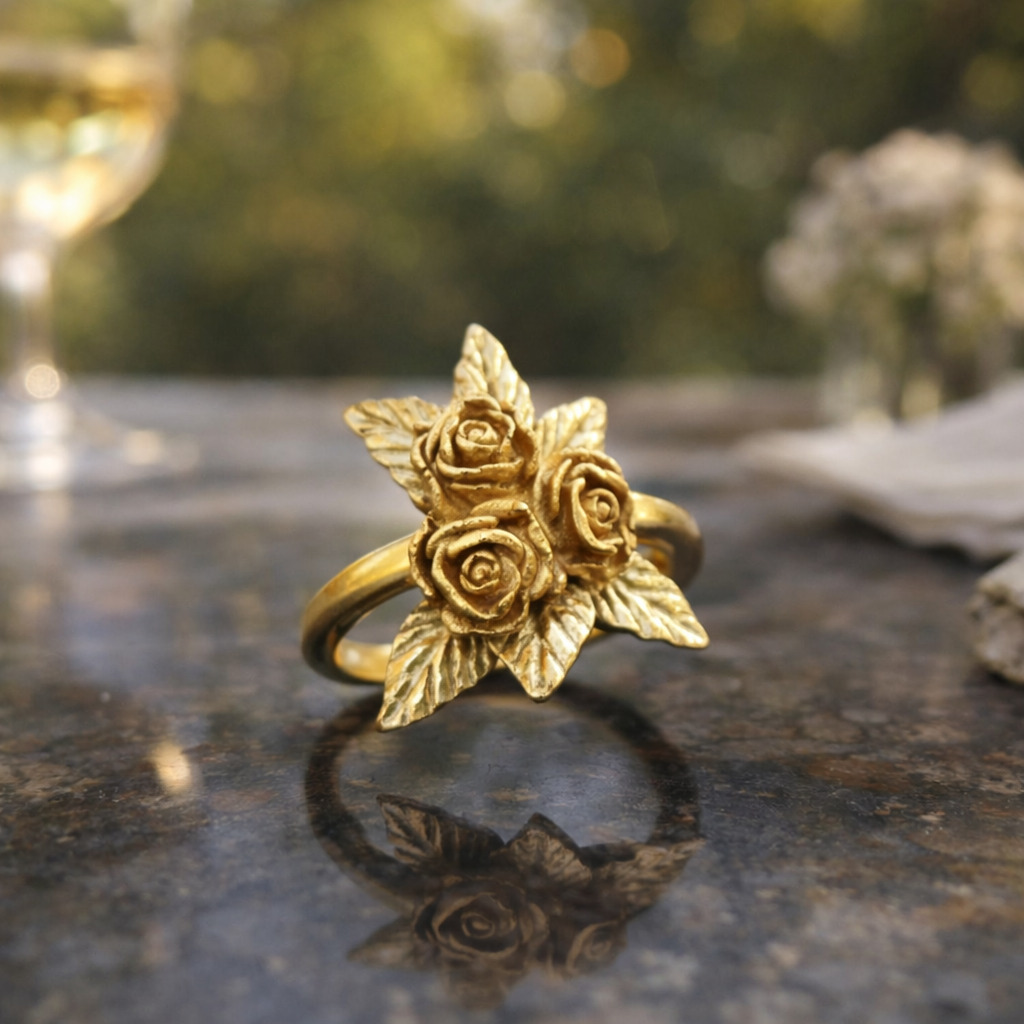
Prometheus® Metal Clays is an amazing material: they work like clay, but after firing they become real pure metal, such as bronze or copper!
They are composed of:
– micronized metal powder
– water
– organic binder
During firing, the water evaporate and the binder burns off, leaving only the sintered, solid and durable metal.
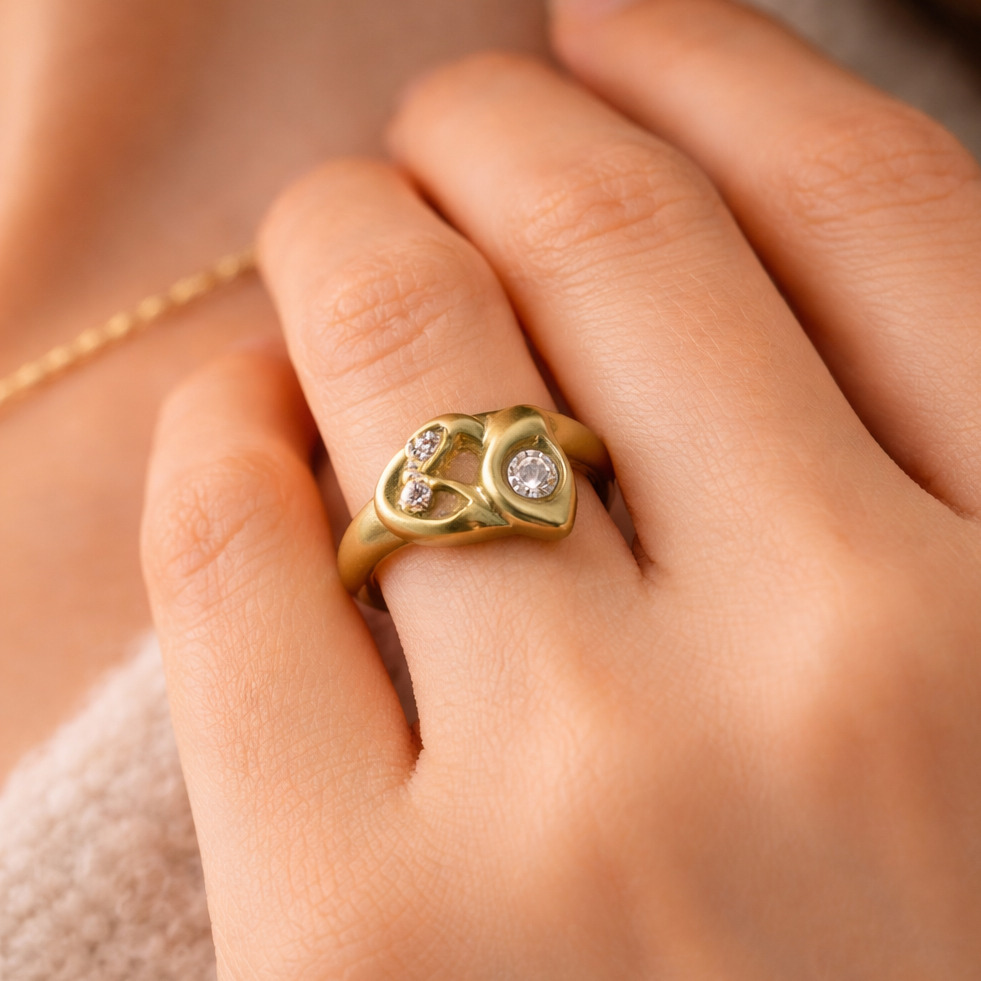
You can shape it by hand, roll them out with a roller, create beads, etch, imprint textures, just as you would with regular moldable dough. And you can even combine them with each other and fire them together with many synthetic gemstones!
Each type has specific firing and finishing characteristics that we will explore in this useful guide.
Common characteristics
Each type of Prometheus® clay has different firing temperatures, but shaping, storing, and drying work the same for all of them.
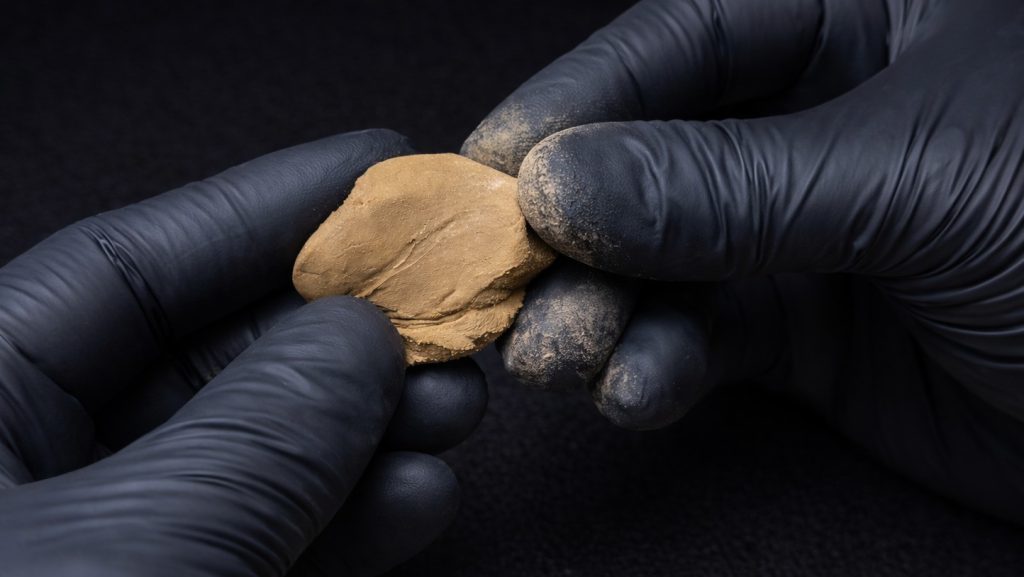
When you open the package, the so-called “wet phase” begins. At this stage the clay is soft, ready to be shaped and very pleasant to work with. It does not tend to stick to hands or plastic surfaces, but a useful little trick is to lightly grease fingers and work surface with a drizzle of olive oil.
You can work it on a smooth plastic surface, on waxed paper, or on a sheet of Teflex. Simple tools are all you need for modeling: your fingers, a roller, some spatulas or a toothpick. Even everyday objects can become tools for creating interesting textures.
Modeling
It is important not to work it for too long. Over time it tends to dry out and may start to crack. If you notice small cracks, don’t panic: just moisten the surface lightly with a brush and fill the cracks with a small amount of cream made by mixing clay and water until it reaches a consistency similar to thick yogurt.
While working, remember to always put the scraps back into the bag and close the package tightly. If you do not plan to use it for a few days, you can place the bag in an airtight jar with a slightly damp sponge at the bottom a little trick that helps keep it in ideal condition. Check the sponge periodically and add water if necessary.
Drying before firing
Before firing, the piece must be completely dry. This step is essential, because if moisture remains inside, the piece could crack or warp in the kiln. You can let it dry naturally at room temperature, or speed up the process with a hair dryer or by placing it over a hot kiln (not recommended for large pieces). Food dryers also work very well.
A simple method to check that it is really dry is the “mirror test”: place the dry piece on a cold mirror. If no condensation appears, it is ready for firing.
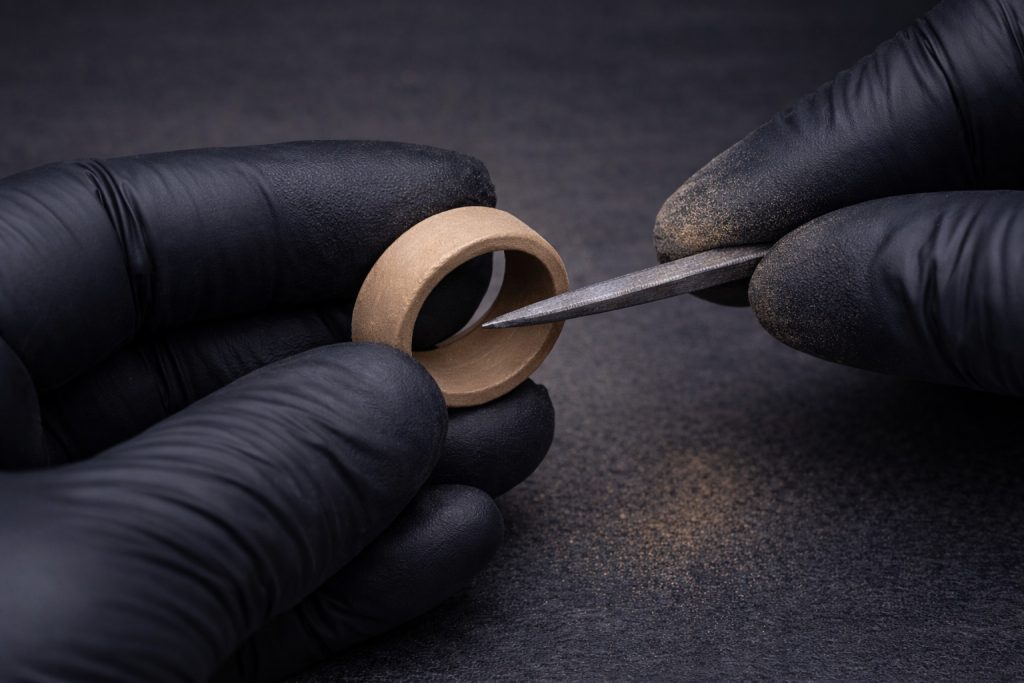
Once dry you can refine the work better: filing, sanding, etching or drilling. At this stage the material is more fragile than the final metal, so it must be handled carefully, but it is also an ideal time to correct imperfections and make the surface more uniform.
The different firing methods
Firing is the stage that transforms clay into metal. Before starting, it is always advisable to do a test with a small sample to test the accuracy of the kiln.
Electric kilns may have slight temperature deviations; based on the test result, you can adjust the firing temperature by ±5% until the correct sintering is achieved.
BRONZE CLAY
PBC®
With Activated Carbon (recommended)
Step 1:
Place the dry piece on a stainless steel grid, then place it in the cold kiln and bring to 500 °C for 15 minutes.
Let it cool.
Step 2: Put about 3 cm of activated carbon in the bottom of a steel container, place the pieces at least 1.5 cm apart and cover them completely with carbon. Place the container in the kiln preheated to 820°C and fire for 60 minutes. Allow to cool in the kiln.
On a stainless steel grid in the kiln
Place the pieces on a stainless steel grid in the kiln preheated to 820 °C, paying close attention to high temperatures. Since the temperature will tend to drop when opening, close the door and wait for the kiln to return to the set value and fire for 30 minutes. When finished, let the pieces cool inside the kiln until the temperature has dropped significantly. When the heat has dropped to a safer level, remove using special heat-resistant tools and soak in warm water with a pickling agent, so as to remove most of the oxidation. Pay attention to the vapors generated and wear a mask.
With blowtorch
(not recommended)
This type of application is very complex. Even experienced people tend to avoid it, because it is easy to ruin the piece: oxidation, in the presence of air, occurs very quickly. For this reason, unless you have already experimented, we do not recommend this firing method.

COPPER CLAY
PCC®
With Activated Carbon (recommended)
Step 1: Place the dry piece on a stainless steel grid, then place it in the cold kiln and bring to 500 °C for 15 minutes. Allow to cool.
Step 2: Put about 3 cm of activated carbon in the bottom of a steel container. Place the pieces spaced (at least 1.5 cm apart) and cover them completely with carbon. Close the container and place it in the kiln preheated to 850 °C and fire for 90 minutes. Then let cool in the kiln.
On a stainless steel grid in the kiln
Place the pieces on a grill stainless steel in the kiln preheated to 920 °C, paying close attention to high temperatures. Since the temperature will tend to drop when opening, close the door and wait for the kiln to return to the set value and fire for 30 minutes. When finished, let the pieces cool inside the kiln until the temperature has dropped significantly. When the heat has dropped to a safer level, remove using special heat-resistant tools and soak in warm water with a pickling agent, so as to remove most of the oxidation. Pay attention to the vapors generated and wear a mask.
With blowtorch
(not recommended)
This type of application is very complex. Even experienced people tend to avoid it, because it is easy to ruin the piece: oxidation, in the presence of air, occurs very quickly. For this reason, unless you have already experimented, we do not recommend this firing method.
SUNNY BRONZE CLAY
PSB®
With Activated Carbon (recommended)
Step 1:
Place the dry piece on a stainless steel grid, then place it in the cold kiln and bring to 500 °C for 15 minutes. Allow to cool.
Step 2: Put about 3 cm of activated carbon in the bottom of a steel container. Place the pieces spaced (at least 1.5 cm apart) and cover them completely with carbon. Close the container and place it in the kiln preheated to 820 °C and fire for 60 minutes. Then let cool in the kiln.
On a stainless steel grid in the kiln
Place the pieces on a grill stainless steel in the kiln preheated to 820 °C, paying close attention to high temperatures. Since the temperature will tend to drop when opening, close the door and wait for the kiln to return to the set value and fire for 30 minutes. When finished, let the pieces cool inside the kiln until the temperature has dropped significantly. When the heat has dropped to a safer level, remove using special heat-resistant tools and soak in warm water with a pickling agent, so as to remove most of the oxidation. Pay attention to the vapors generated and wear a mask.
With blowtorch
(not recommended)
This type of application is very complex. Even experienced people tend to avoid it, because it is easy to ruin the piece: oxidation, in the presence of air, occurs very quickly. For this reason, unless you have already experimented, we do not recommend this firing method.
With Activated Carbon
Step 1:
Place the dry piece on a stainless steel grid, then place it in the cold kiln and bring to 500 °C for 15 minutes. Allow to cool.
Step 2: Put about 3 cm of activated carbon in the bottom of a steel container. Place the pieces spaced (at least 1.5 cm apart) and cover them completely with carbon. Close the container and place it in the kiln preheated to 770 °C and fire for 120 minutes. Then let cool in the kiln.
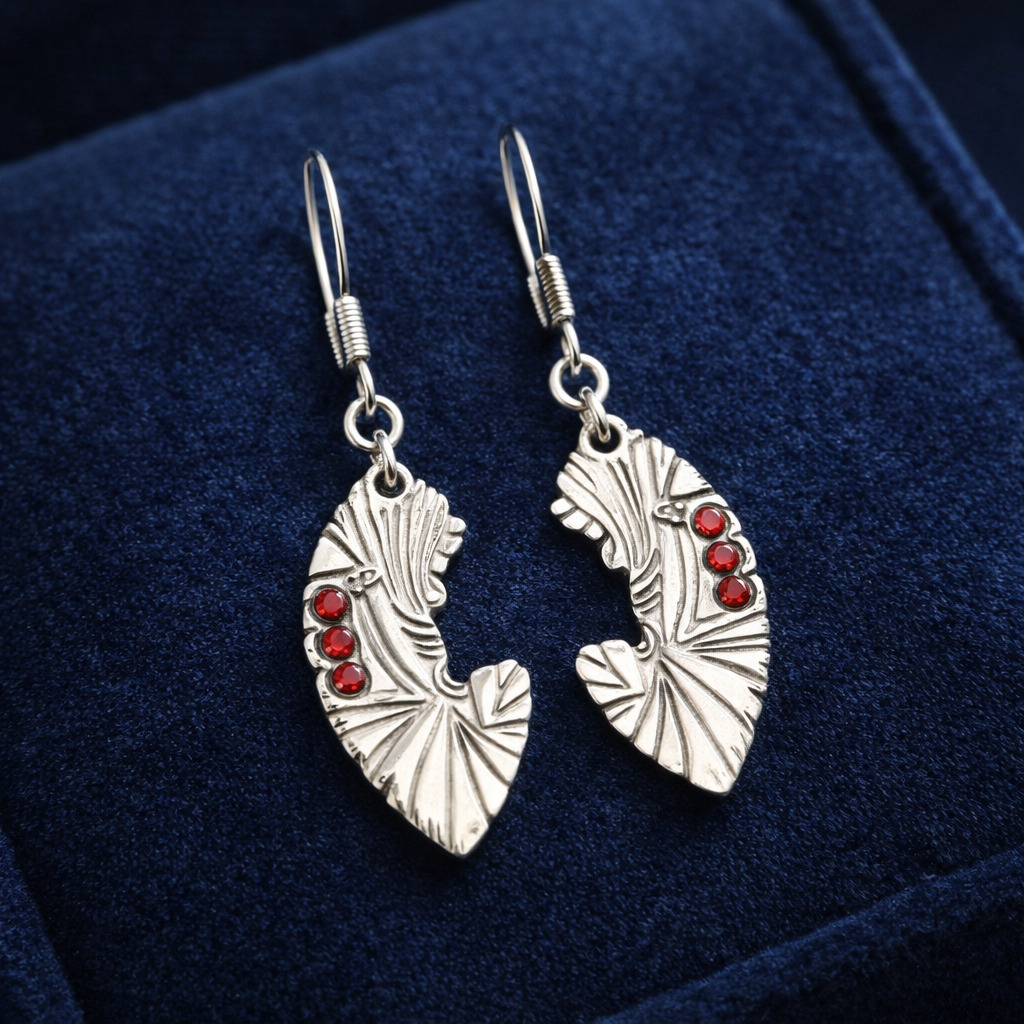
For thin, elongated pieces, annealing is recommended so that high strength is maintained. To do this, place the pieces in a kiln preheated to 565 °C, wait 5 minutes, then remove them and immerse them in water with a pickling agent.
The final color of both, PWB and PSW, is similar to silver. PWB is more sensitive to heat than PSW.

With Activated Carbon
Step 1:
Place the dry piece on a stainless steel grid, then place it in the cold kiln and bring to 500 °C for 15 minutes. Allow to cool.
Step 2: Put about 3 cm of activated carbon in the bottom of a steel container. Place the pieces spaced (at least 1.5 cm apart) and cover them completely with carbon. Close the container and place it in the kiln preheated to 780 °C and fire for 60 minutes. Then let cool in the kiln.
With Activated Carbon
Step 1:
Place the dry piece on a stainless steel grid, then place it in the cold kiln and bring to 500 °C for 15 minutes. Allow to cool.
Step 2: Put about 3 cm of activated carbon in the bottom of a steel container. Place the pieces spaced (at least 1.5 cm apart) and cover them completely with carbon. Close the container and place it in the kiln preheated to 800 °C and fire for 60 minutes. Then let cool in the kiln.
How to combine different metal clays
Several Prometheus® Metal Clays can be combined in the same piece and fired together using the two-stage method with carbon. The temperature of the second stage should be set according to the clay with the lowest sintering temperature, and the firing time should be at least 2 hours.
Also take into consideration the shrinkage rates of each of the clays, listed below:
– PCC® 9-10%
– PBC® 12-13%
– PSB® 12-13%
– PSW® 15-16%
– PGY® 13-14%
– PLY® 17-19%
– PWB® 10-11%
Finishing (for all Prometheus clays)
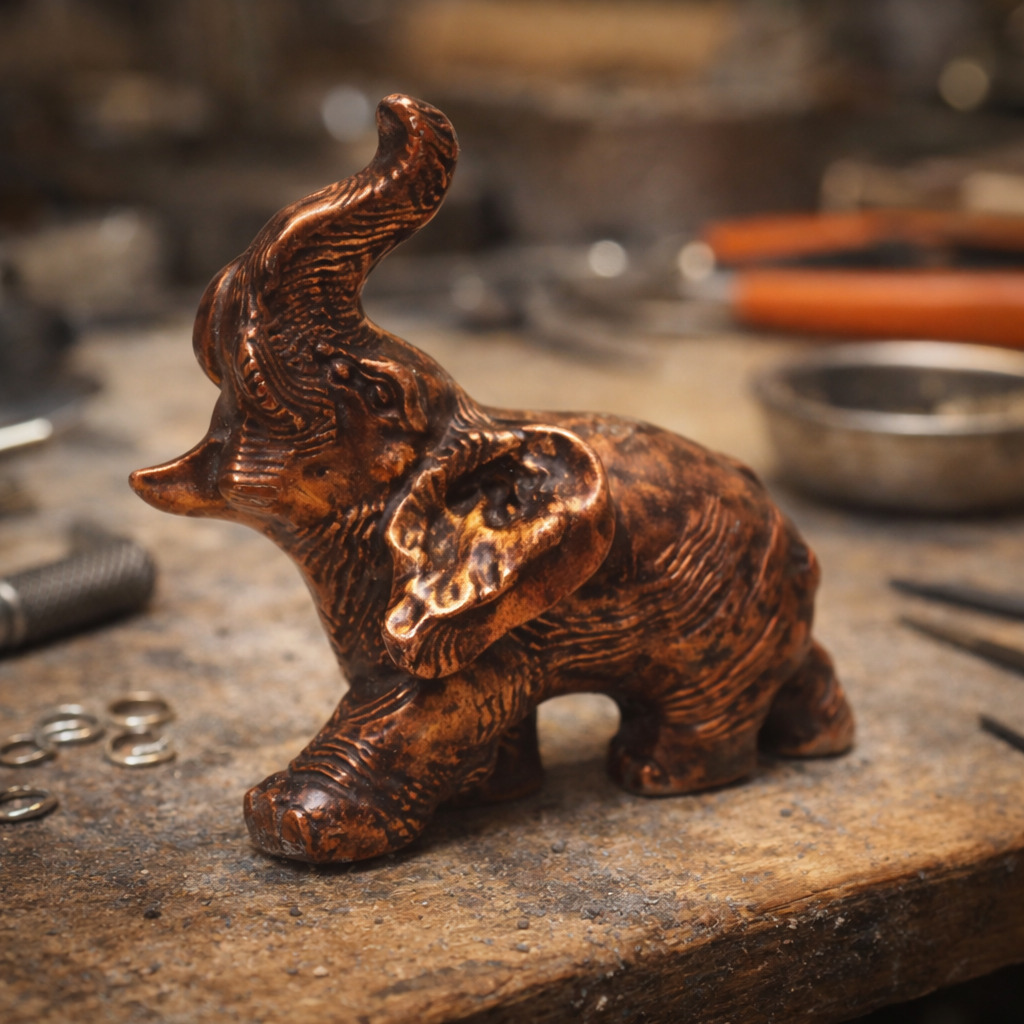
After firing, the piece appears dull and oxidized. This is normal. It is just now that the magic of finishing begins. You start by brushing the surface with a wire brush, then you can rinse and dry it.
It is then possible to apply patinas to achieve different effects and colorations.
Finally, polishing is carried out, using abrasive papers, polisher or tumbler. With the use of abrasive pastes the shine is greatly increased, bringing out the full beauty of the metal.
Safety and precautions
Prometheus® clays are non-toxic and contain no harmful substances, but it is always a good idea to work in a well-ventilated environment during firing. Use gloves, goggles and tongs when handling hot pieces and containers, and always place material on heat-resistant surfaces.
No express or implied warranty of accuracy is made for the information in this guide. The user is responsible for verifying the suitability of the product and its safe use.
Article produced in collaboration with Paola Mattioli